Door hinges require regular maintenance for smooth operation and user safety. Depending on how frequently your doors are used, it’s a good idea to lubricate your door hinges every 6 to 12 months. For example, heavy-use doors, like front and bedroom doors, benefit from more frequent lubrication than doors to guest rooms or seasonal storage closets.
Let’s cover the eight simple steps needed to lubricate door hinges to simplify the process.

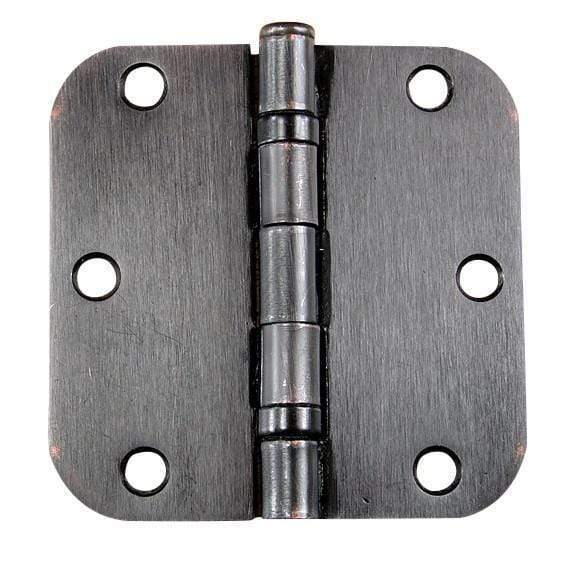
1. Determine Which Hinges Need Lubricating
Take a trip around your home and test your doors, listening for any squeaks or grinding noises upon opening or closing. You can also check gate and cabinet hinges for the same issues and add them to your maintenance to-do list.
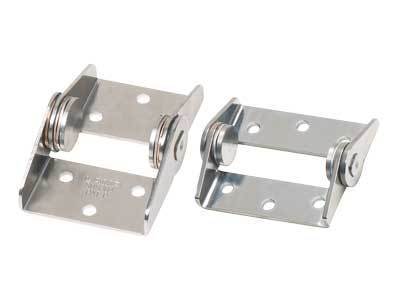
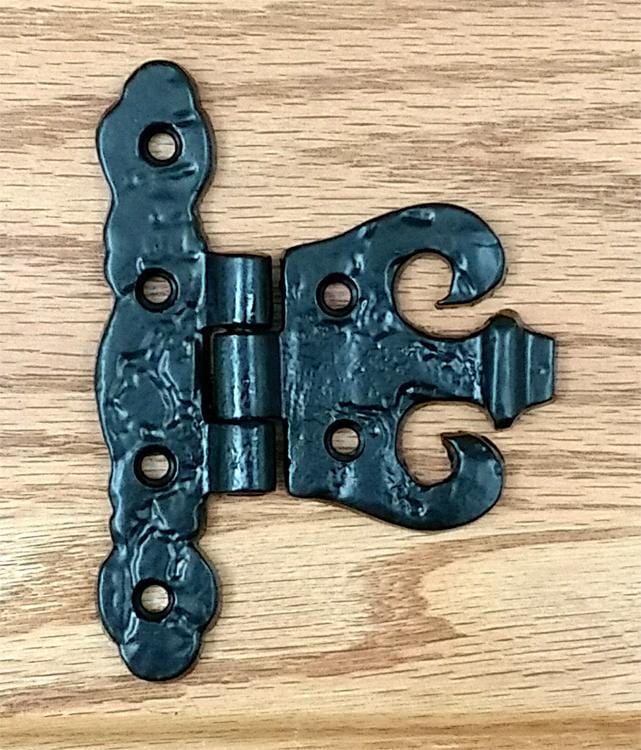
 |

|
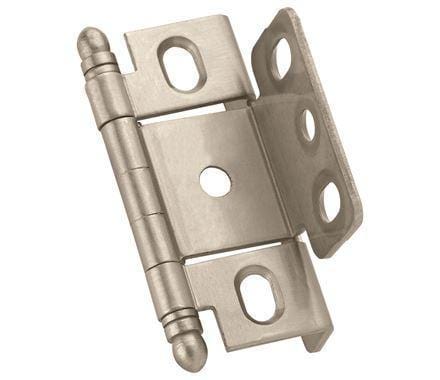
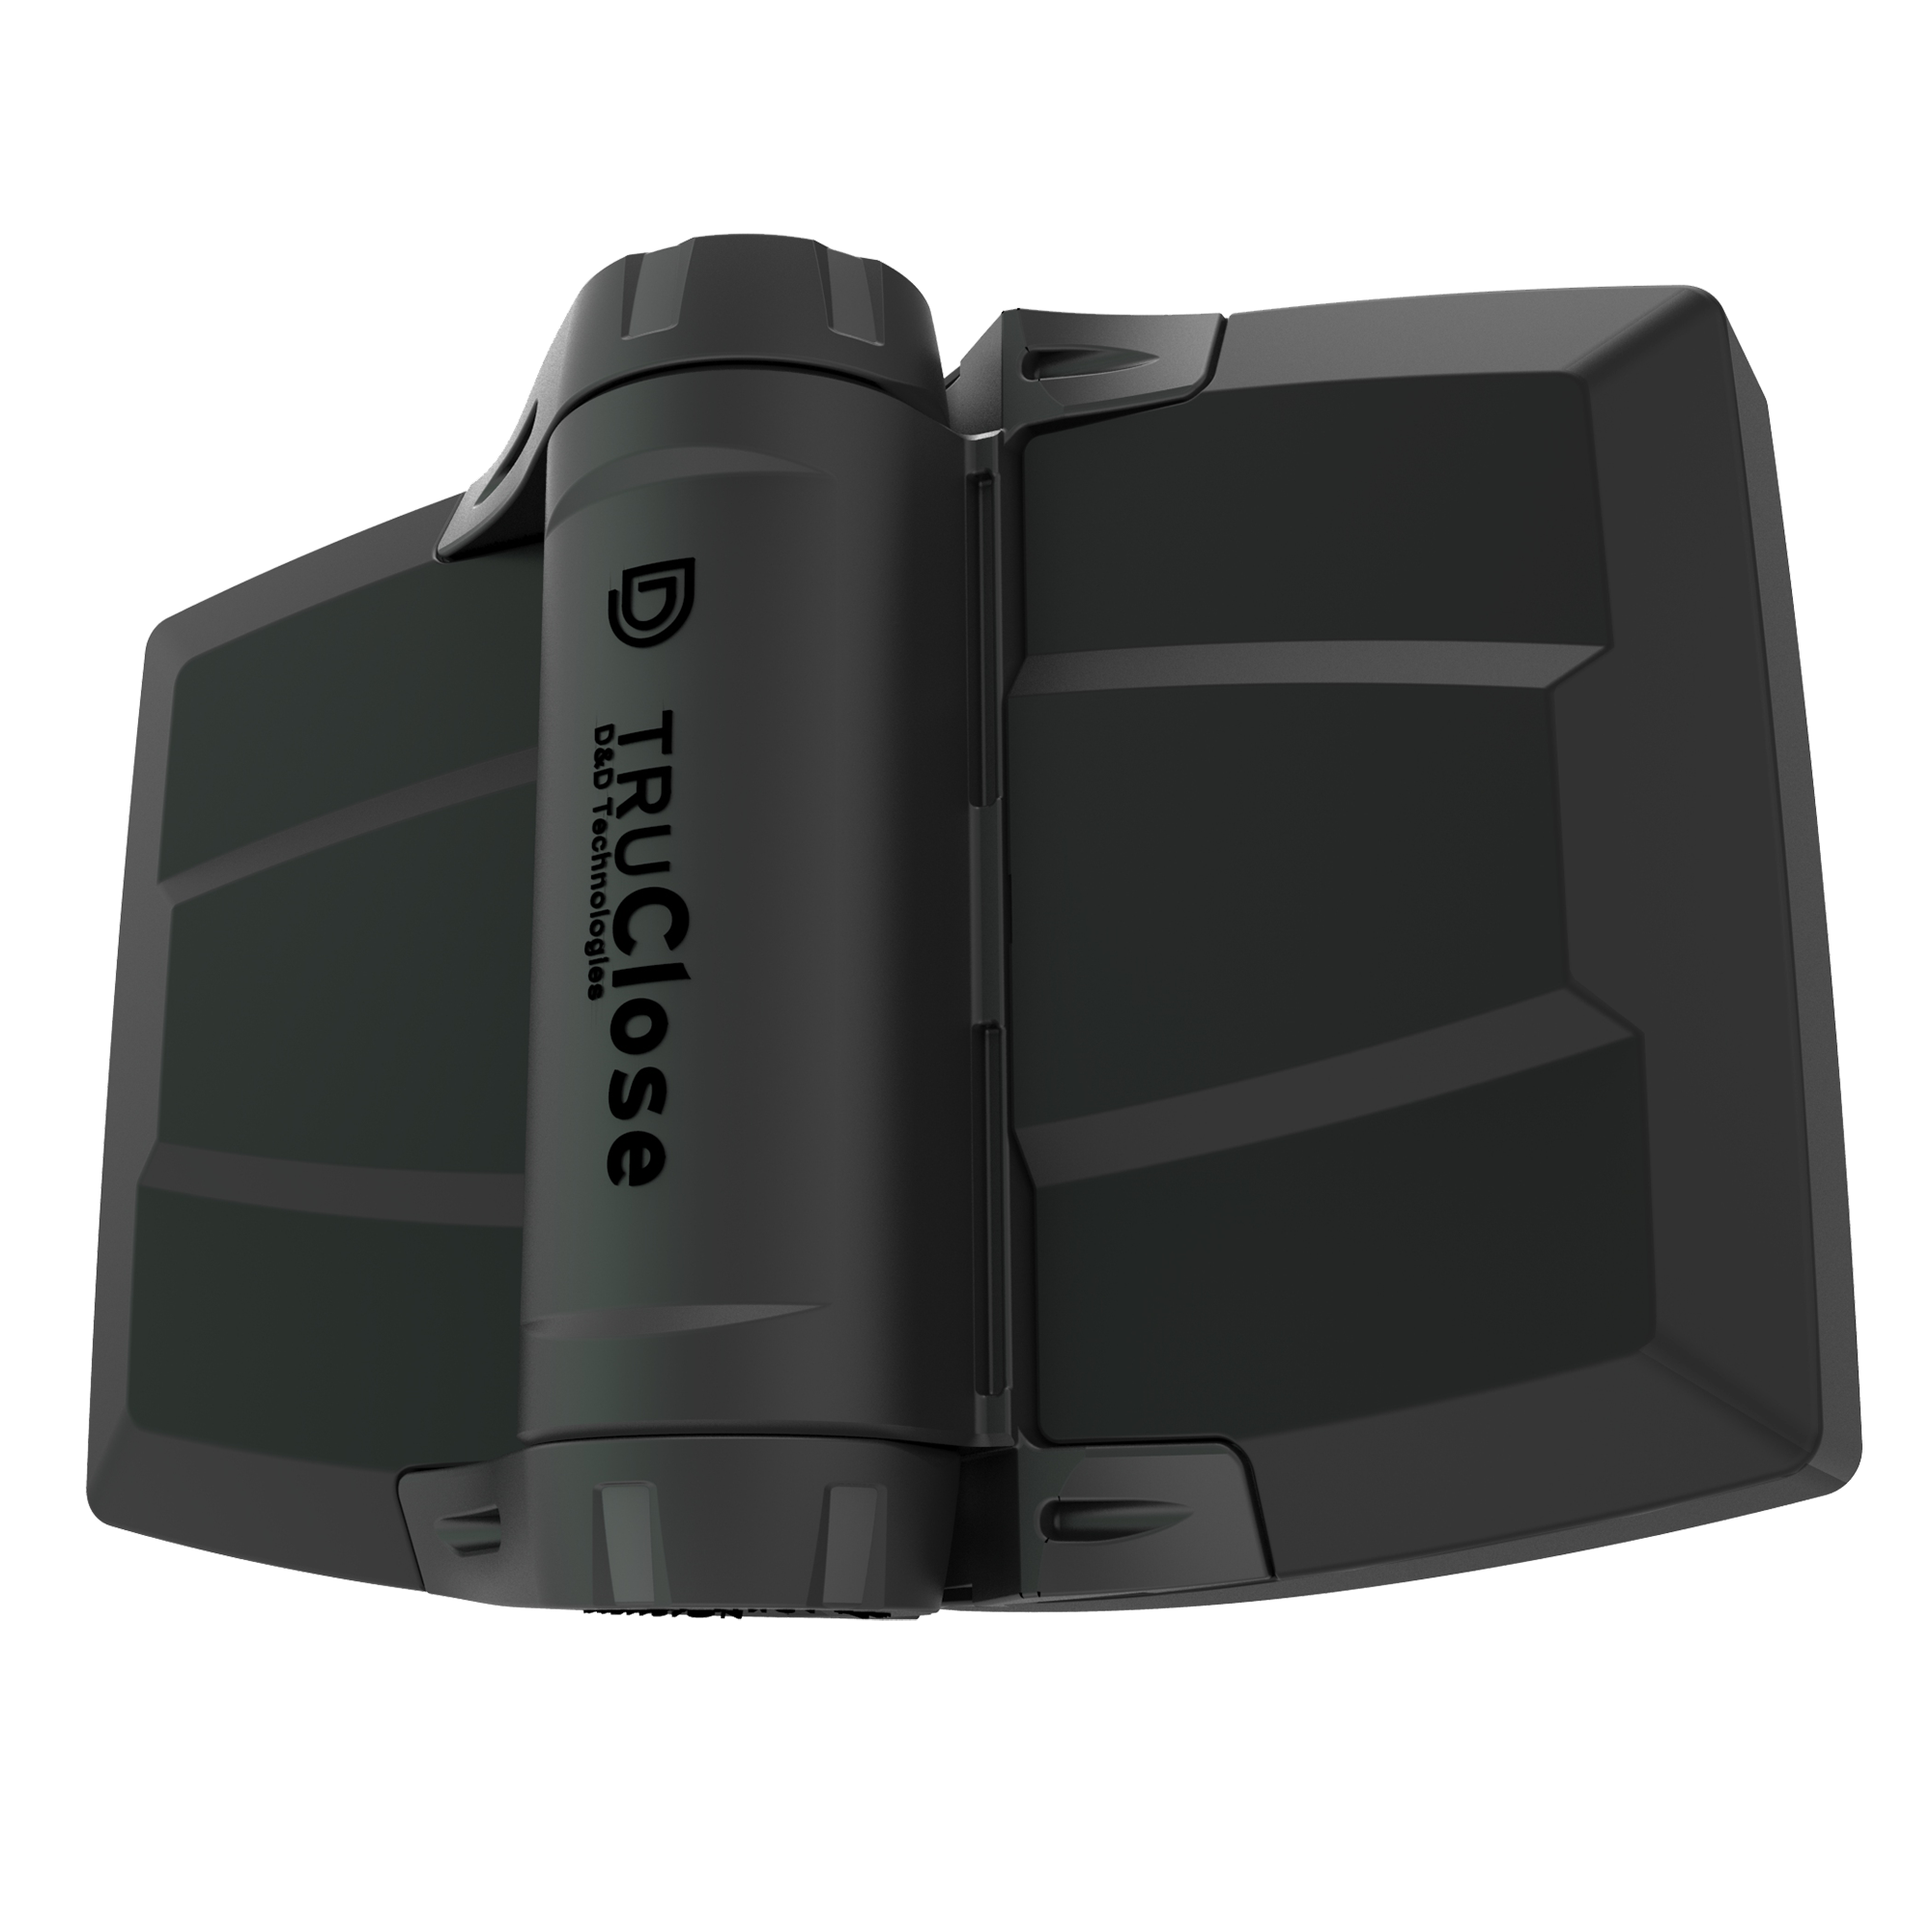
| Gate Hinges | Cabinet Hinges |
2. Choose the Right Lubricant
Lubricant options include silicone-based sprays or petroleum-based sprays (like WD-40). The first option provides long-lasting lubrication and does not cause dust to stick and build up, while the latter is the most popular option for hinge maintenance.
Safety Tip: When working with spray lubricants, ensure the work area is adequately ventilated. Children and pets should be kept away from lubricants. Washing your hands after completing this project is also essential.
3. Grab Supplies
You will need the following tools to lubricate hinges:
- Lubricant
- A clean cloth or paper towels
- Screwdriver
- Drop cloth
4. Setup the Work Area
Layout your drop cloth—you can also use an old sheet, newspaper, paper grocery bags, or flattened cardboard—beneath the door to protect your floors from drips or spills. If you are lubricating cabinet hinges, remove the contents of the cabinets and any surrounding items to avoid damaging them.
5. Clean the Hinges
Wipe down the visible parts of the hinges with a dry cloth to remove dust build-up or remnants of past lubricants. A mild solution of soap and water can be used to remove thicker layers of grime. Completely dry the hinge after doing this.
6. Apply the Lubricant
For Spray Lubricant: Shake the can well, aim the nozzle directly at the hinge pin, and spray in small bursts.
For Oil Lubricants: Squeeze a few drops on the top of the hinge pin, then open and close the door several times to allow the oil to drip thoroughly through the hinge.
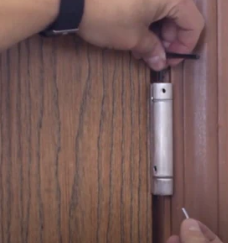
To apply an effective coat of lubricant, you may need to remove especially stiff hinge pins. Use your screwdriver to tap the bottom of the hinge pin and pull it out when it rises enough to grip. Apply the lubricant directly onto the pin and inside the hinge before reattaching.
7. Wipe Away Excess
To keep your doors clean and prevent dust build-up, use a clean, dry cloth to wipe excess lubricant off the hinge and surrounding surfaces.
8. Test the Hinges
Open and close the door several times to confirm that the squeak is gone and the hinges move smoothly. If you still hear noises, add another small amount of lubricant and retest the door.
Note: If the hinge continues to squeak or grind after multiple rounds of lubrication, there is likely a separate issue. Check for loose screws and tighten them. Sometimes, the hinge will need replacing due to bending or other damage.
Final Thoughts
For more hinge-related guidance, subscribe to Hinge Outlet on YouTube!