Handrails are not just architectural features; they are essential for safety and mobility within your home. Whether you’re looking to aid the elderly, support young children, or simply add a stylish touch to your staircase, installing a handrail is practical. In this guide, we’ll walk you through how to install a handrail in a few straightforward steps.
How to Install A Handrail: Preparation

Before diving into the installation process, having the right materials and tools is crucial. You'll need:
- A handrail of your choice
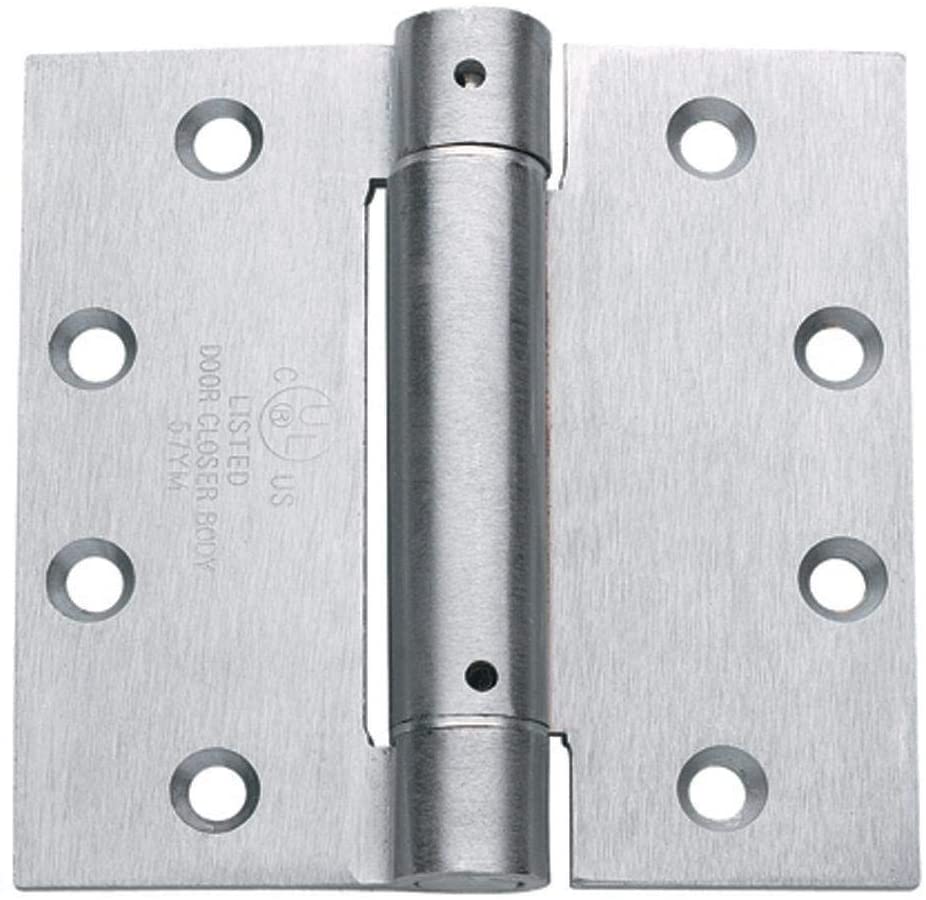
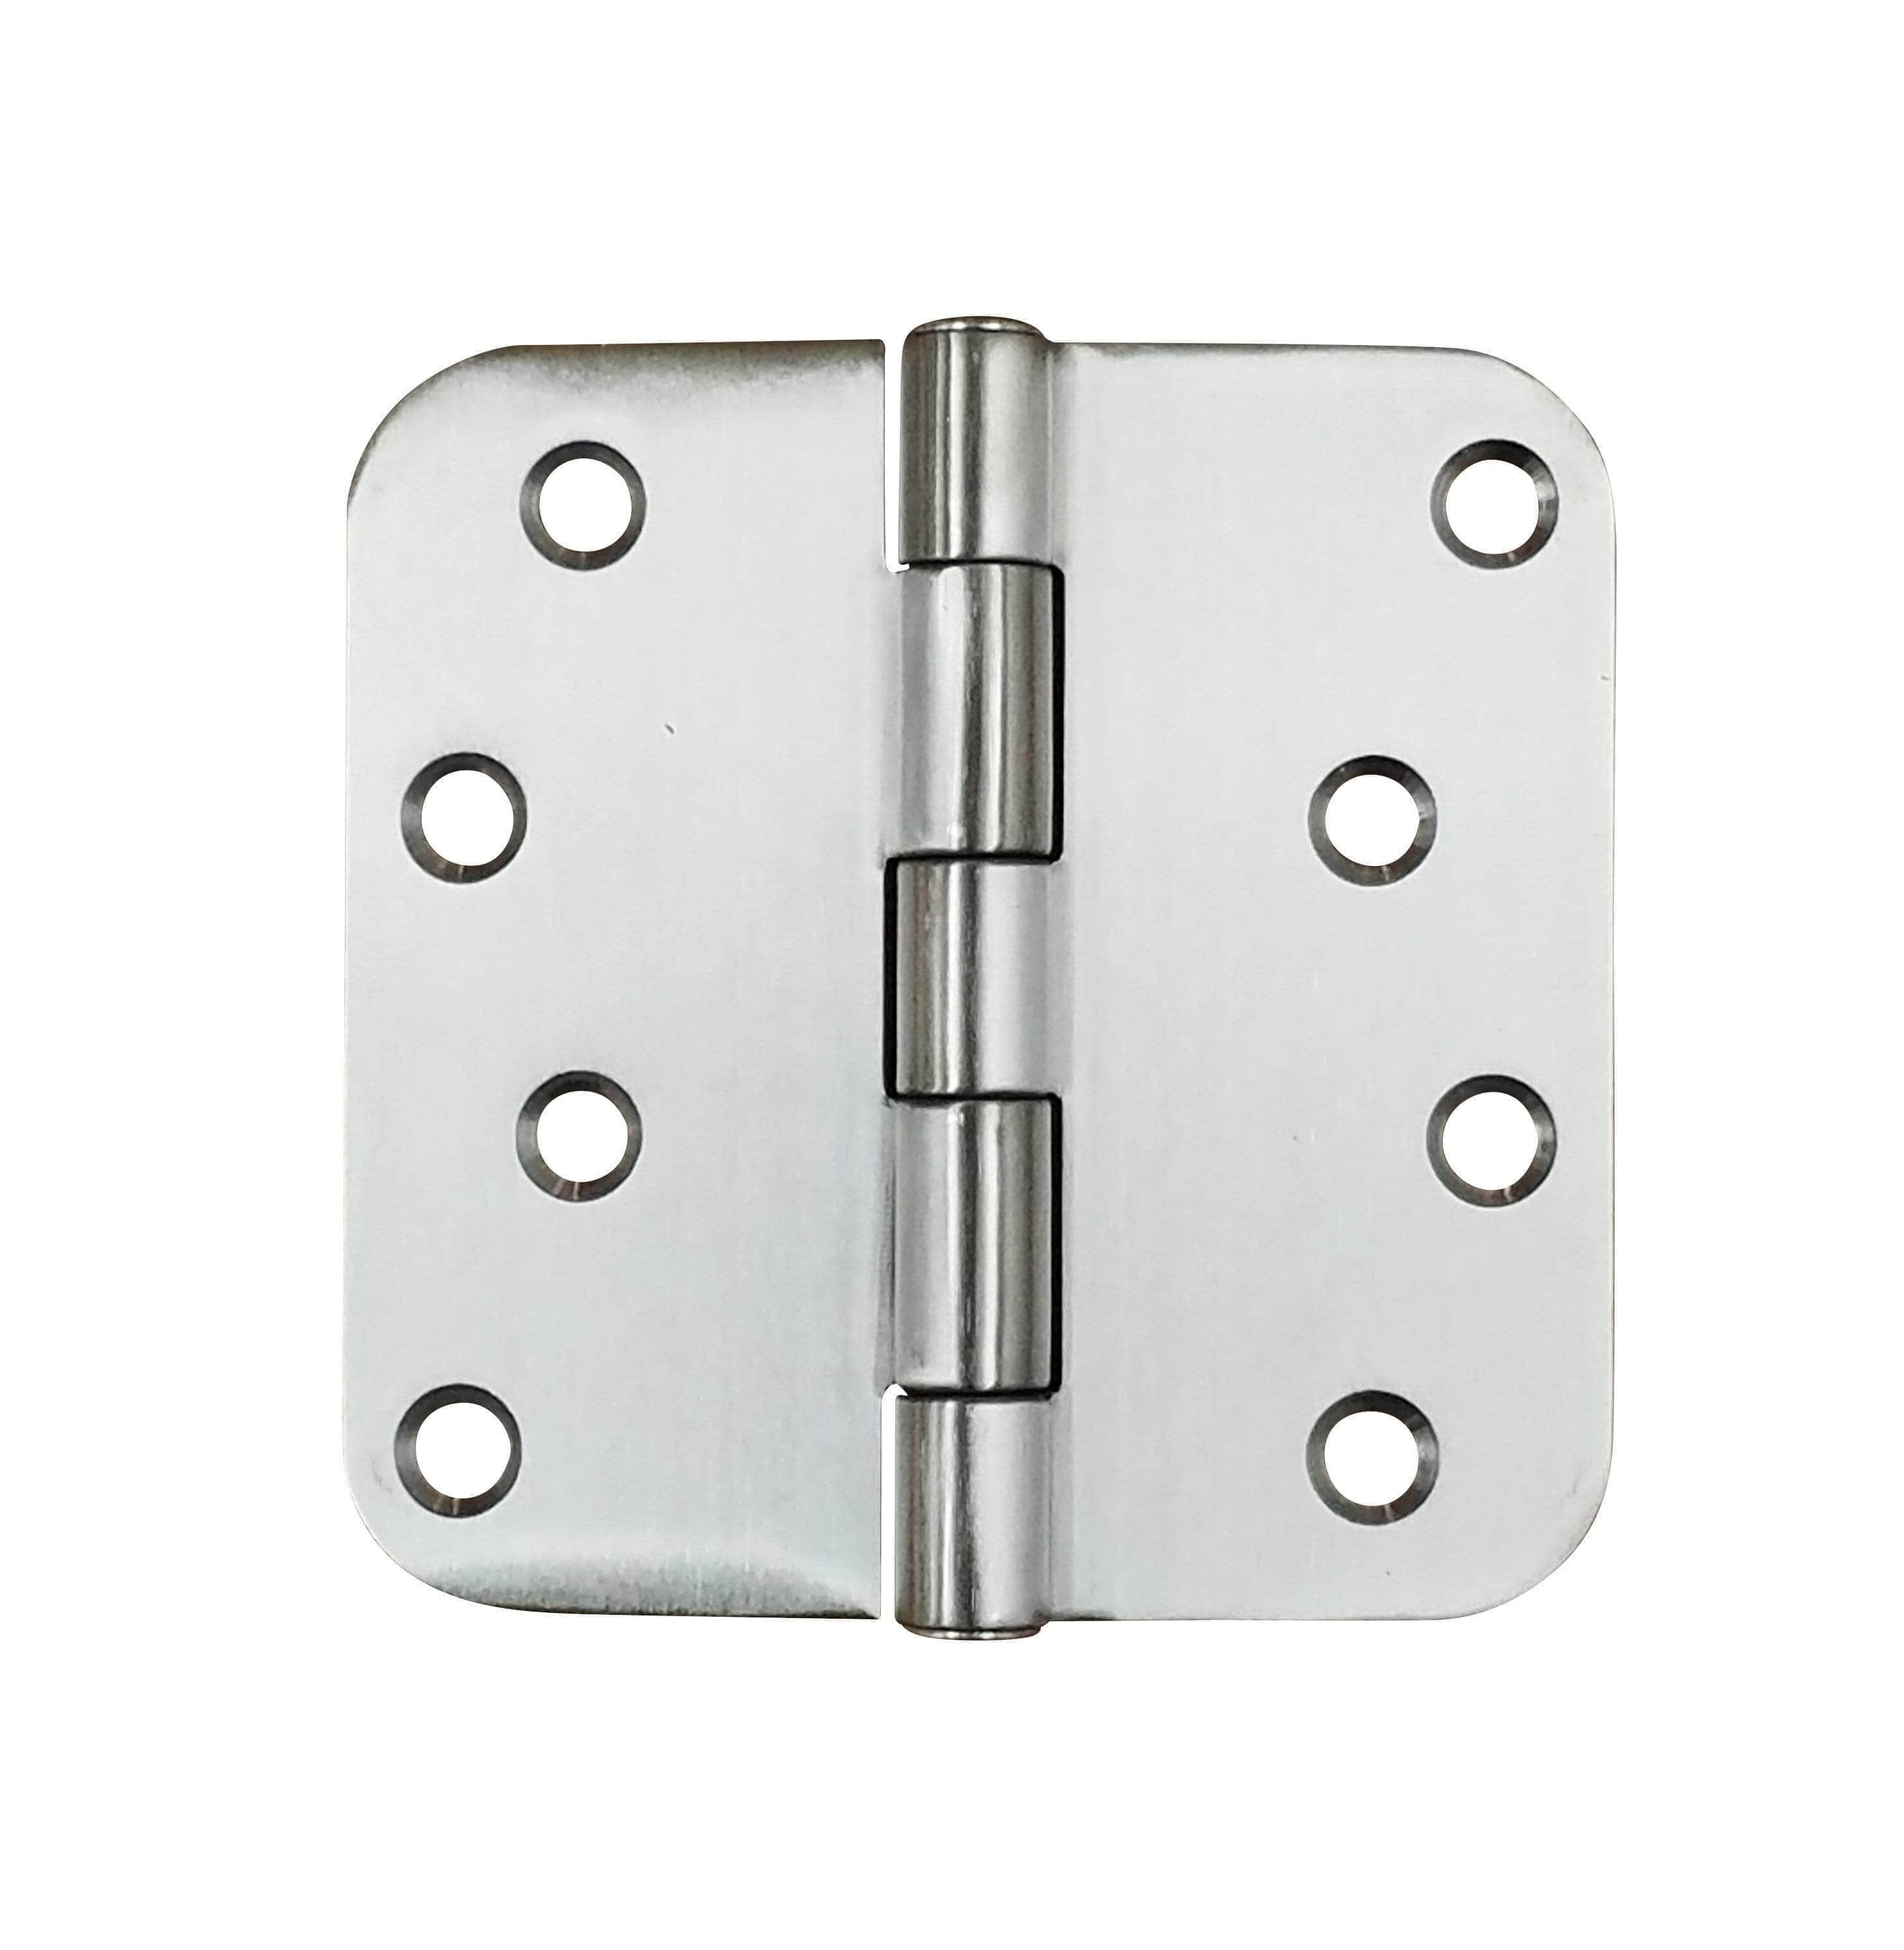
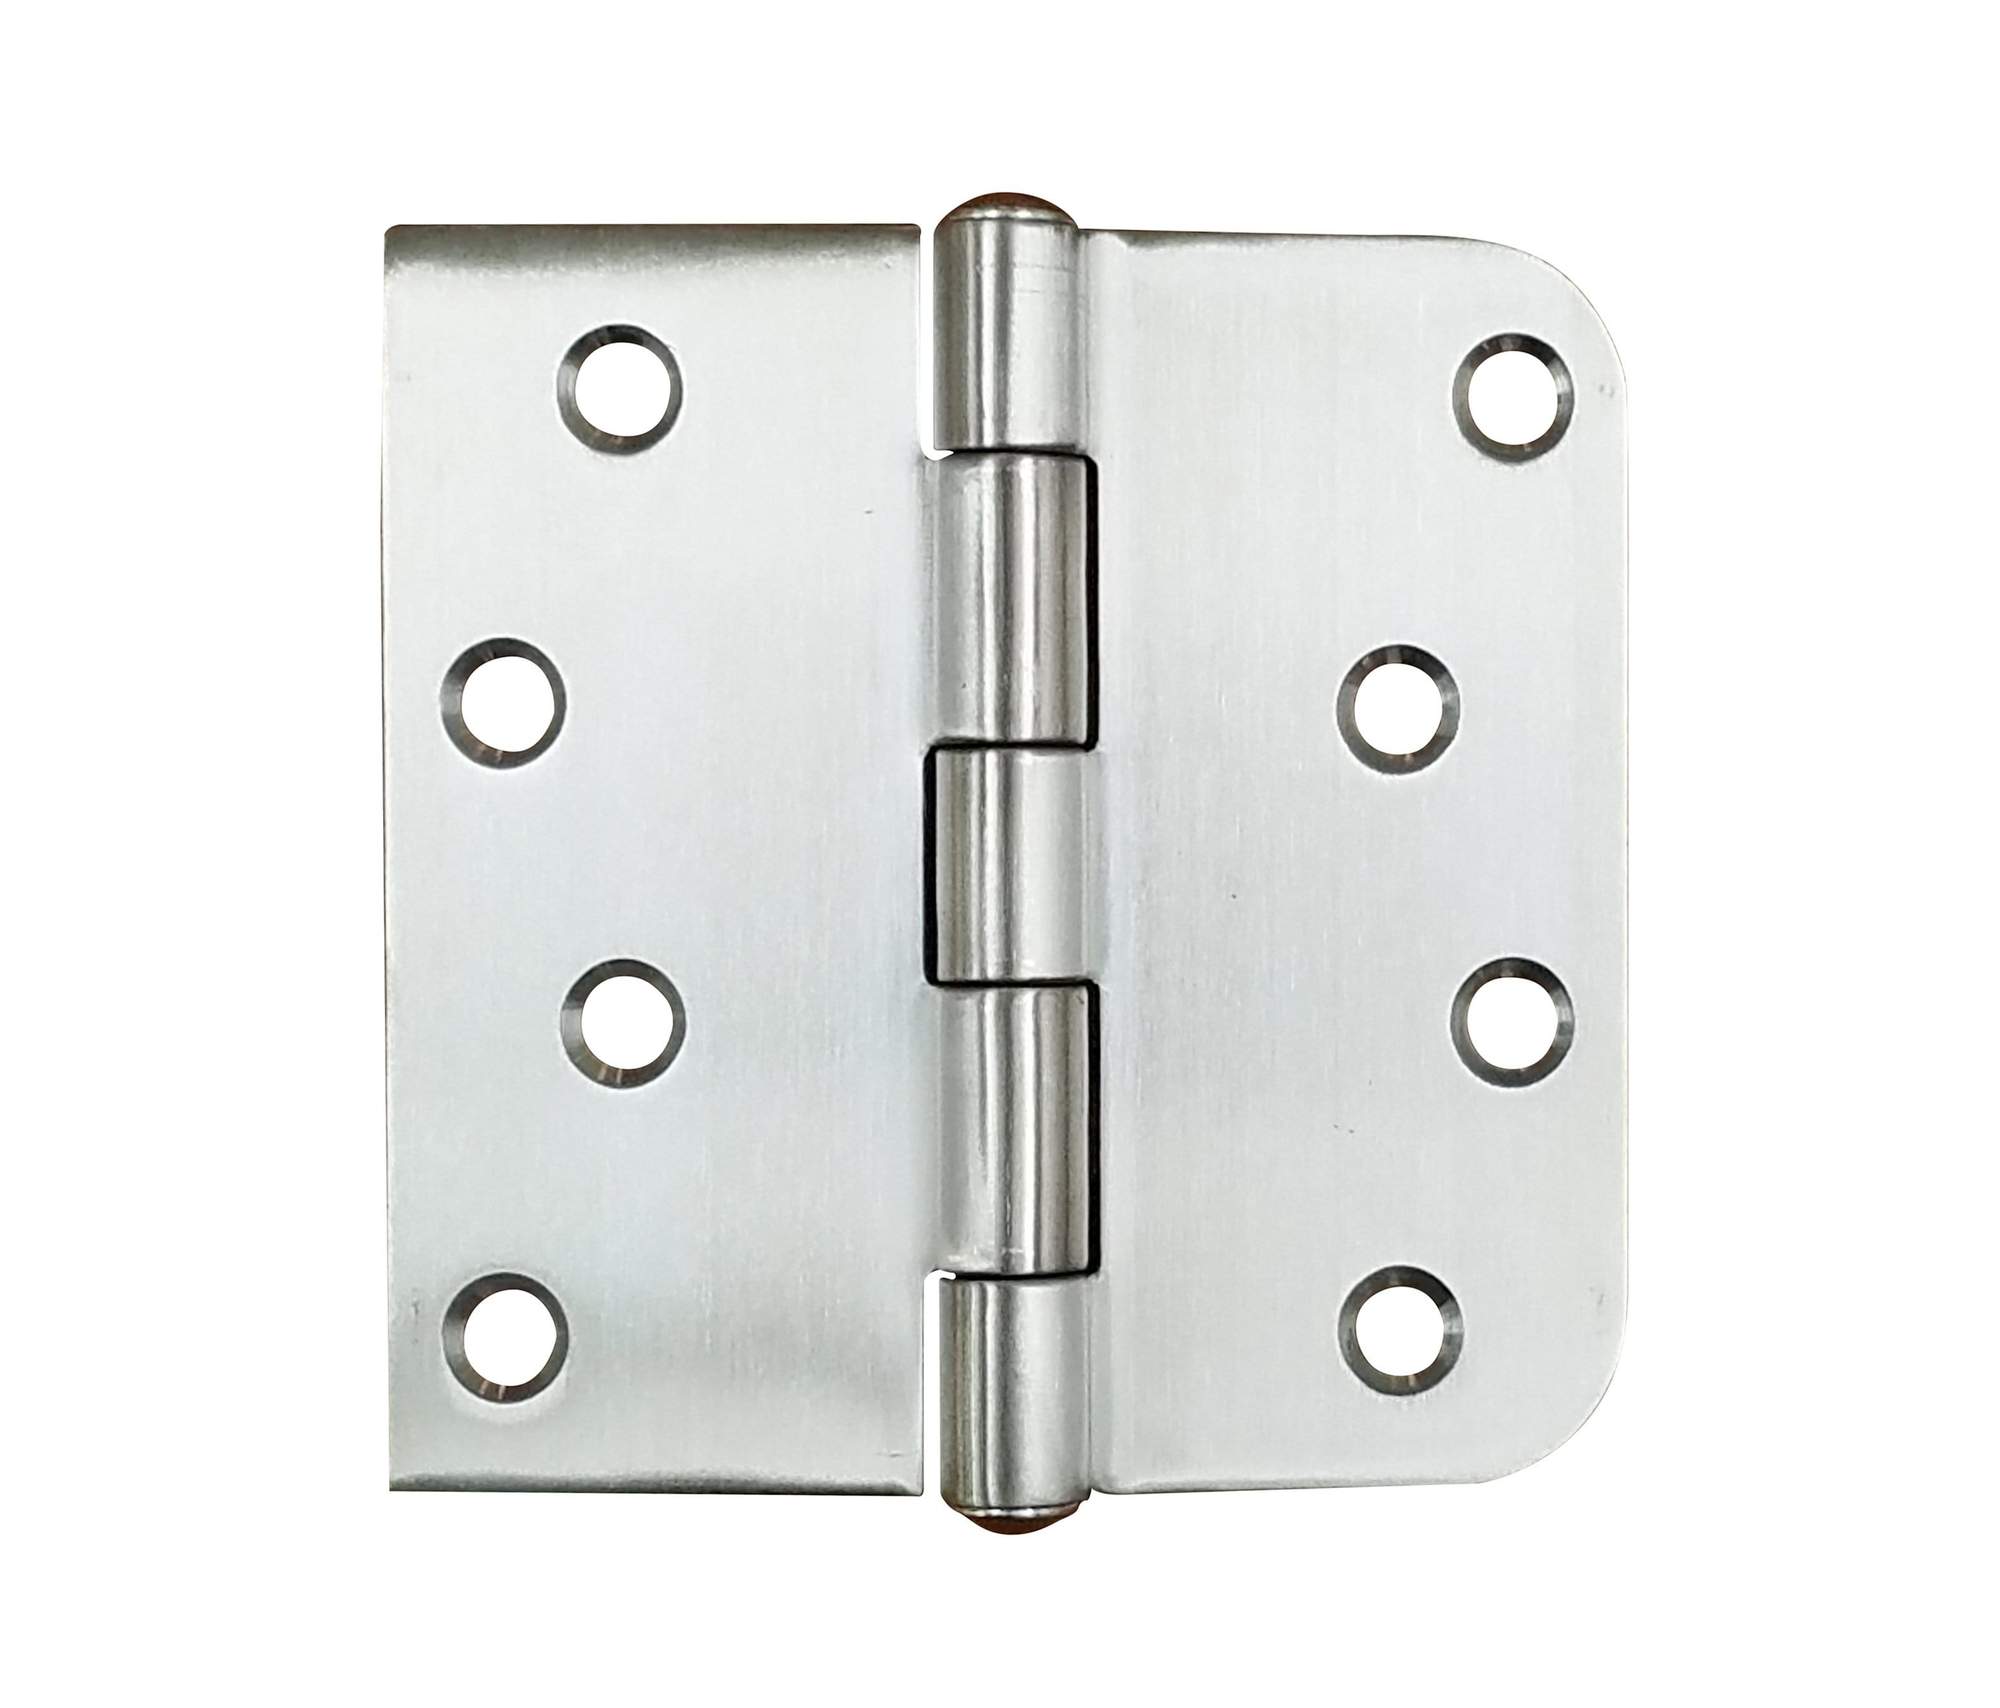
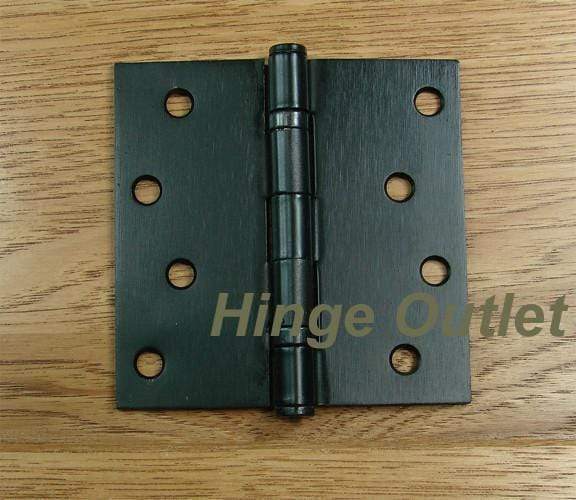
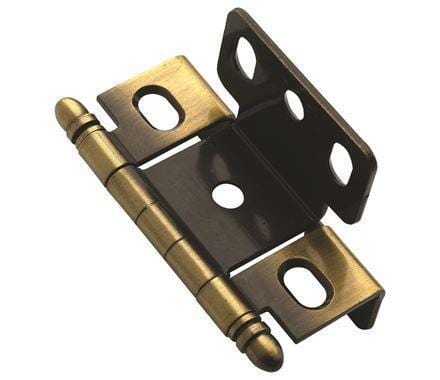
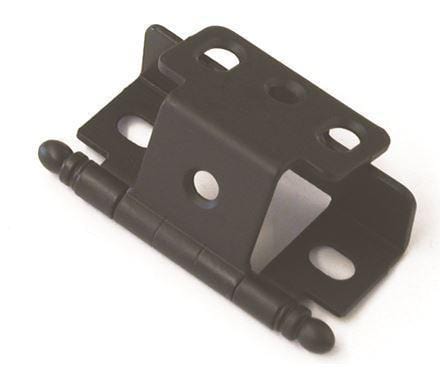
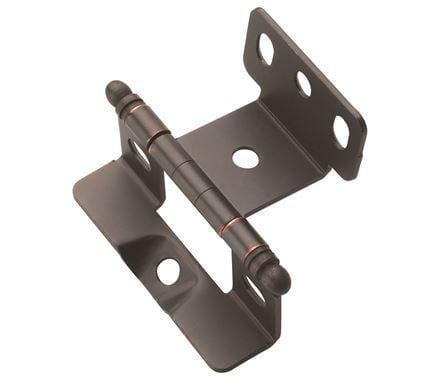
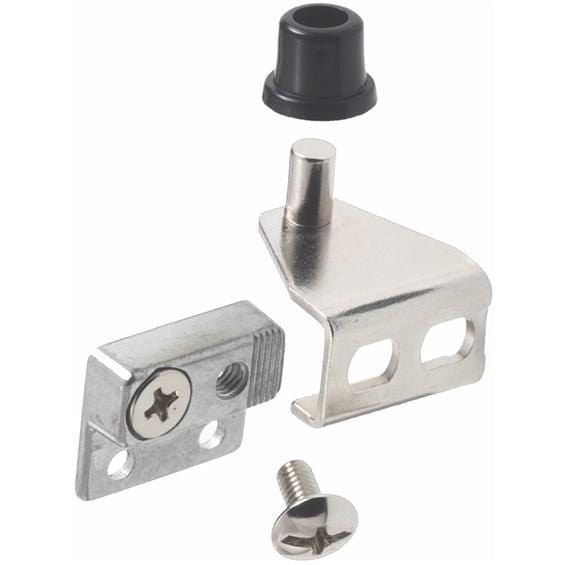
- Brackets to hold the handrail
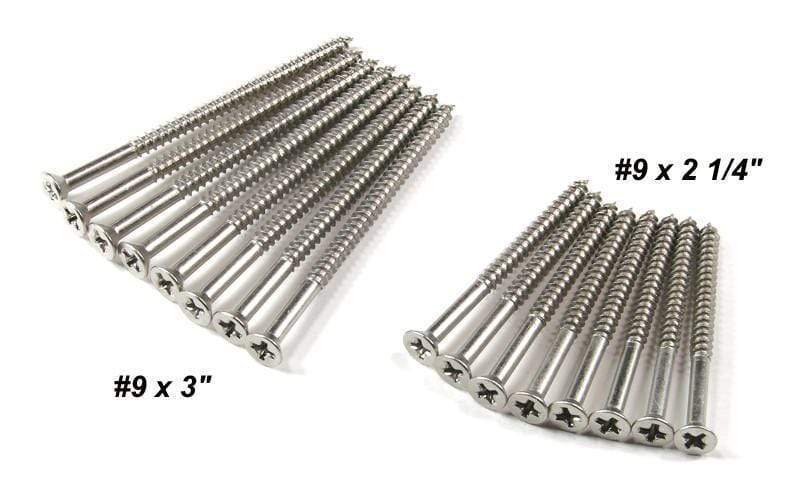
- Screws (the type depends on your wall material)
- A drill
- A screwdriver
- A level
- Measuring tape
- A pencil for marking
- A stud finder, particularly for drywall installations
Prioritizing safety is essential. Remember to always wear protective eyewear and gloves. Ensure your work area is uncluttered and secure, and inspect for electrical wiring within the walls before drilling.
Planning and Measurement
Selecting the right handrail is about finding the perfect balance between functionality and style. Consider the wood, metal, or glass material and the grip size. The handrail should be sturdy and comfortable to hold.
Measuring your staircase is a critical step. The handrail should ideally be installed at a height of 34 to 38 inches from the stair nosing. Use a level and measuring tape to mark the spots on the wall where the brackets will go, ensuring they align with the stairs.
Where should a handrail start and stop?
Typically, a handrail should start at the top riser of the staircase and stop at the bottom riser. The handrail should extend slightly beyond the top and bottom steps for optimal safety. This extension ensures that users have support before they start ascending and after they finish descending the stairs.
What side do you put a handrail on?
Handrails should be installed on both sides of the staircase to maximize safety. However, if you have to choose one side, consider the most frequently used path and the user's dominant hand. Also, consider any wall obstructions or specific needs of the home's residents. In public or commercial buildings, adherence to local building codes and accessibility standards is necessary, which often requires handrails on both sides.
How many steps before a handrail is required?
According to OSHA regulations, four or more steps require a handrail. The necessity for handrails is primarily dictated by local building codes and regulations, which are subject to variation. In public and commercial structures, handrails are typically required, irrespective of the step count, to adhere to accessibility standards like the Americans with Disabilities Act (ADA) in the U.S. Always check your local building codes to ensure compliance.
How to Install A Handrail: Step-by-Step
1. Marking the Wall
Carefully mark the positions for the brackets using your level and measuring tape. These marks must align with your staircase for a seamless look and functionality.
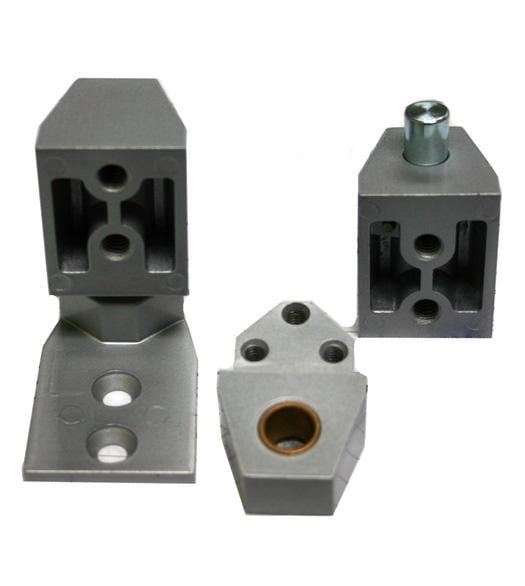
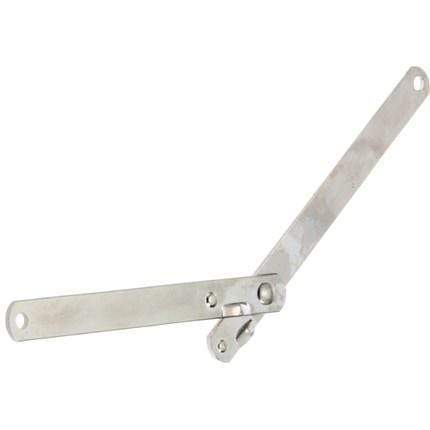
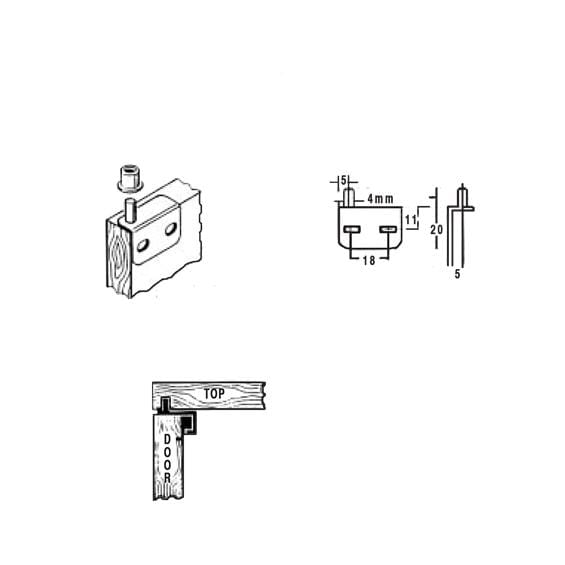
2. Attaching Handrail Brackets

If attaching the handrail brackets to drywall, use a stud finder to locate the studs or use appropriate anchors. Secure the brackets firmly in place with screws.
3. Mounting the Handrail
Place your handrail on the brackets. Before fastening it, check with a level to ensure it's perfectly horizontal. Secure the handrail onto the brackets with screws.
4. Final Adjustments
After mounting the handrail, give it a good tug to ensure stability. If it wobbles, tighten the connections until everything is secure.
Final Thoughts
Installing a handrail is a valuable home improvement project that enhances safety and adds a decorative touch to your space. By following these steps, you know how to install a handrail successfully, making it functional and aesthetically pleasing.
Shop handrail brackets from Hinge Outlet today!