Maximizing space while maintaining a stylish and comfortable home can be challenging, especially in smaller living quarters. Enter the wall bed: a transformative solution that offers the best of both worlds. But to reap the benefits of a wall bed, proper installation is critical. In this guide, we'll walk you through the wall bed installation process, ensuring that your new space-saving solution is safe and functional.
Wall Bed Installation Tools

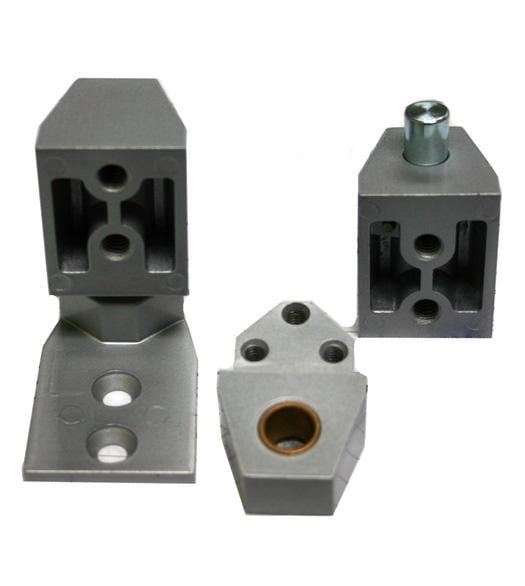
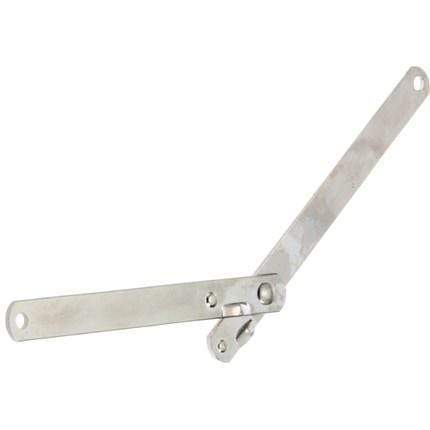
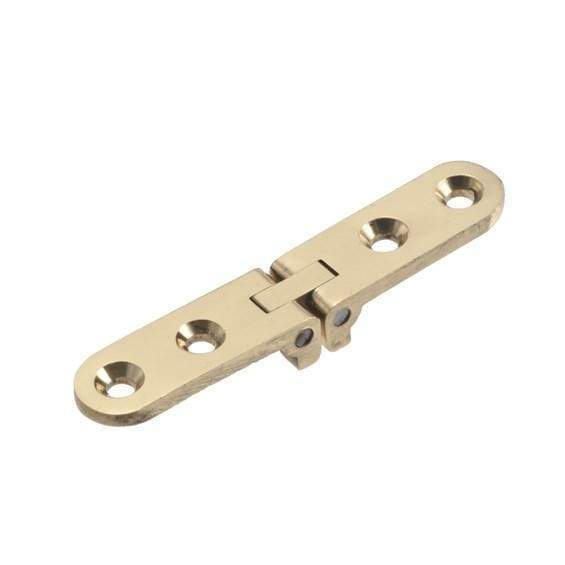
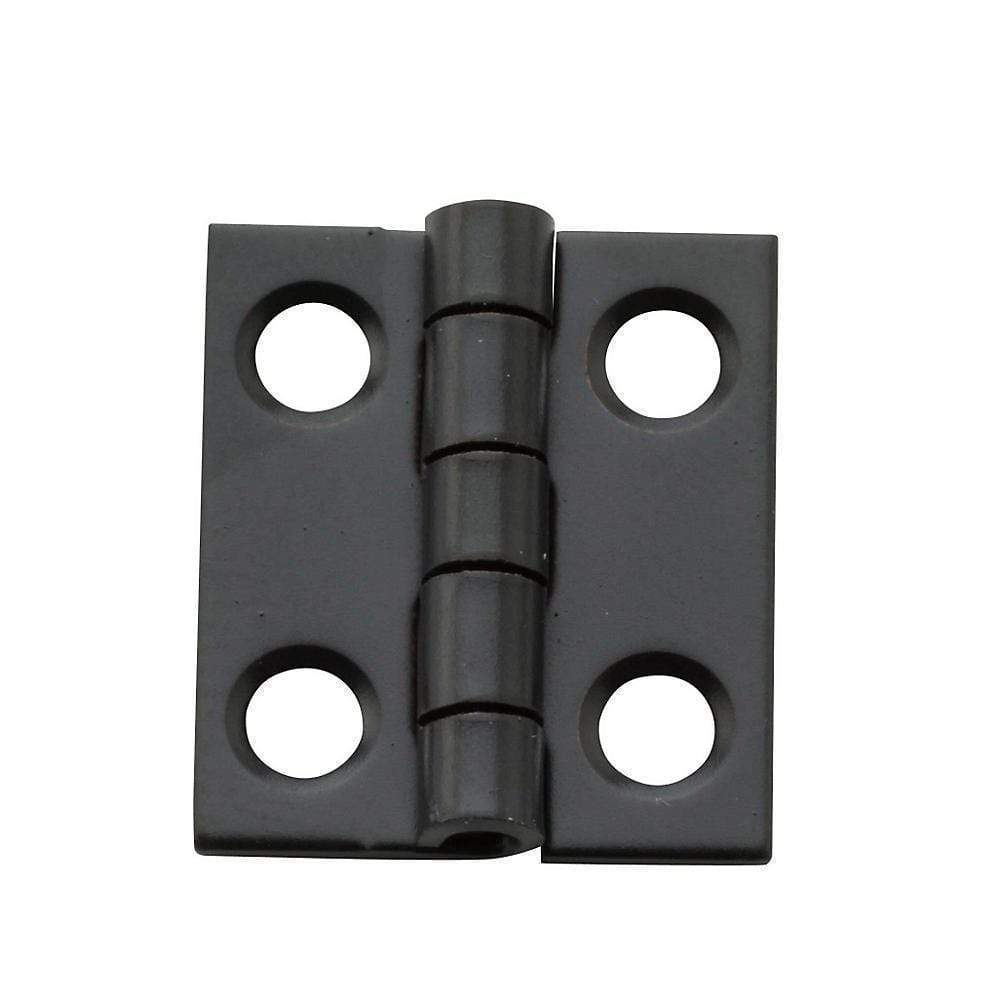
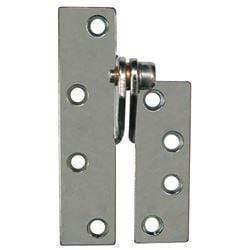
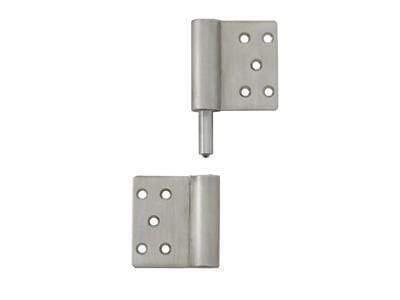
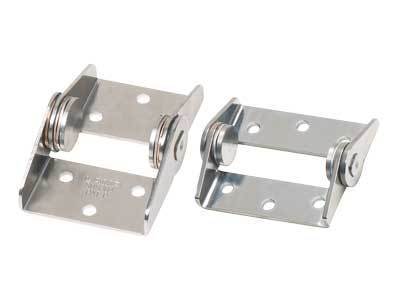
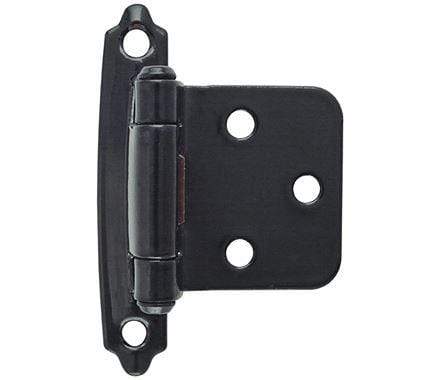
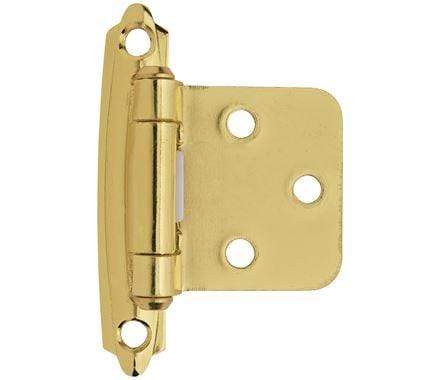
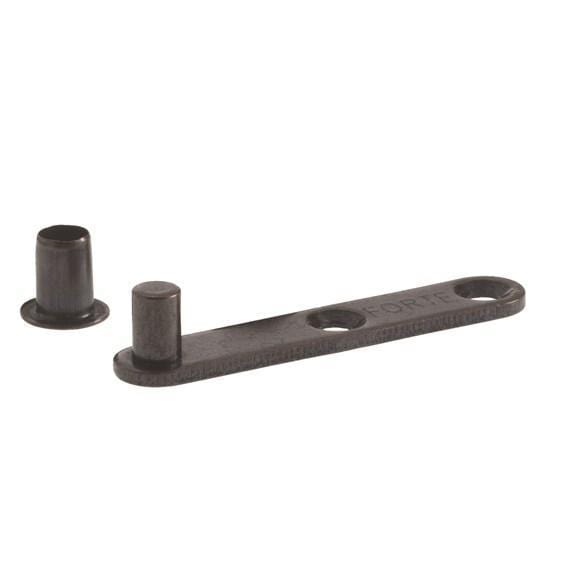
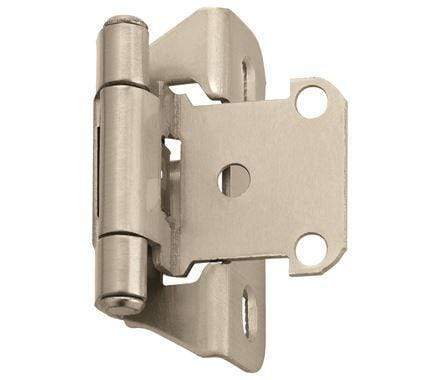
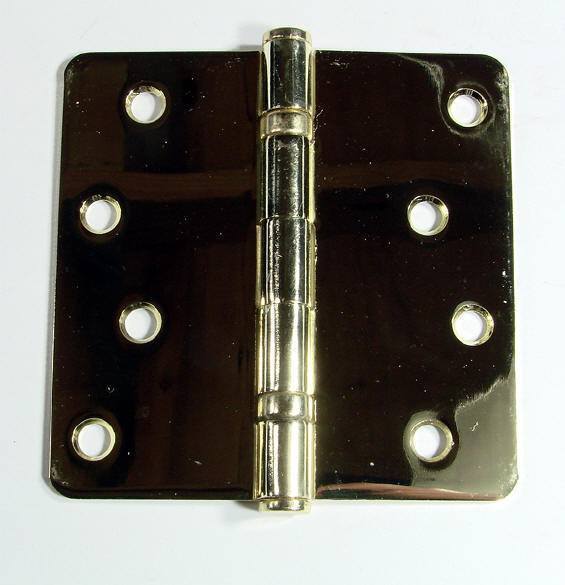
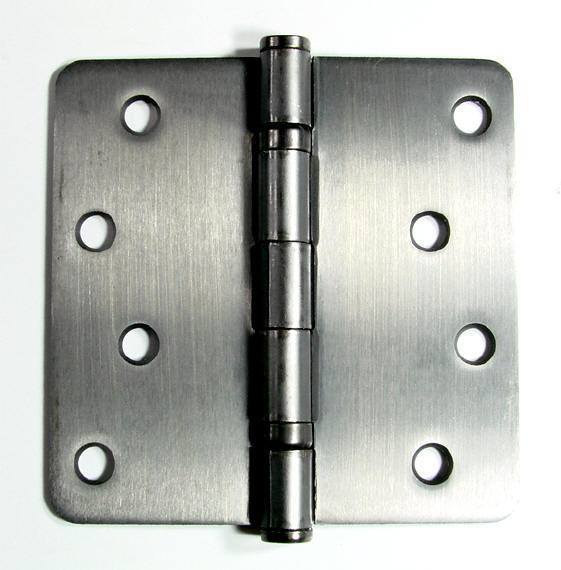
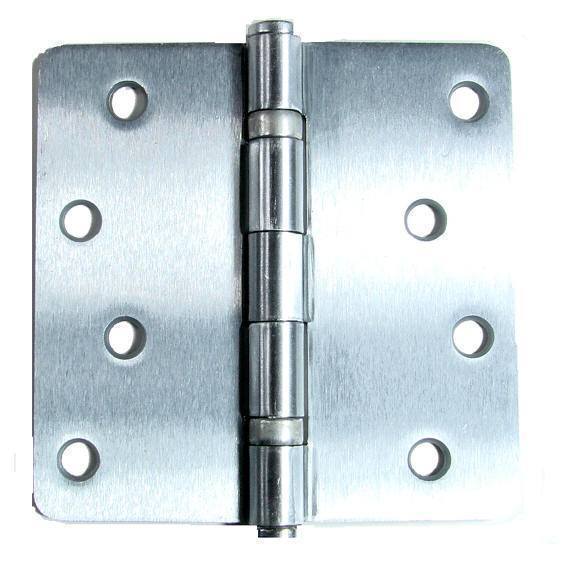
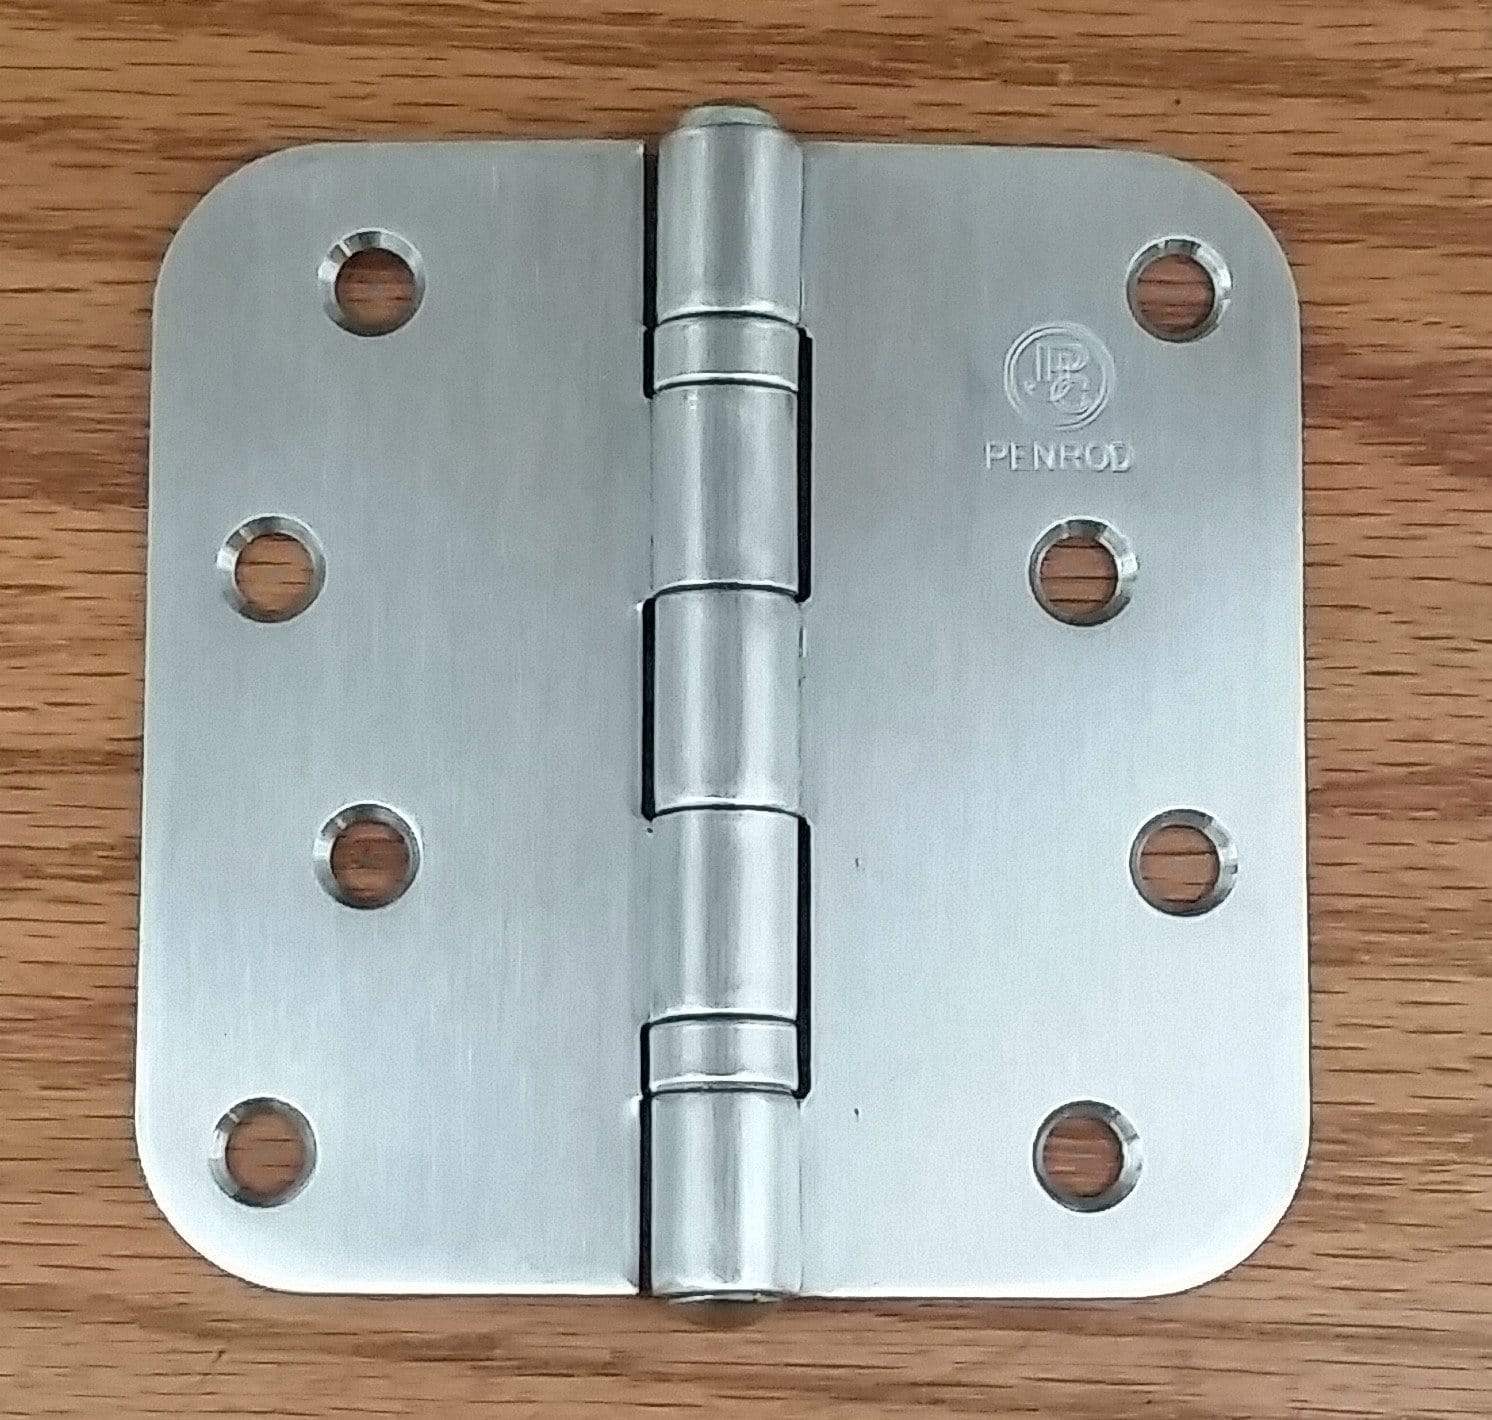
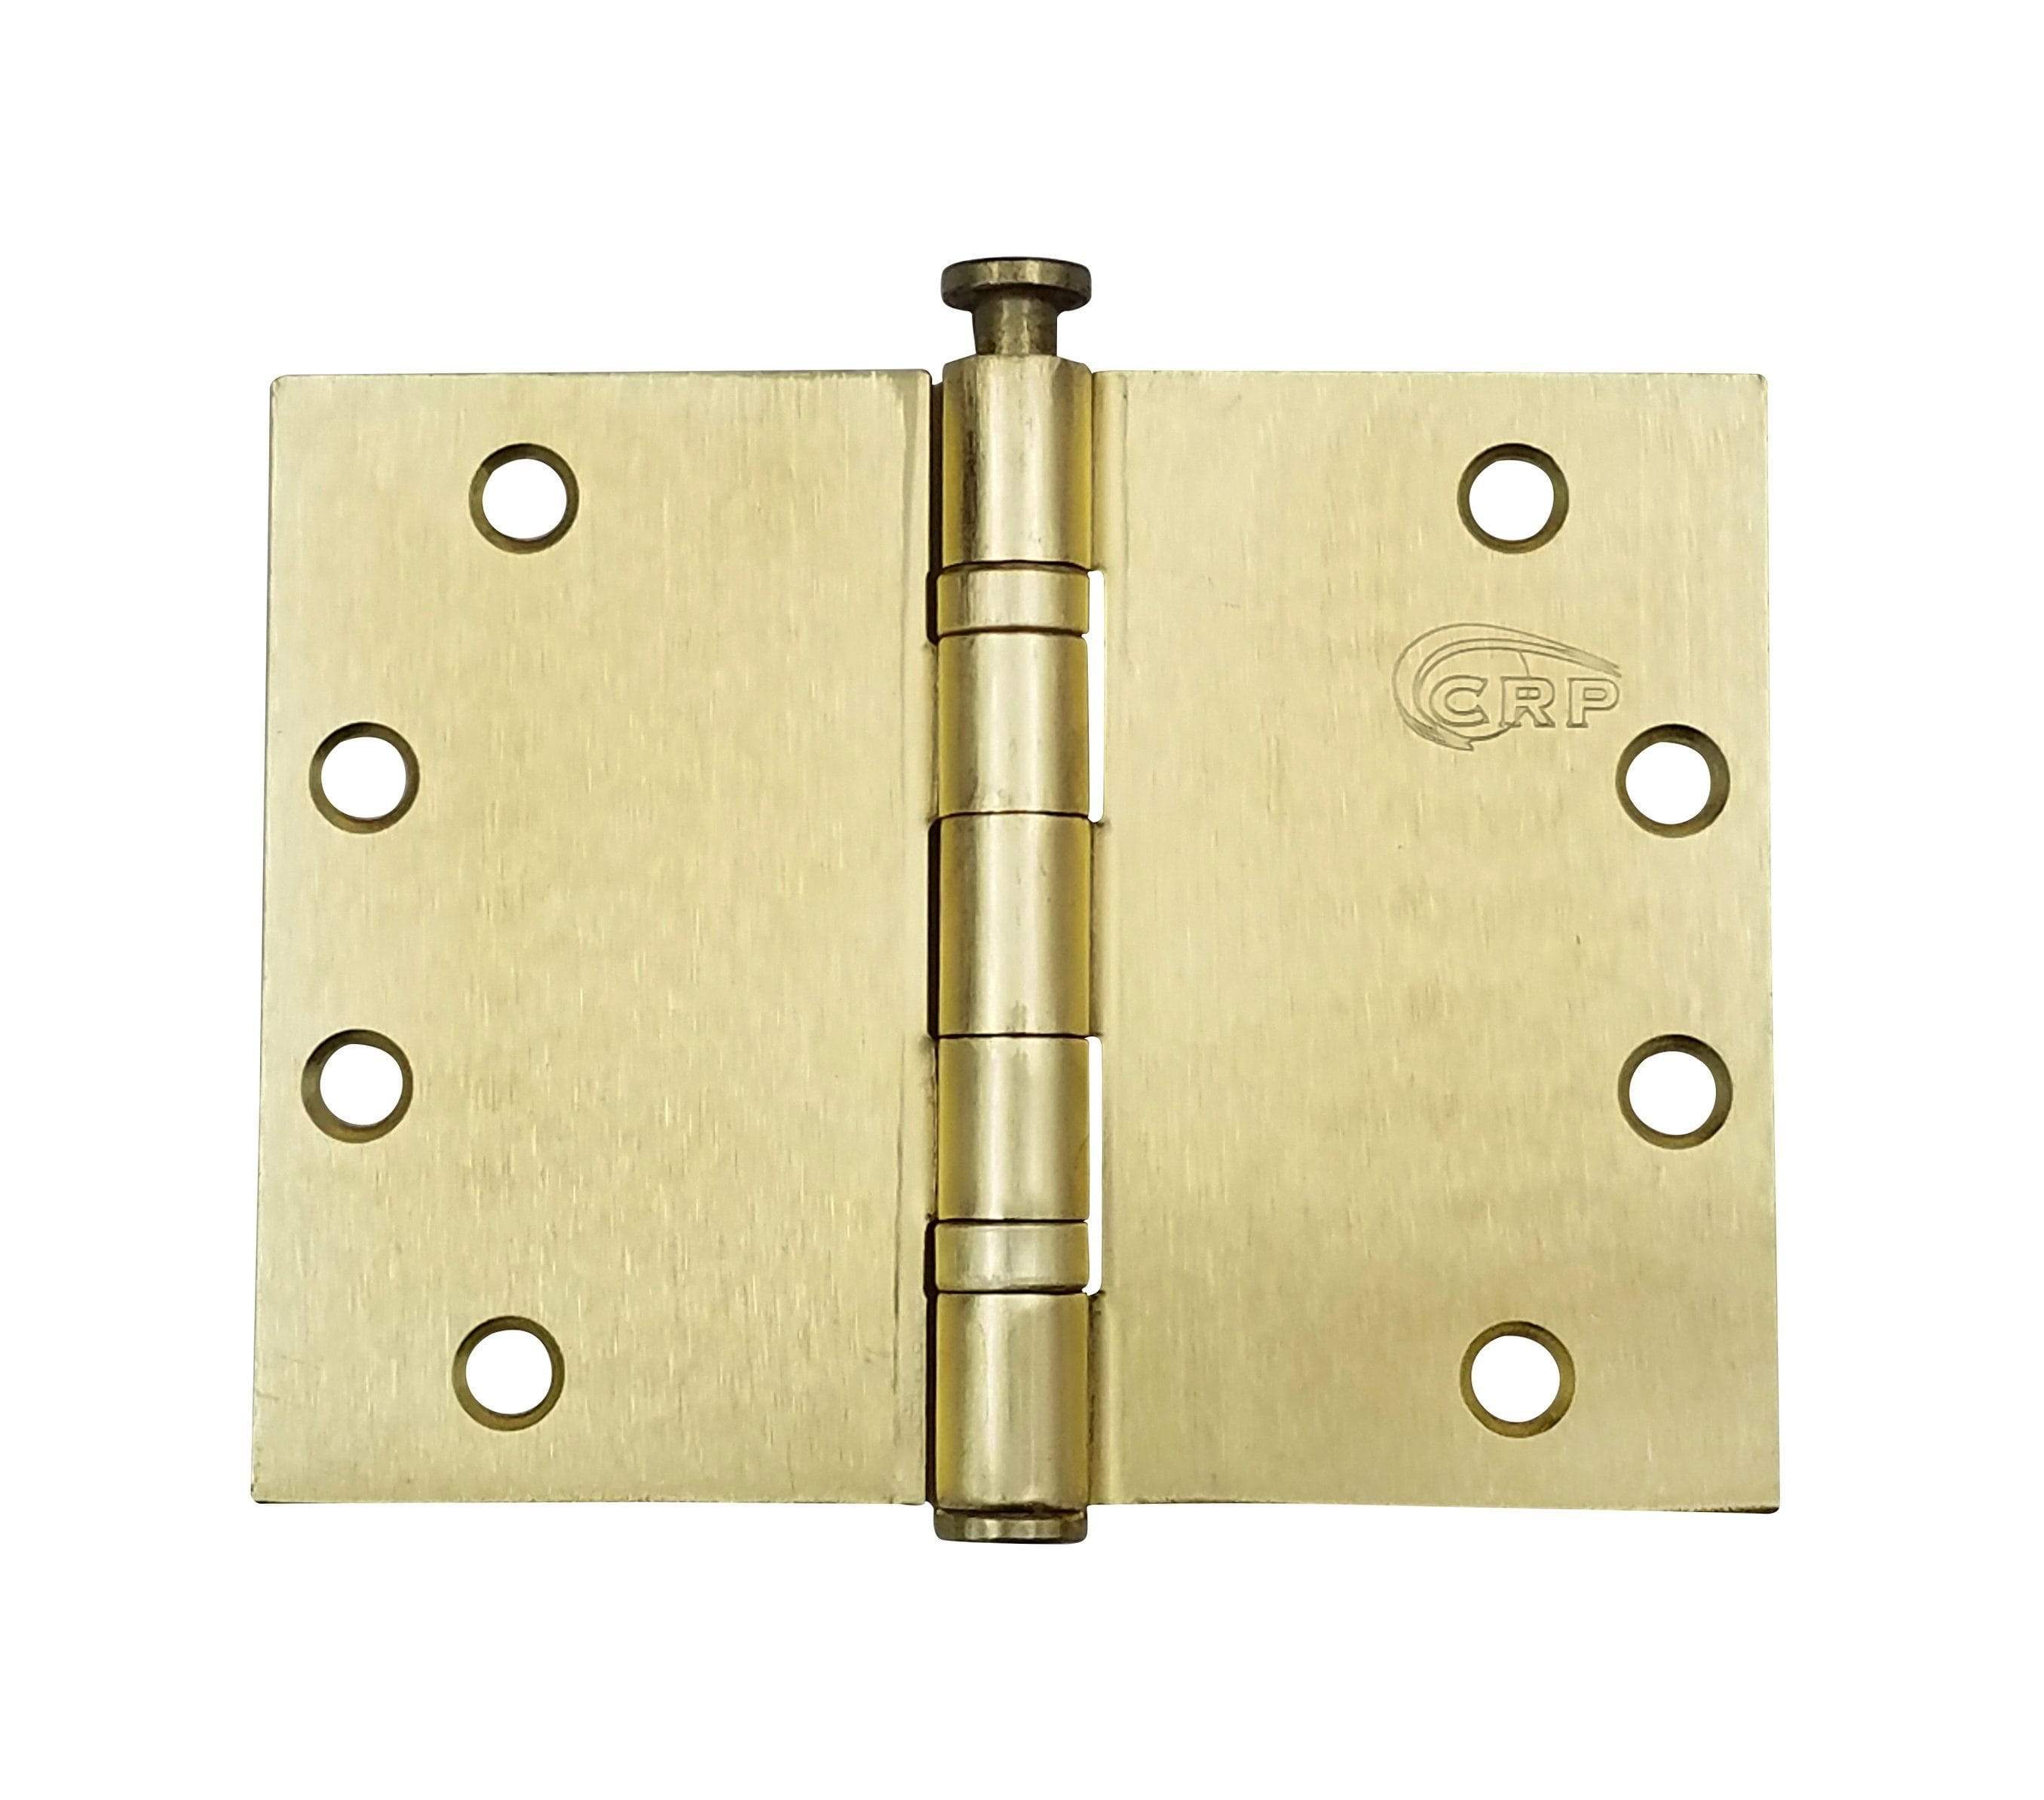
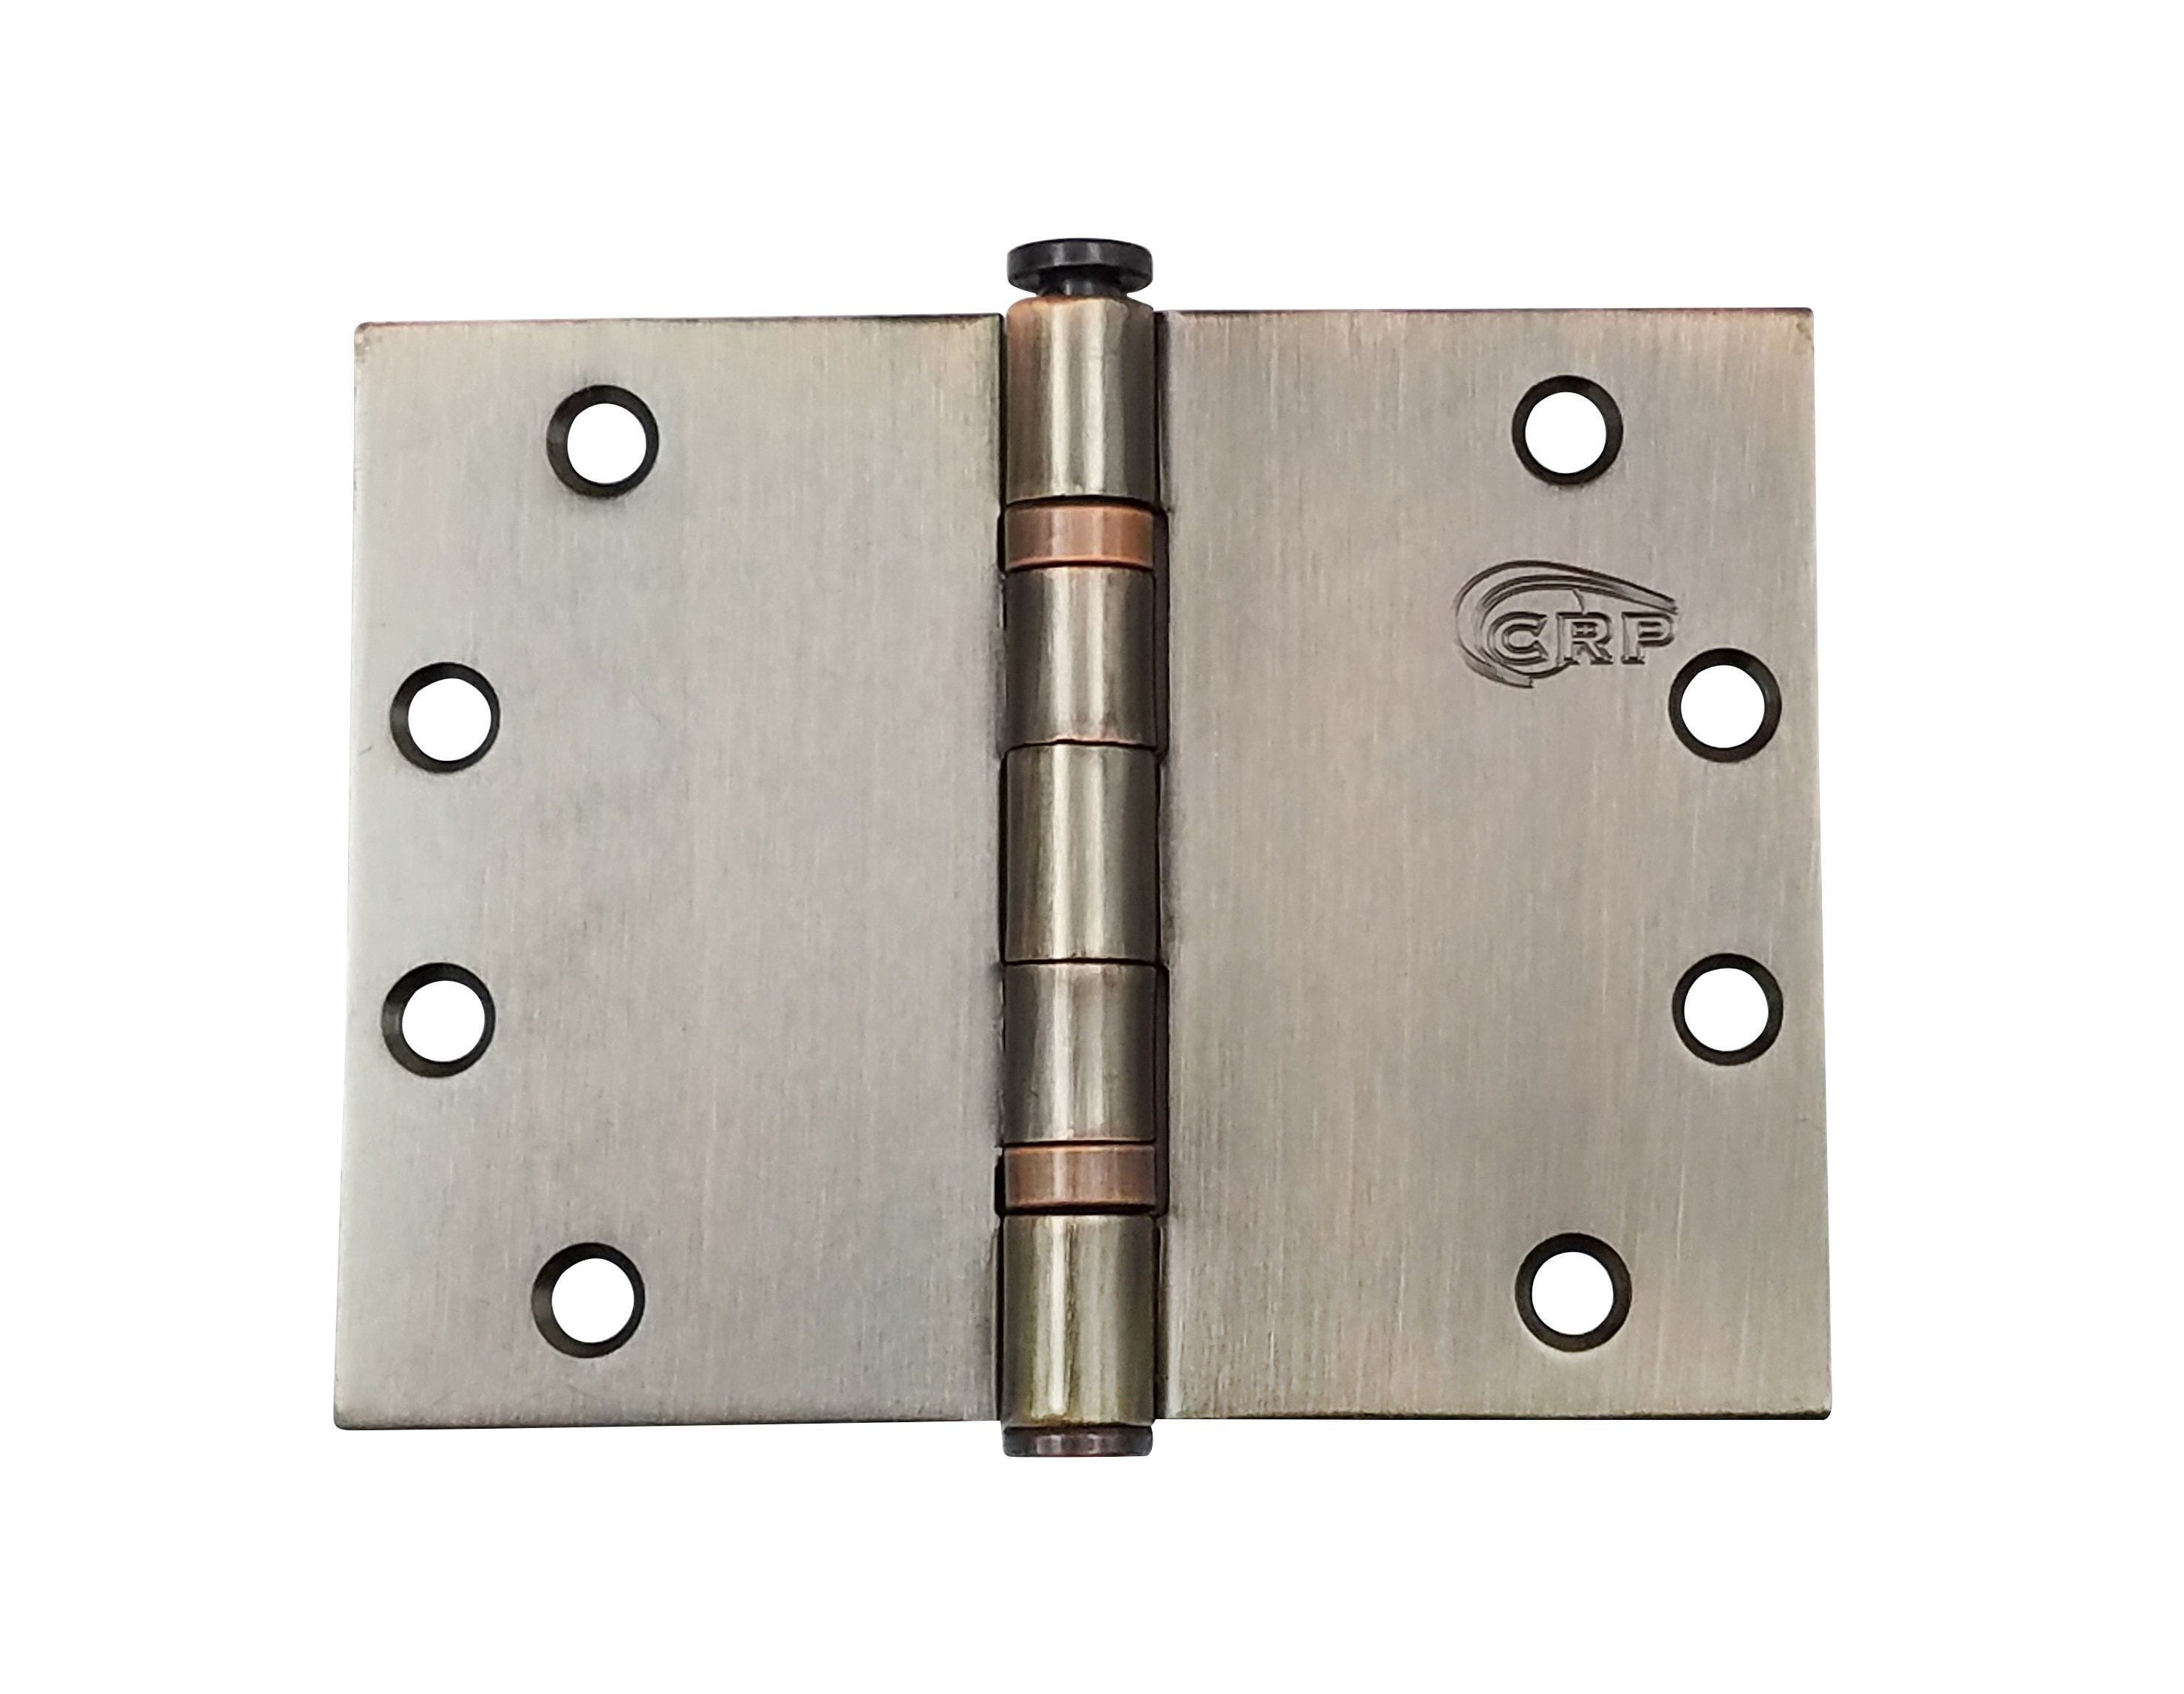
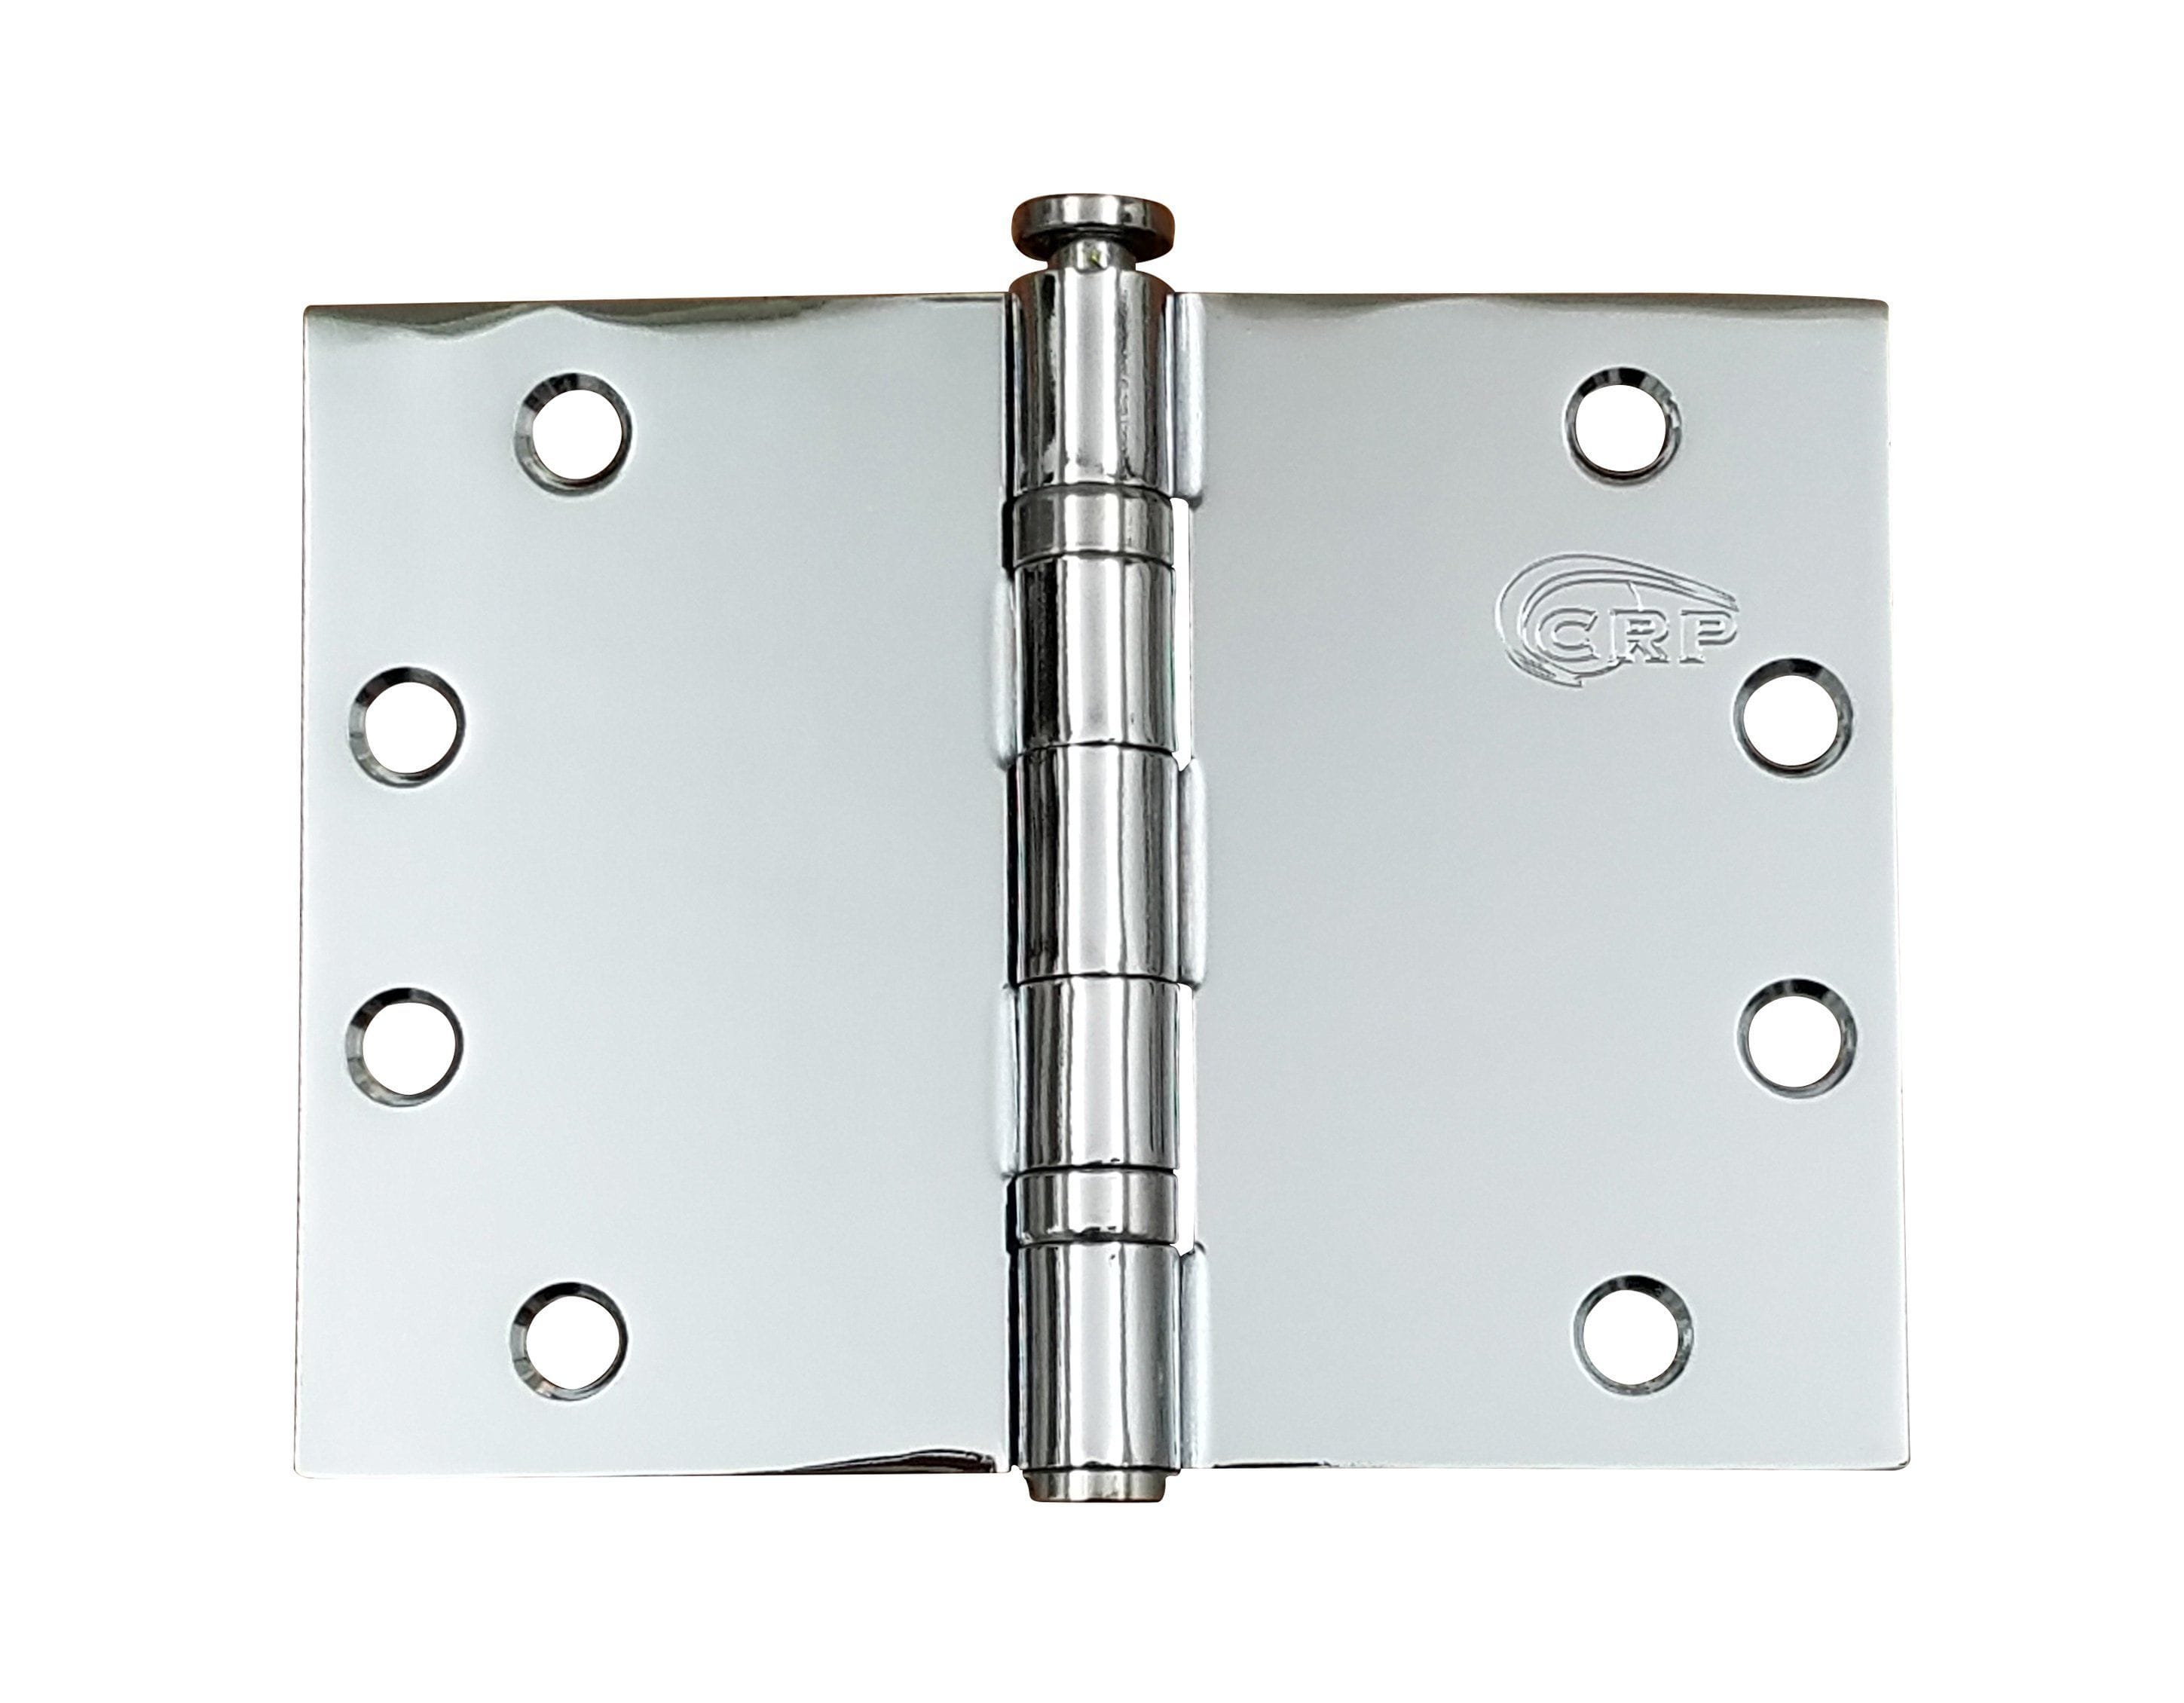
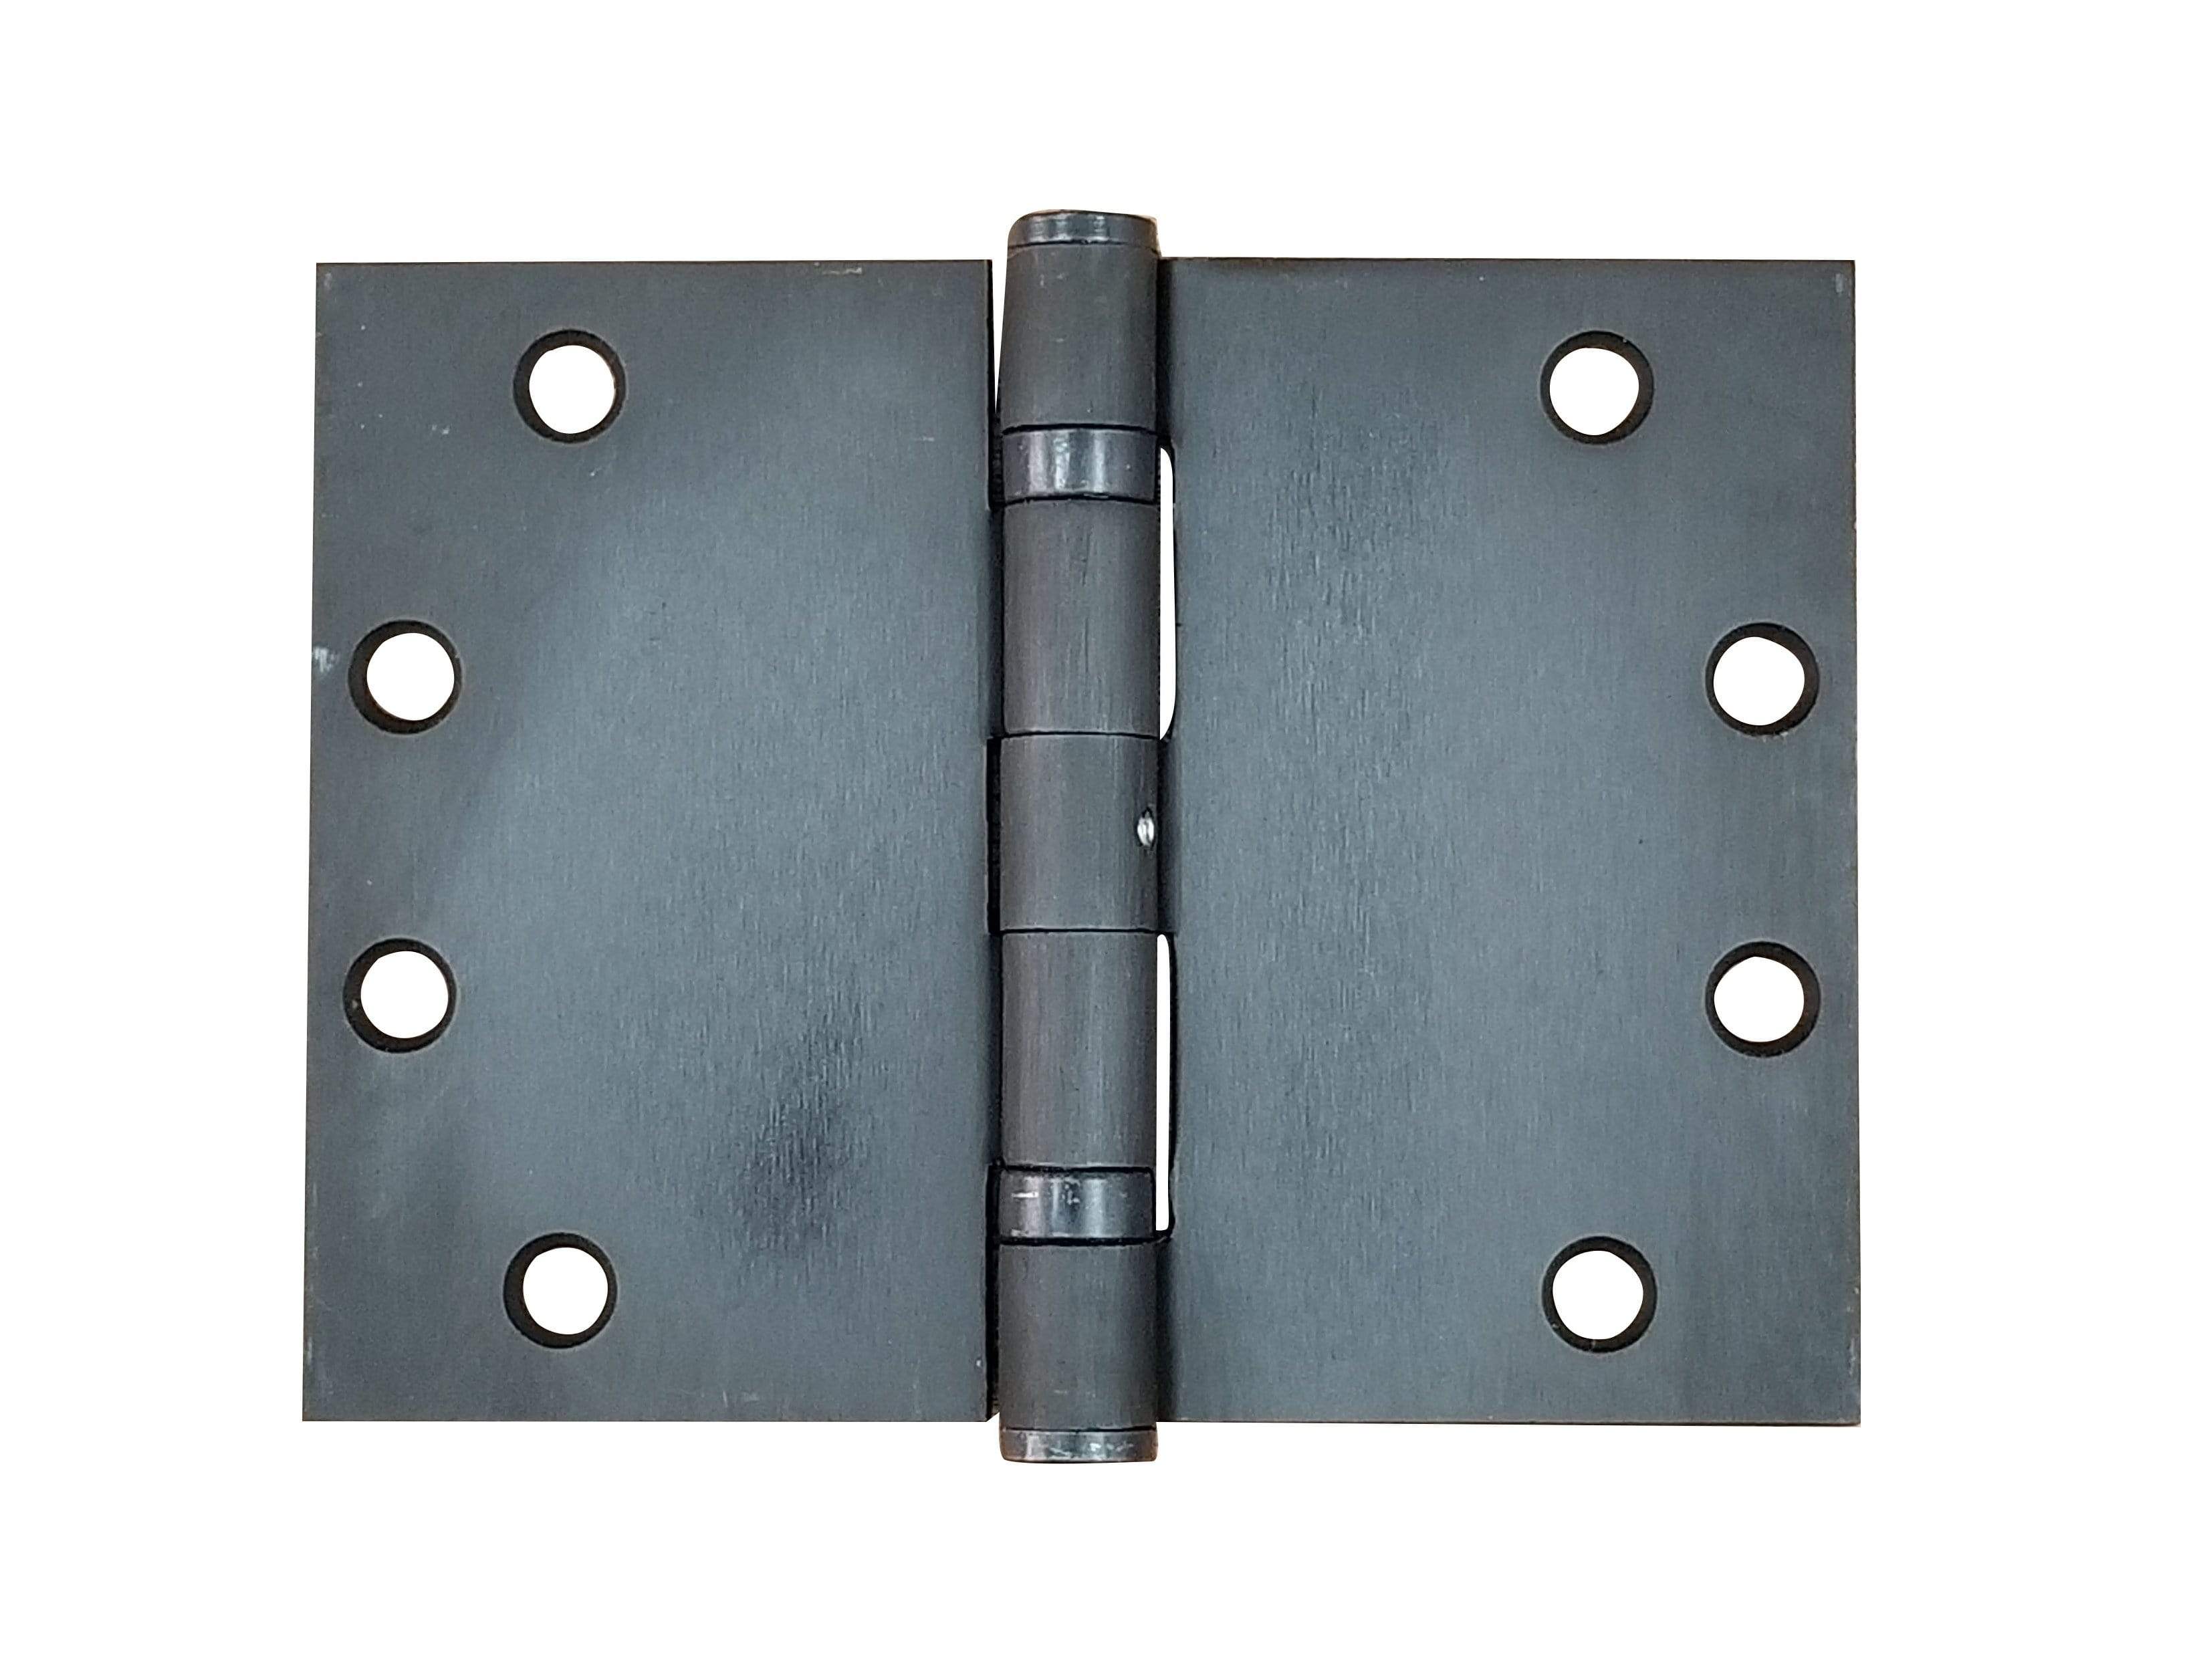
Selby wall bed mechanism kits include:
- Adjustable counterbalance mechanisms
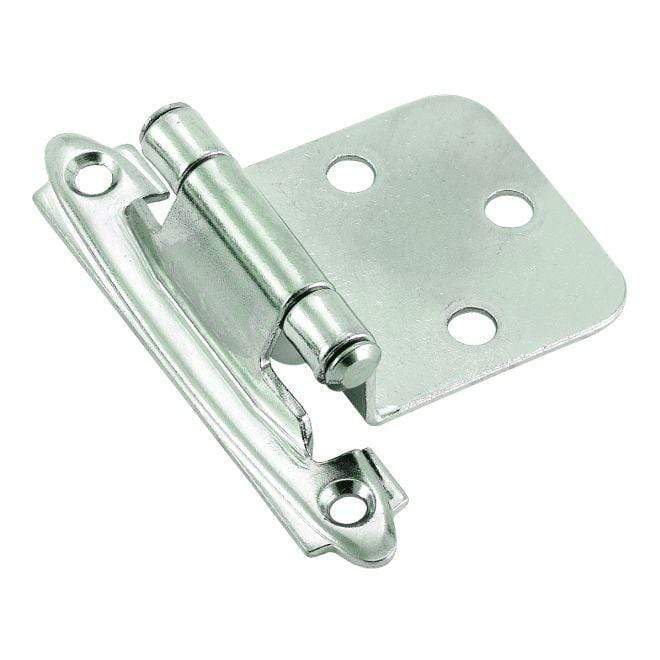
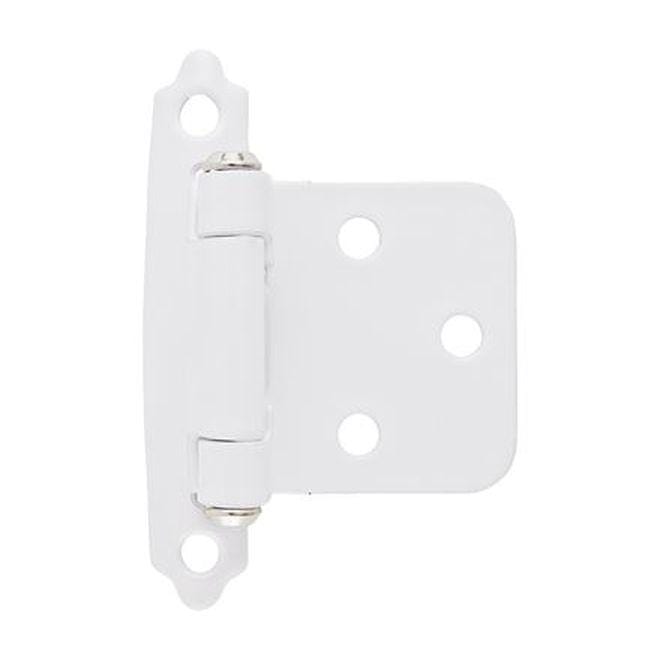
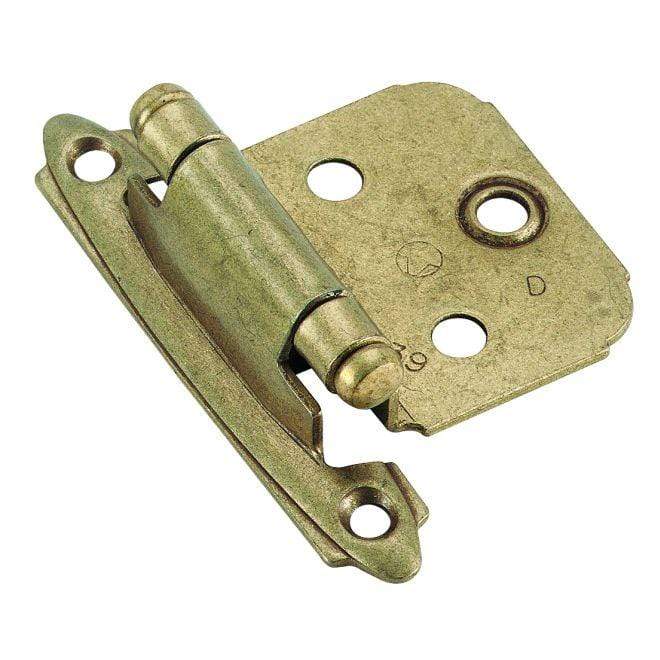
- Pivot mounting mechanism plates
- Pivoting legs
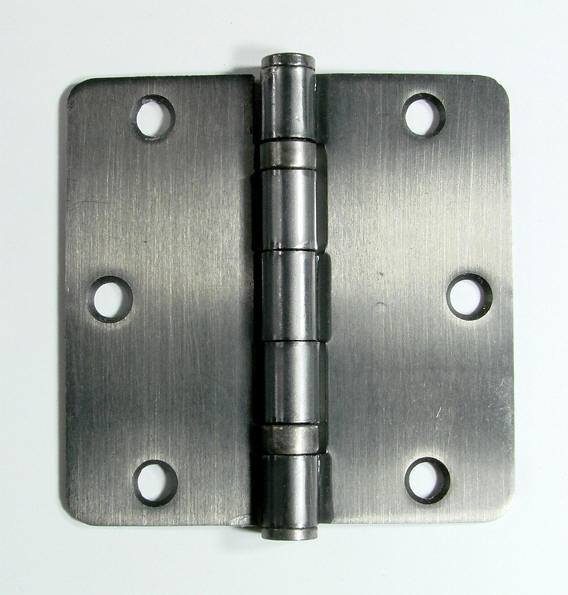
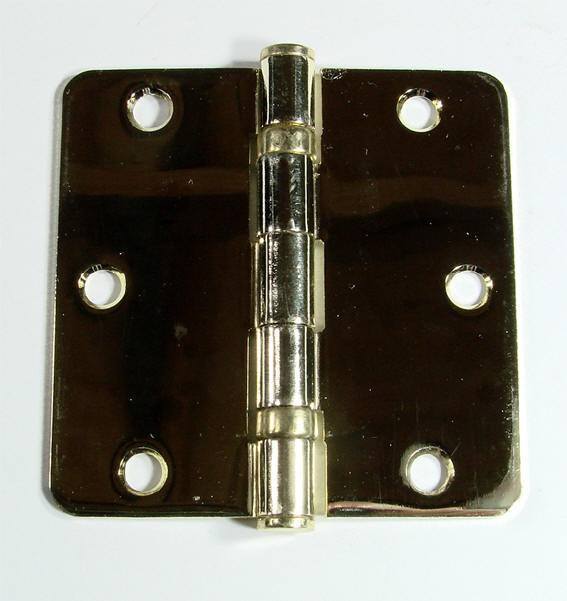
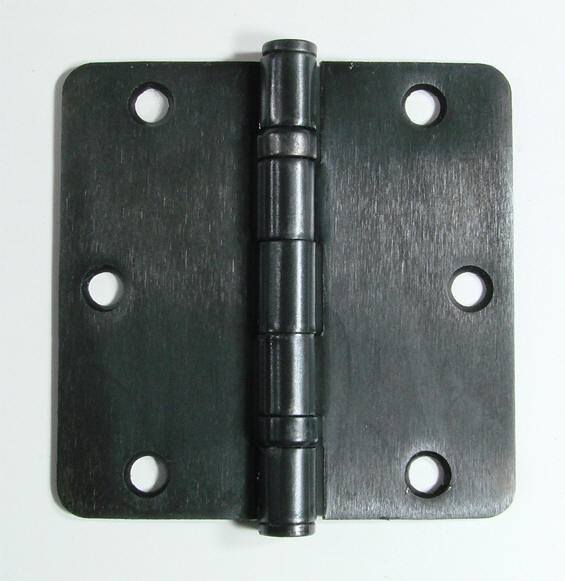
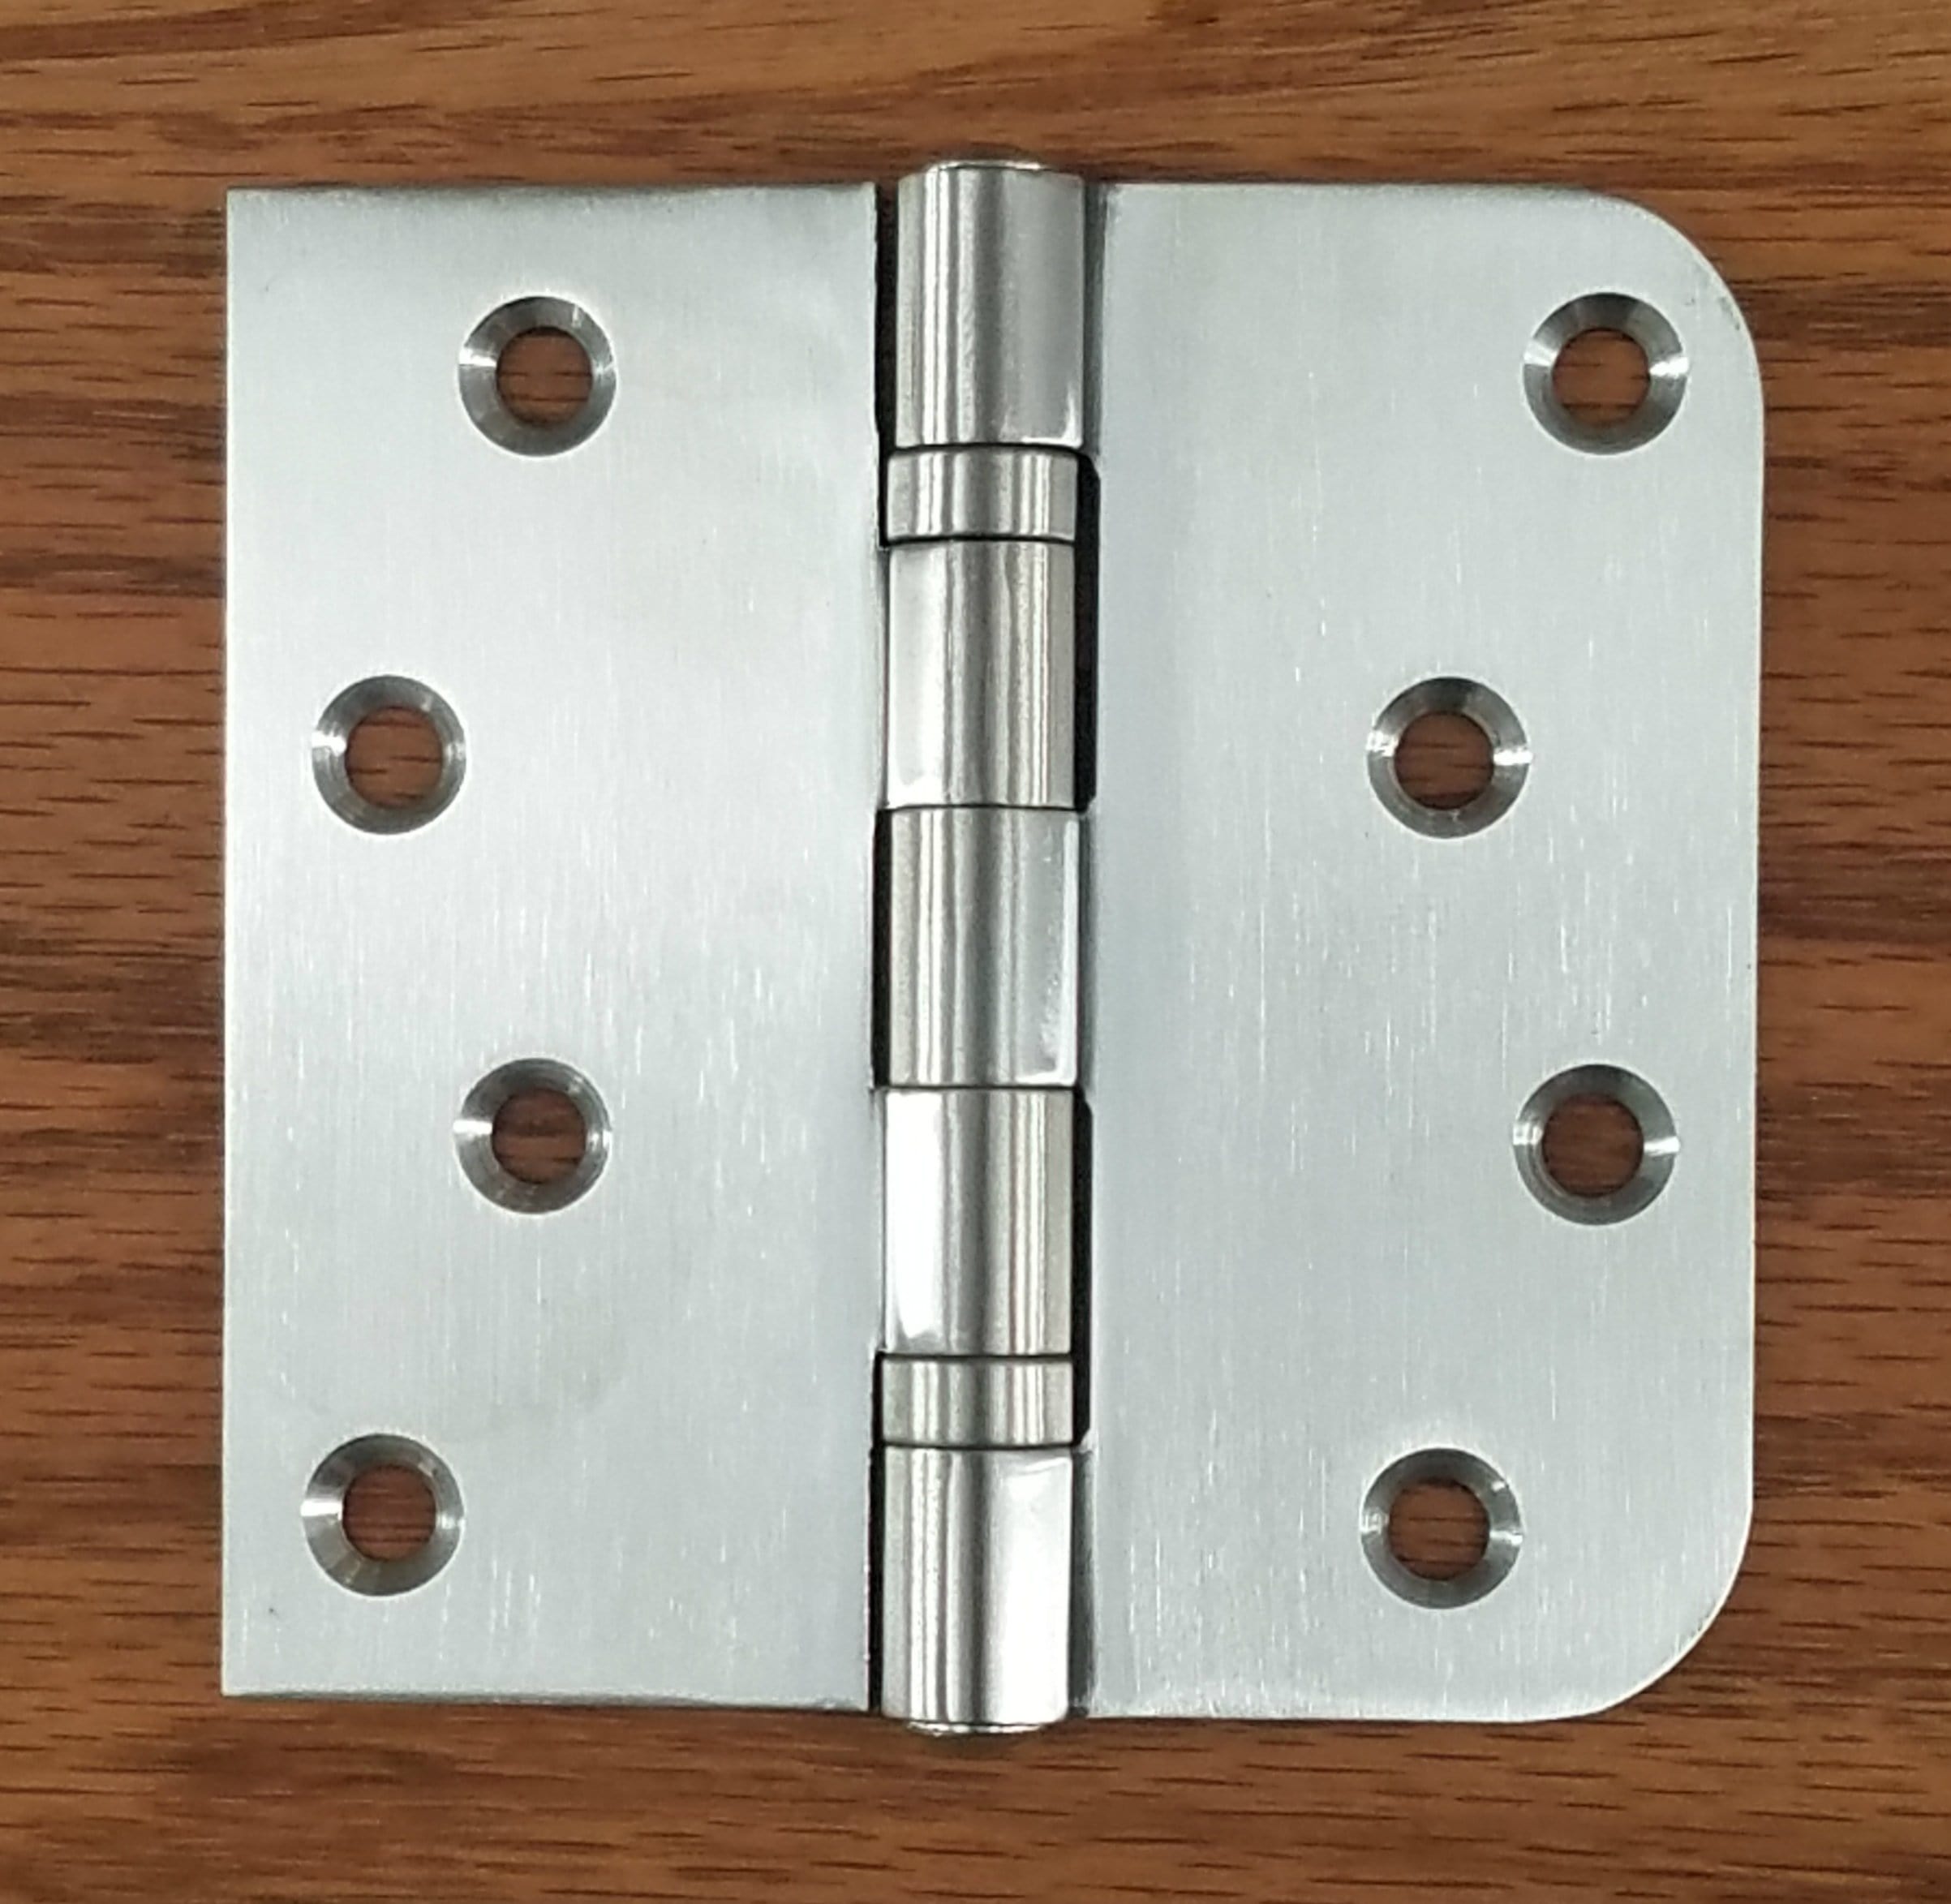
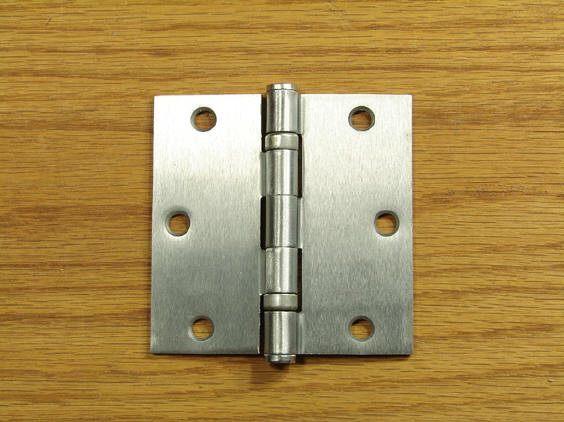
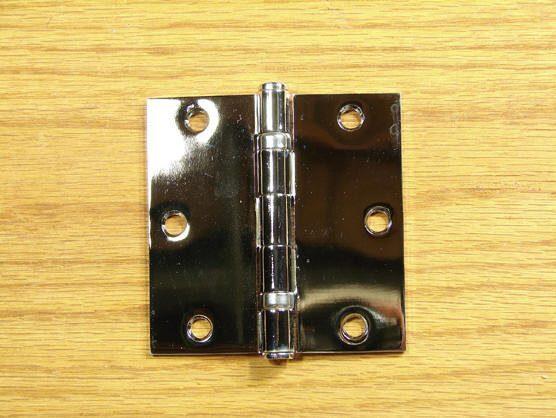
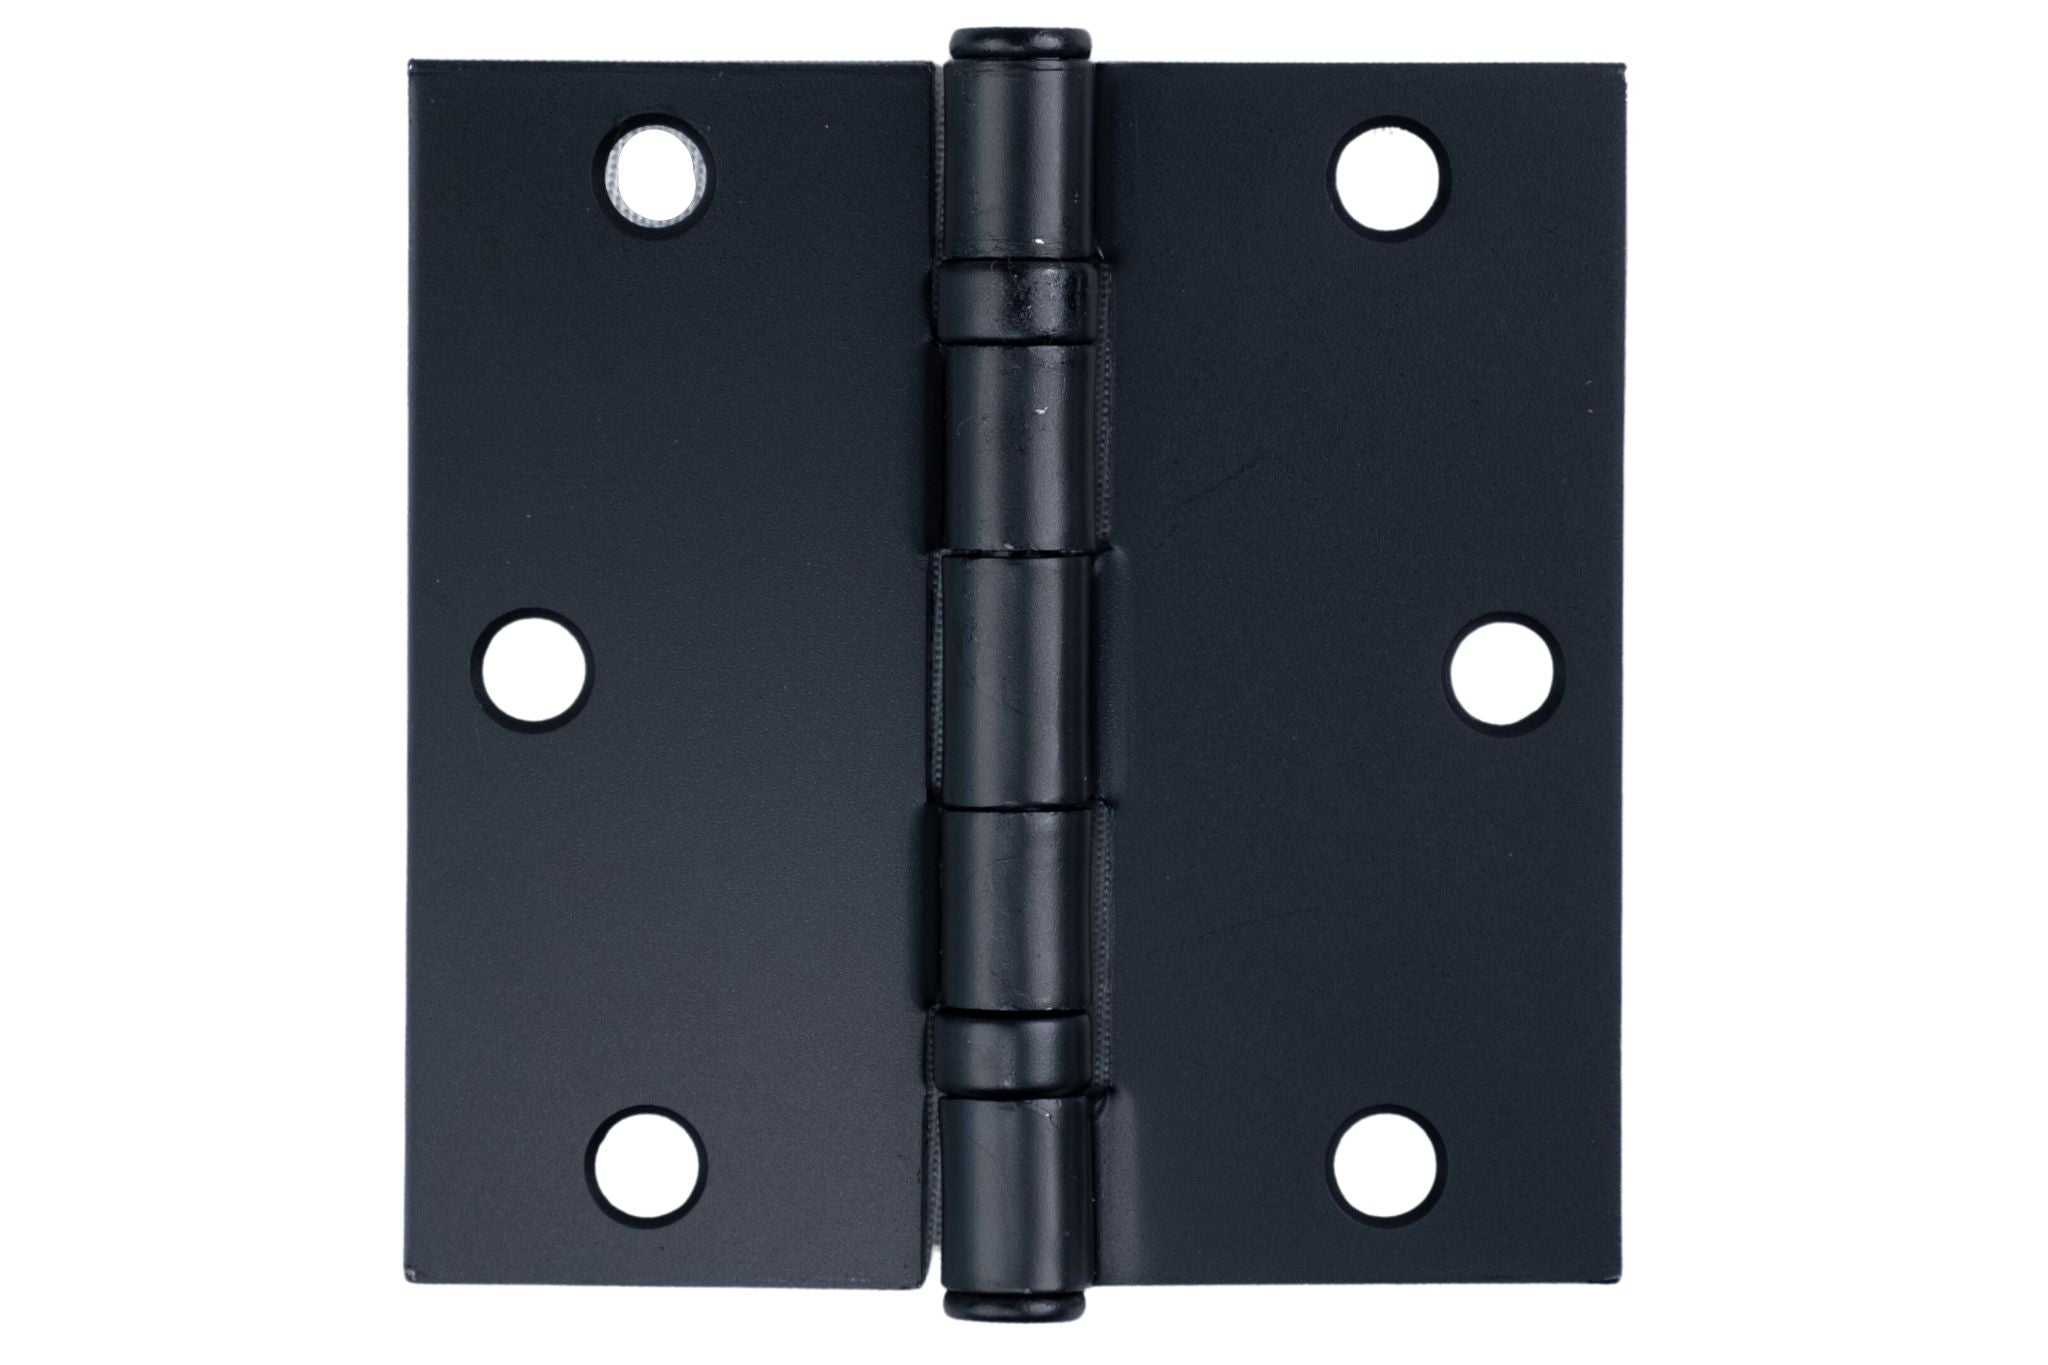
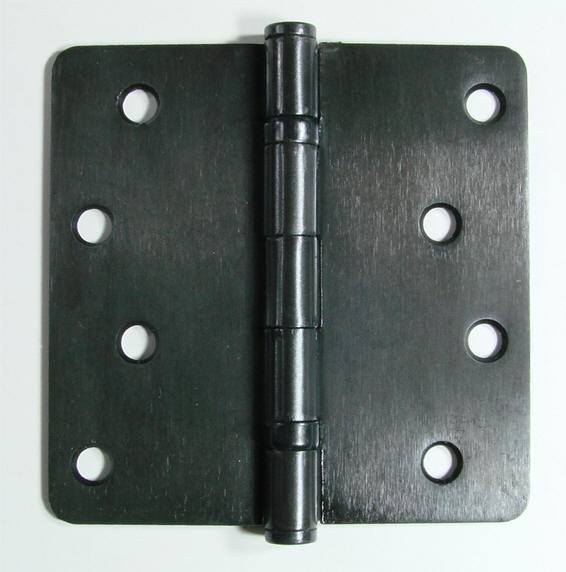
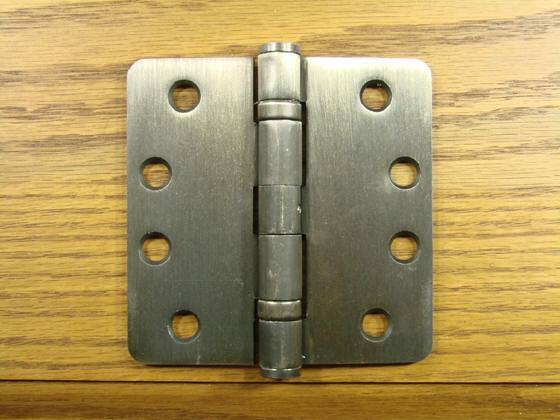
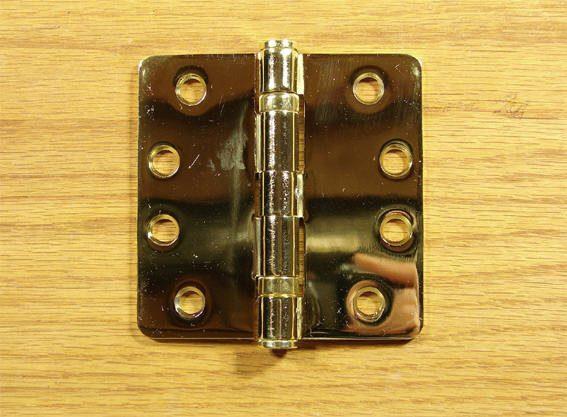
- Hardware fasteners
Additional tools:
- Wall Cabinet or Side Cabinets & Bridge
- Bed Platform & Door Panel
- Mattress
- XWRENCH
- 24mm Socket and Wrench
- 6mm Allen Hex Wrench

Note:
Wall bed cabinetry and mattresses are not included in Selby wall bed kits. However, this guide still covers cabinet installation.
Wall Bed Installation Planning
Before you dive into the installation, it's crucial to plan.
- Is there enough room for the bed to fold down?
- Is the location practical for daily use?
- Is the structural wall perfectly vertical and forming a right angle with the floor?
- Is there a baseboard that needs to be cut away to allow the cabinet to sit flush against the wall?
Once you've chosen the perfect spot, select a wall bed model that fits your space and style. Hinge Outlet sells Horizontally descending platform wall bed mechanisms in twin, double, and queen sizes. 
Vertically descending wall bed mechanisms include twin, double, full, and queen sizes.

Note:
Some local or state laws require installation to be completed by licensed contractors to comply with building codes. Check the regulations in your area before proceeding with the wall bed installation.
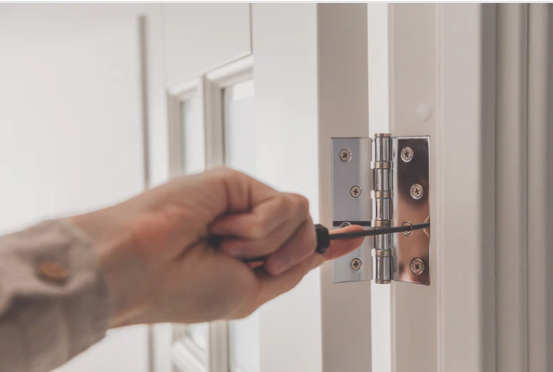
Unpacking the Wall Bed Kit
Upon receiving your wall bed kit, carefully unpack and lay out all parts and hardware. Check everything against the inventory list to ensure nothing is missing. Organize the components so they're easily accessible during installation. Before you start, review the manufacturer’s instructions thoroughly.
Wall Bed Installation Steps
1. Preparing the Wall Cabinets
Securely fasten the wall cabinets to your structural wall.
The inside opening width of the cabinet to receive the bed platform must be perfectly 60mm + 1/32” wider than the outside width of the bed frame, including the mechanism if mounted exposed.
2. Assembling the Bed Platform
Position the platform so it is tilted 15° from the vertical position, then make all necessary connections and adjustments for assembly.
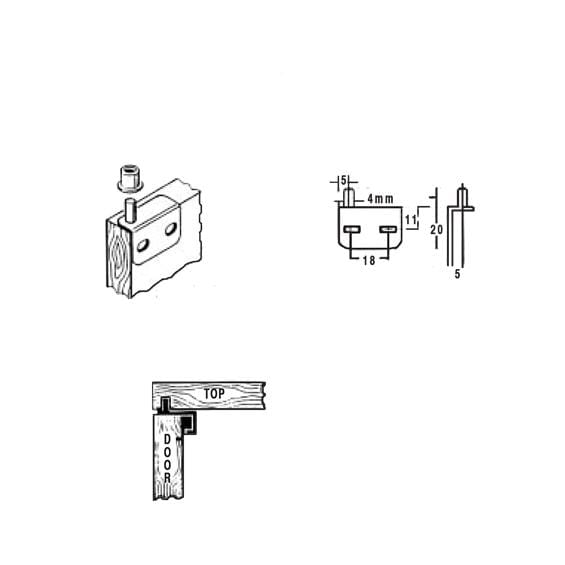
Gently raise the end of the platform above the head and guide it downwards into the cabinet, engaging the square-shaped "saddle" on the pivot mount plate.
Verify that the door panel moves in front of and beneath the saddle of the mount plate as you do this.
3. Installing the Bed Platform Into the Cabinet
Raise the platform door and close it, then fully extend the platform to confirm that its movement is unobstructed.
Manually tighten the handles to eliminate any looseness, ensuring the tension is even on both sides.
To adjust the door's alignment, use a 6mm hex wrench to turn the M8 X 30mm Hex Head Cap Screw in the square axles at the pivot mount plate saddle.
4. Installing the Mattress
Position the mattress onto the bed frame platform.
Then, lift the platform door to a 15° angle from the closed position (approximately 24” open at the top) and make any necessary adjustments.
5. Adjusting the Selby Wall Bed Mechanism
The patented Pardo counterbalance mechanism is engineered to operate optimally within a designated weight range. Avoid tension adjustments to the Pardo mechanism when the platform door is fully open.
Once the wall cabinet is firmly in place, position the platform door at roughly a 15° angle from the vertical line and ensure that the tension handles on both the left and right are tightened equally.
With a 24mm socket and wrench, tighten both mechanisms. Turn each an equal number of times. Stick to increments of 8 to 10 rotations to preserve the balance.
To accurately adjust the tension, the mattress should already be situated on the platform.
6. Finalizing the Installation
Lower the platform door until the bed is parallel to the floor. At this point, you can judge if the weight of the bed is too heavy and adjust the tension handles further if necessary.
Final Thoughts
Congratulations! You've successfully completed your wall bed installation. With this guide, you've taken a step-by-step approach to ensure a safe and efficient setup. Now, it's time to enjoy the newfound space and versatility your wall bed provides.
If you’re interested in more space-saving opportunities, check out Hinge Outlet’s collection of Selby wall bed mechanisms.