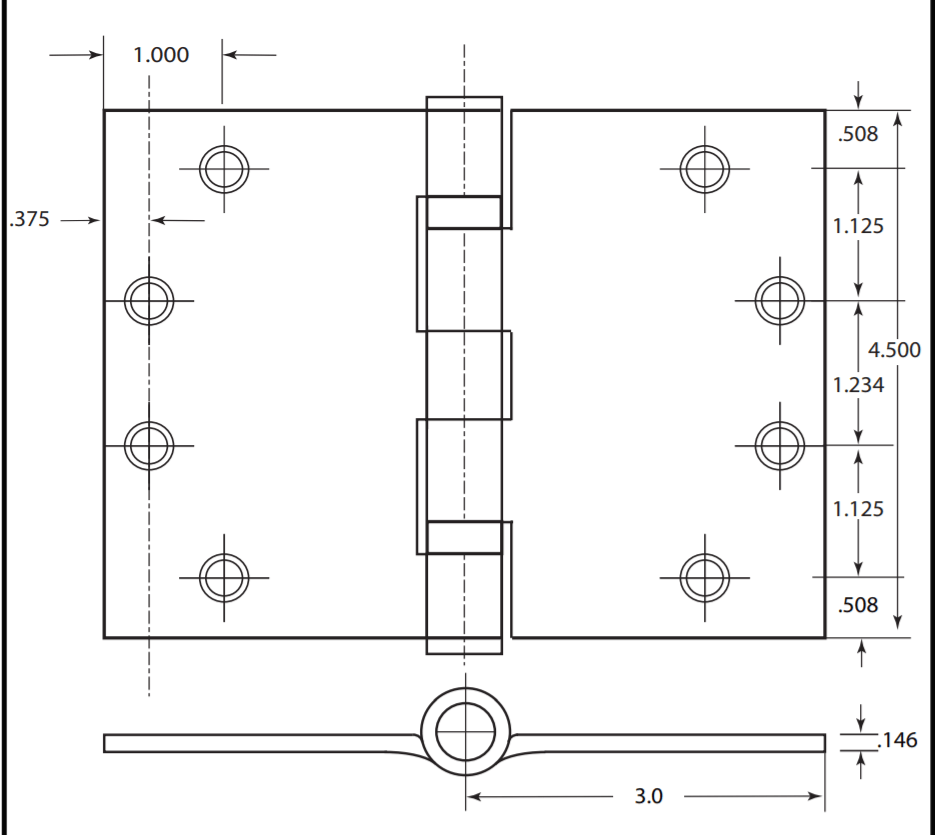
The purpose of gate wheels is to support the gate’s weight for smooth and stable movement of a gate along its designated path while improving accessibility. In this guide, we cover how to install V-groove gate wheels for perfect functioning and optimal longevity.

Where to Put Wheels on a Sliding Gate
There are multiple places to put wheels on a sliding gate, with the ideal positioning depending on your gate’s design, weight, length, and the surface it will slide on. Before moving on to installation, you must determine which placement is best based on your gate’s specifications.
Gate Length: Standard gates (under 10 feet) typically need two wheels near the ends. Longer gates may require additional wheels spaced evenly along the bottom frame to prevent sagging.
Weight Distribution: Position wheels close to the front and back edges of the gate frame for balance and adequate support. Leave about 6–12 inches of space from the edges to prevent instability.
Ground Type: For sloped surfaces, ensure your track is placed in a way that keeps the gate level during operation. Use a level before securing the wheels.
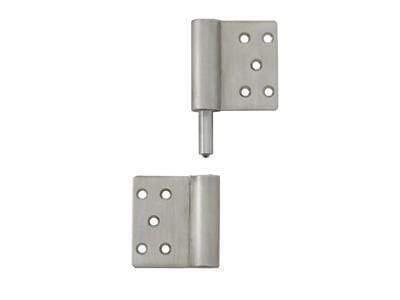
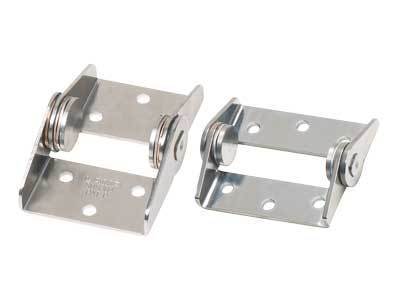
For a V-groove Wheel Track: The wheels should align perfectly with the V-groove track (or other guiding surface) to ensure smooth movement. Misaligned wheels can cause the gate to wobble or derail.
How to Install V-Groove Gate Wheels
1. Prepare the Gate and Track

- Confirm your gate's construction can accommodate V-groove wheels
- Install and secure the track on a flat surface in a straight line
- Use a level to verify the track is perfectly even
2. Position the Gate
- Elevate the gate on a stable, level surface
- Ensure it's properly supported to prevent movement during installation
3. Mark the Wheel Placement
- Measure and mark mounting points 6-12 inches from each end
- Verify marks align perfectly with the V-groove track
- For gates over 10 feet, mark additional wheel positions as needed
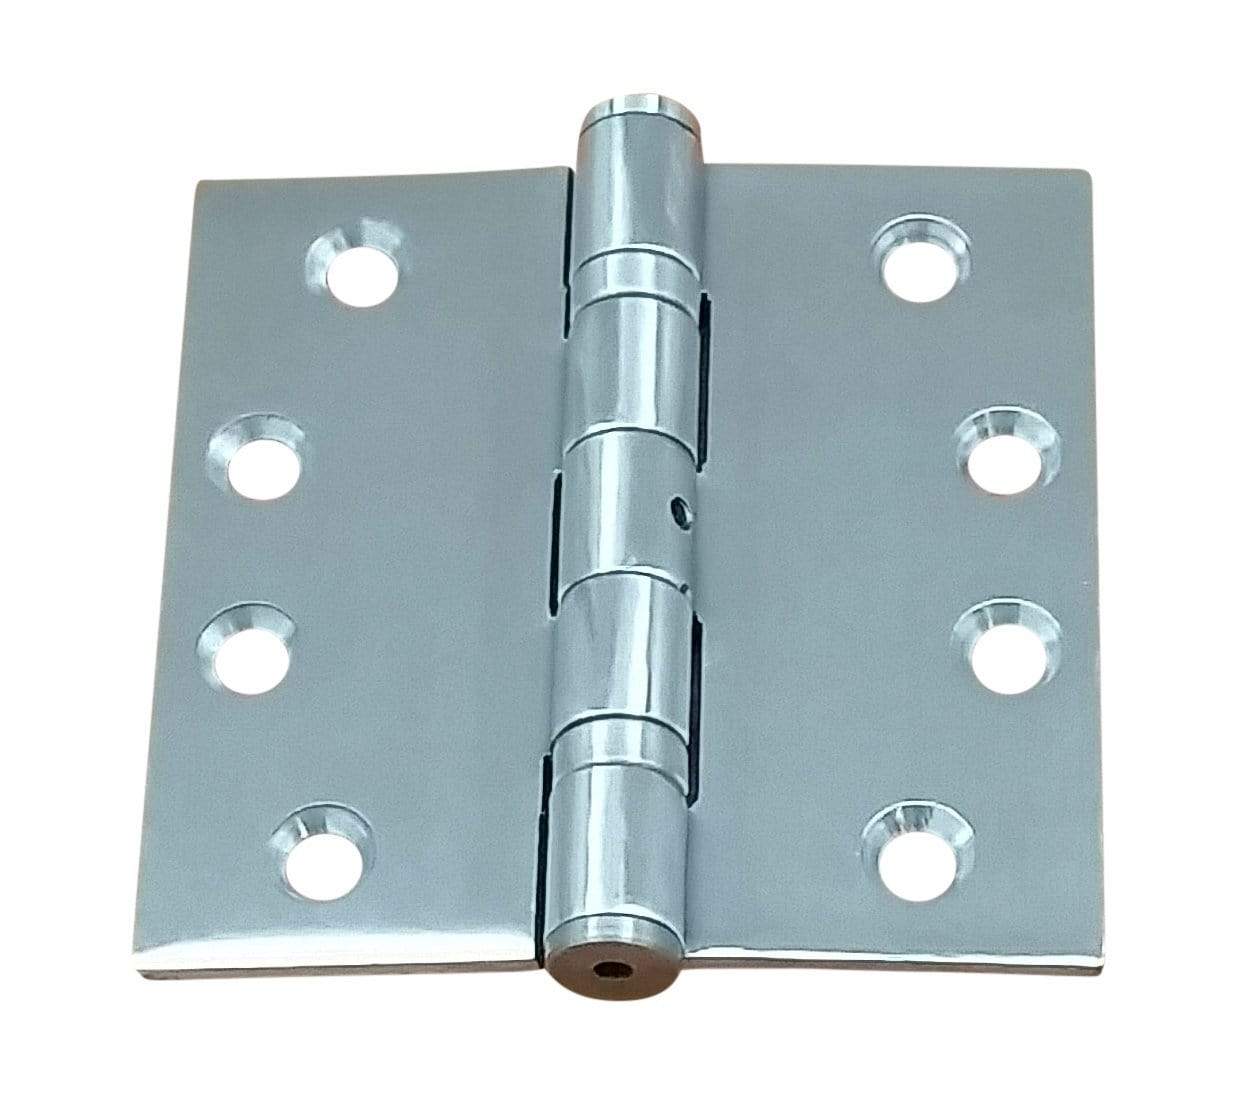
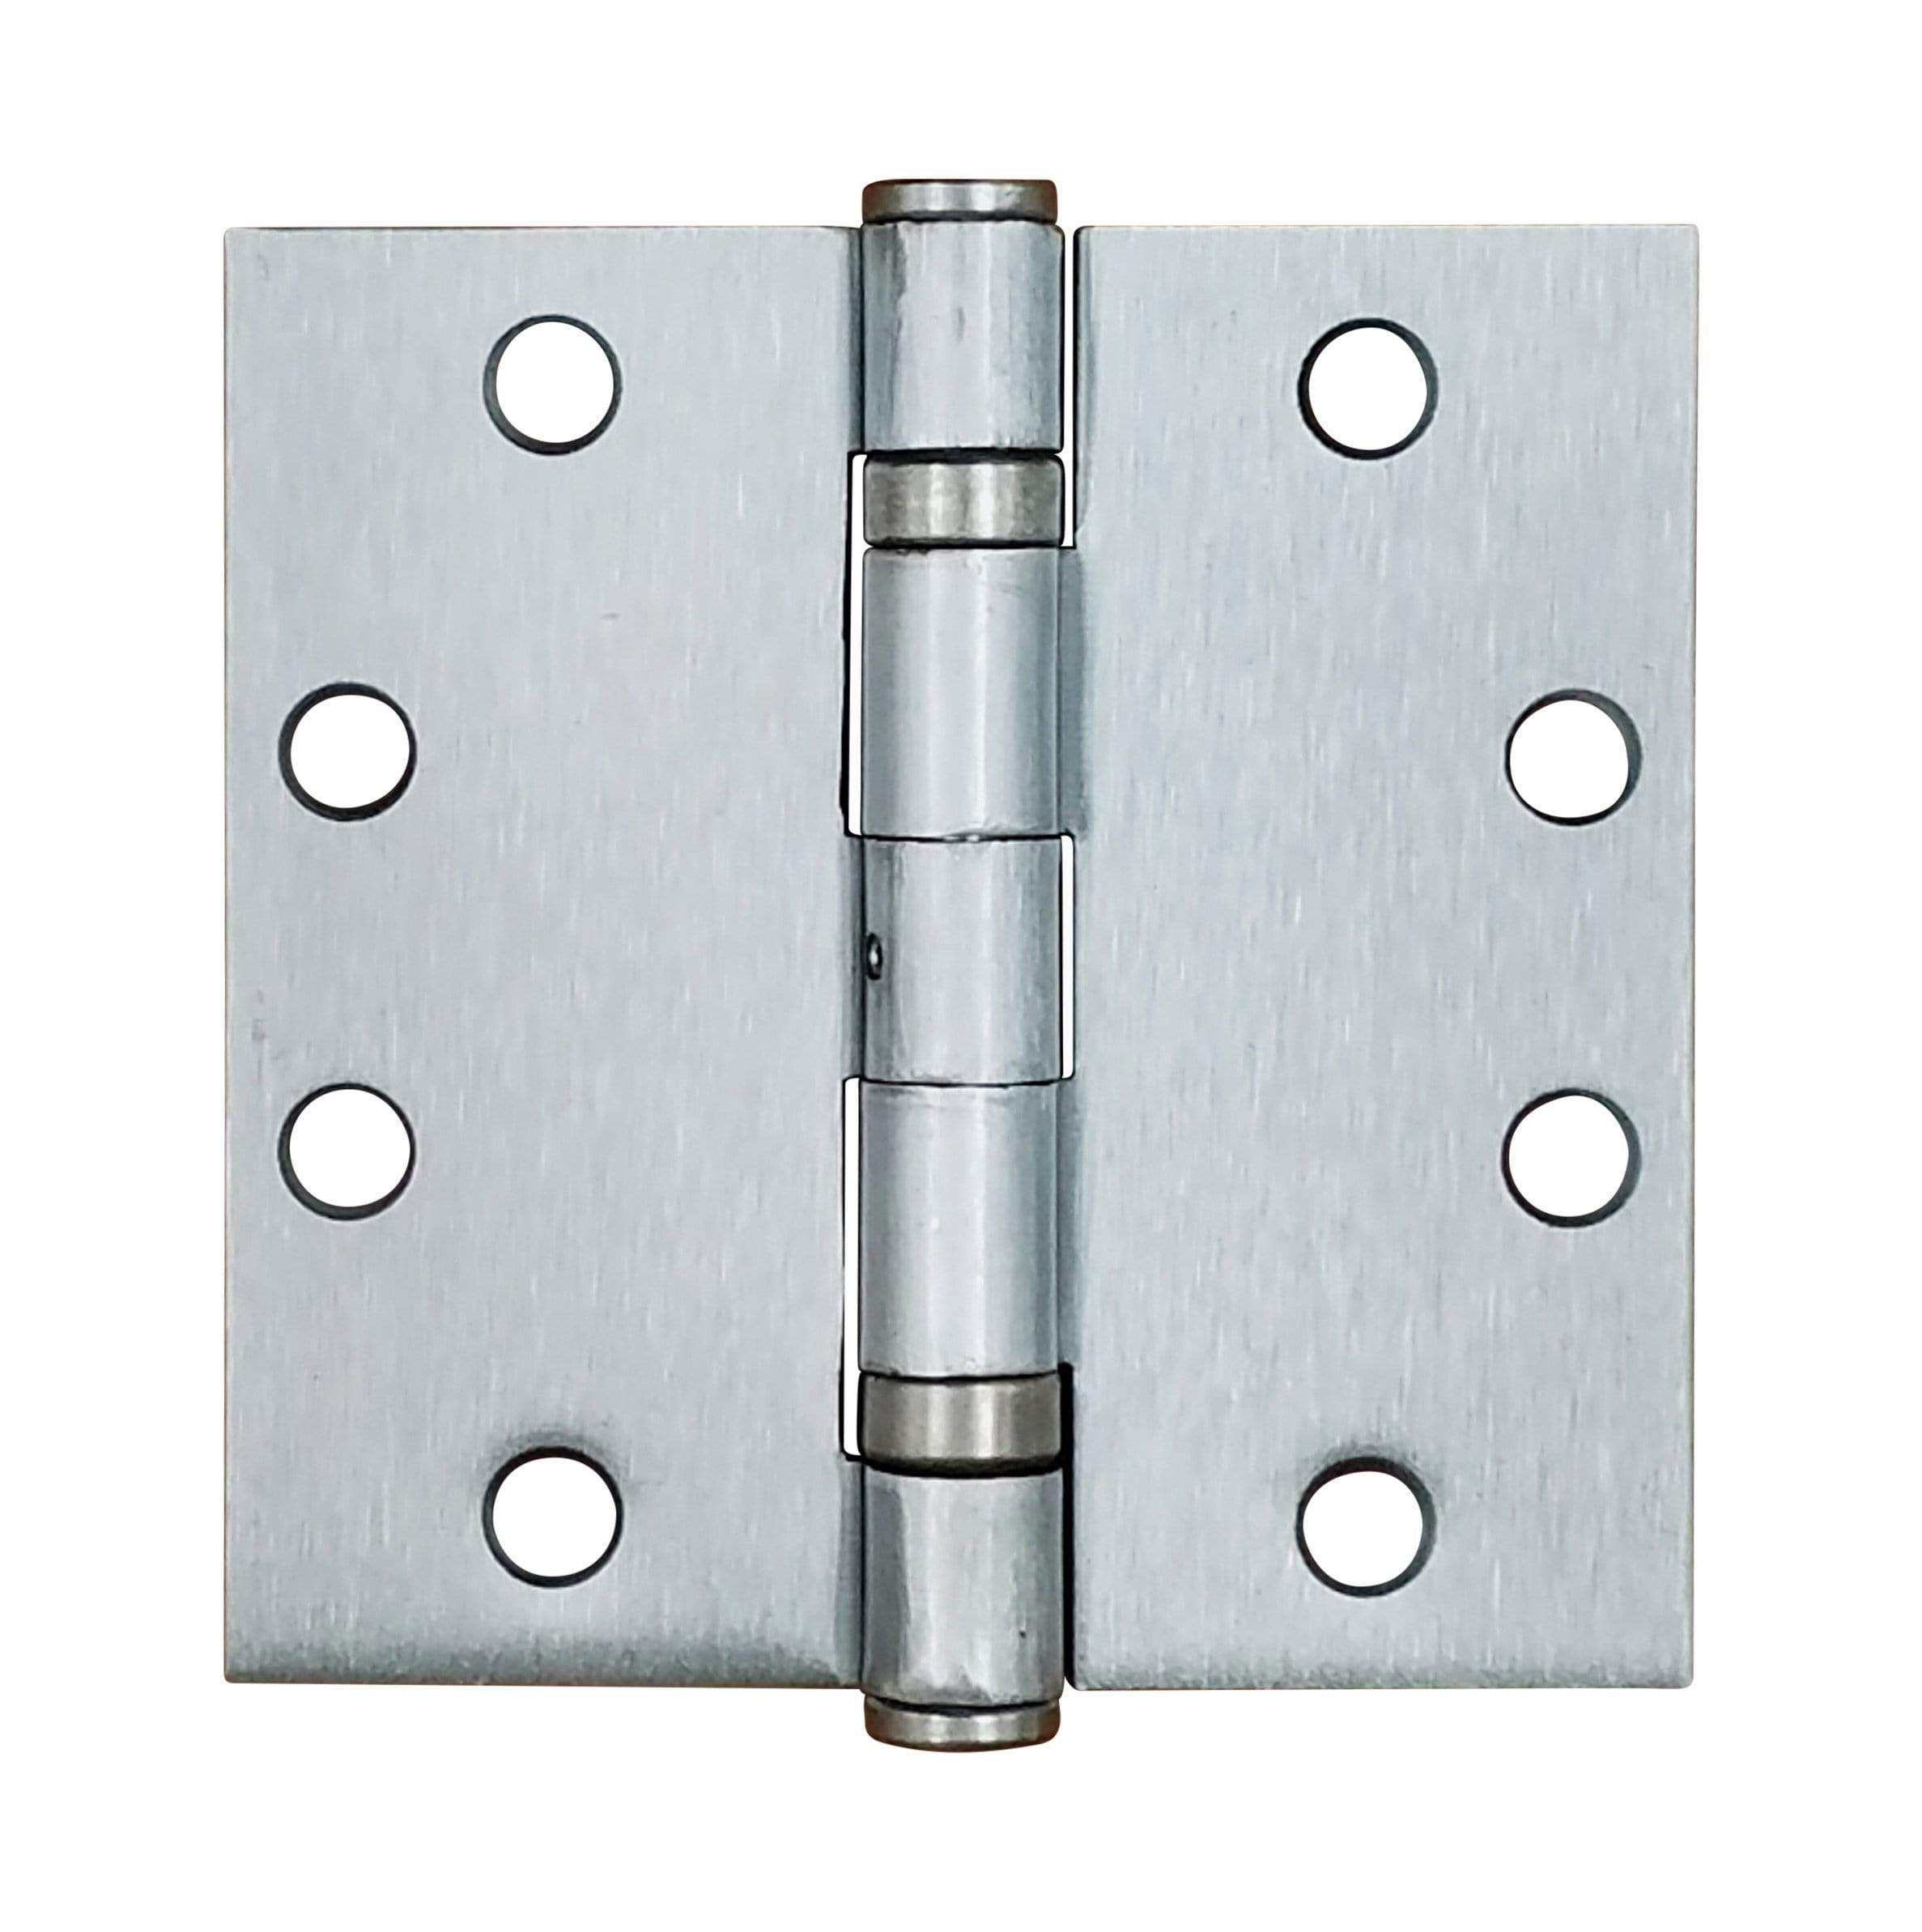
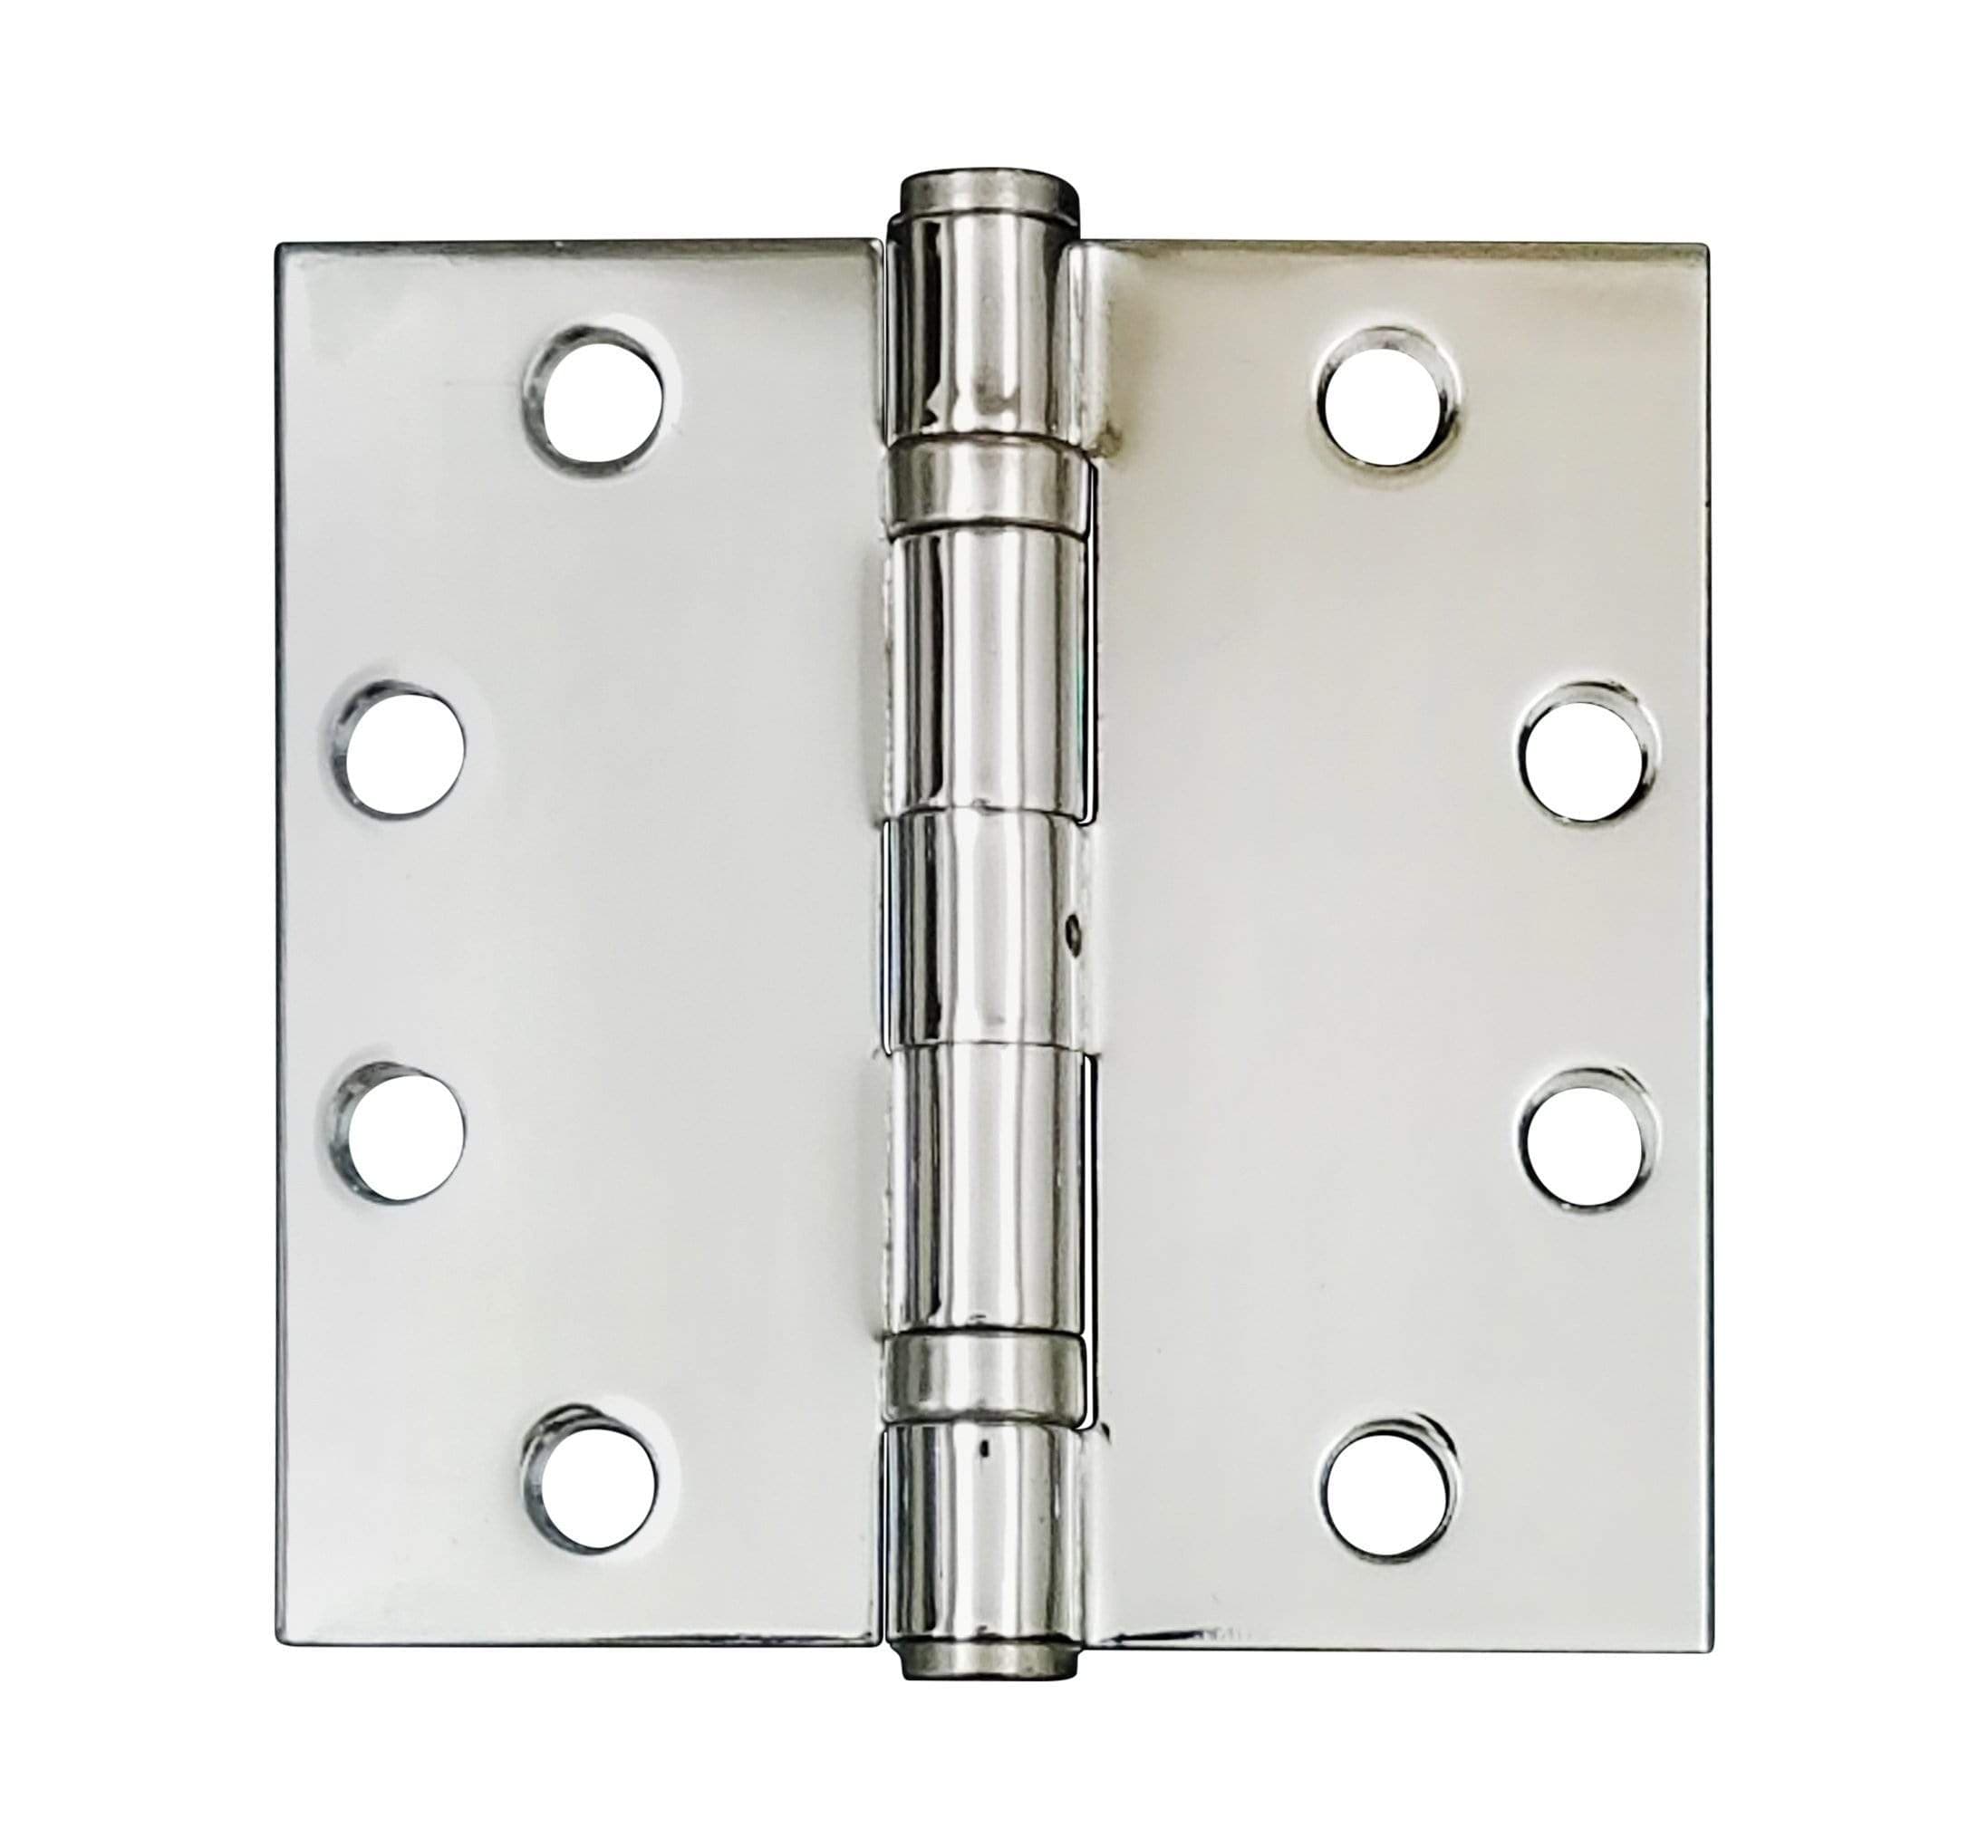
4. Attach the Wheels

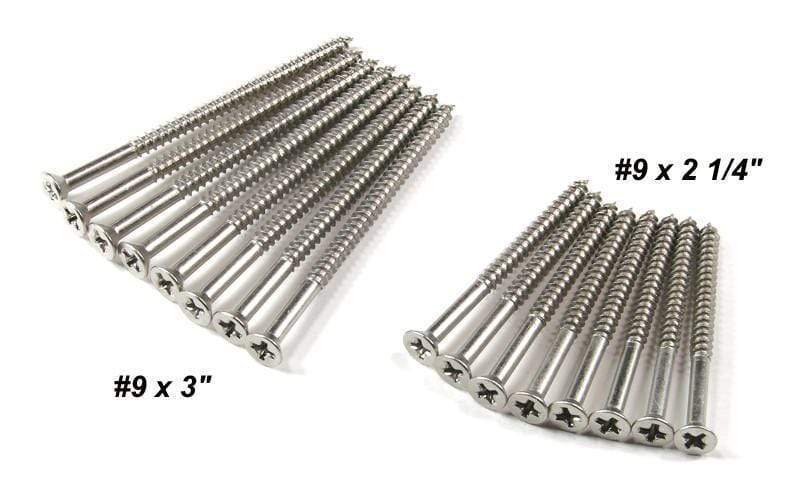
- Drill holes matching your bolt size at marked locations
- Position wheels and insert bolts
- Secure with nuts and washers, tightening firmly
5. Test Fit on the Track
- Carefully place the wheels onto the gate track
- Slide the gate to check for smooth operation
- Look for any wobbling or resistance
6. Secure the Gate Stops
- Mount gate stops at both ends of the track
- Position stops to prevent wheels from disengaging
7. Make Final Adjustments
- Test the gate again to confirm smooth sliding and stability.
- Tighten any bolts or adjust the track if needed
- Verify smooth operation along the entire track length
Final Thoughts
Following these instructions for installing gate wheels ensures a perfectly functioning gate with years of reliable performance.
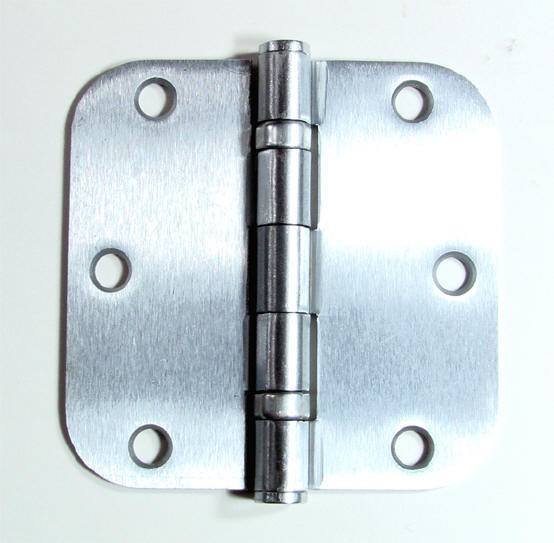
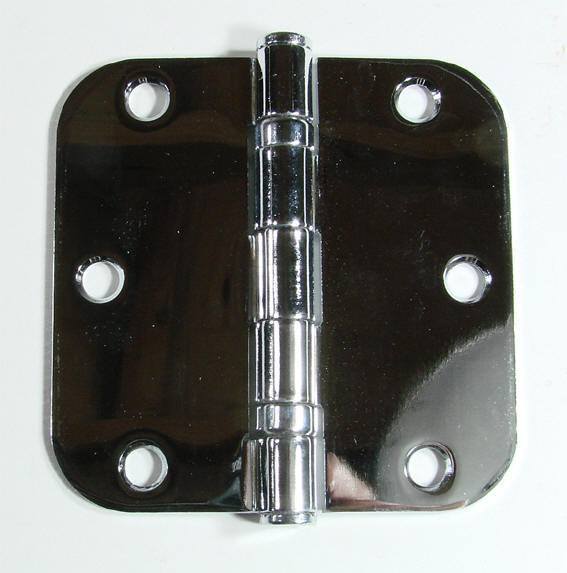
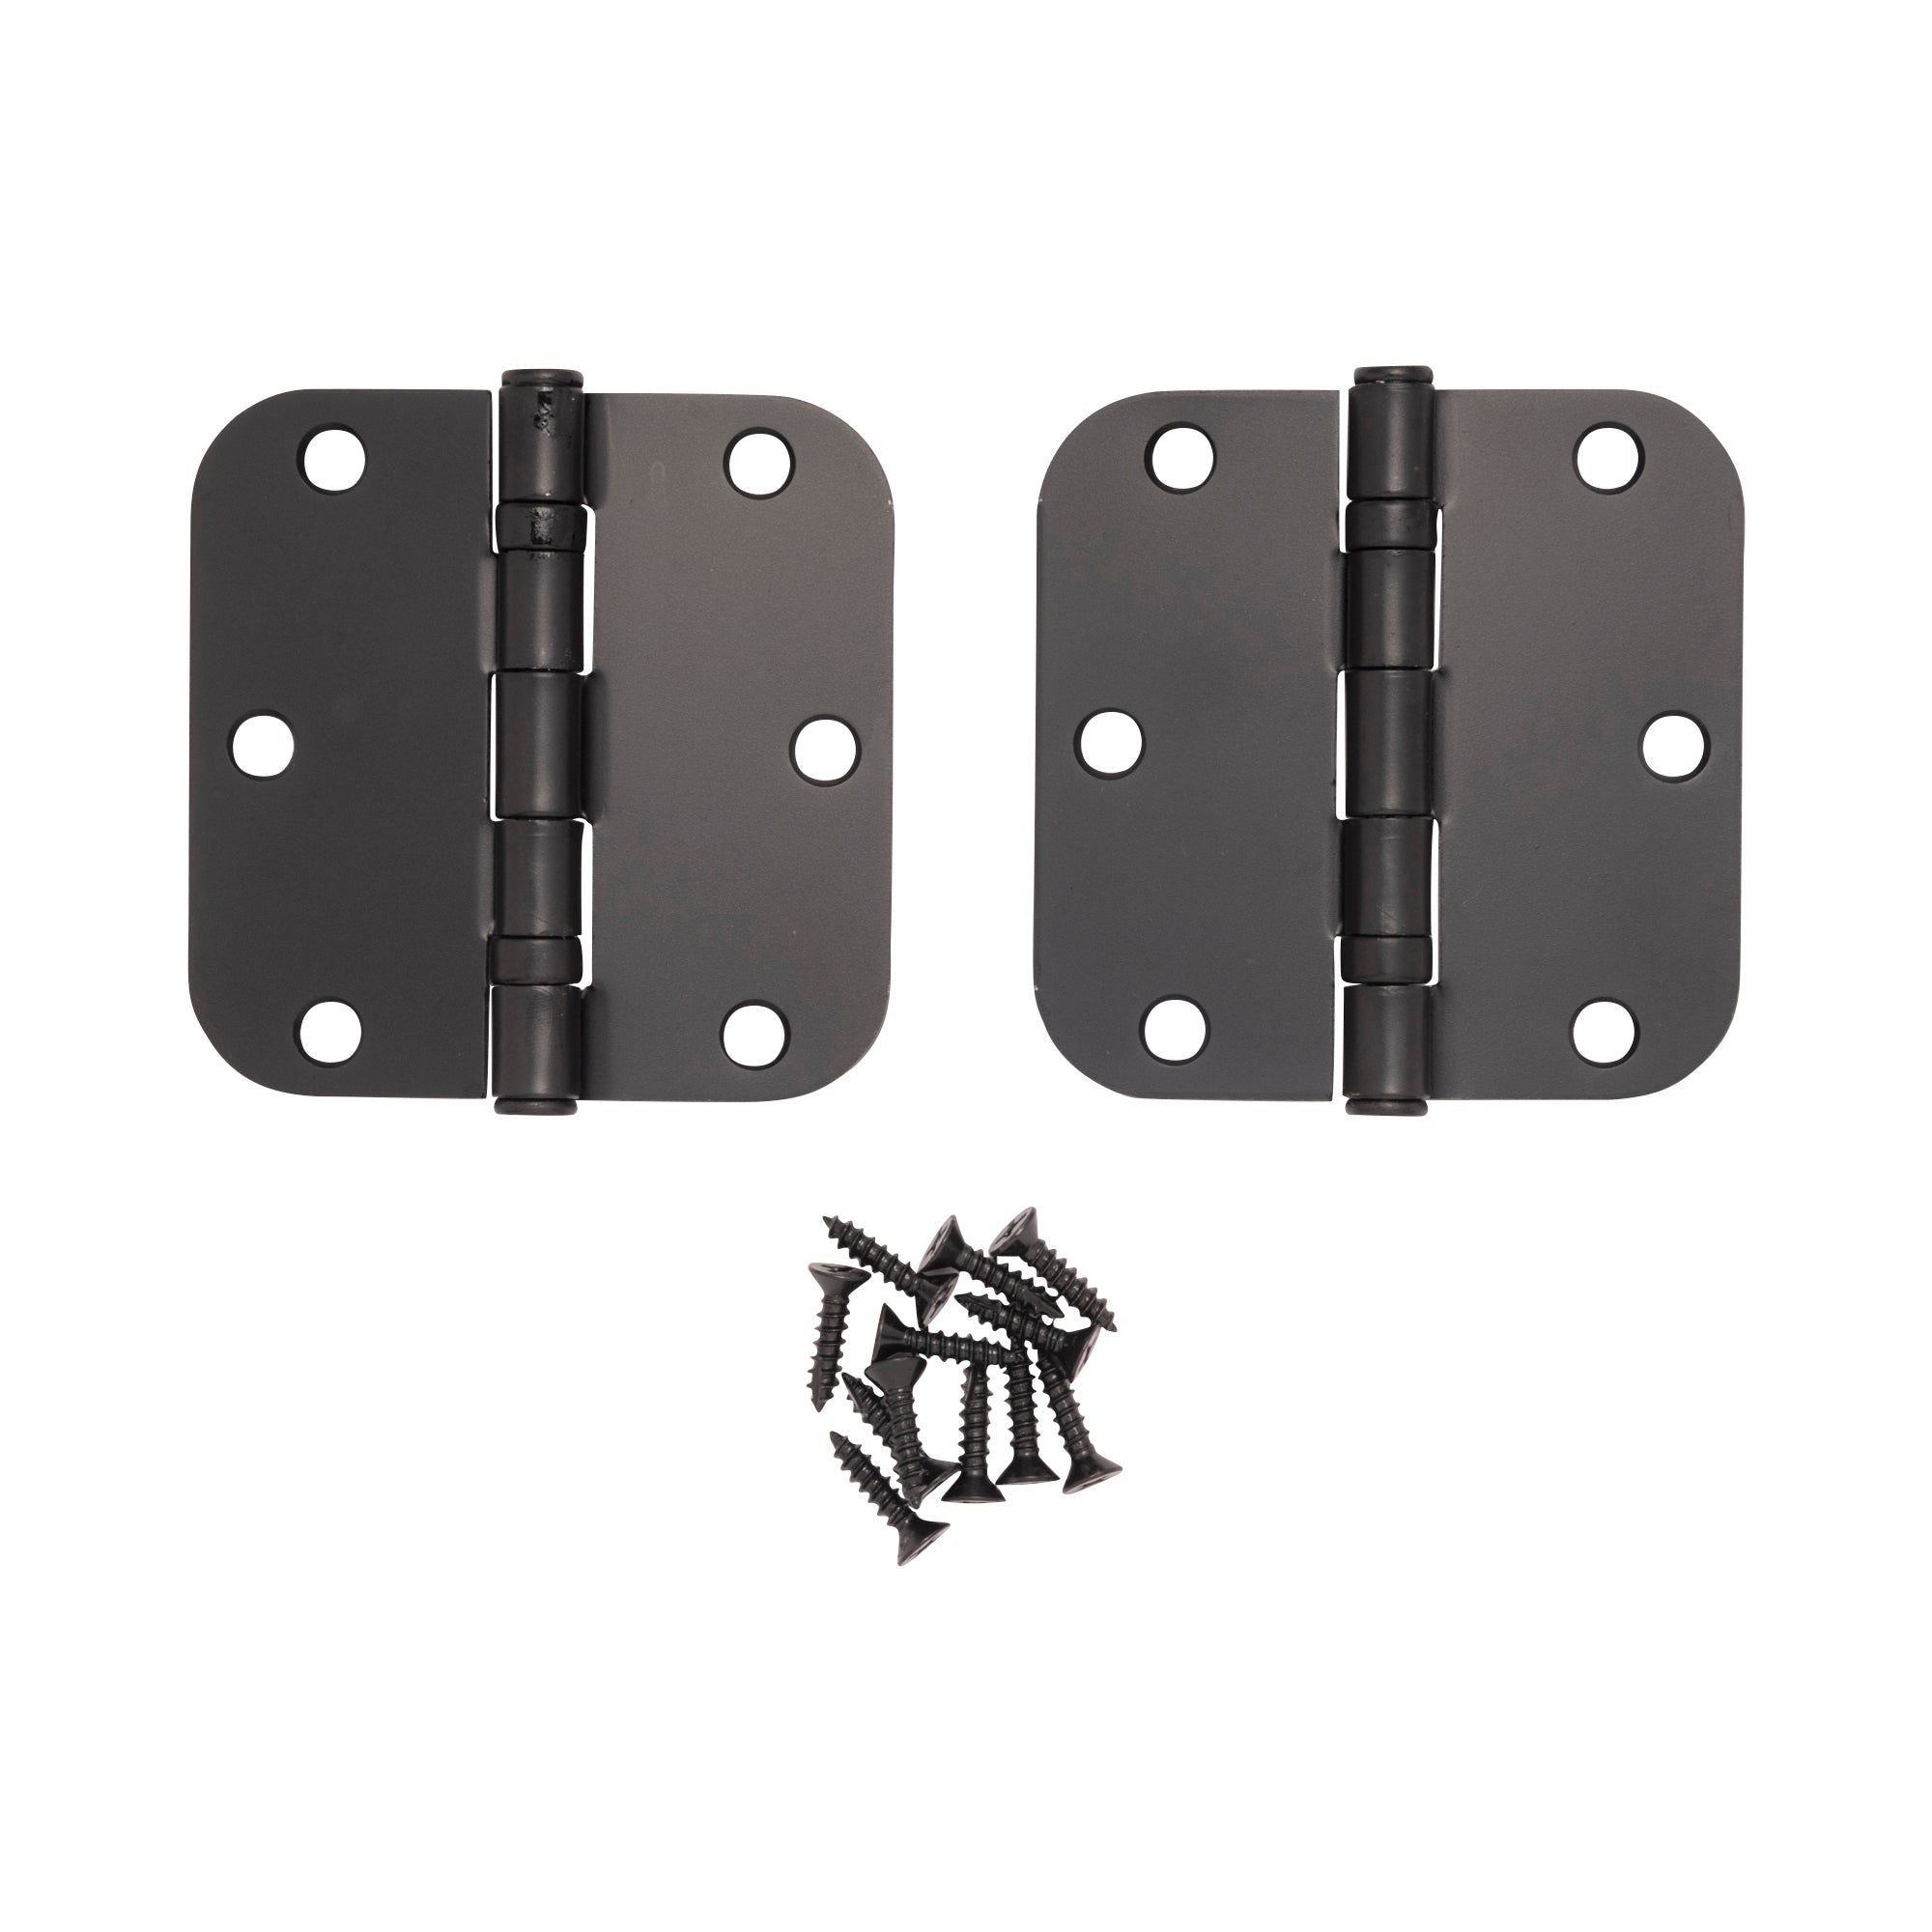
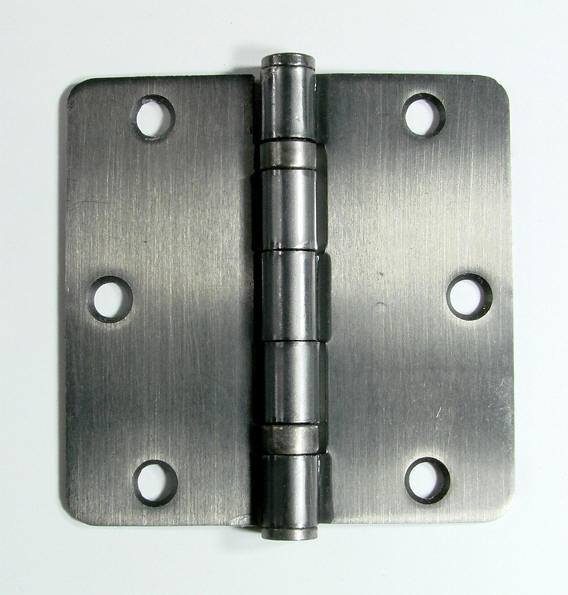
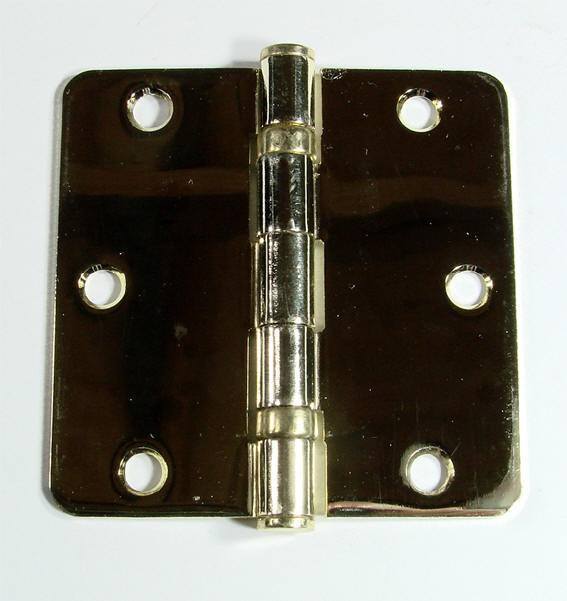
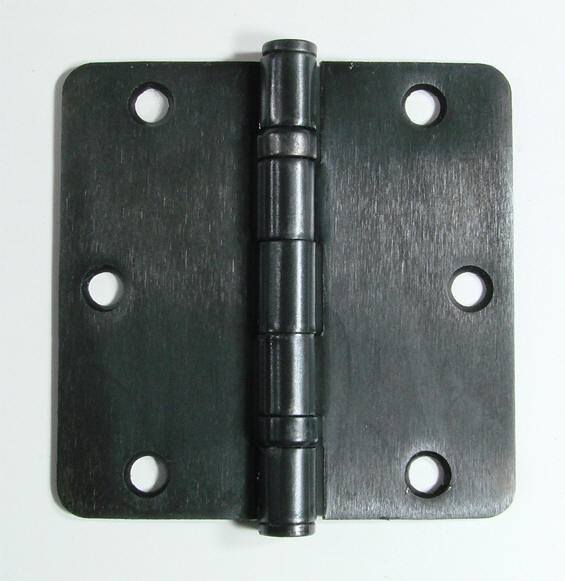
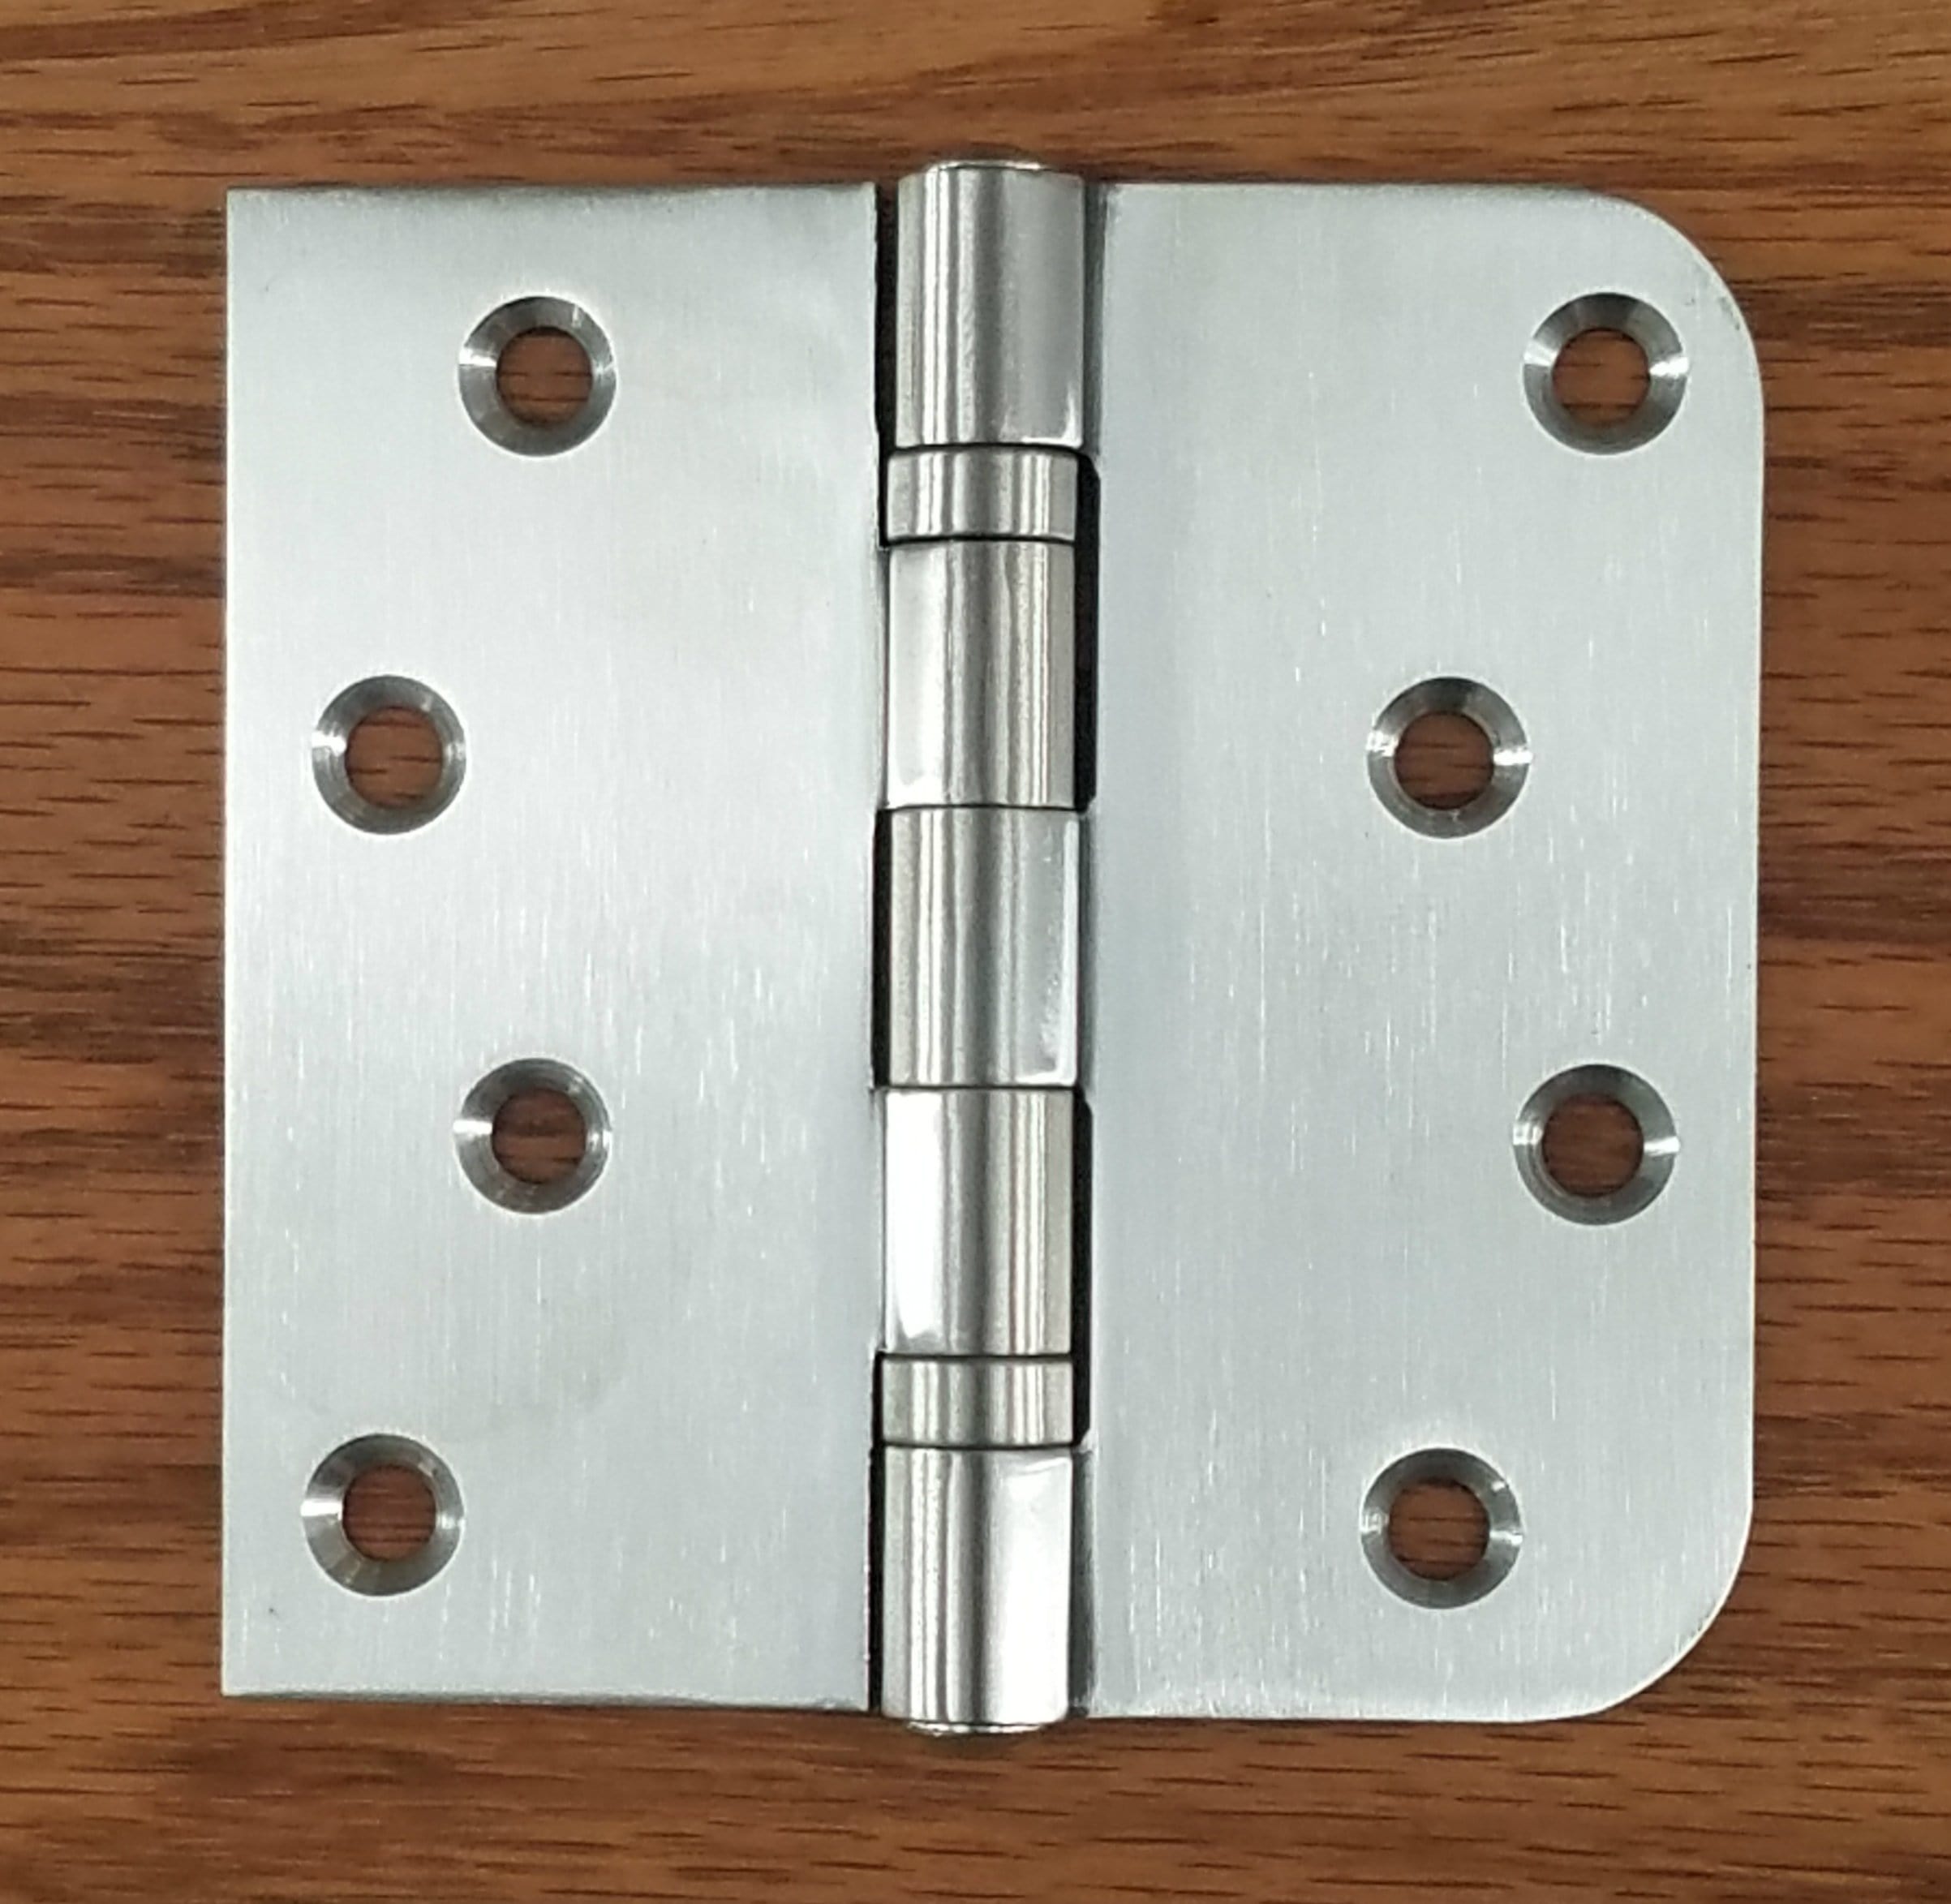
For more insight on installing gate hardware, reference our guide on how to install gate hinges.
FAQs About Gate Wheels
1. Will a gate wheel help with a sagging gate?
Yes, gate wheels will help with a sagging gate. However, they work best when installed as a preventive measure before severe sagging occurs. For already sagged gates, you'll need to first repair and reinforce the gate.
2. Do gate wheels need to swivel?
No, gate wheels do not need to swivel for every gate. For swing gates, swivels are helpful at the far end of the gate and track; for sliding gates, fixed wheels are best.