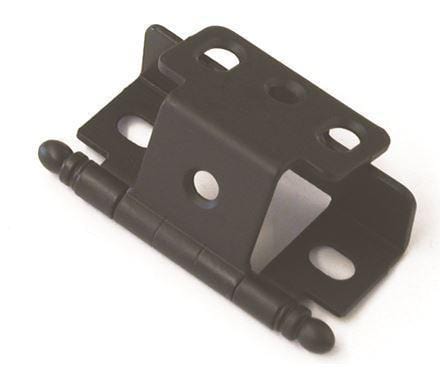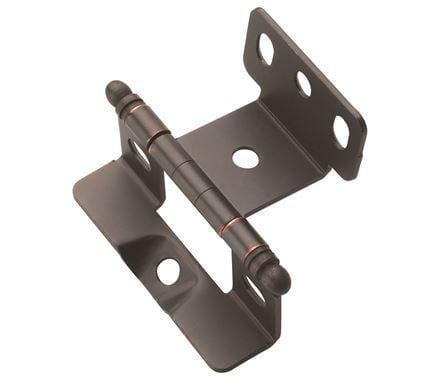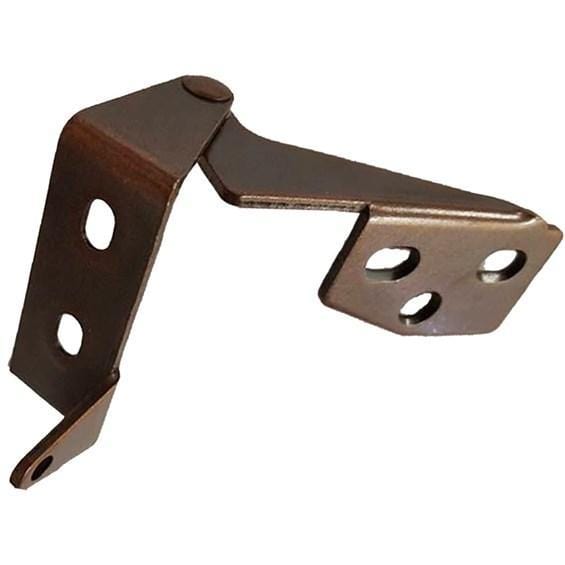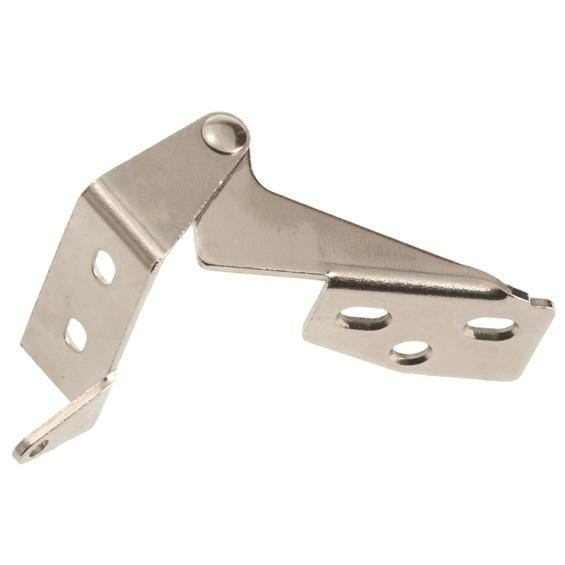


If you've ever tried to freehand a router cut and ended up with a wobbly edge or an uneven recess, you know the importance of a router template. Whether you're shaping identical parts, cutting decorative profiles, or mortising door hinges, a good router template takes the guesswork out of routing by giving your bit a precise path to follow.
In this guide, you'll learn exactly what templates are, how to set one up, and how to use them for common tasks, with the result always being of professional quality.
What Is a Router Template?

A router template is a flat piece of material cut to a specific shape that your router follows to reproduce that shape accurately in your workpiece. Instead of relying on a steady hand, the router rides along the edge of the template using either a flush-trim bit or a template guide bushing.
Templates come pre-made from hardware stores for common tasks like hinge mortises or lock faceplate recesses. Some templates can also be custom-made, which you would cut yourself for unique shapes or repeated production work.
Use a template any time you need to:
-
Reproduce the same shape more than once
-
Achieve a cut that's too precise to trust to a steady hand
-
Follow a complex curve or irregular profile
How to Use a Router Template

1. Gather Your Tools
-
Router
-
Guide bushings (unless you are using a router bit with a bearing)
-
Router template
-
Clamps
-
Safety glasses
-
Hearing protection
2. Secure the Template to Your Workpiece
Position the template exactly where you want the cut to appear. Use clamps to hold both the template and workpiece firmly to your bench. Even a small amount of movement will ruin the accuracy of your work.
Note: Double-sided tape is a good secondary option for keeping the template from shifting during the cut.
3. Set the Correct Bit Depth
Adjust your router so the bit only cuts as deep as needed. For most template work, you'll make the full cut in one or two shallow passes rather than one deep plunge. Set the depth stop accordingly.
If you're using a guide bushing, calculate the offset between the bushing's outer diameter and the bit's cutting diameter. This offset determines how far inside the template edge your bit will cut.
4. Make Your Passes
Start the router before the bit contacts the wood.
Move the router in the correct direction. For standard milling, feed the router counterclockwise around the outside of a template, or clockwise when routing inside a template. This keeps the bit cutting into the wood rather than pulling away from the template.
Take light passes. For material over ½ inch deep, make two or more passes, lowering the bit a little more each time.
5. Clean Up Edges and Inspect
Once you've completed the cut, turn off the router and lift it clear before inspecting your work. Look for any rough spots or chatter marks. A sharp chisel can clean up corners, and light sanding will smooth any remaining surface roughness.
Using a Router Bit for Door Hinges

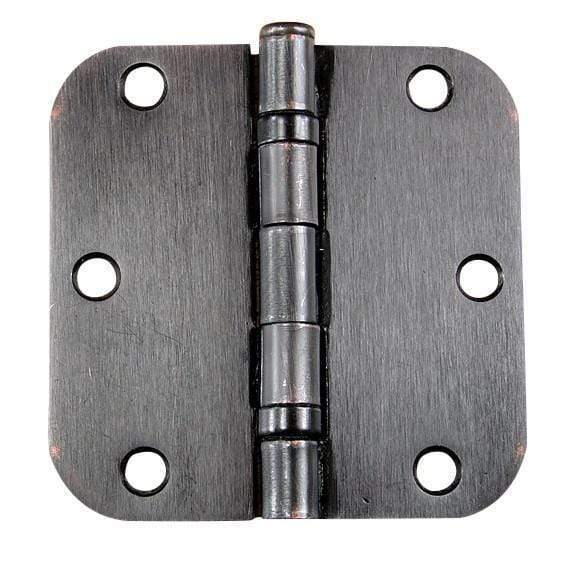
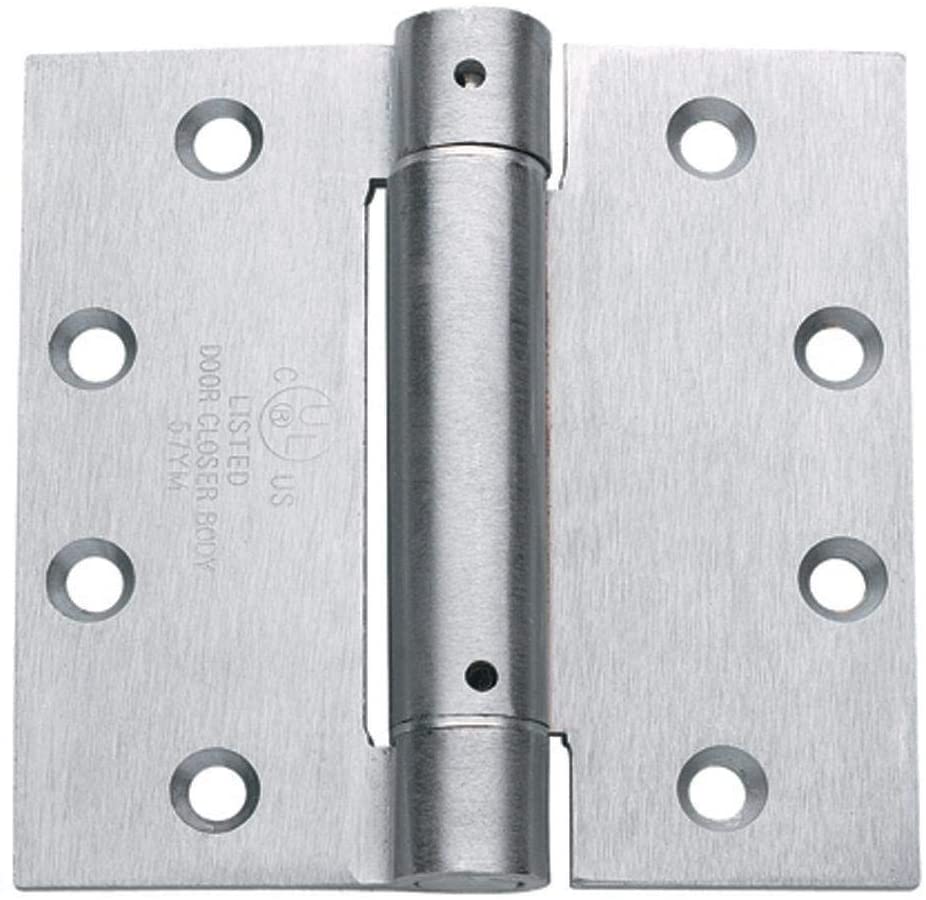
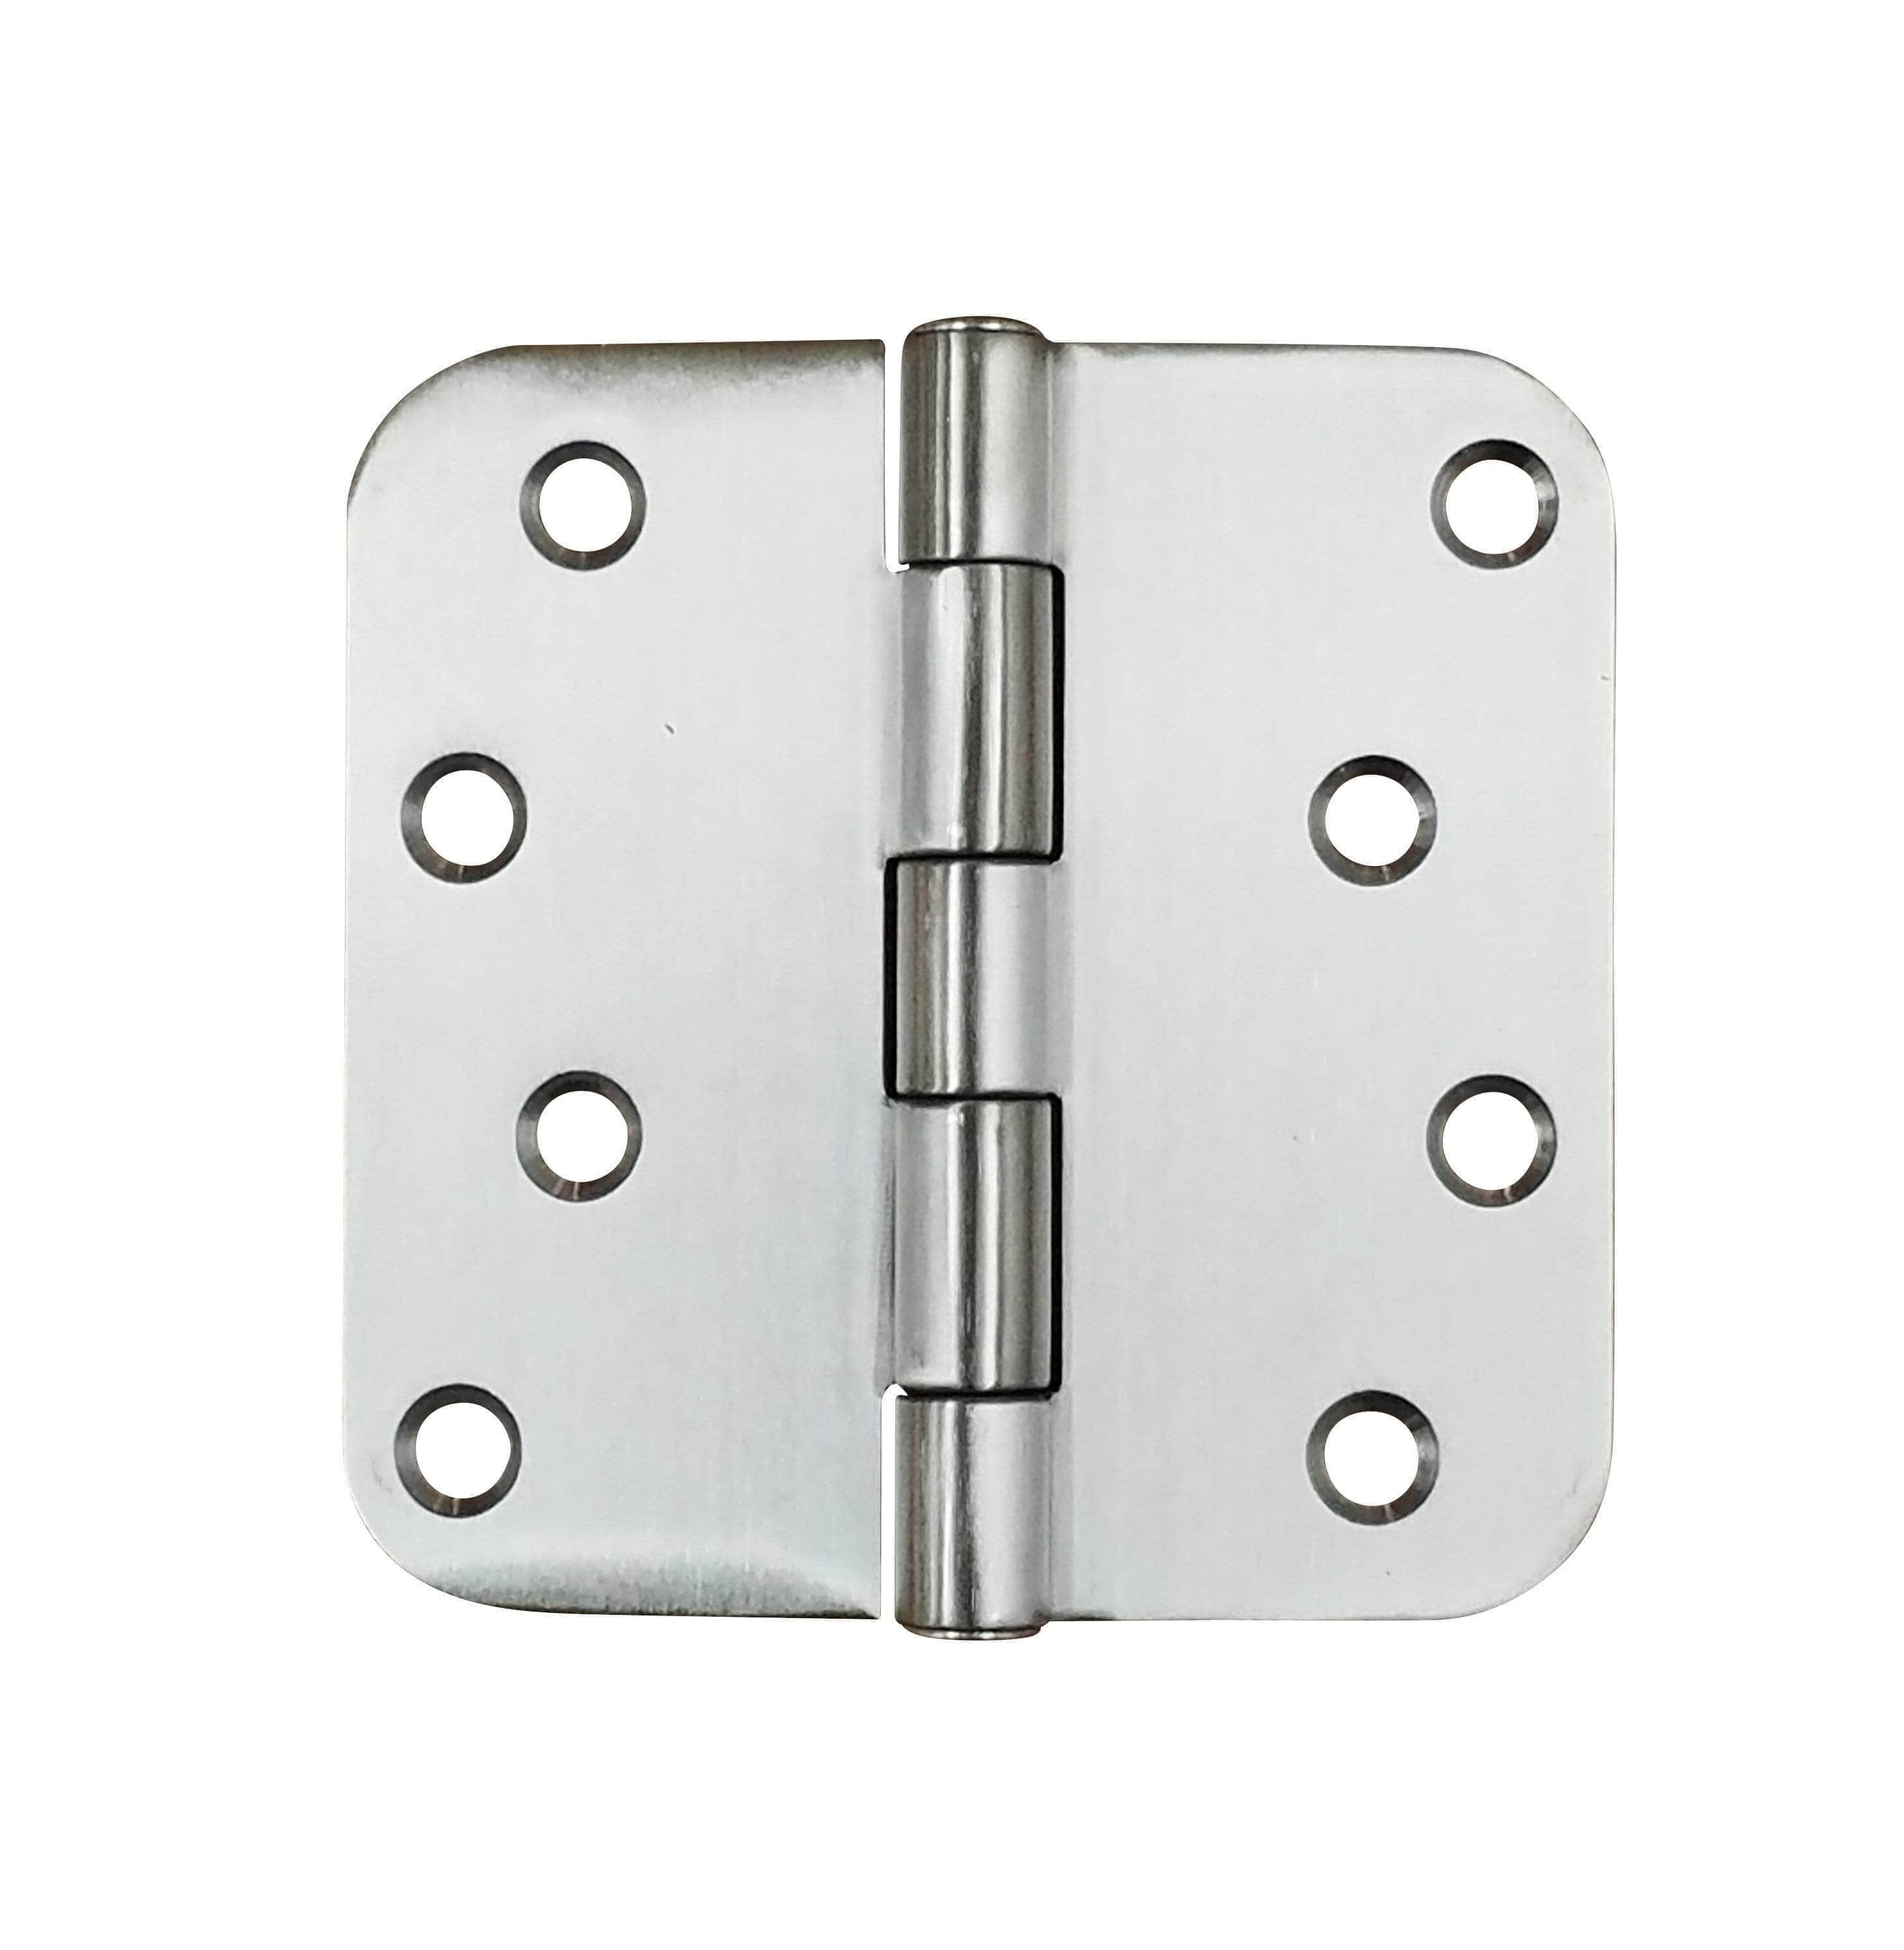
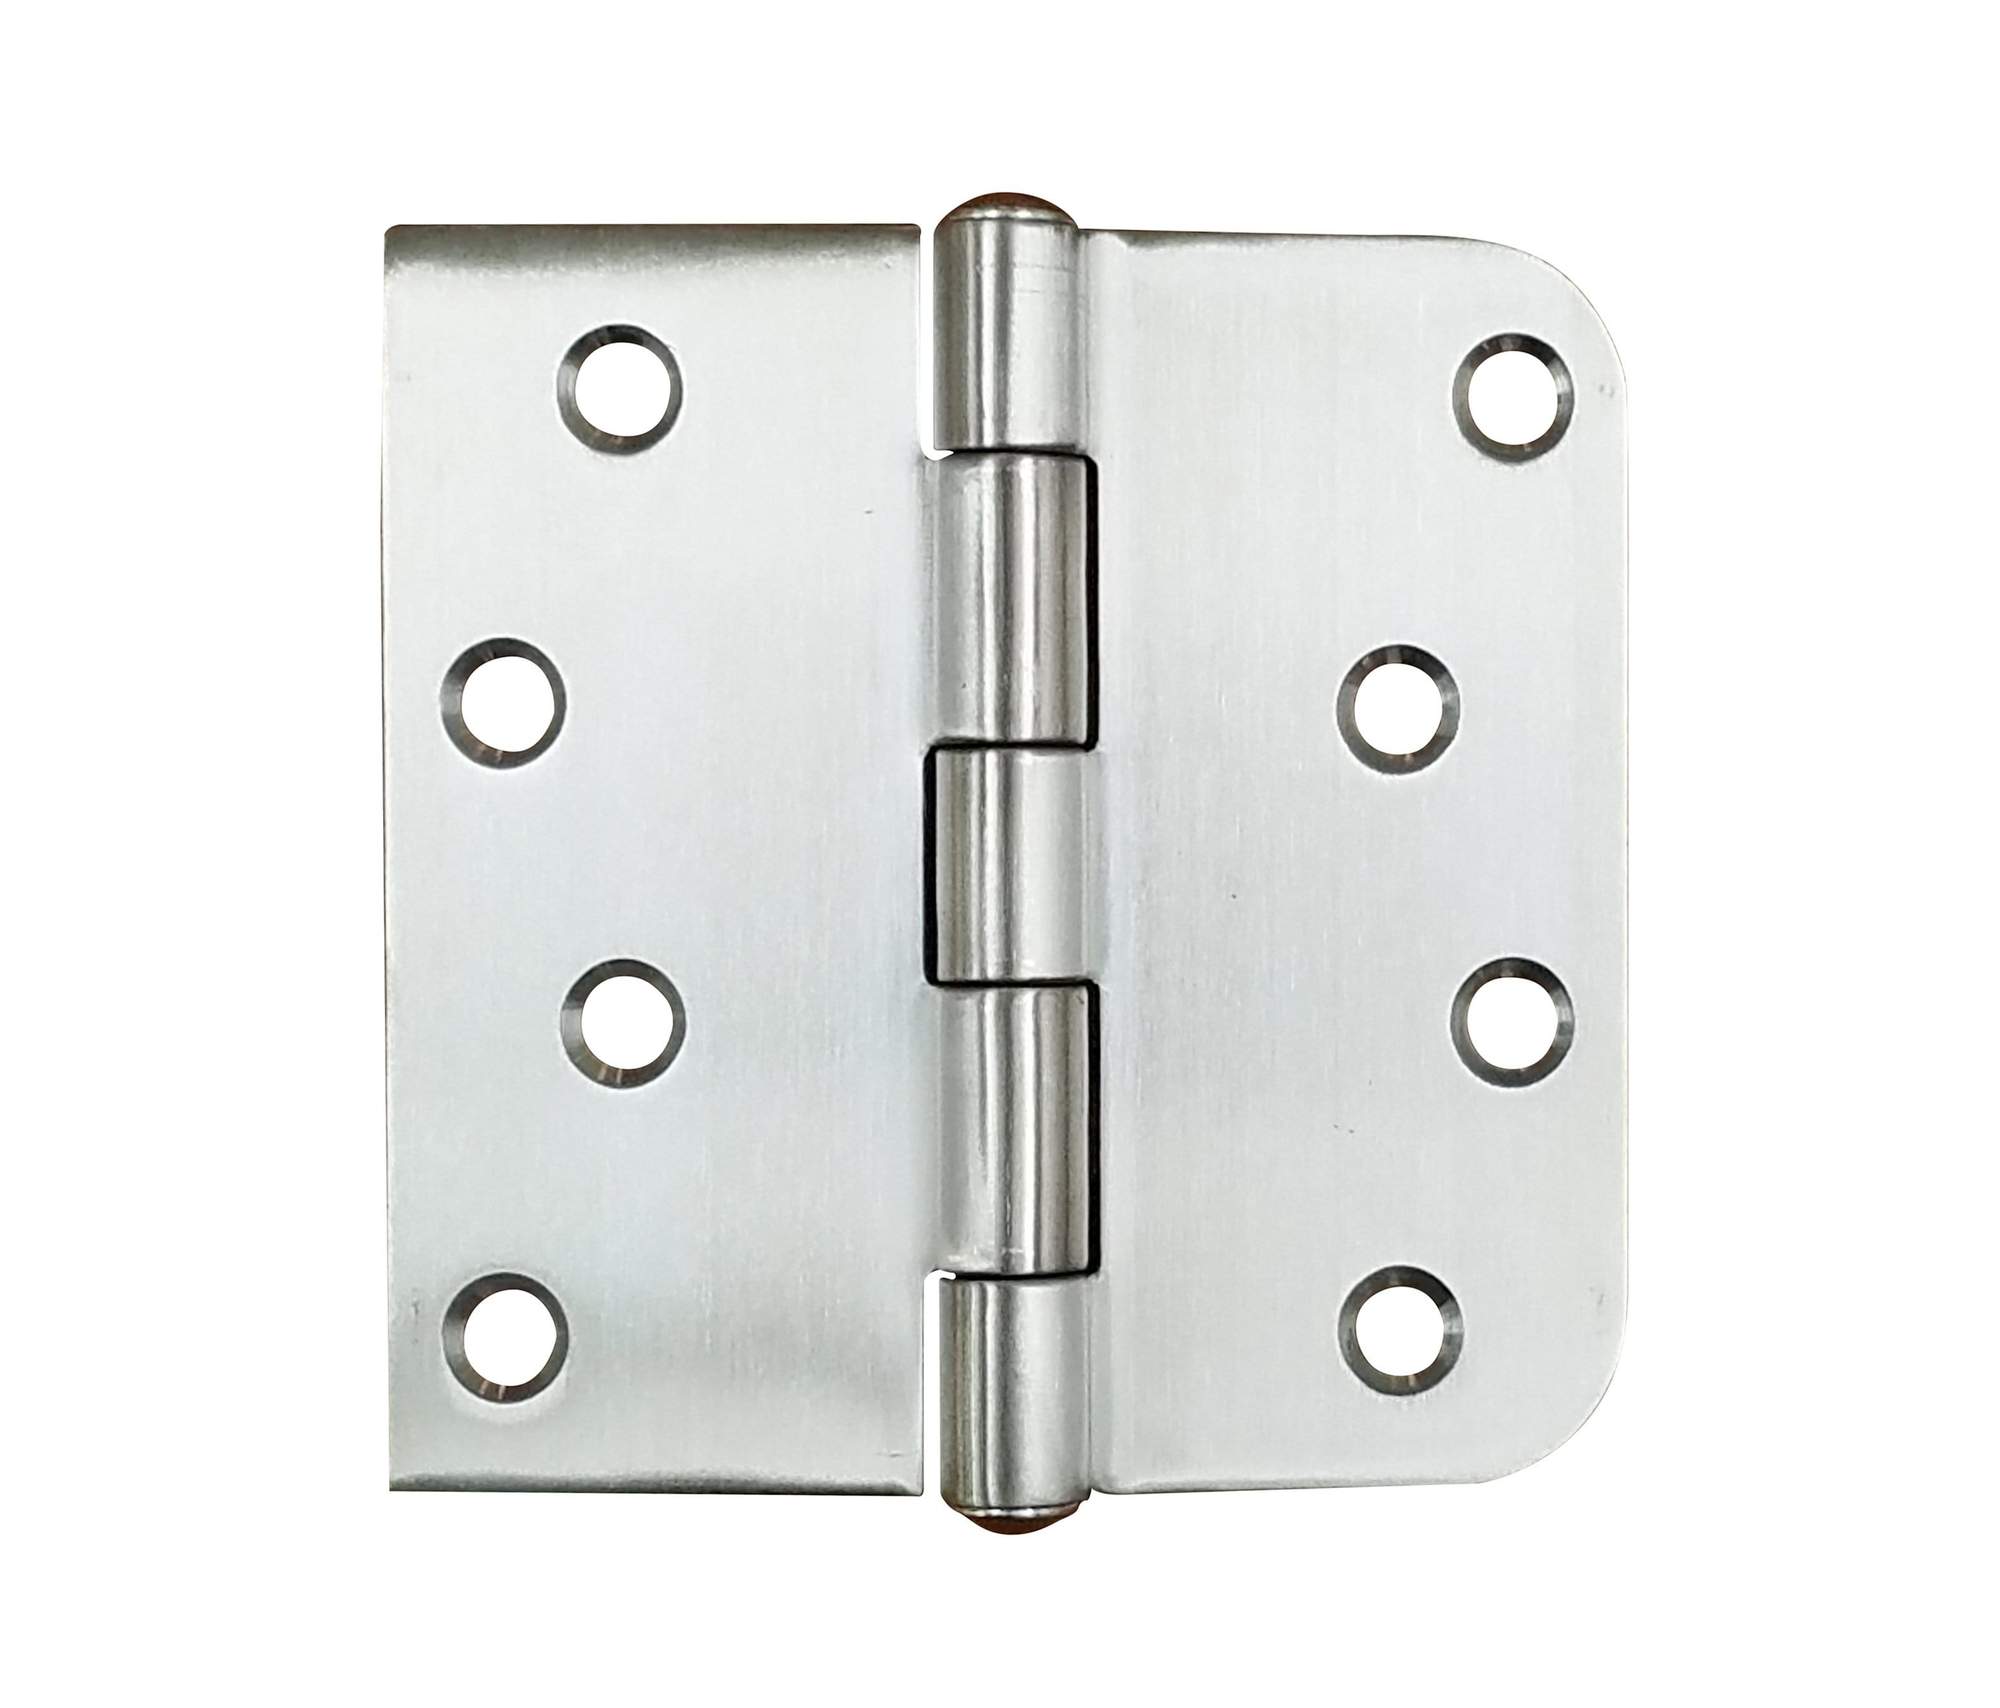
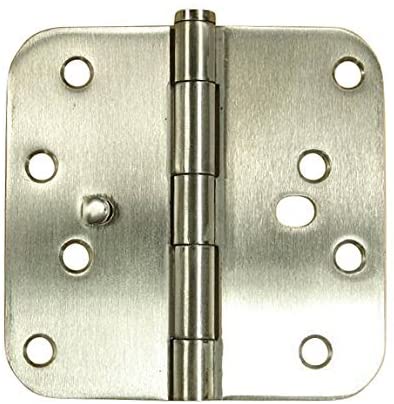
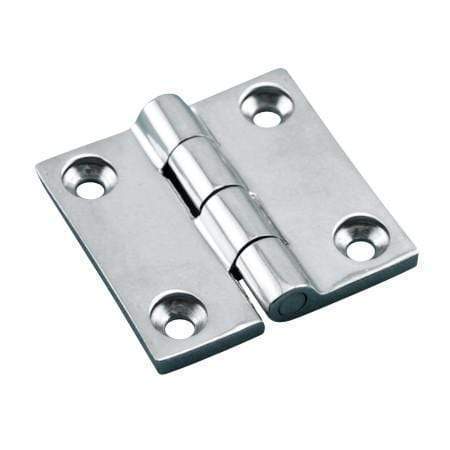
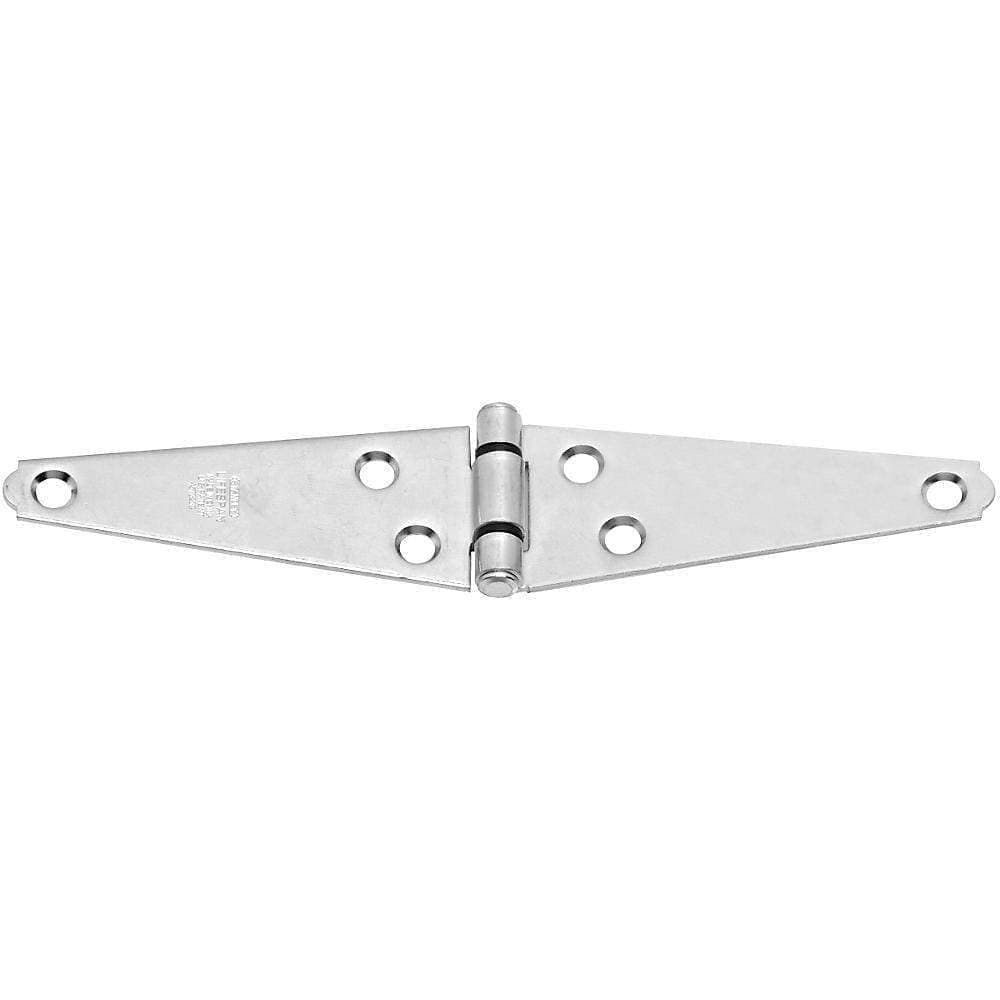
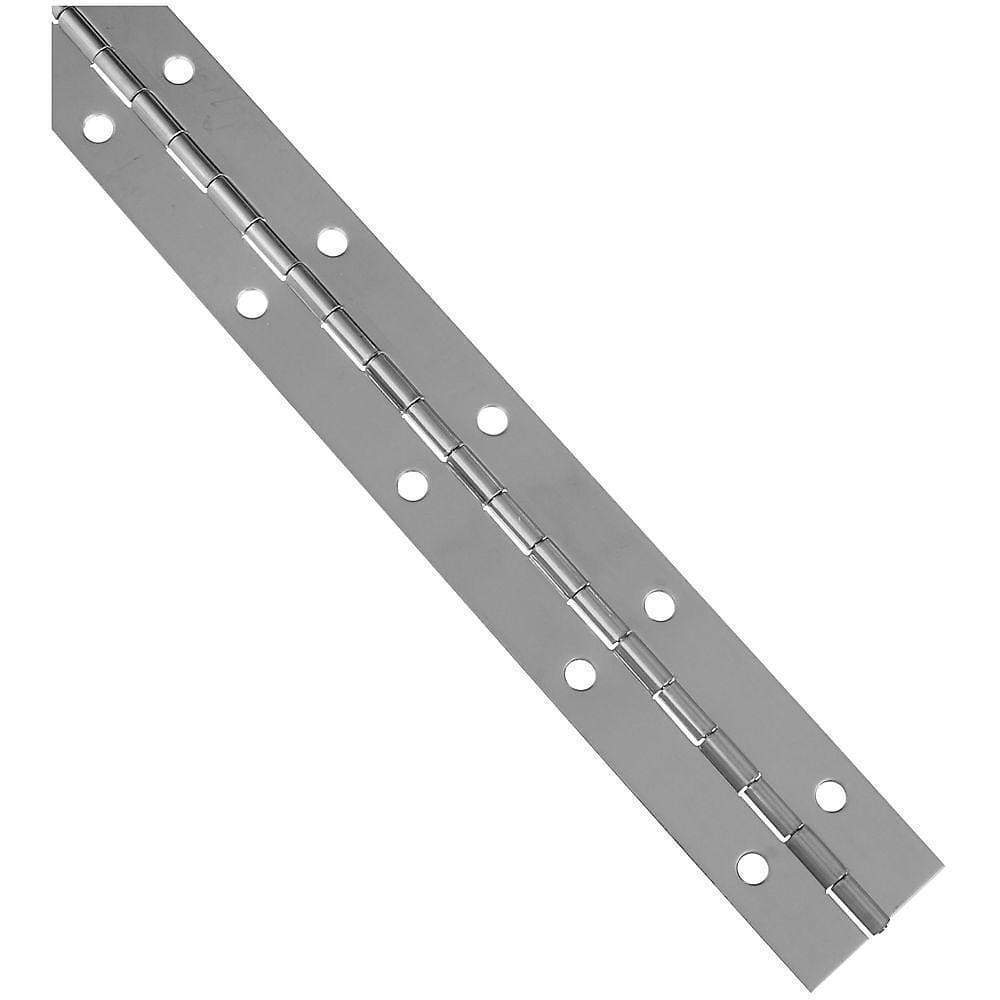
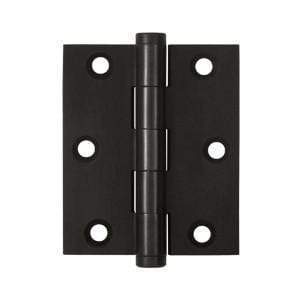
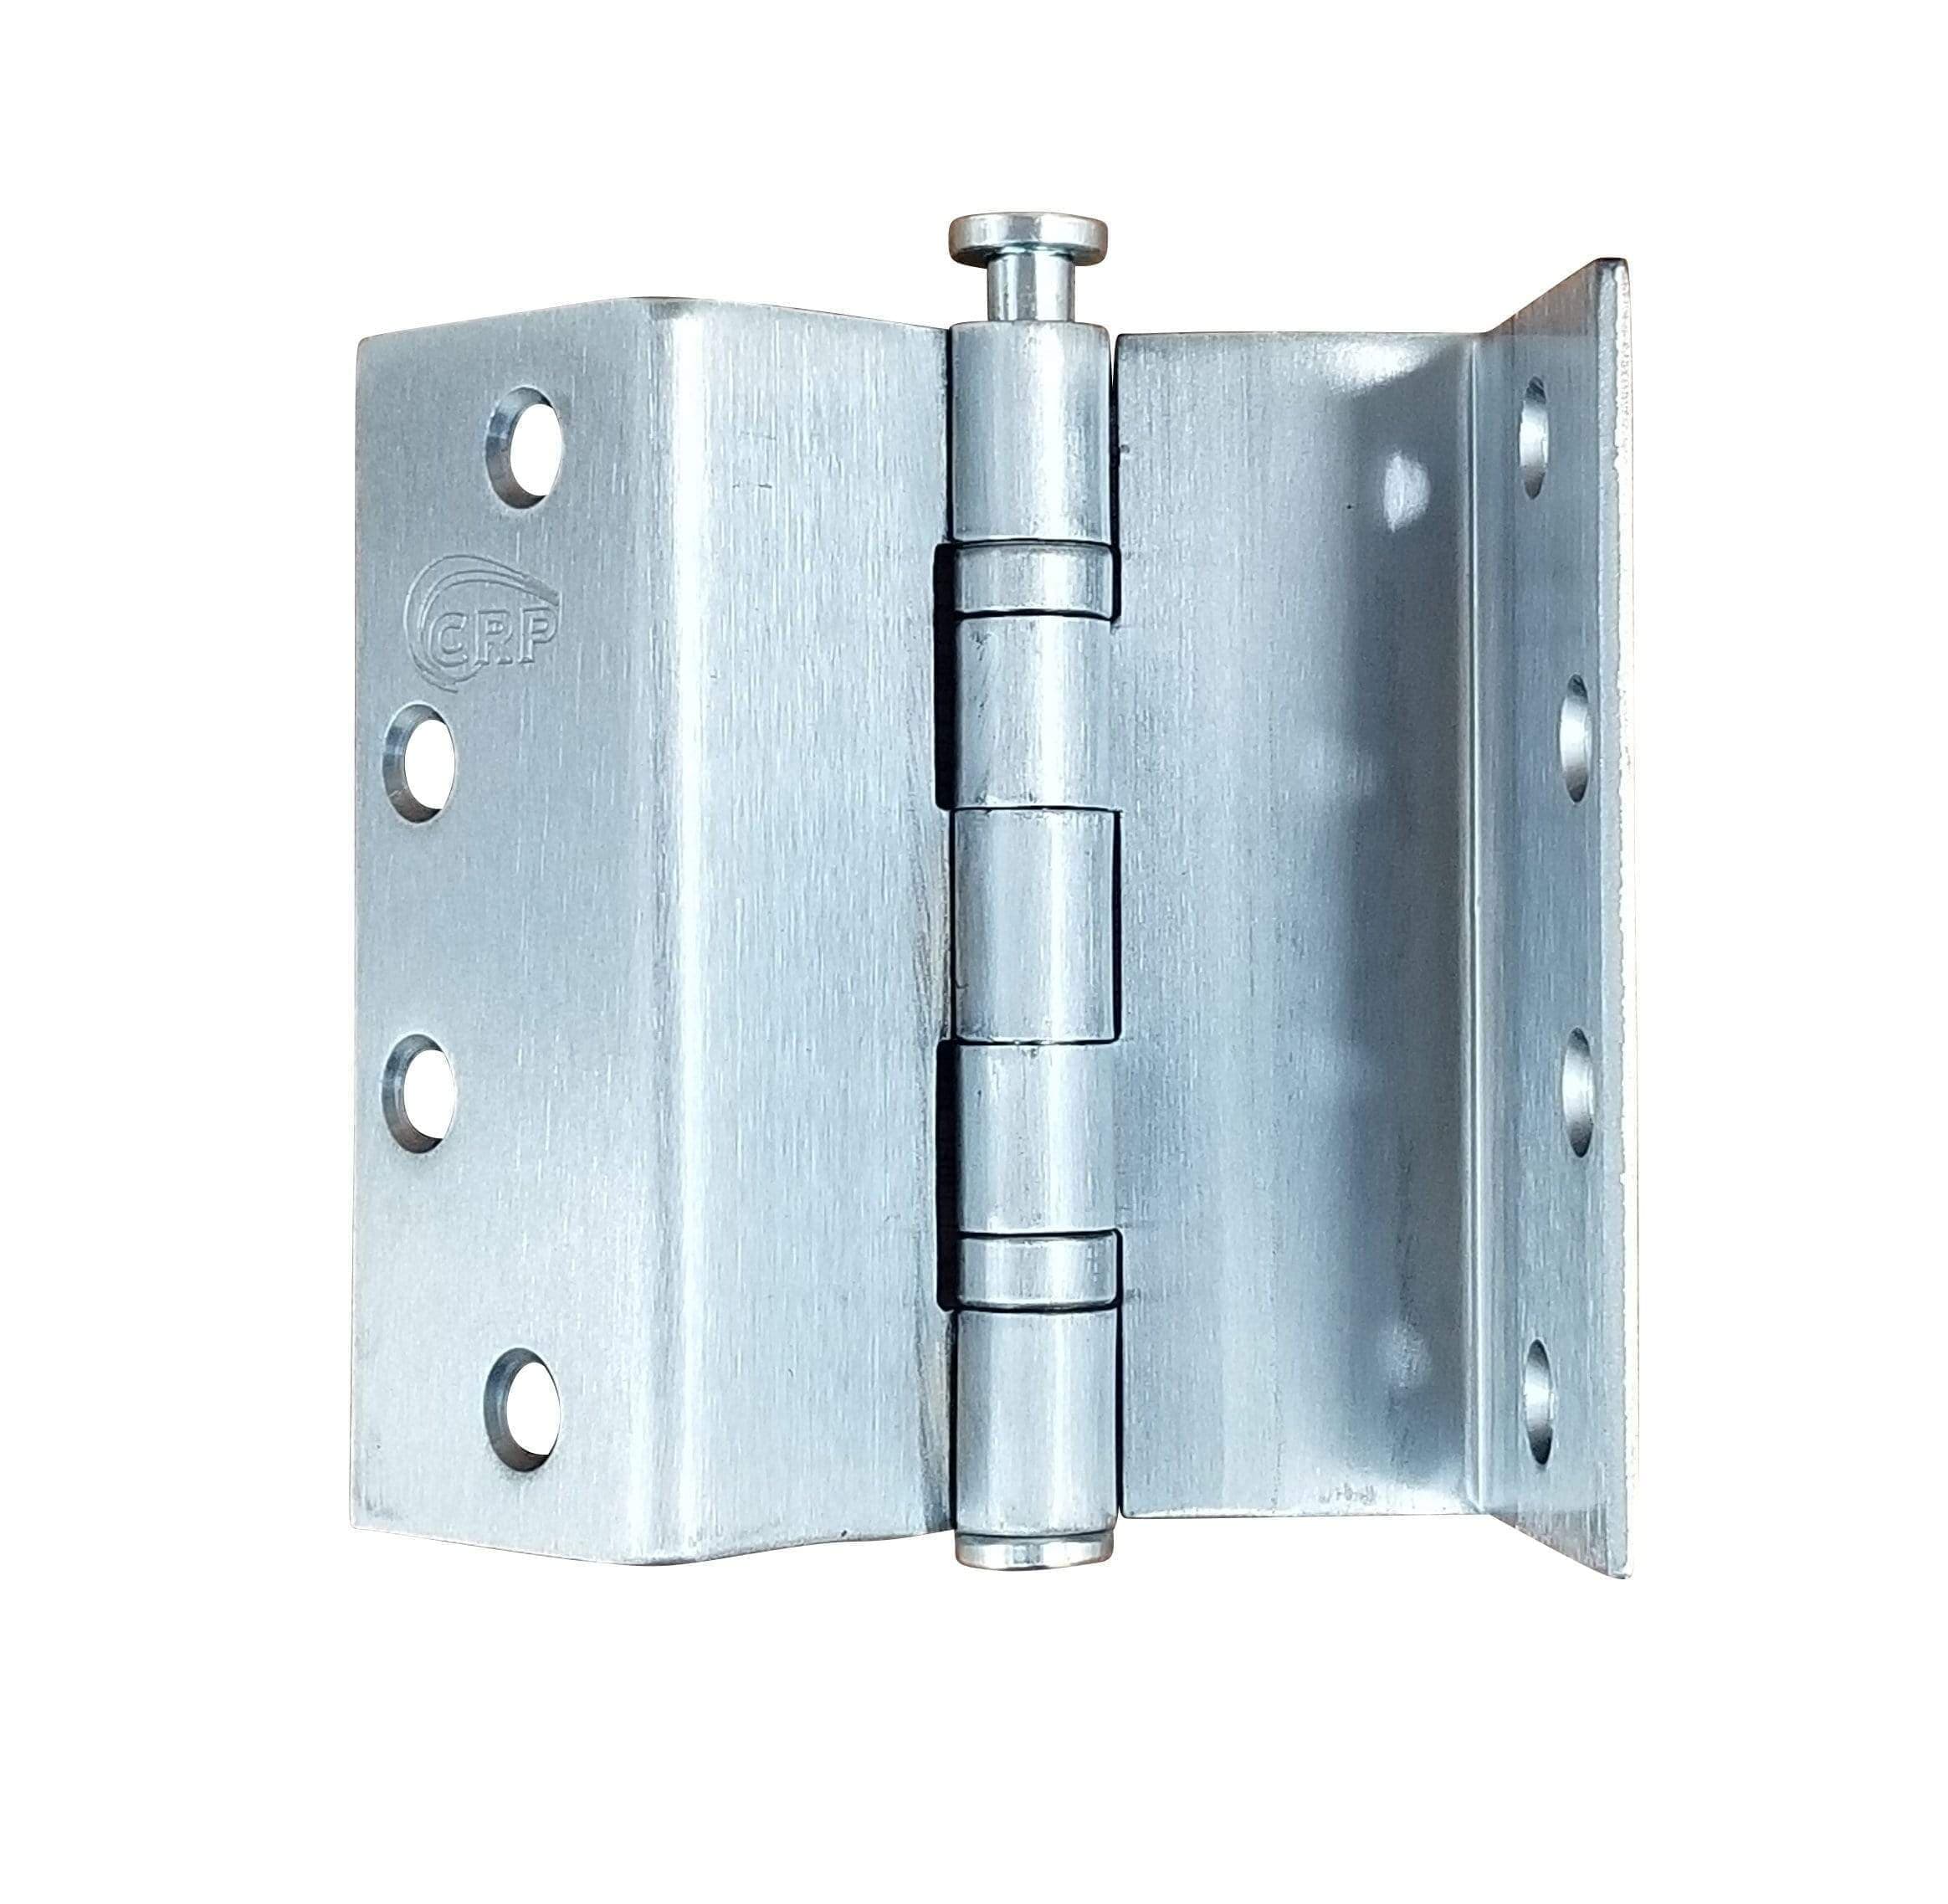
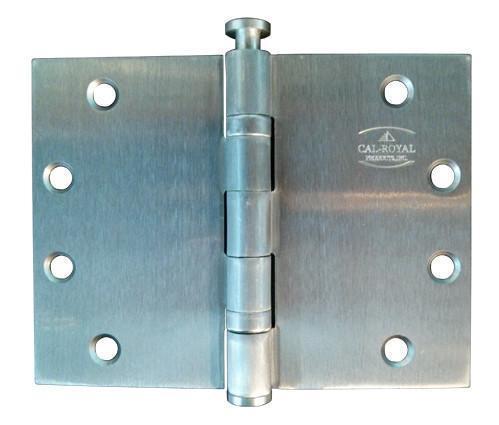
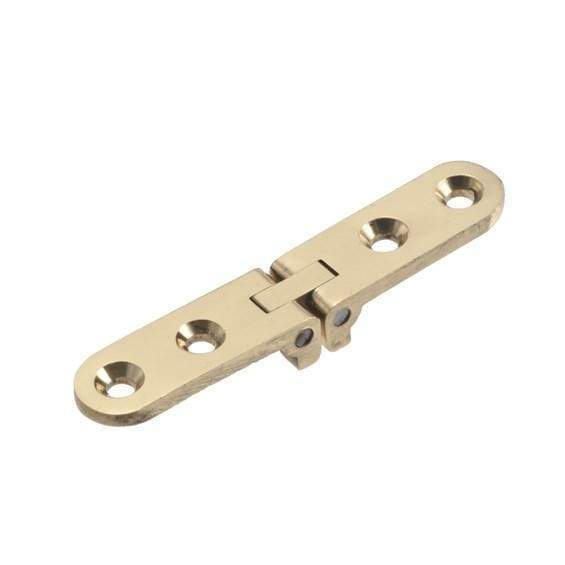
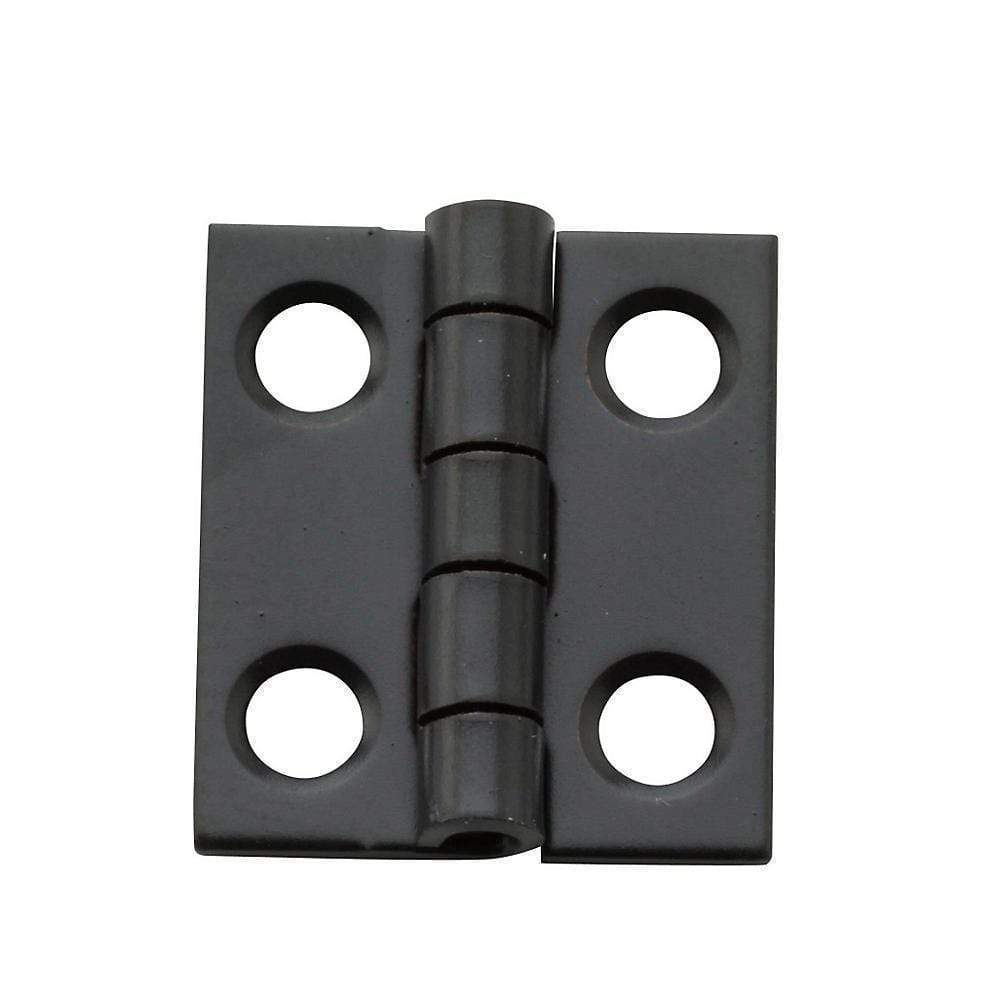
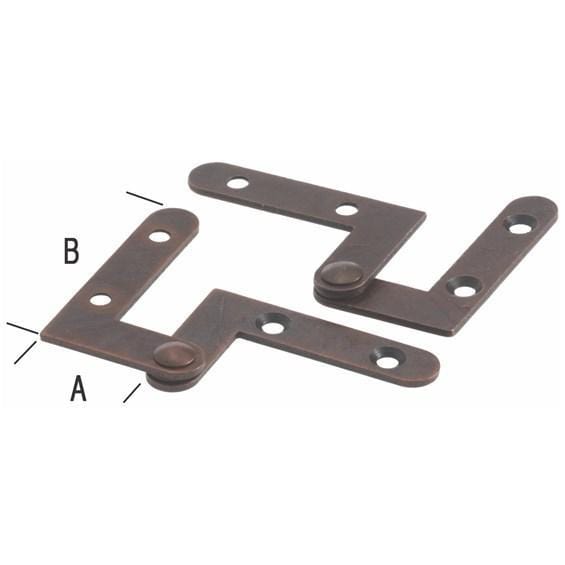
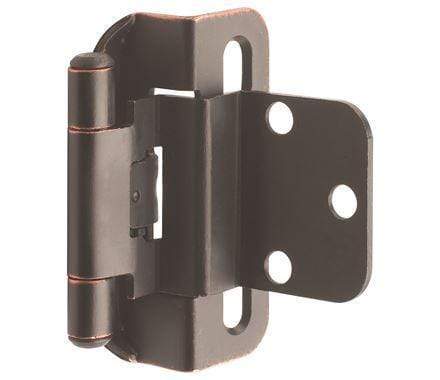
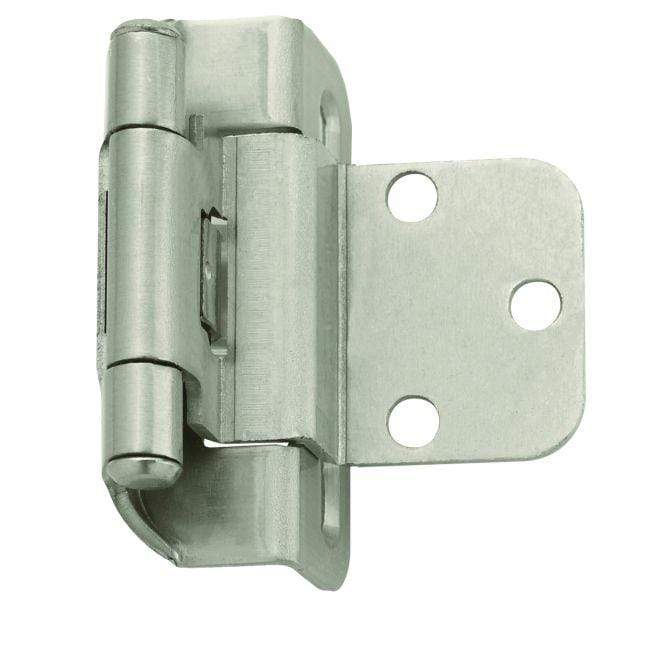
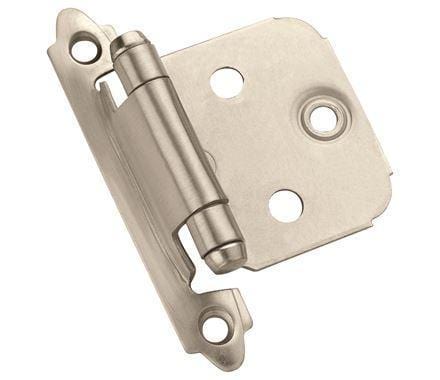
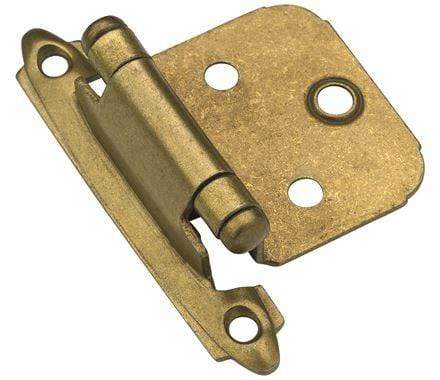
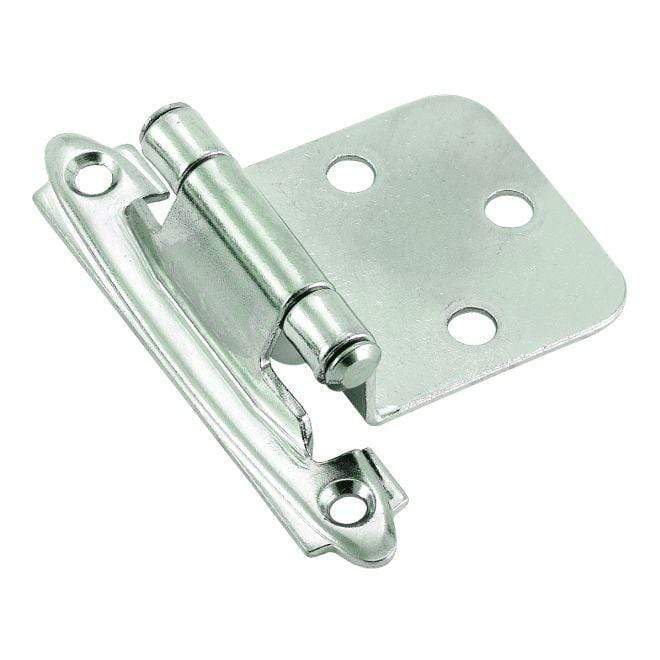
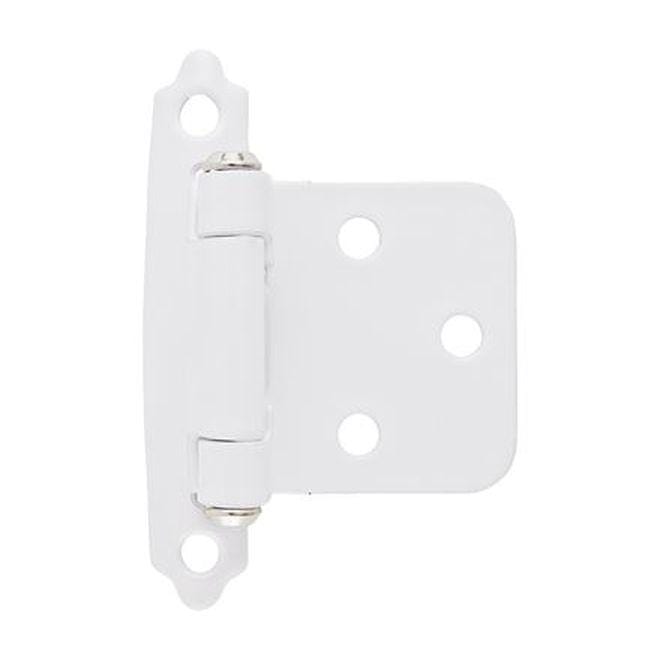
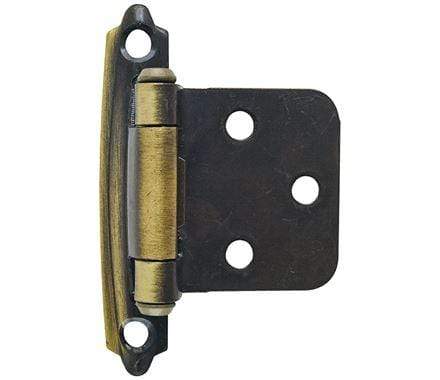
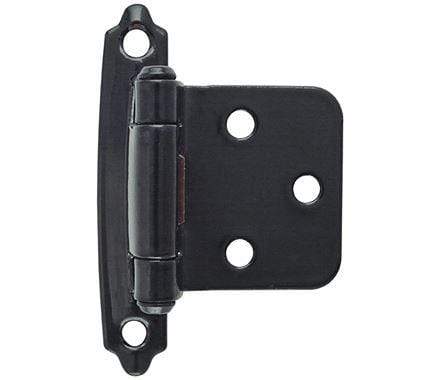
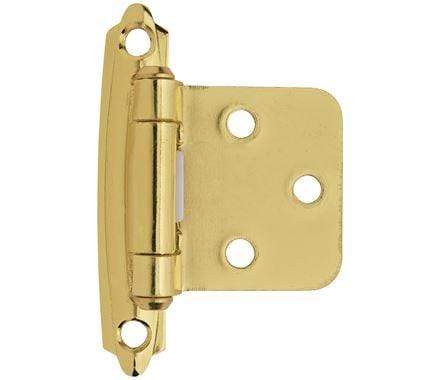
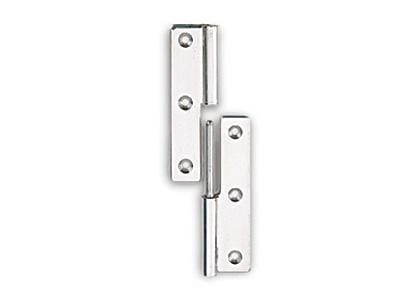
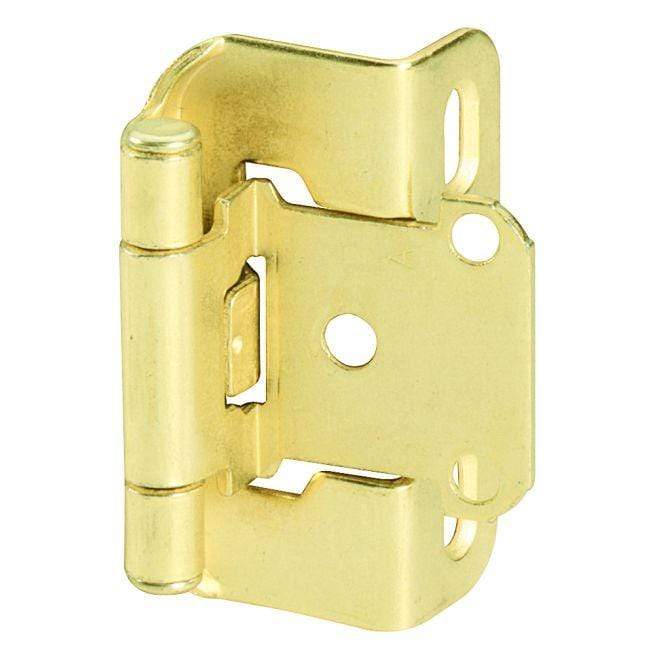
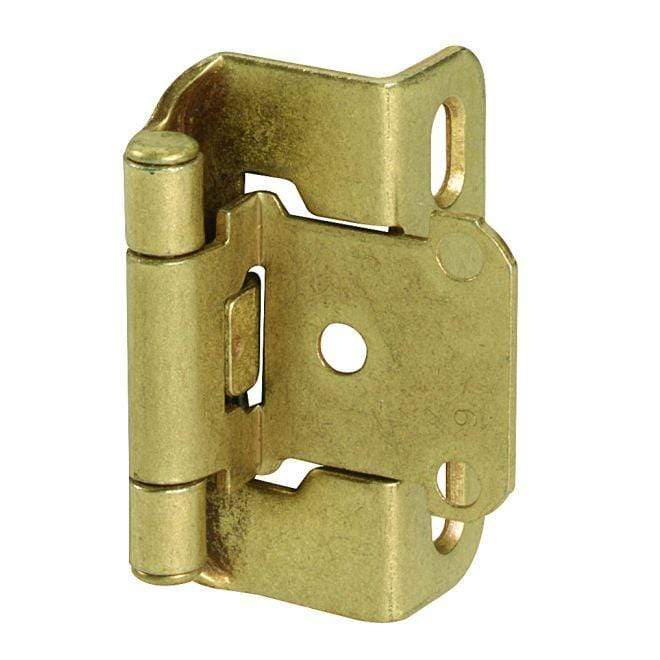
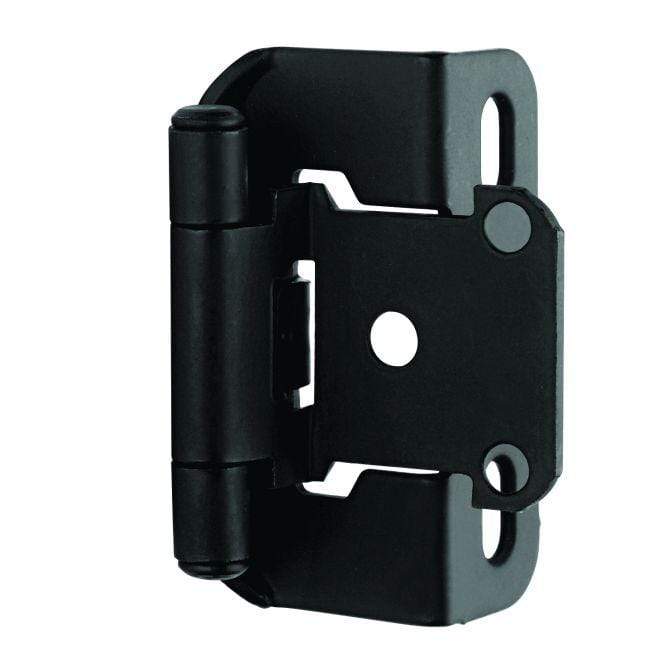
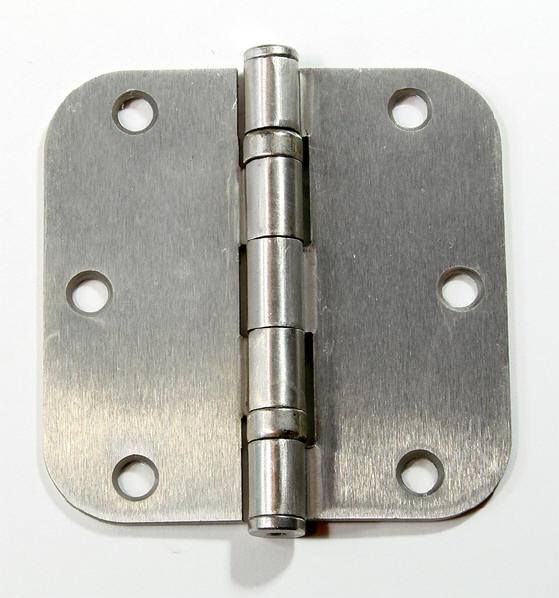
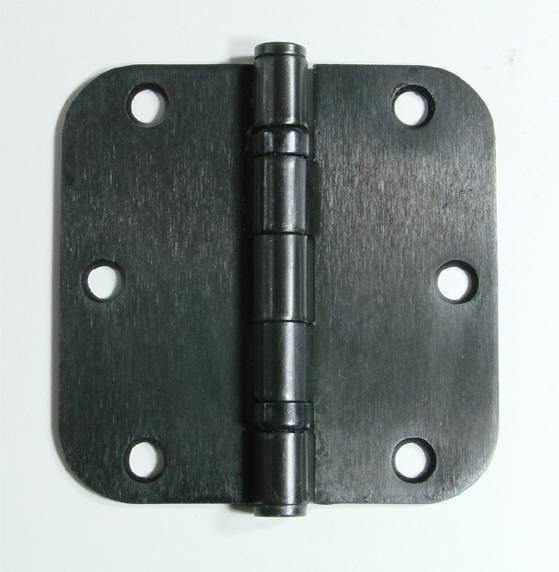
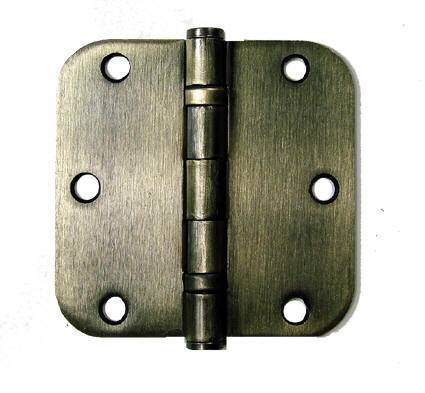
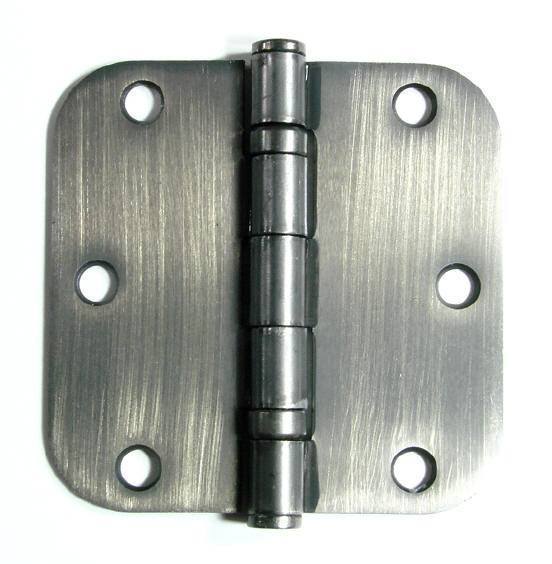
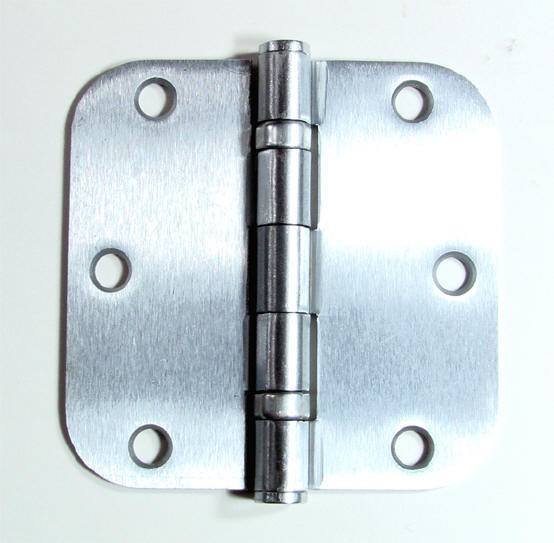
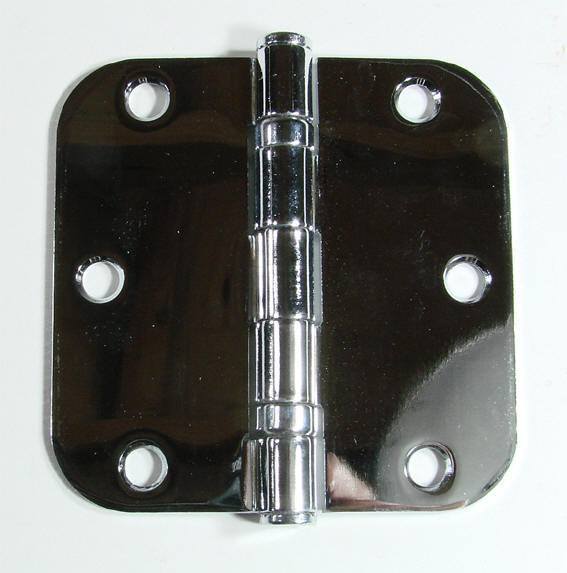
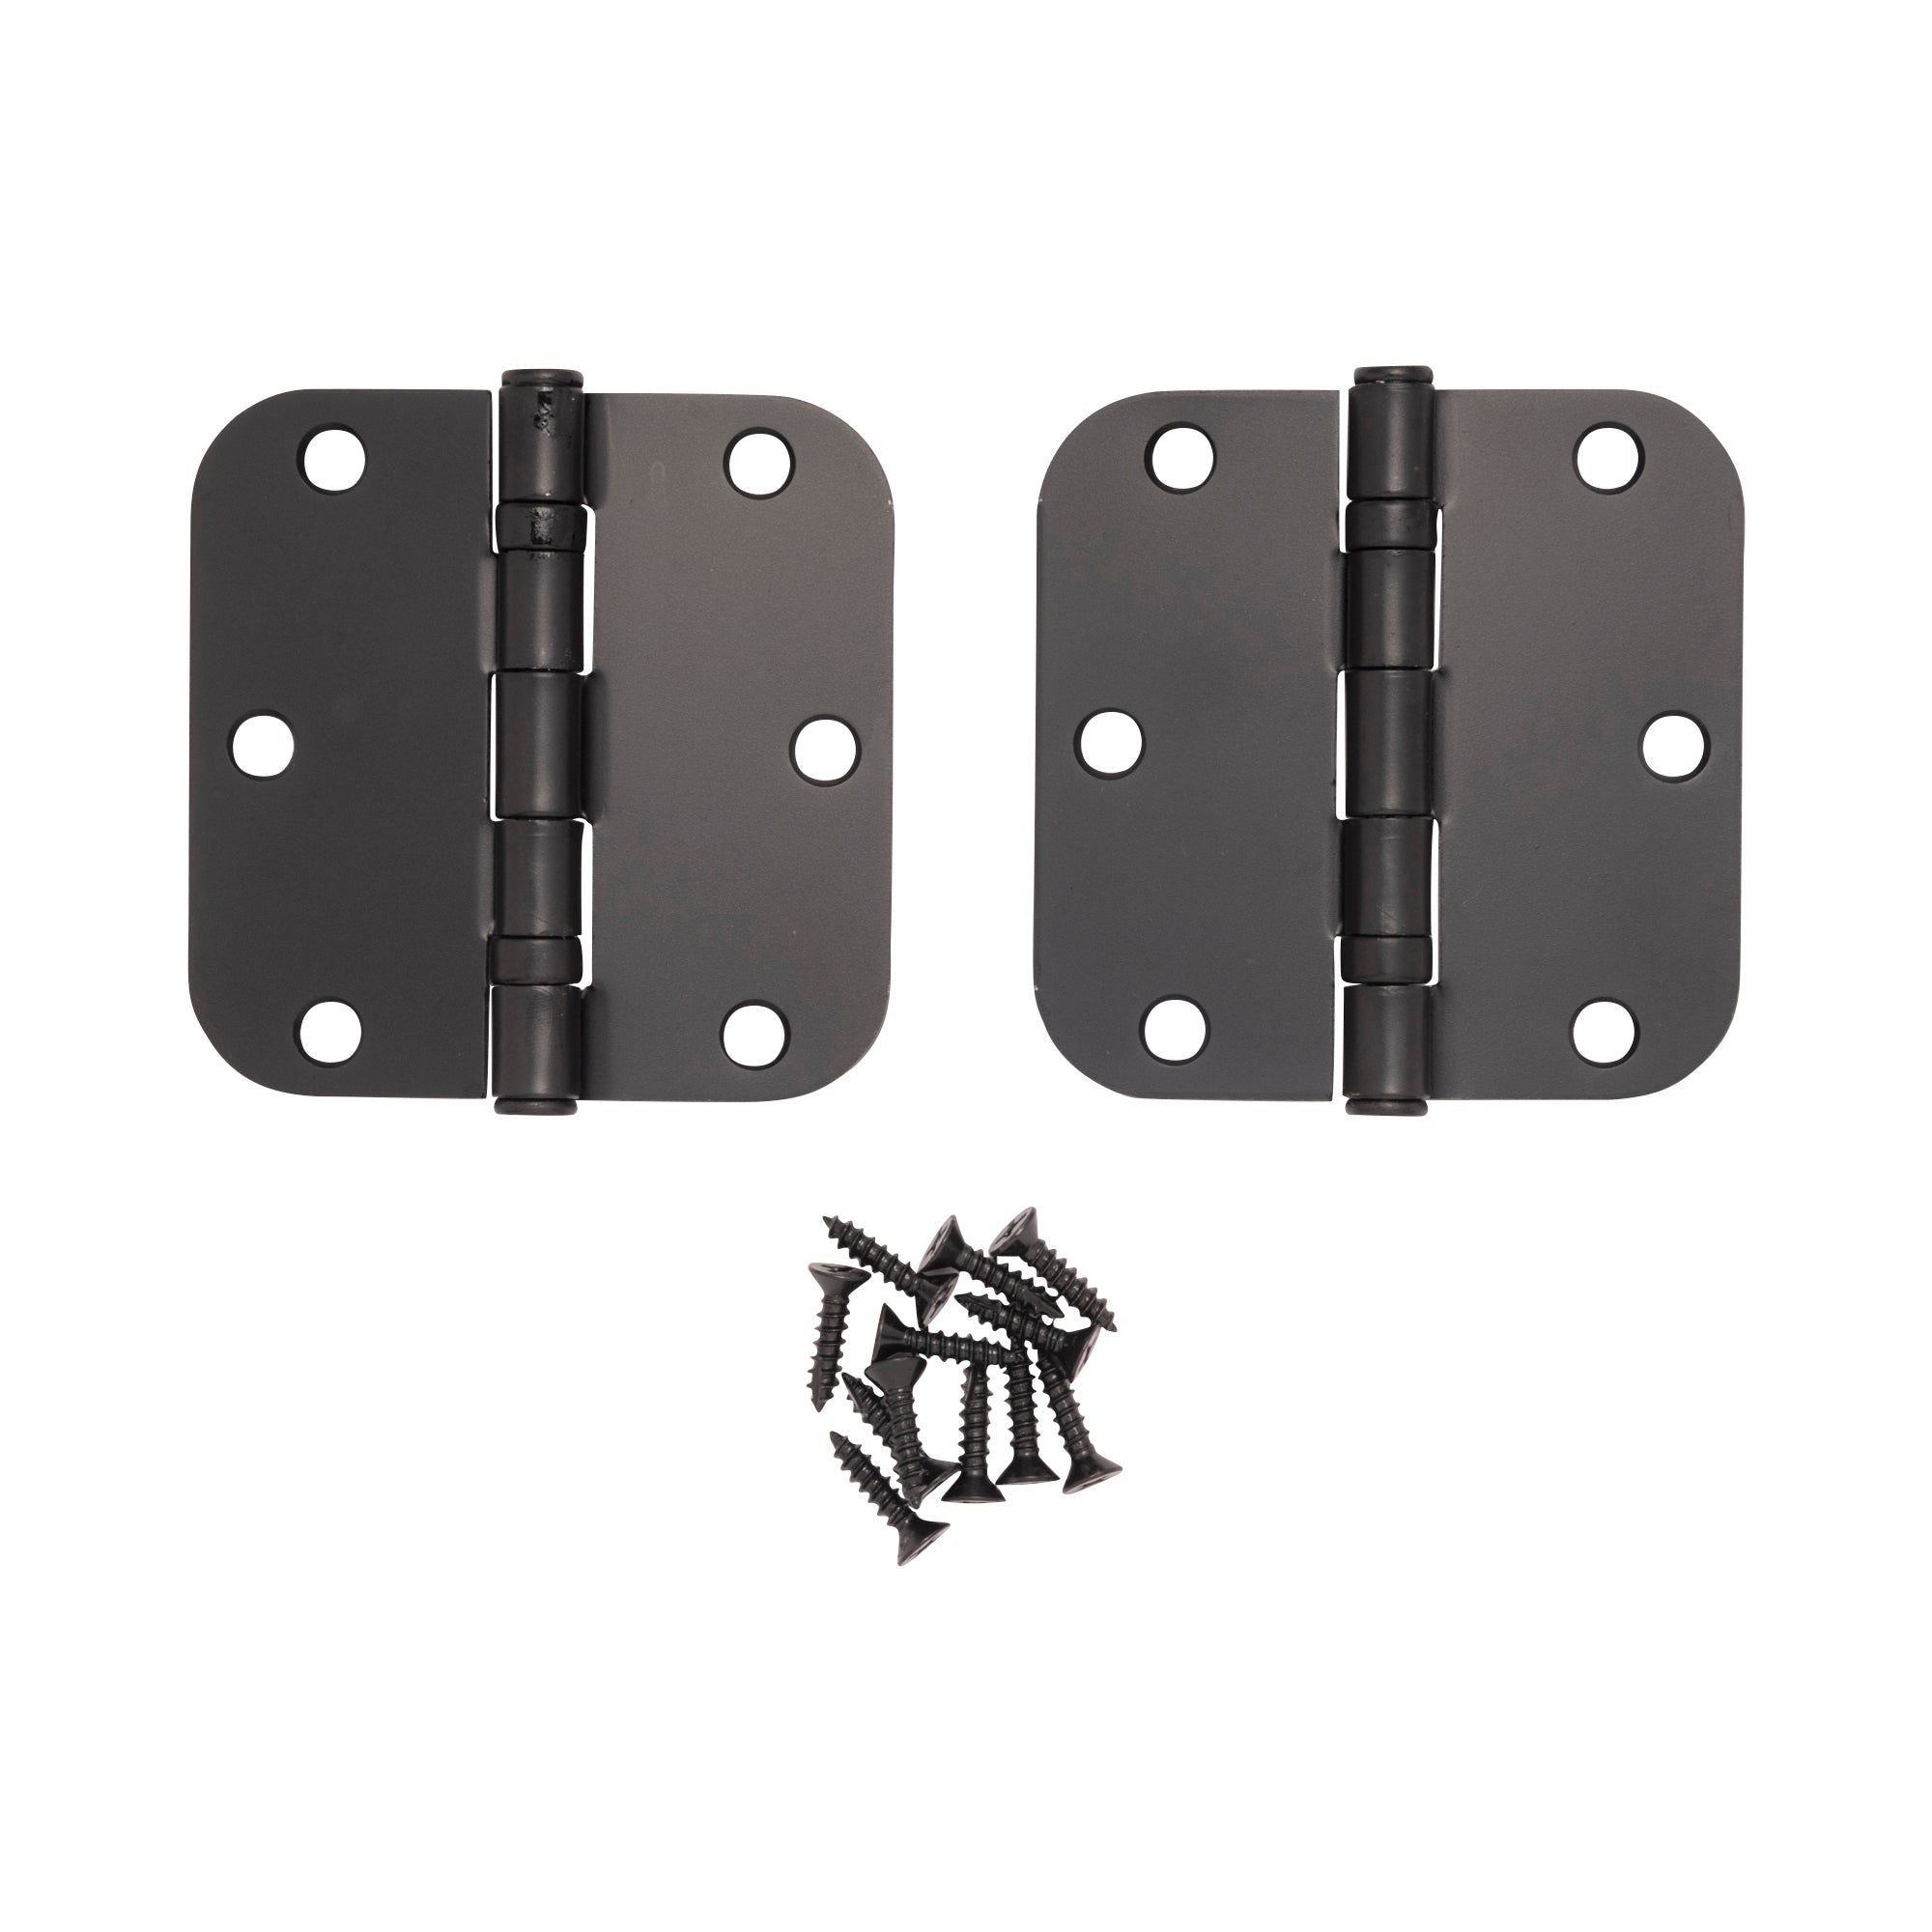
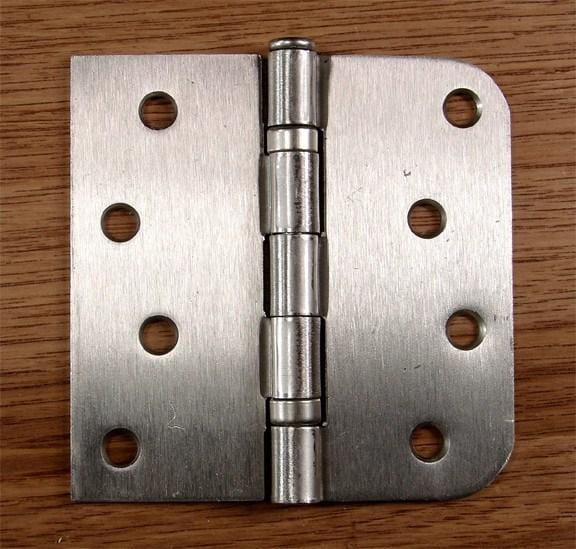
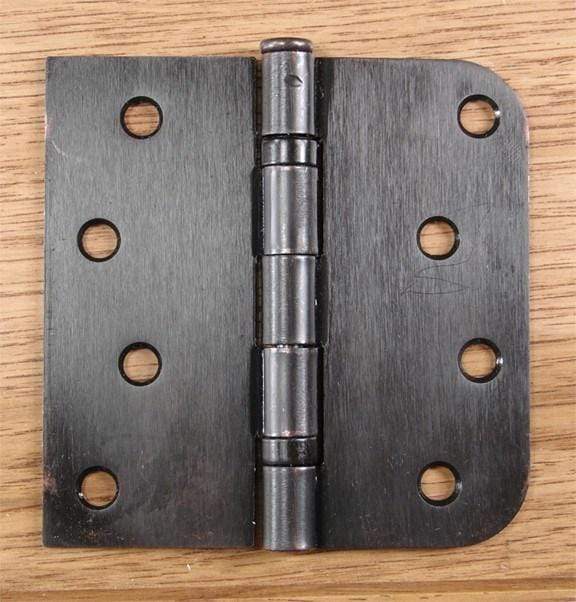
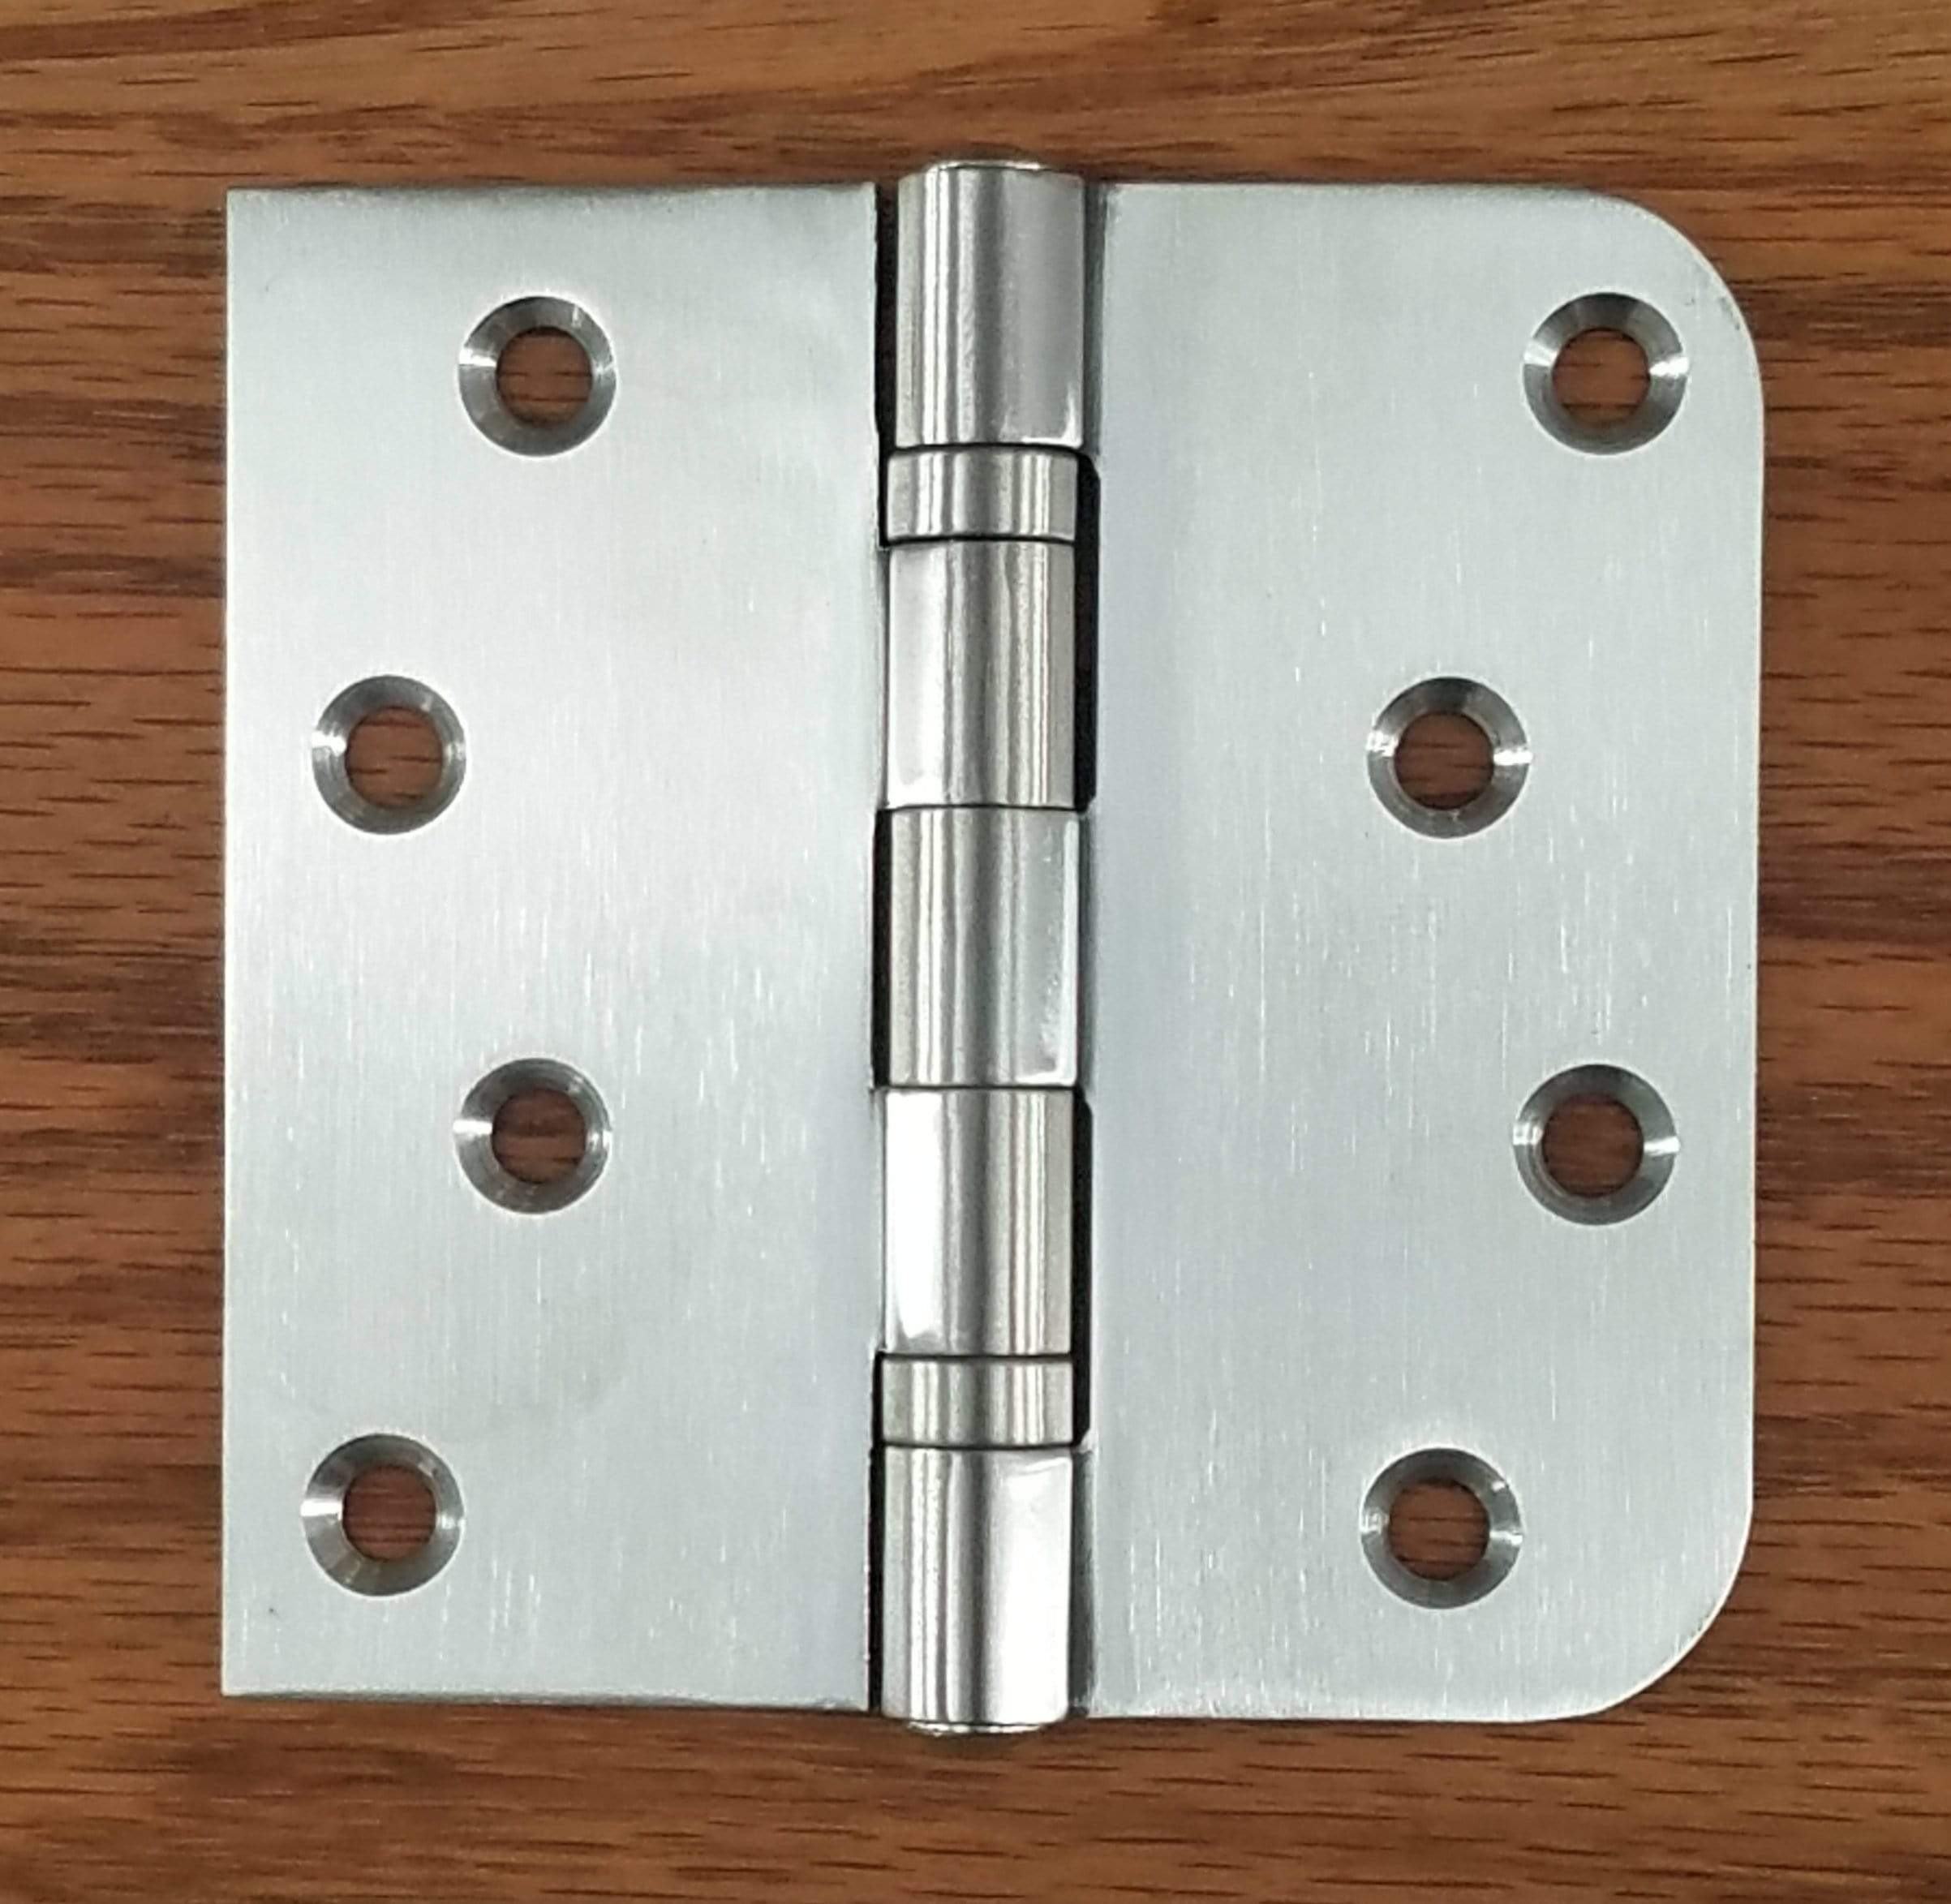
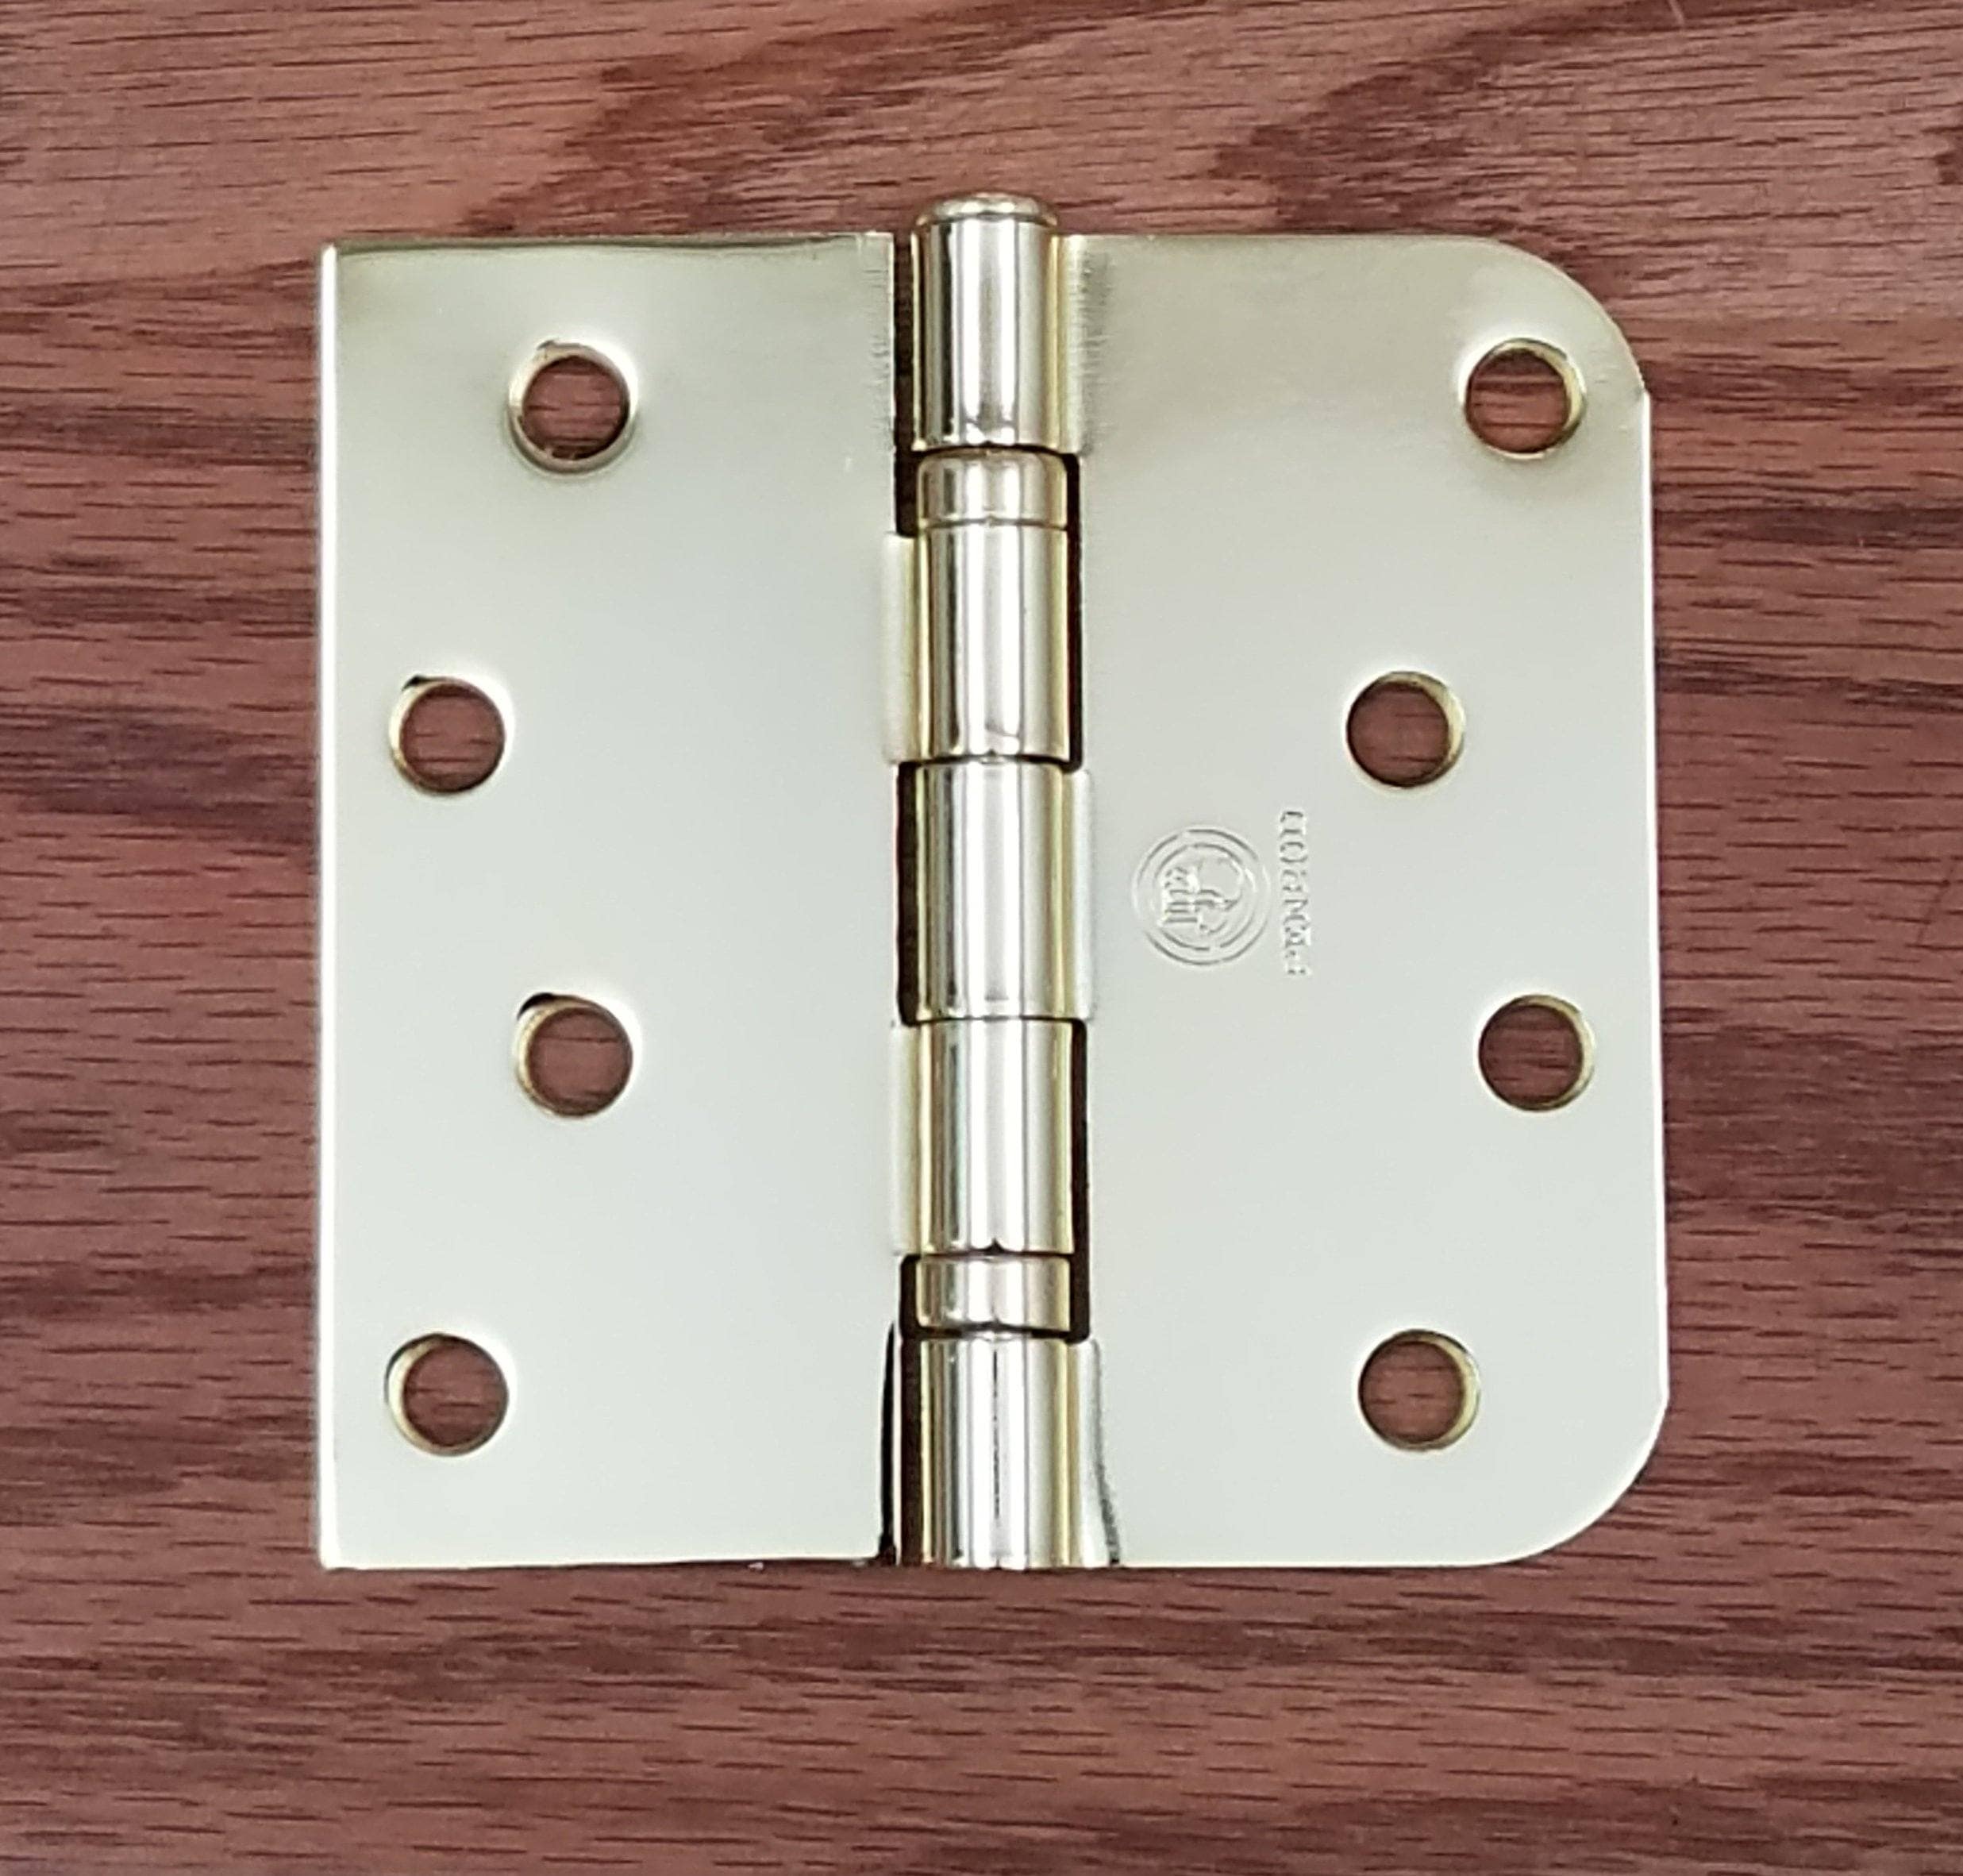
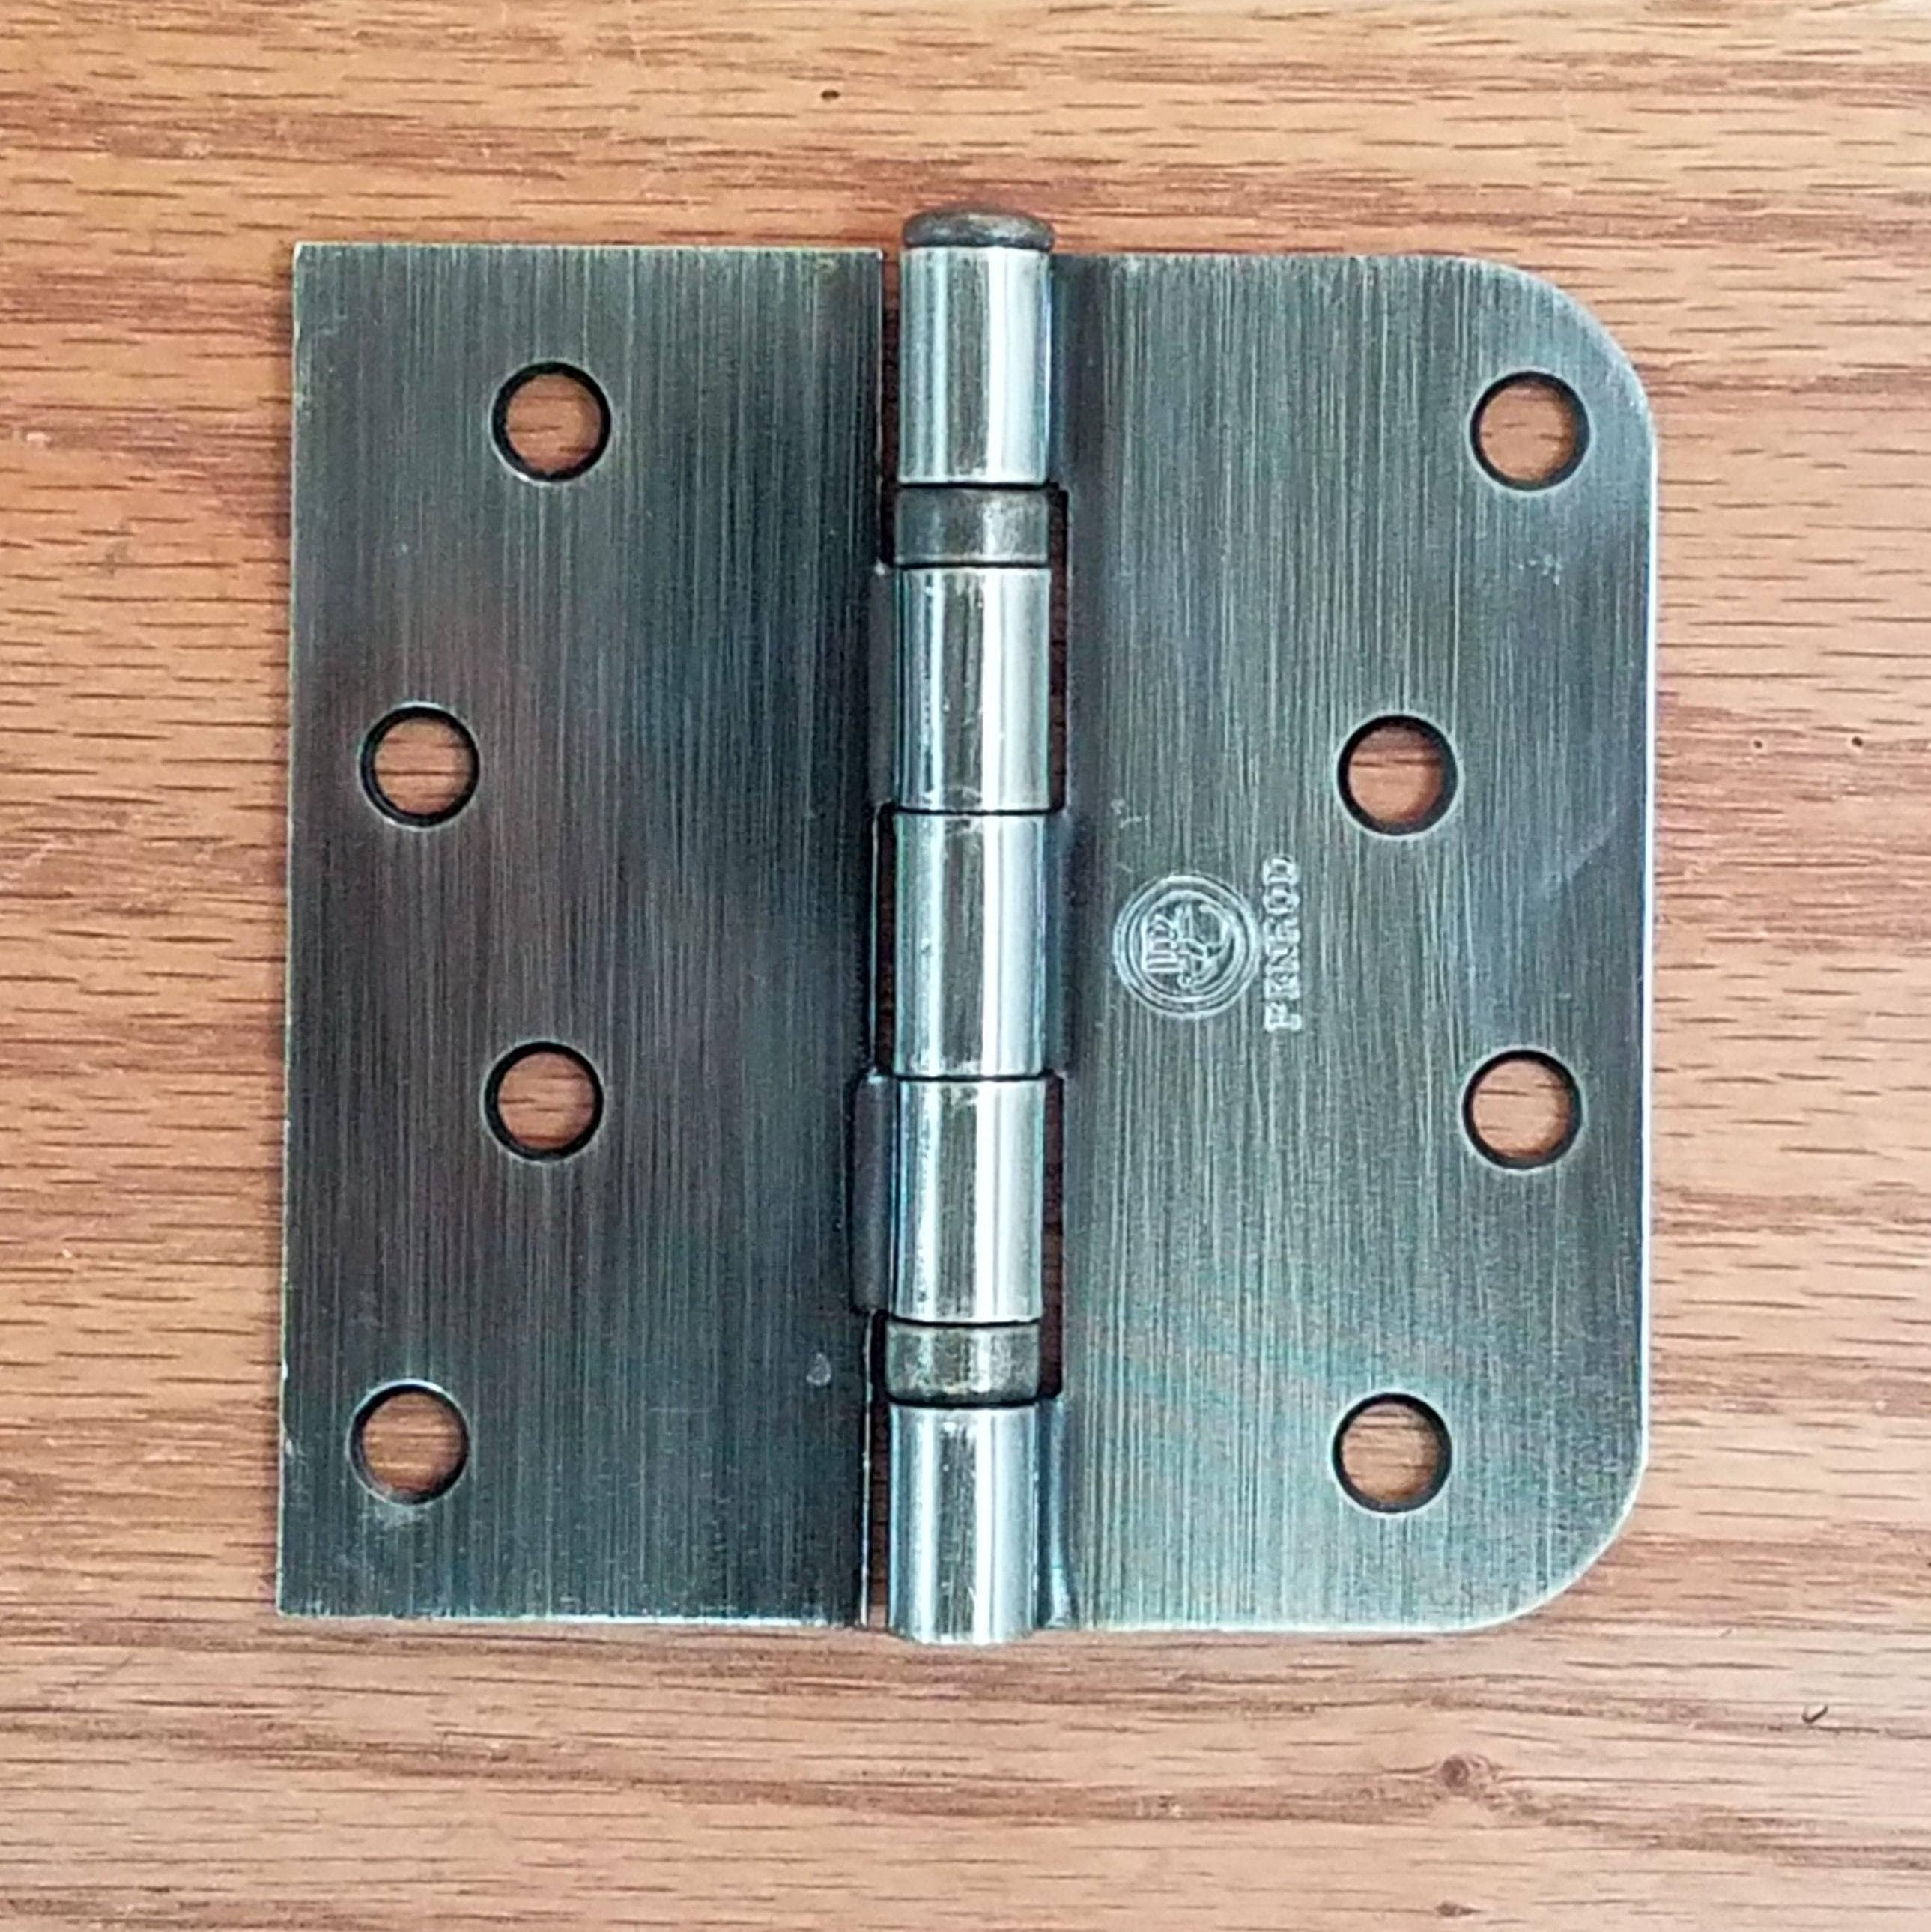
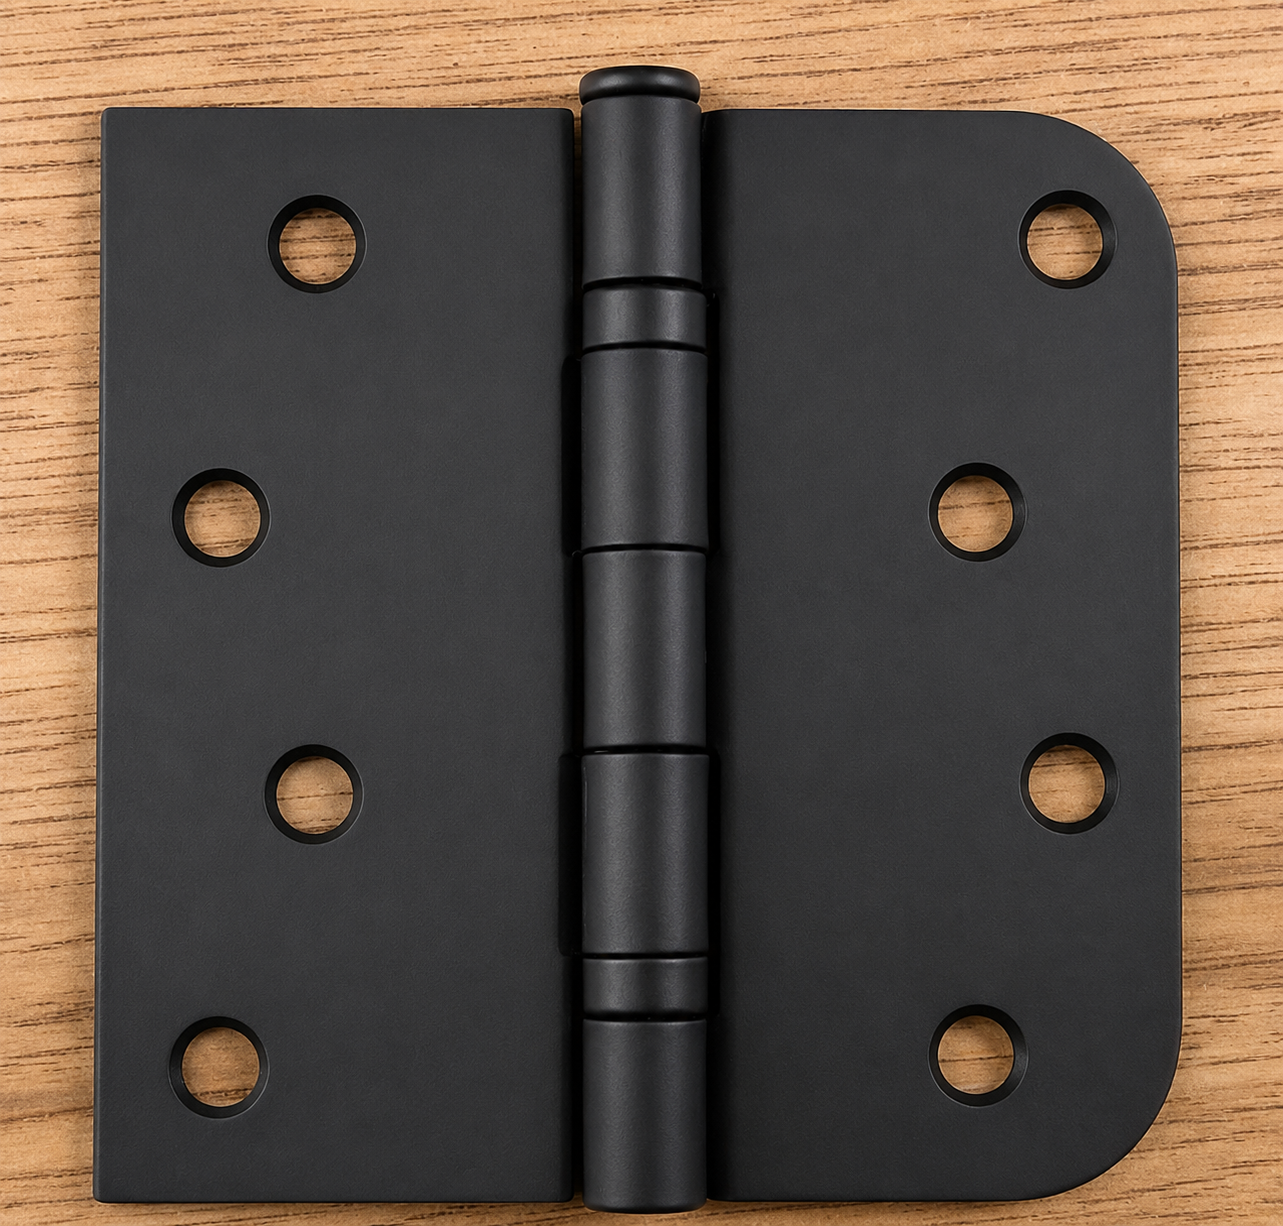
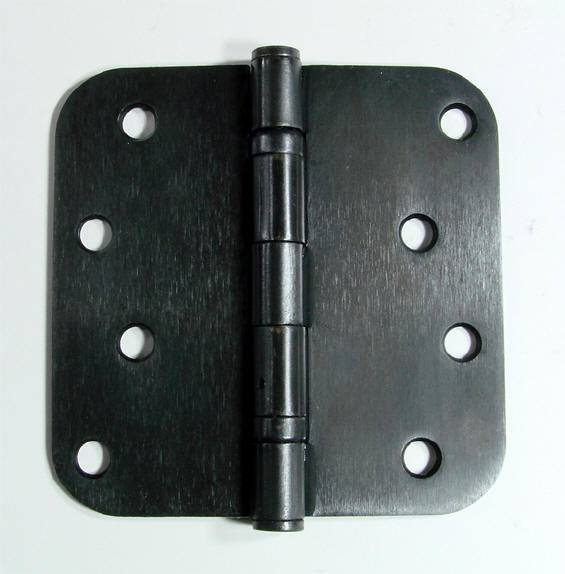
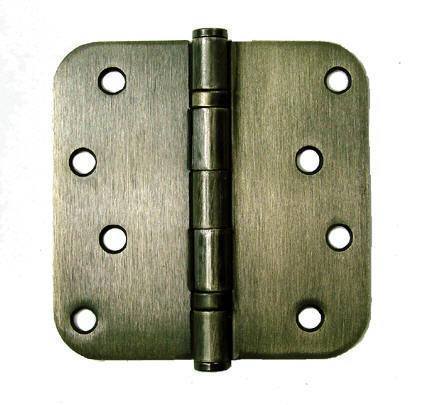
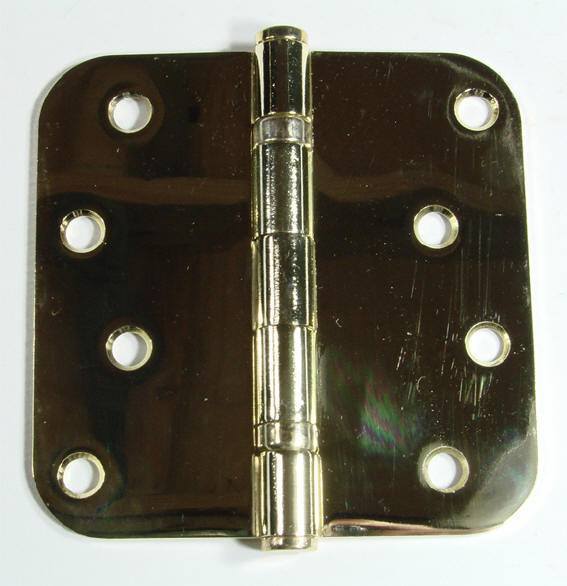
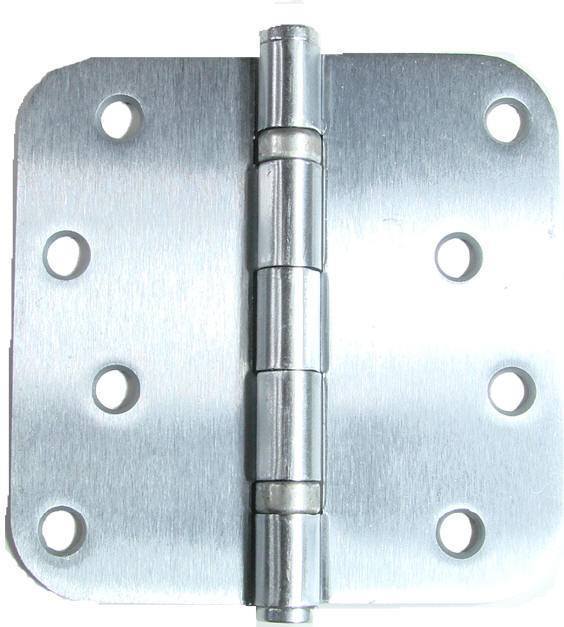
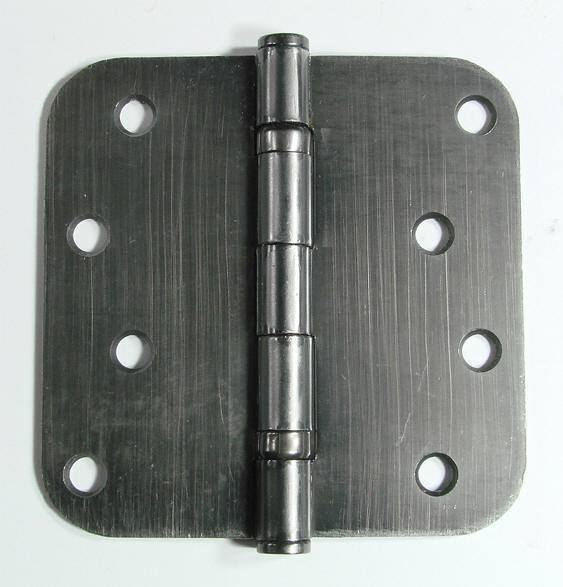
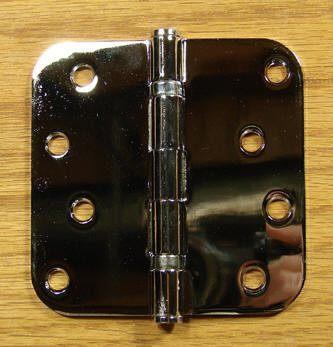
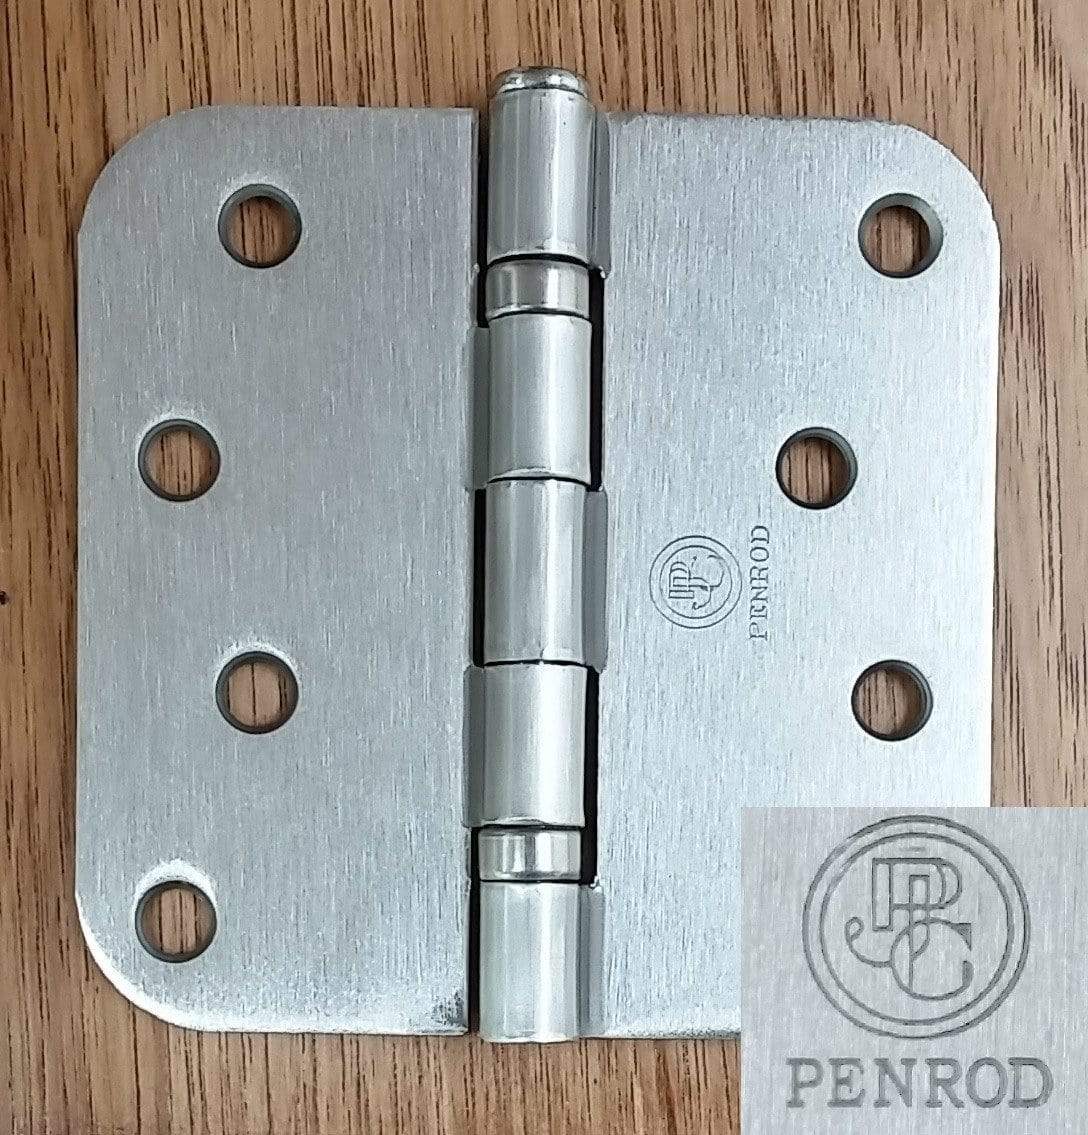
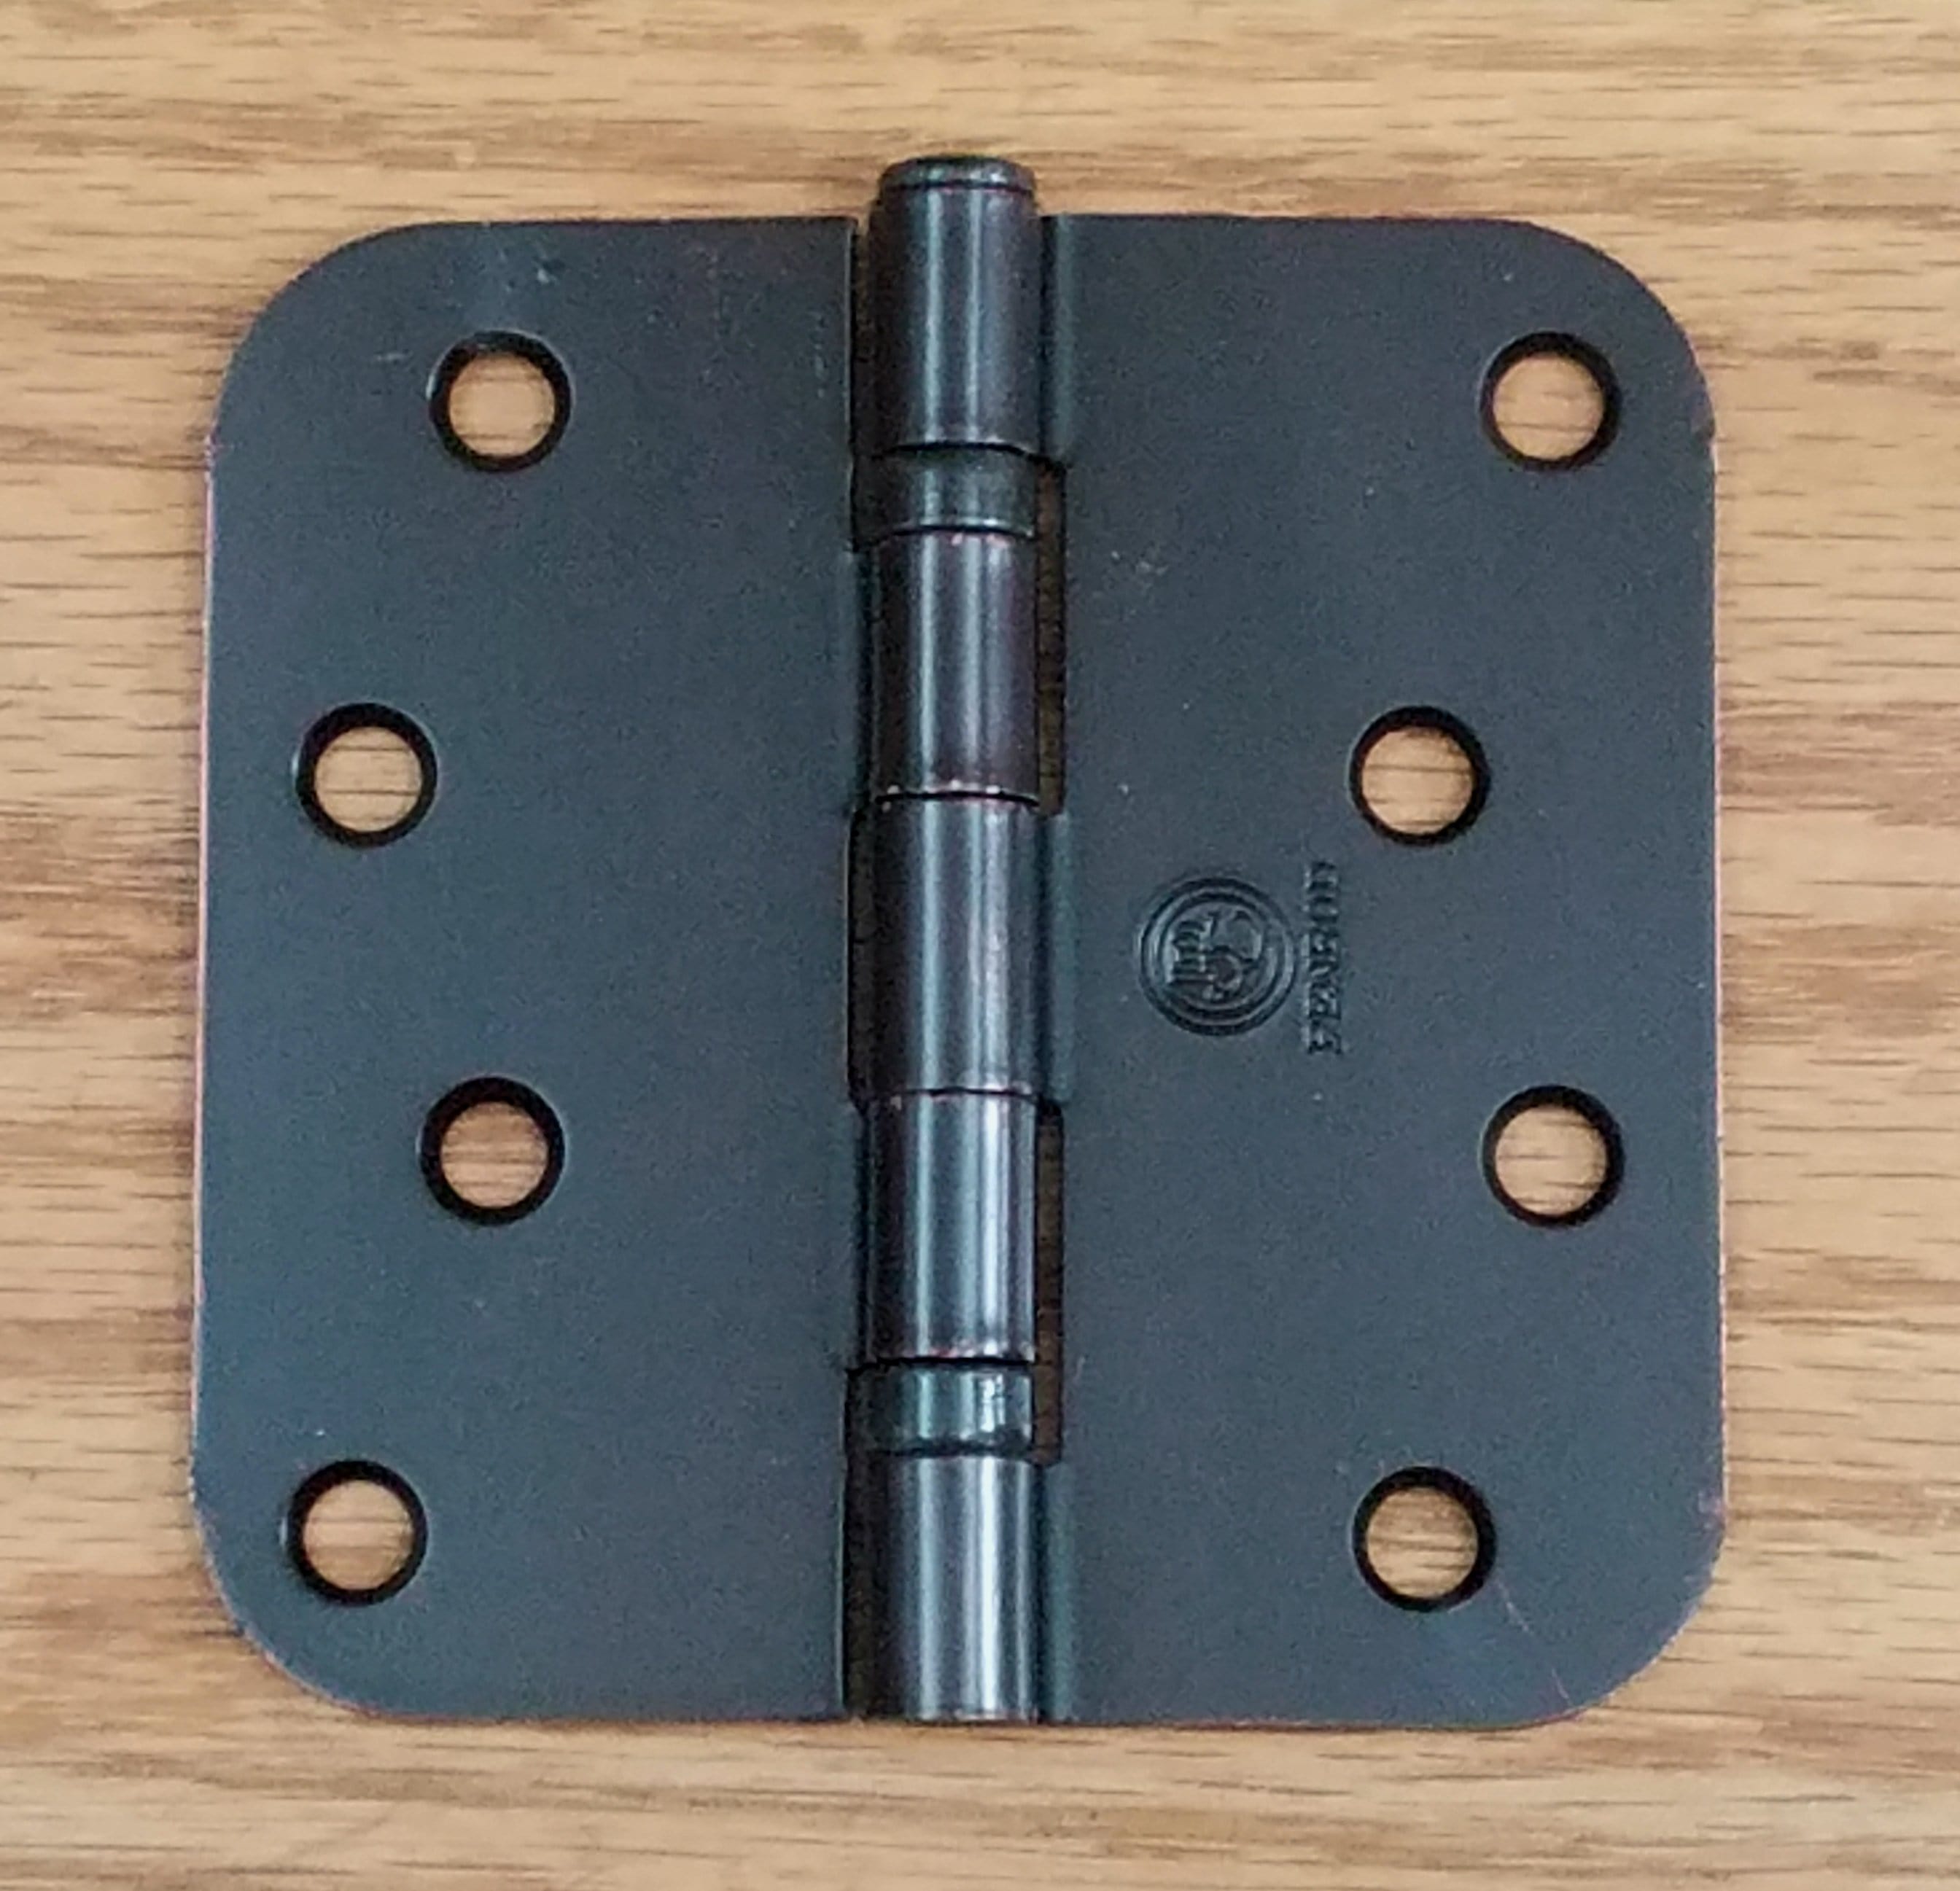
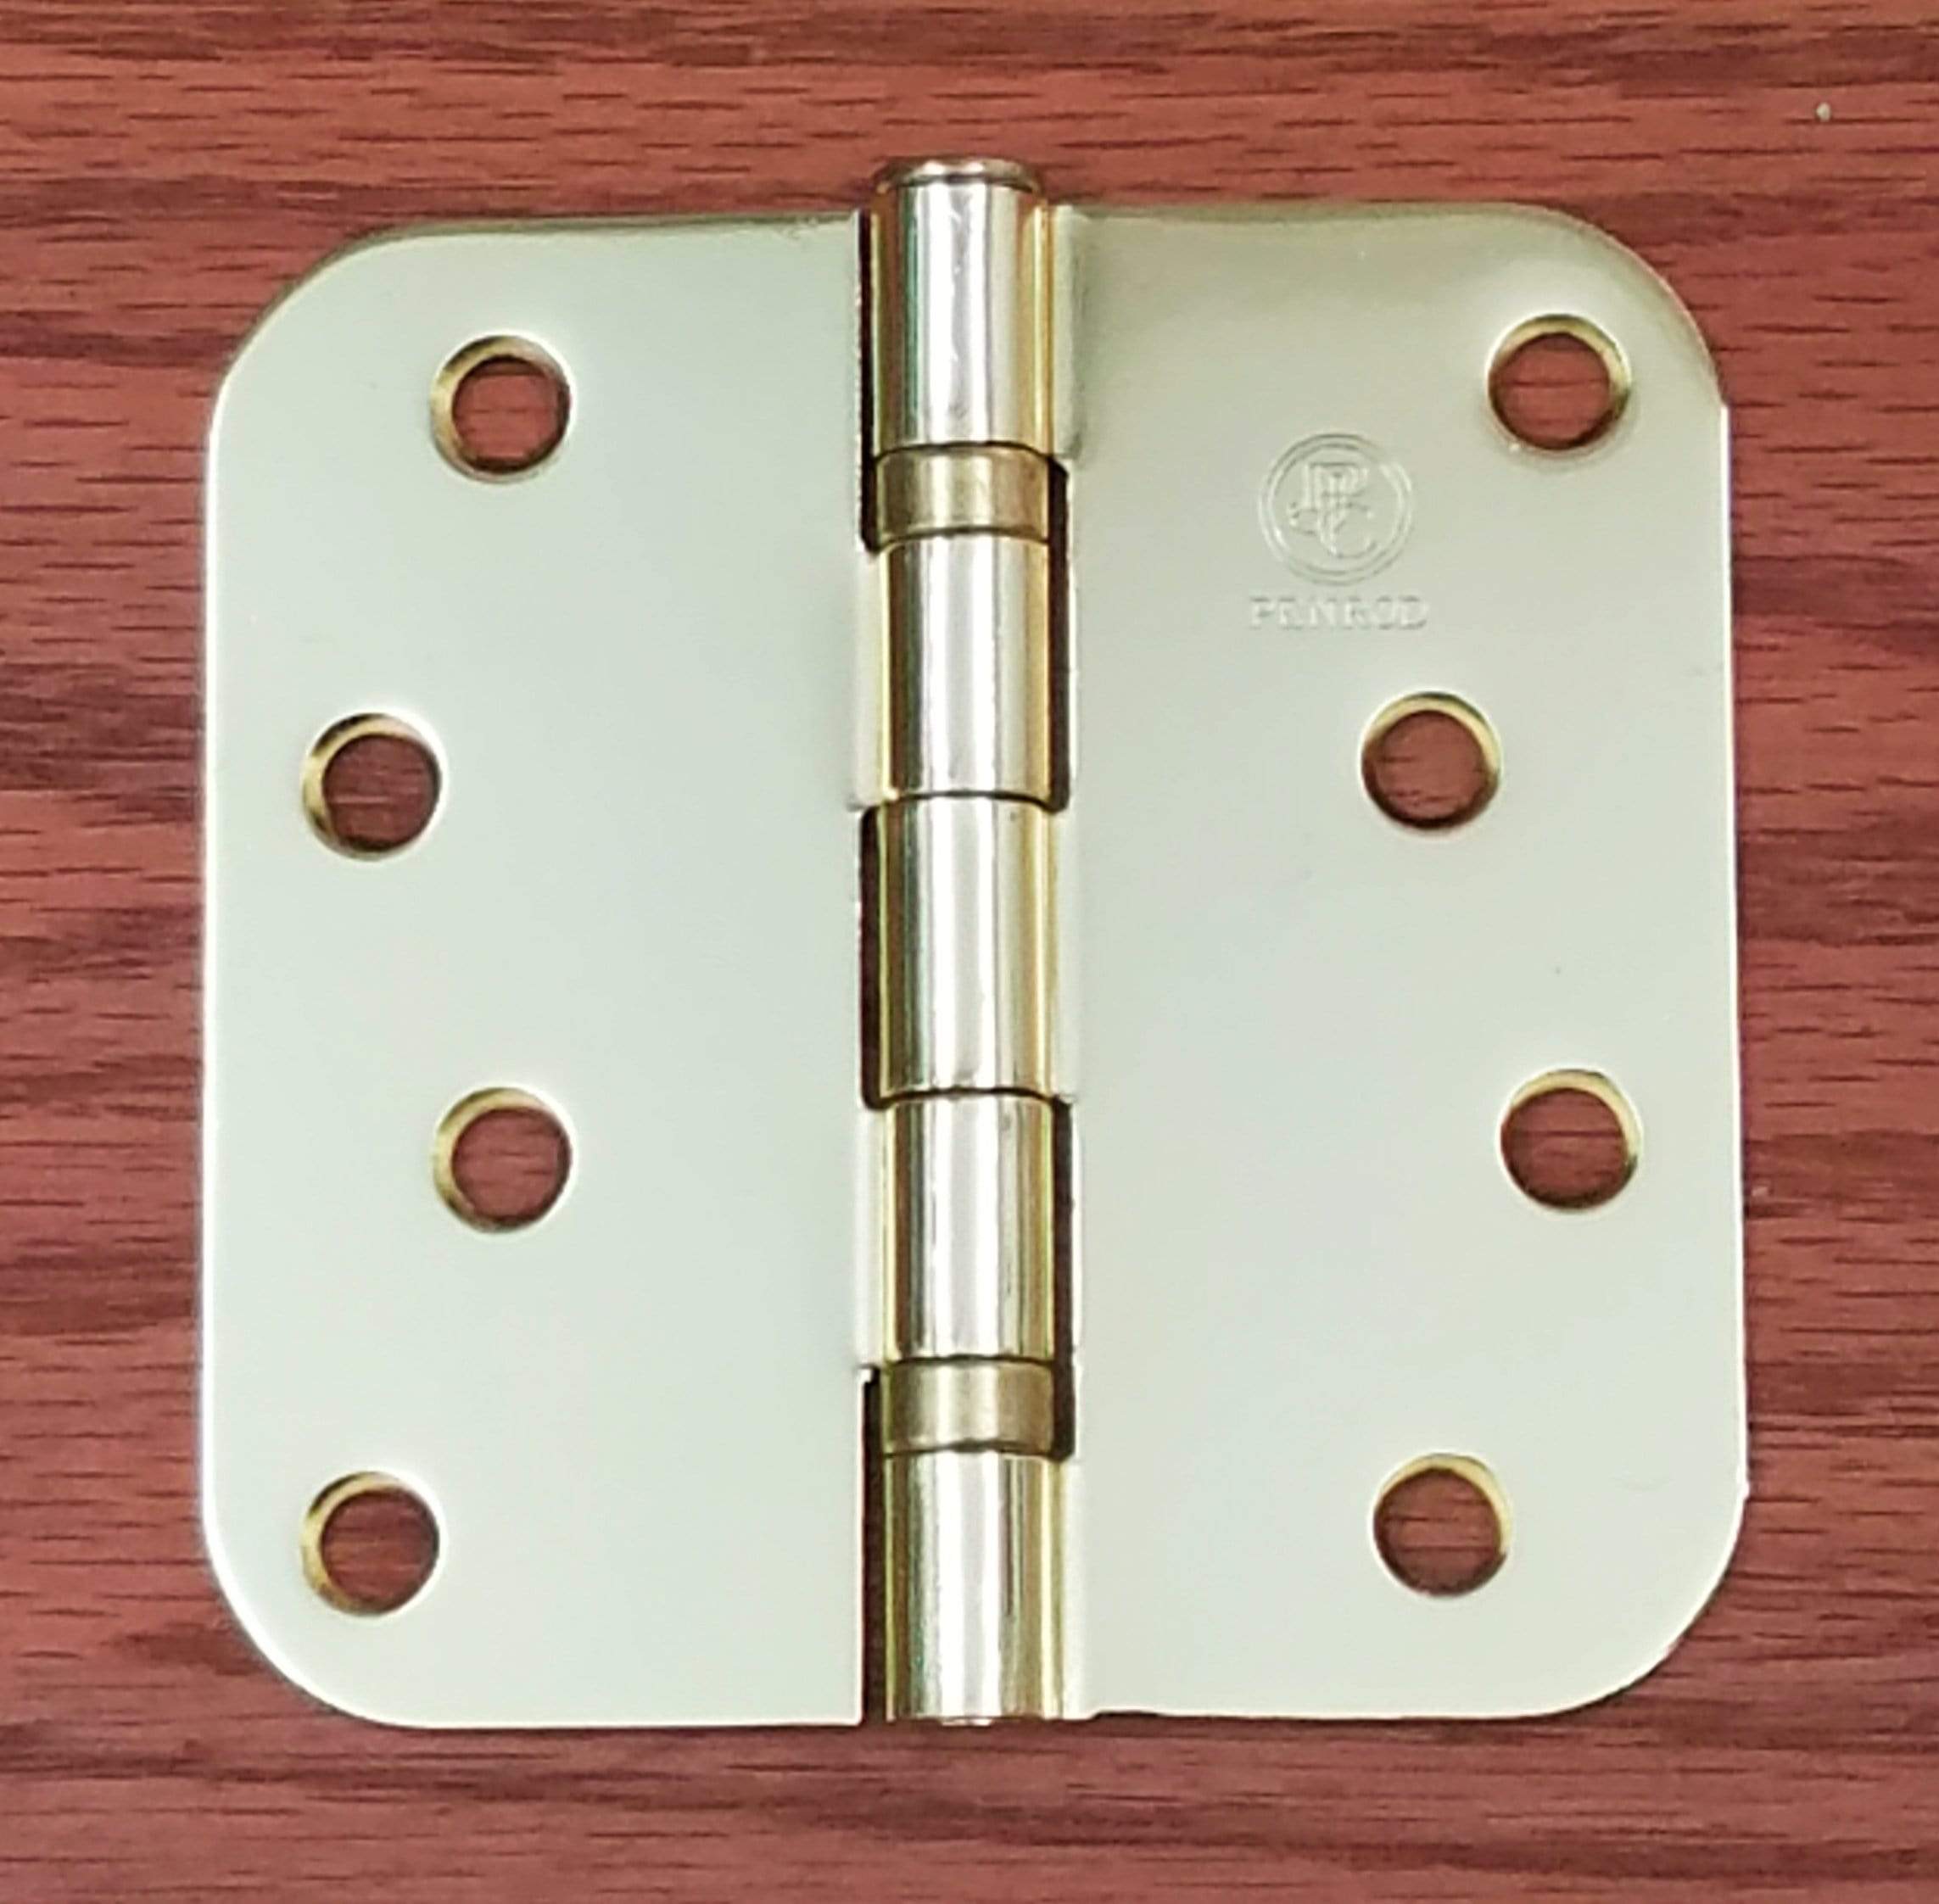
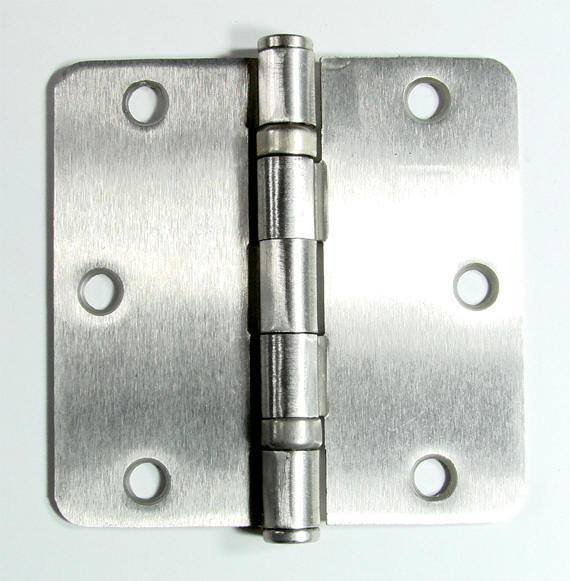
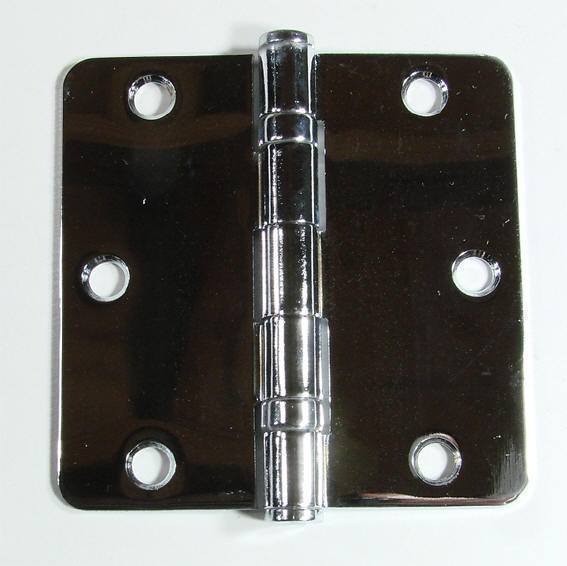
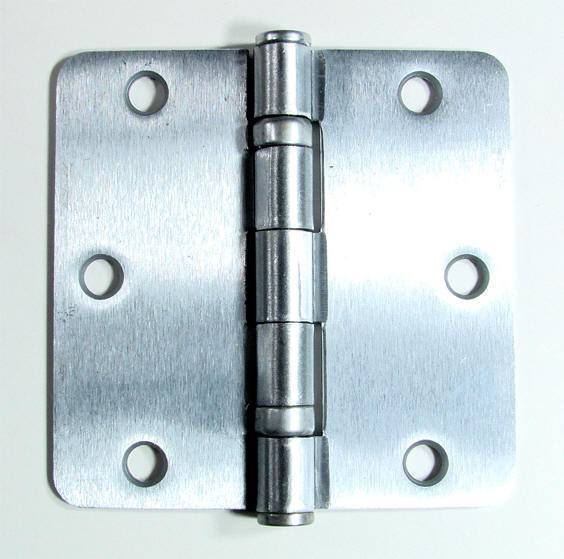
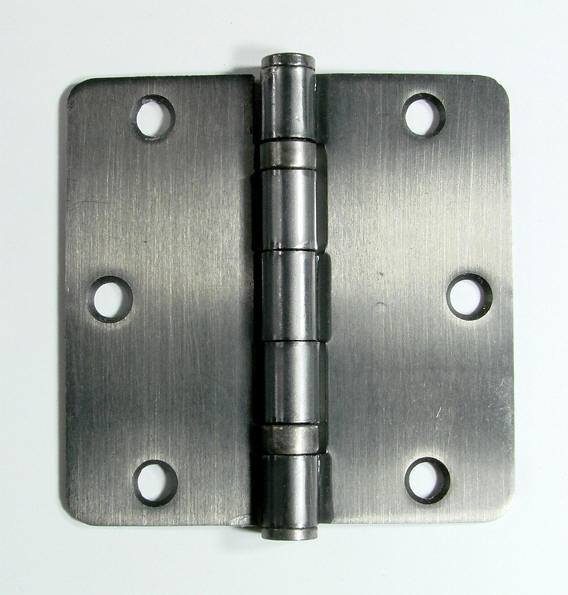
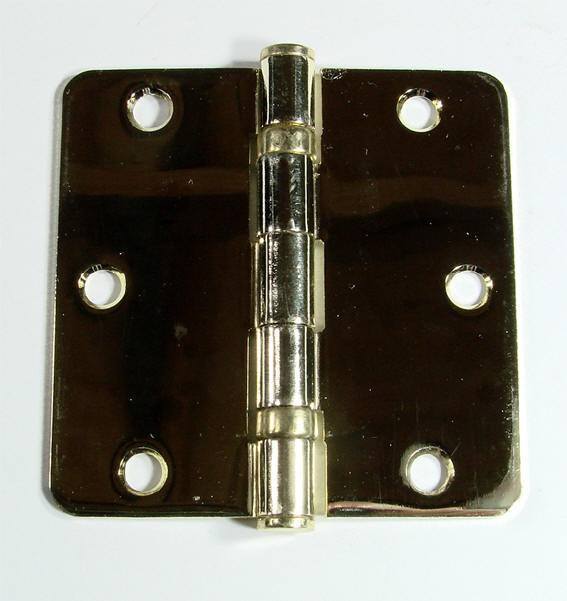
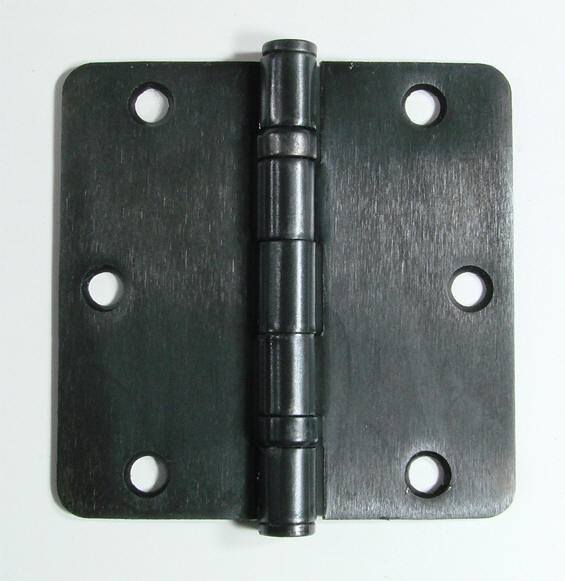
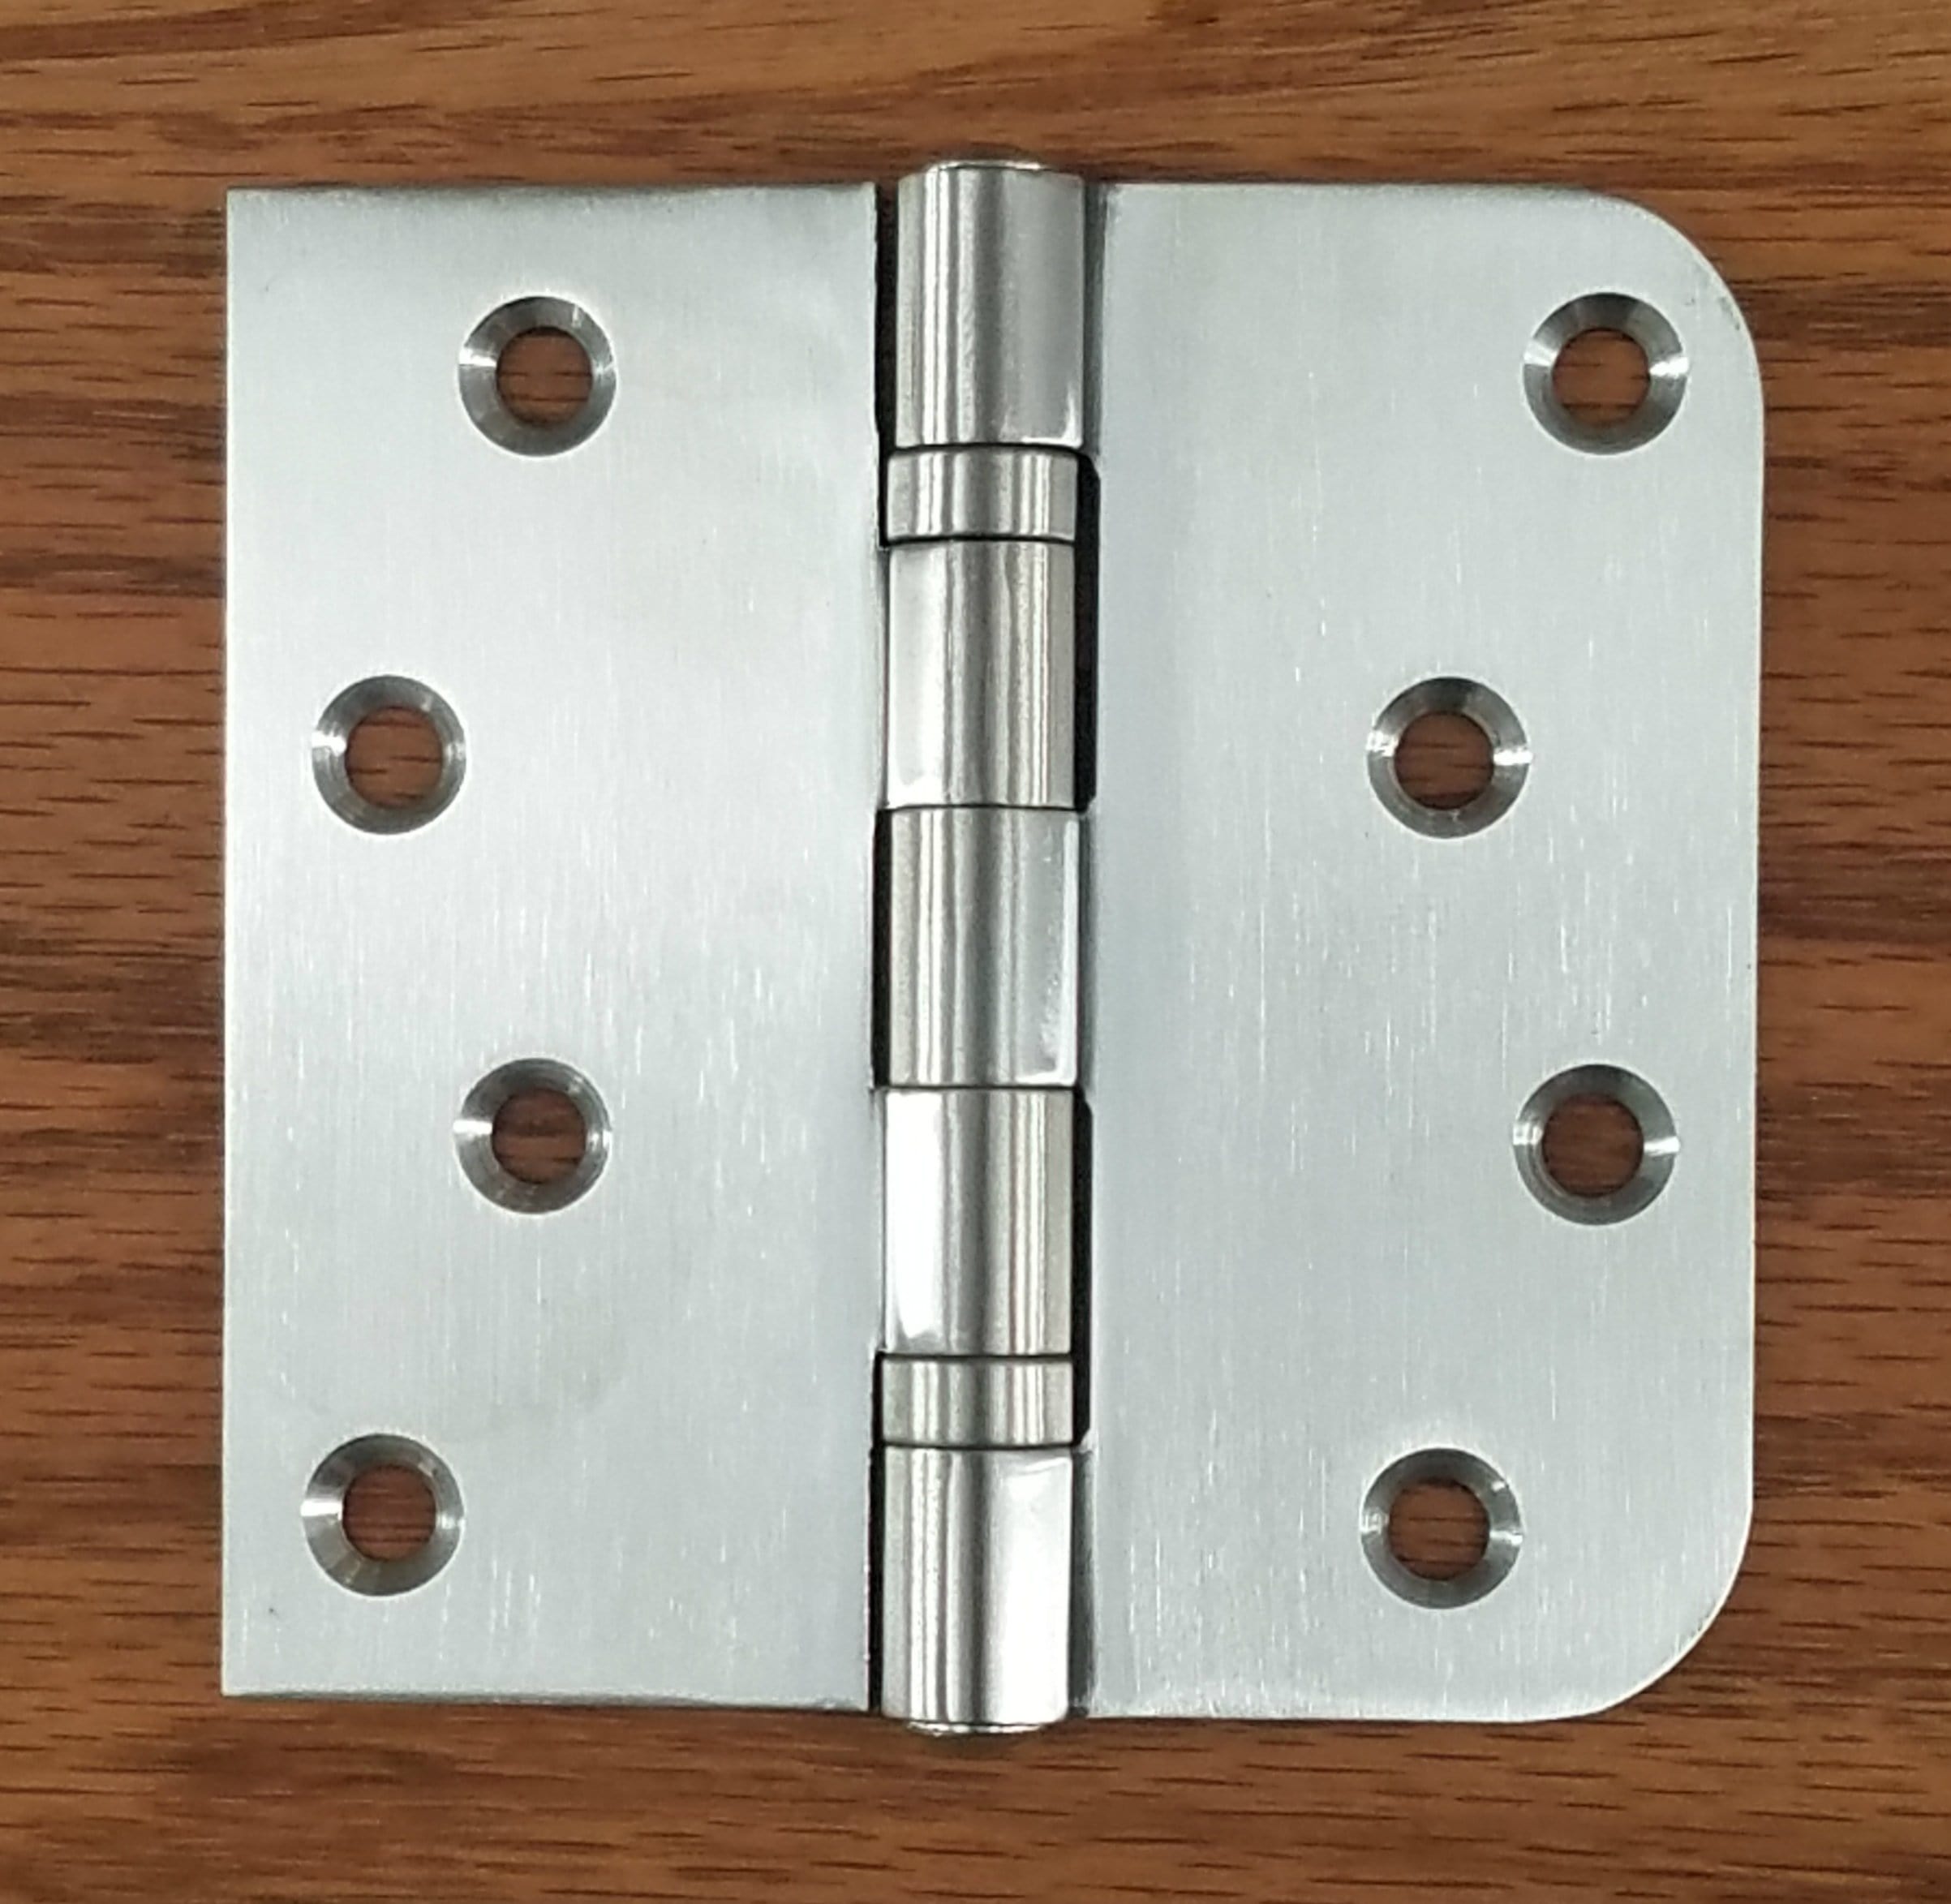
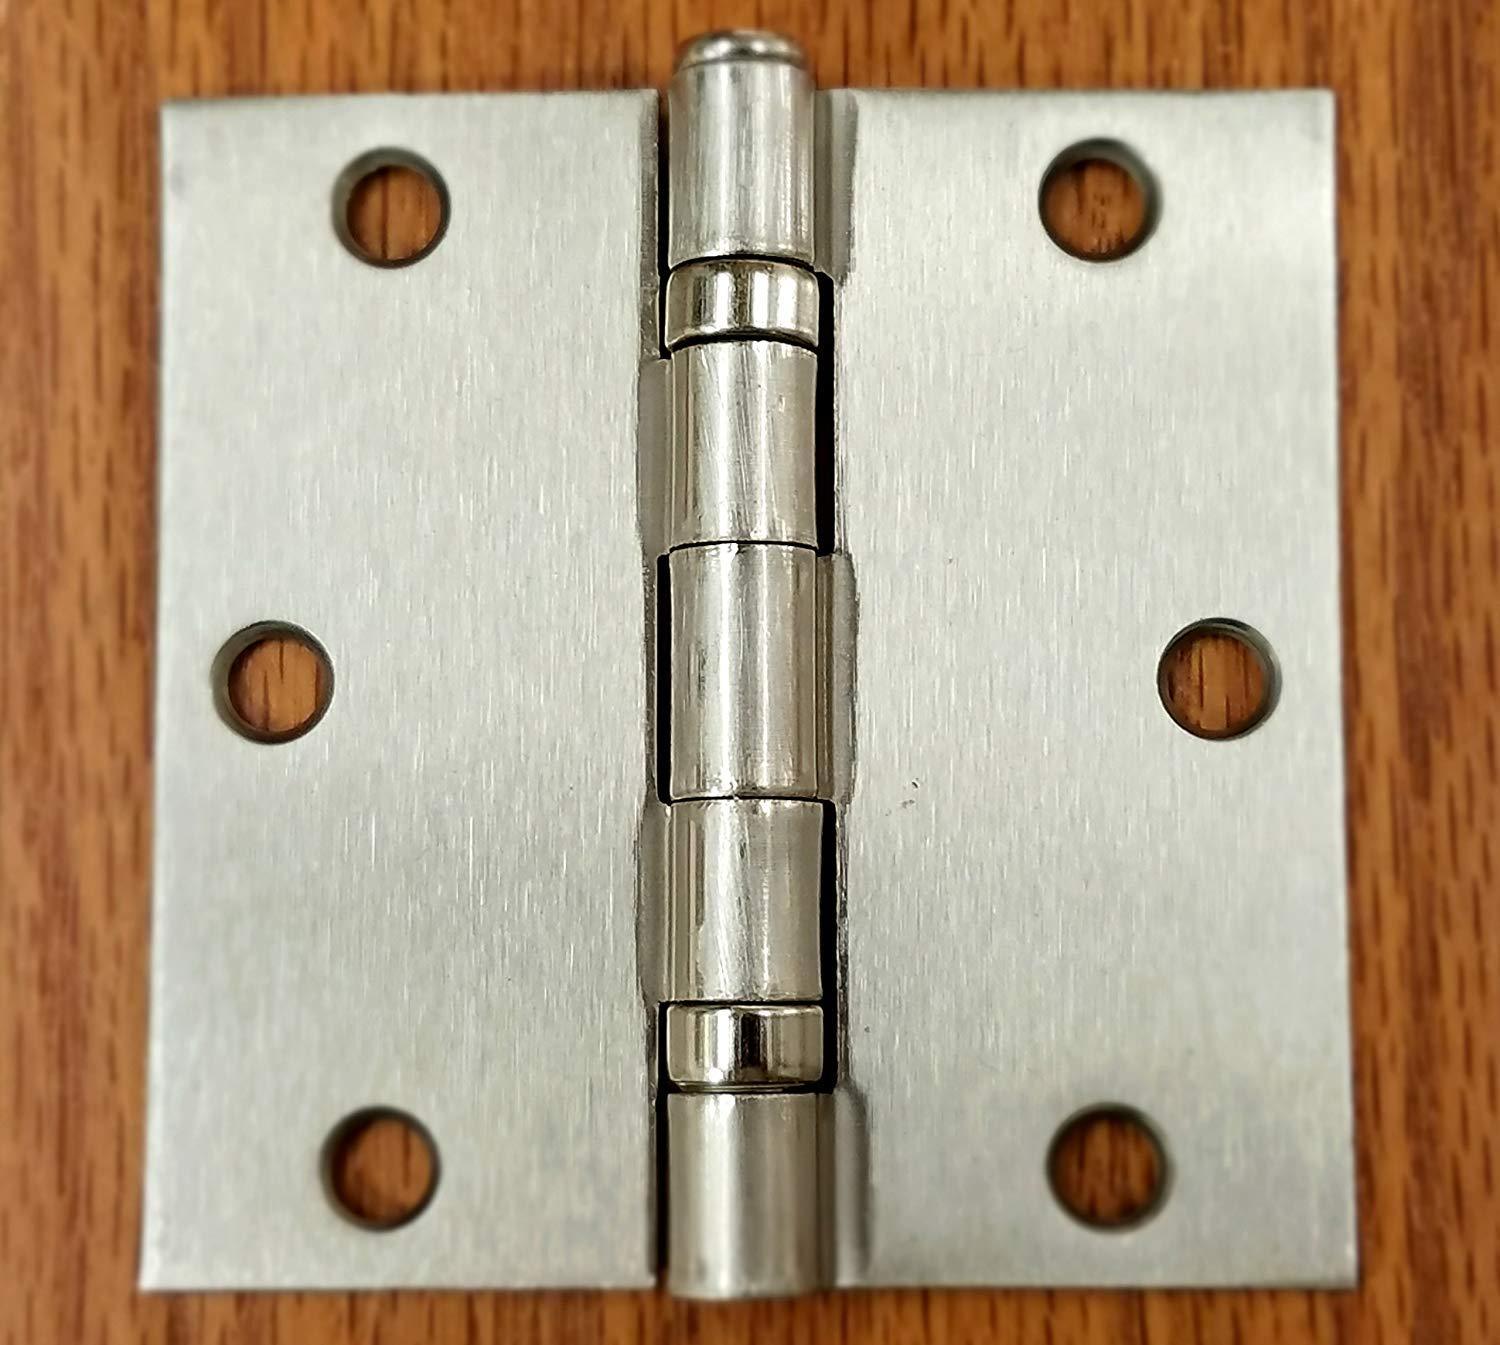
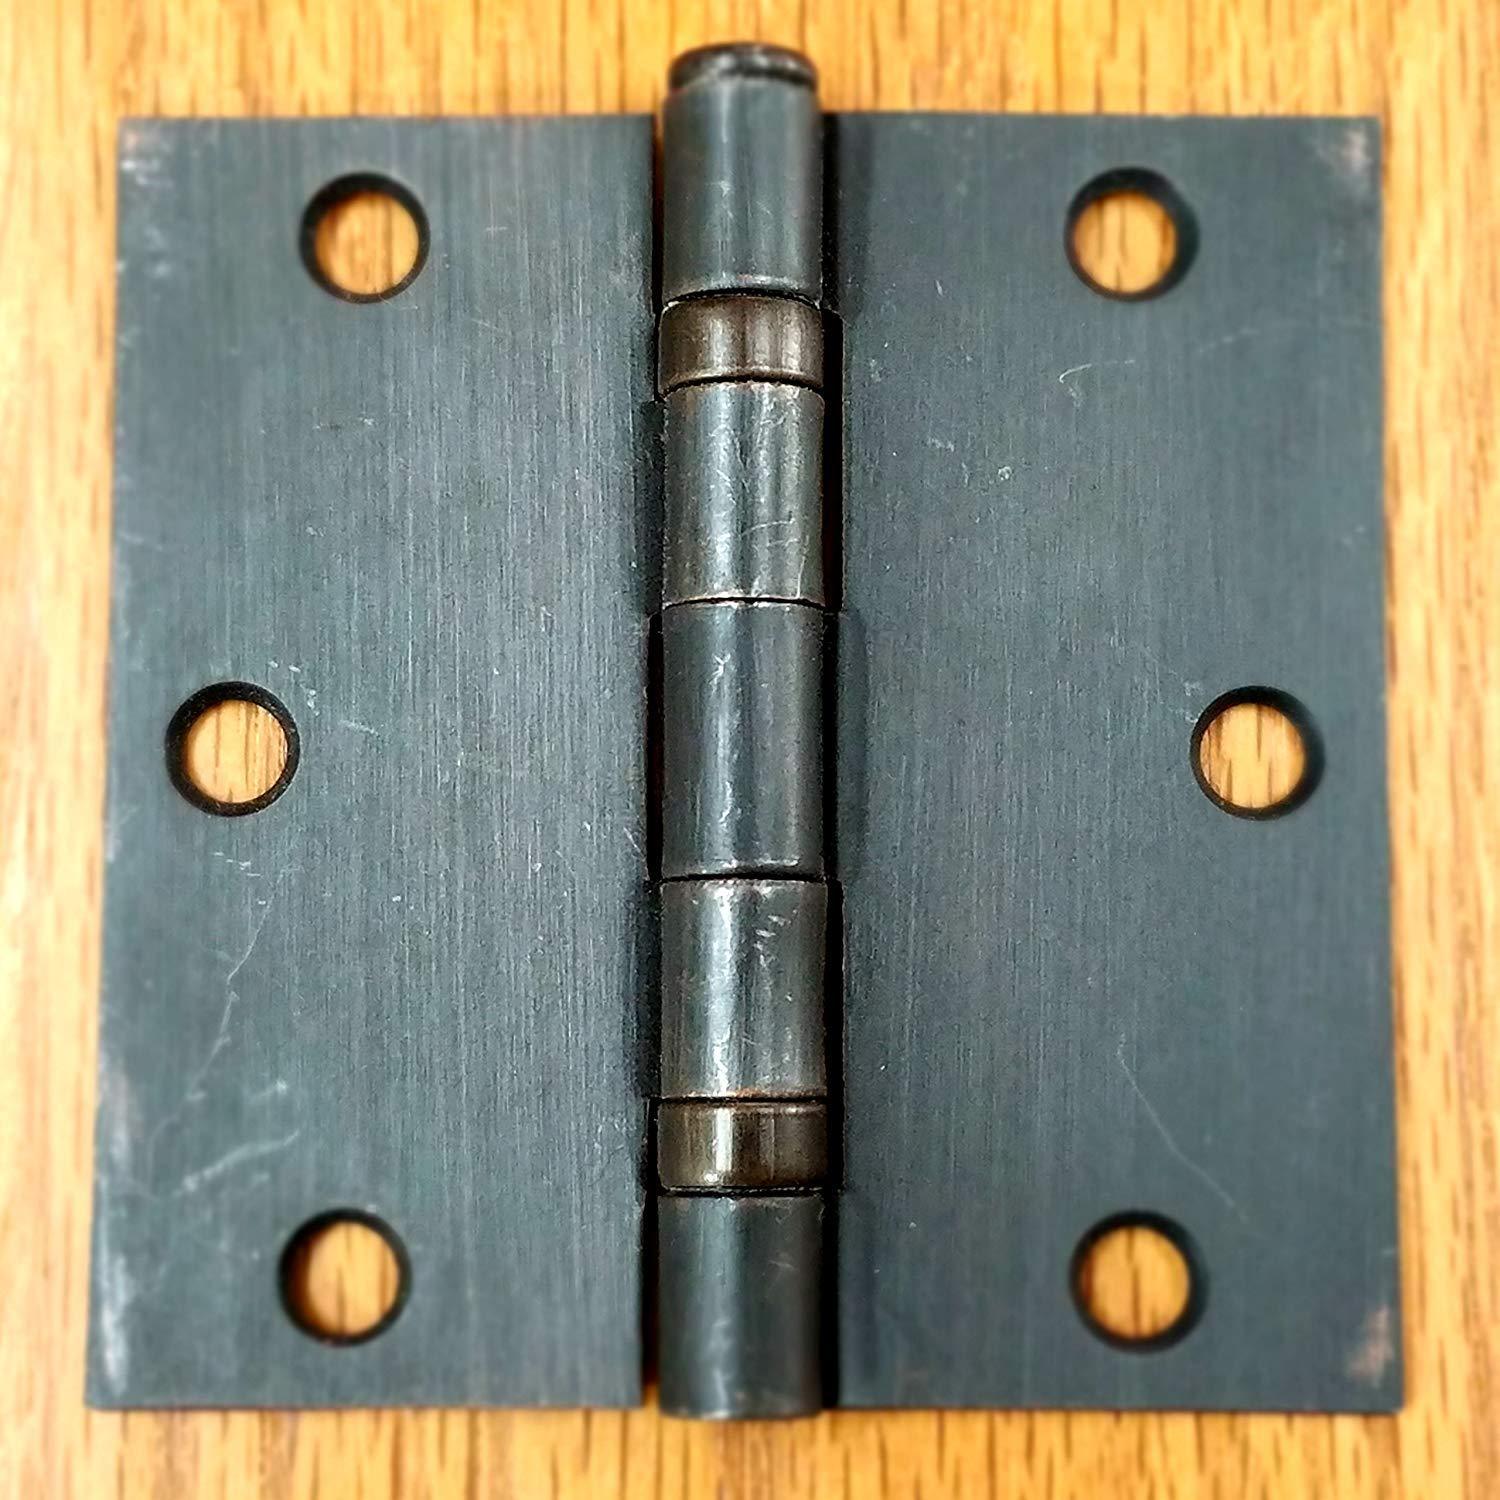
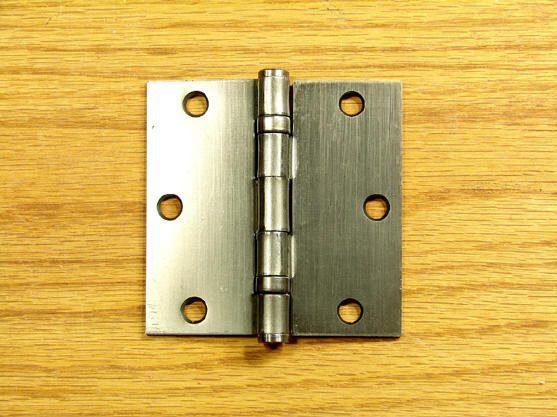
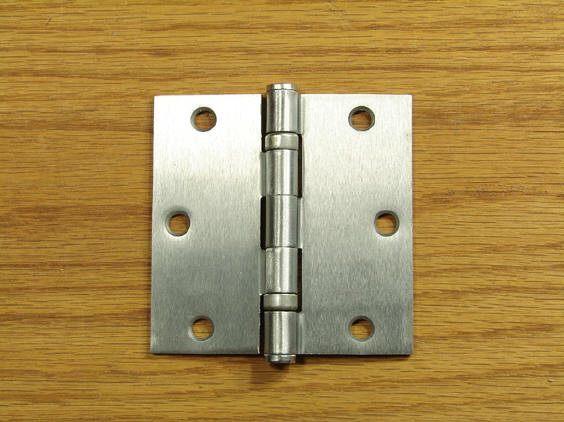
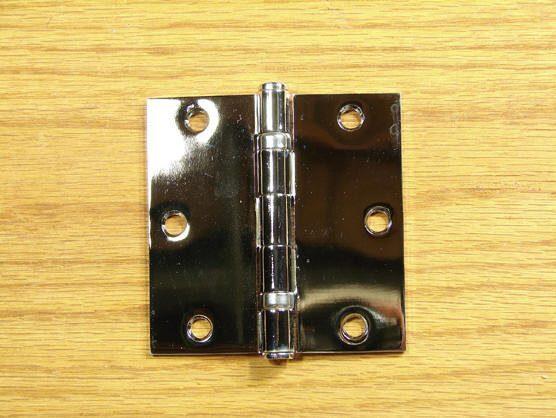
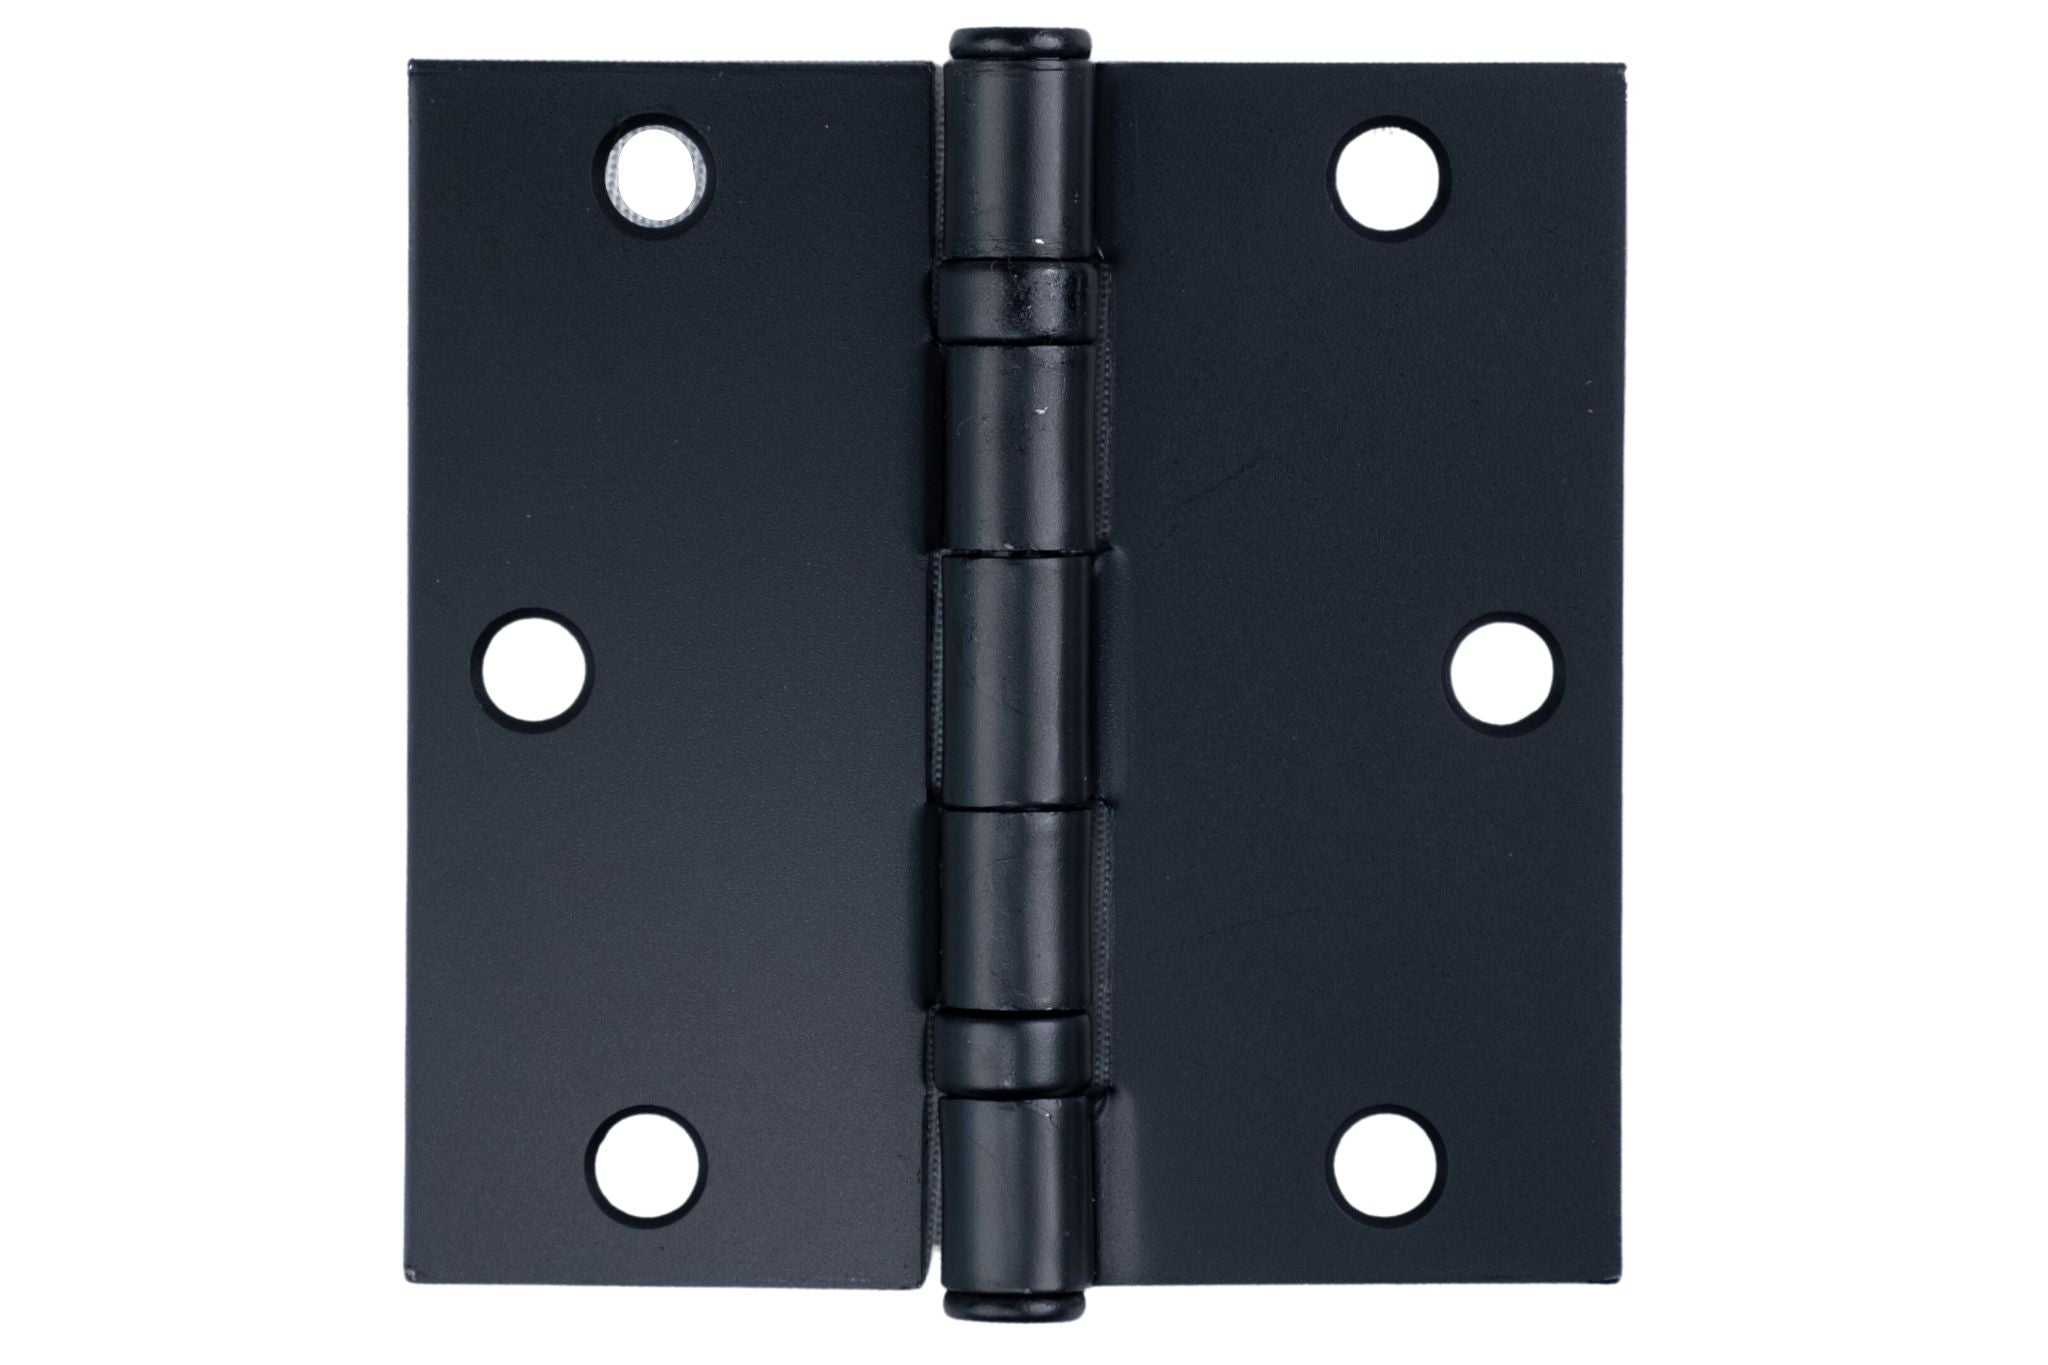
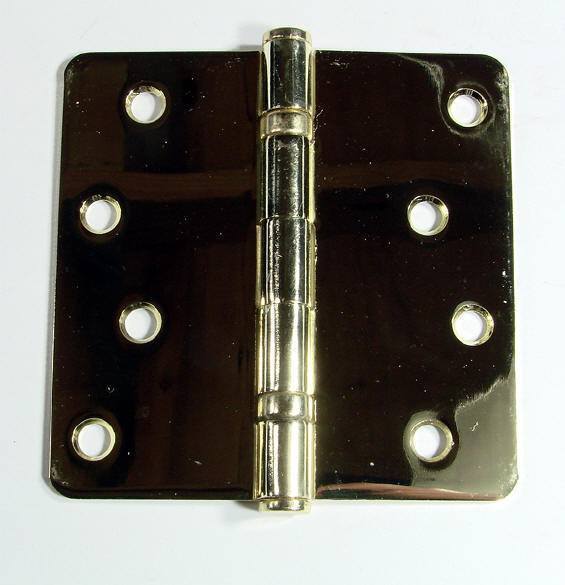
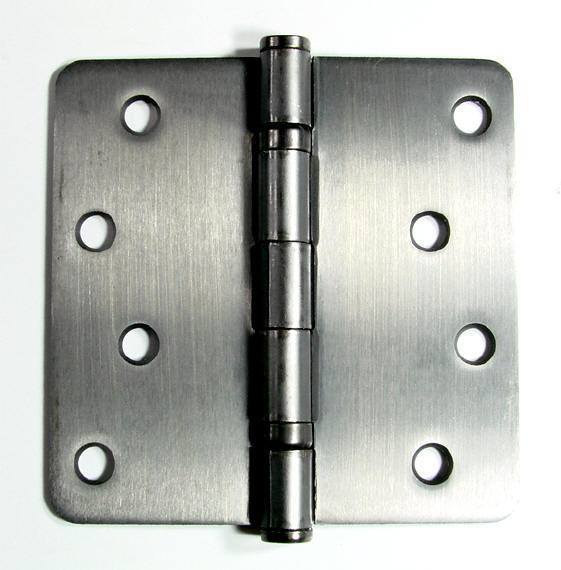
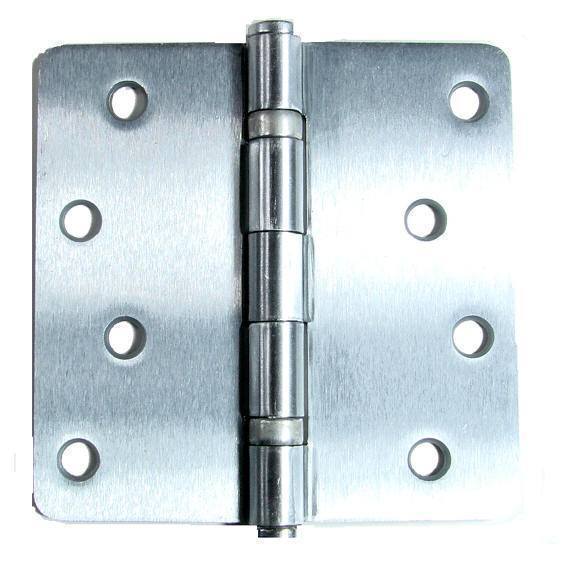
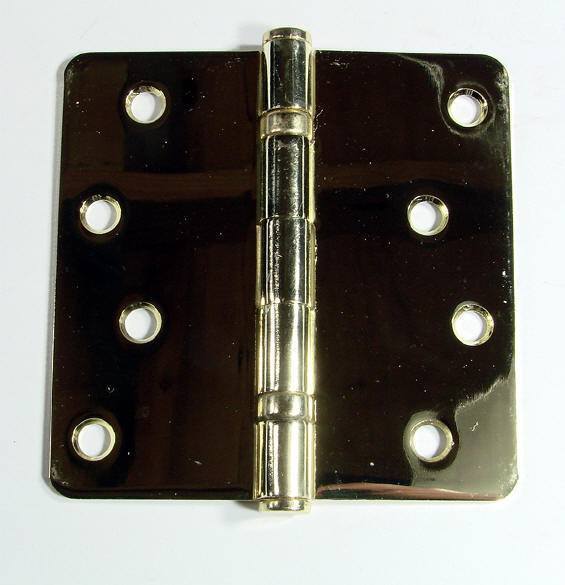
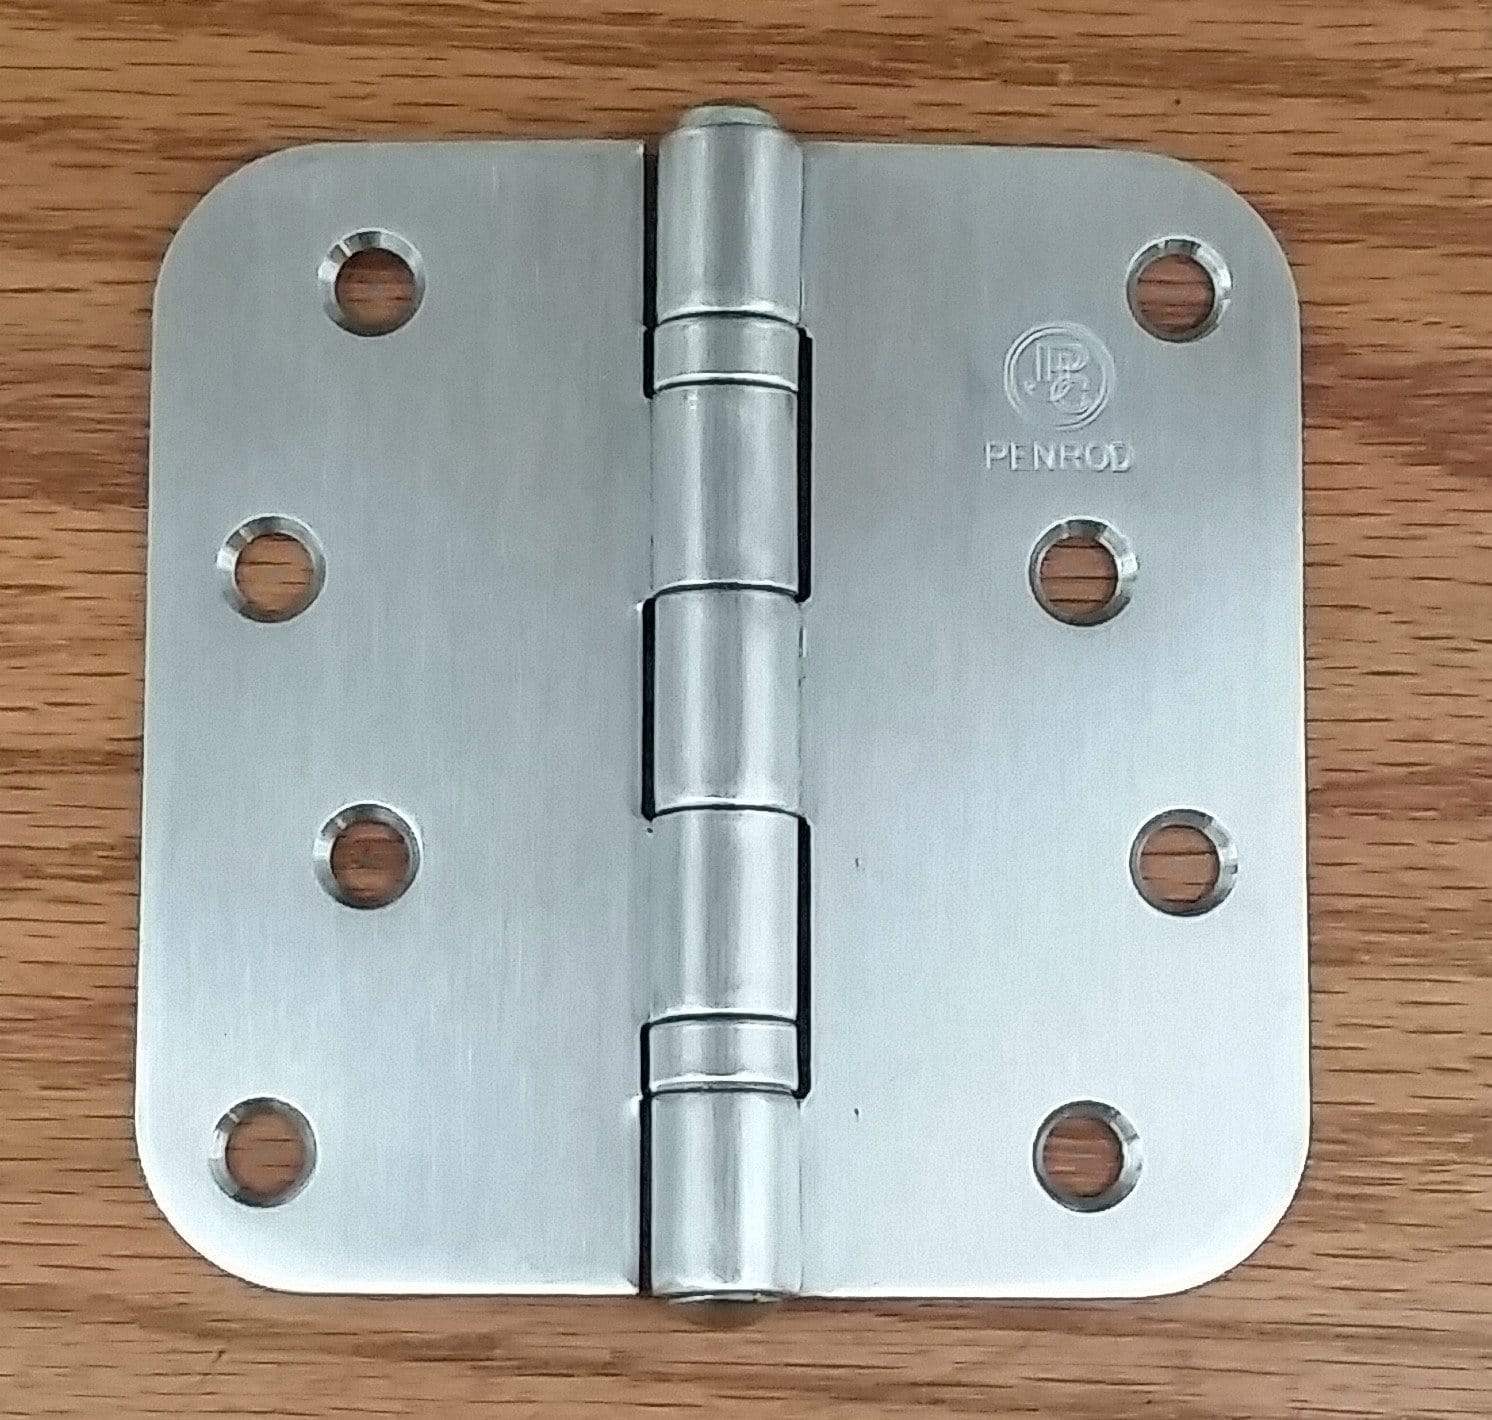
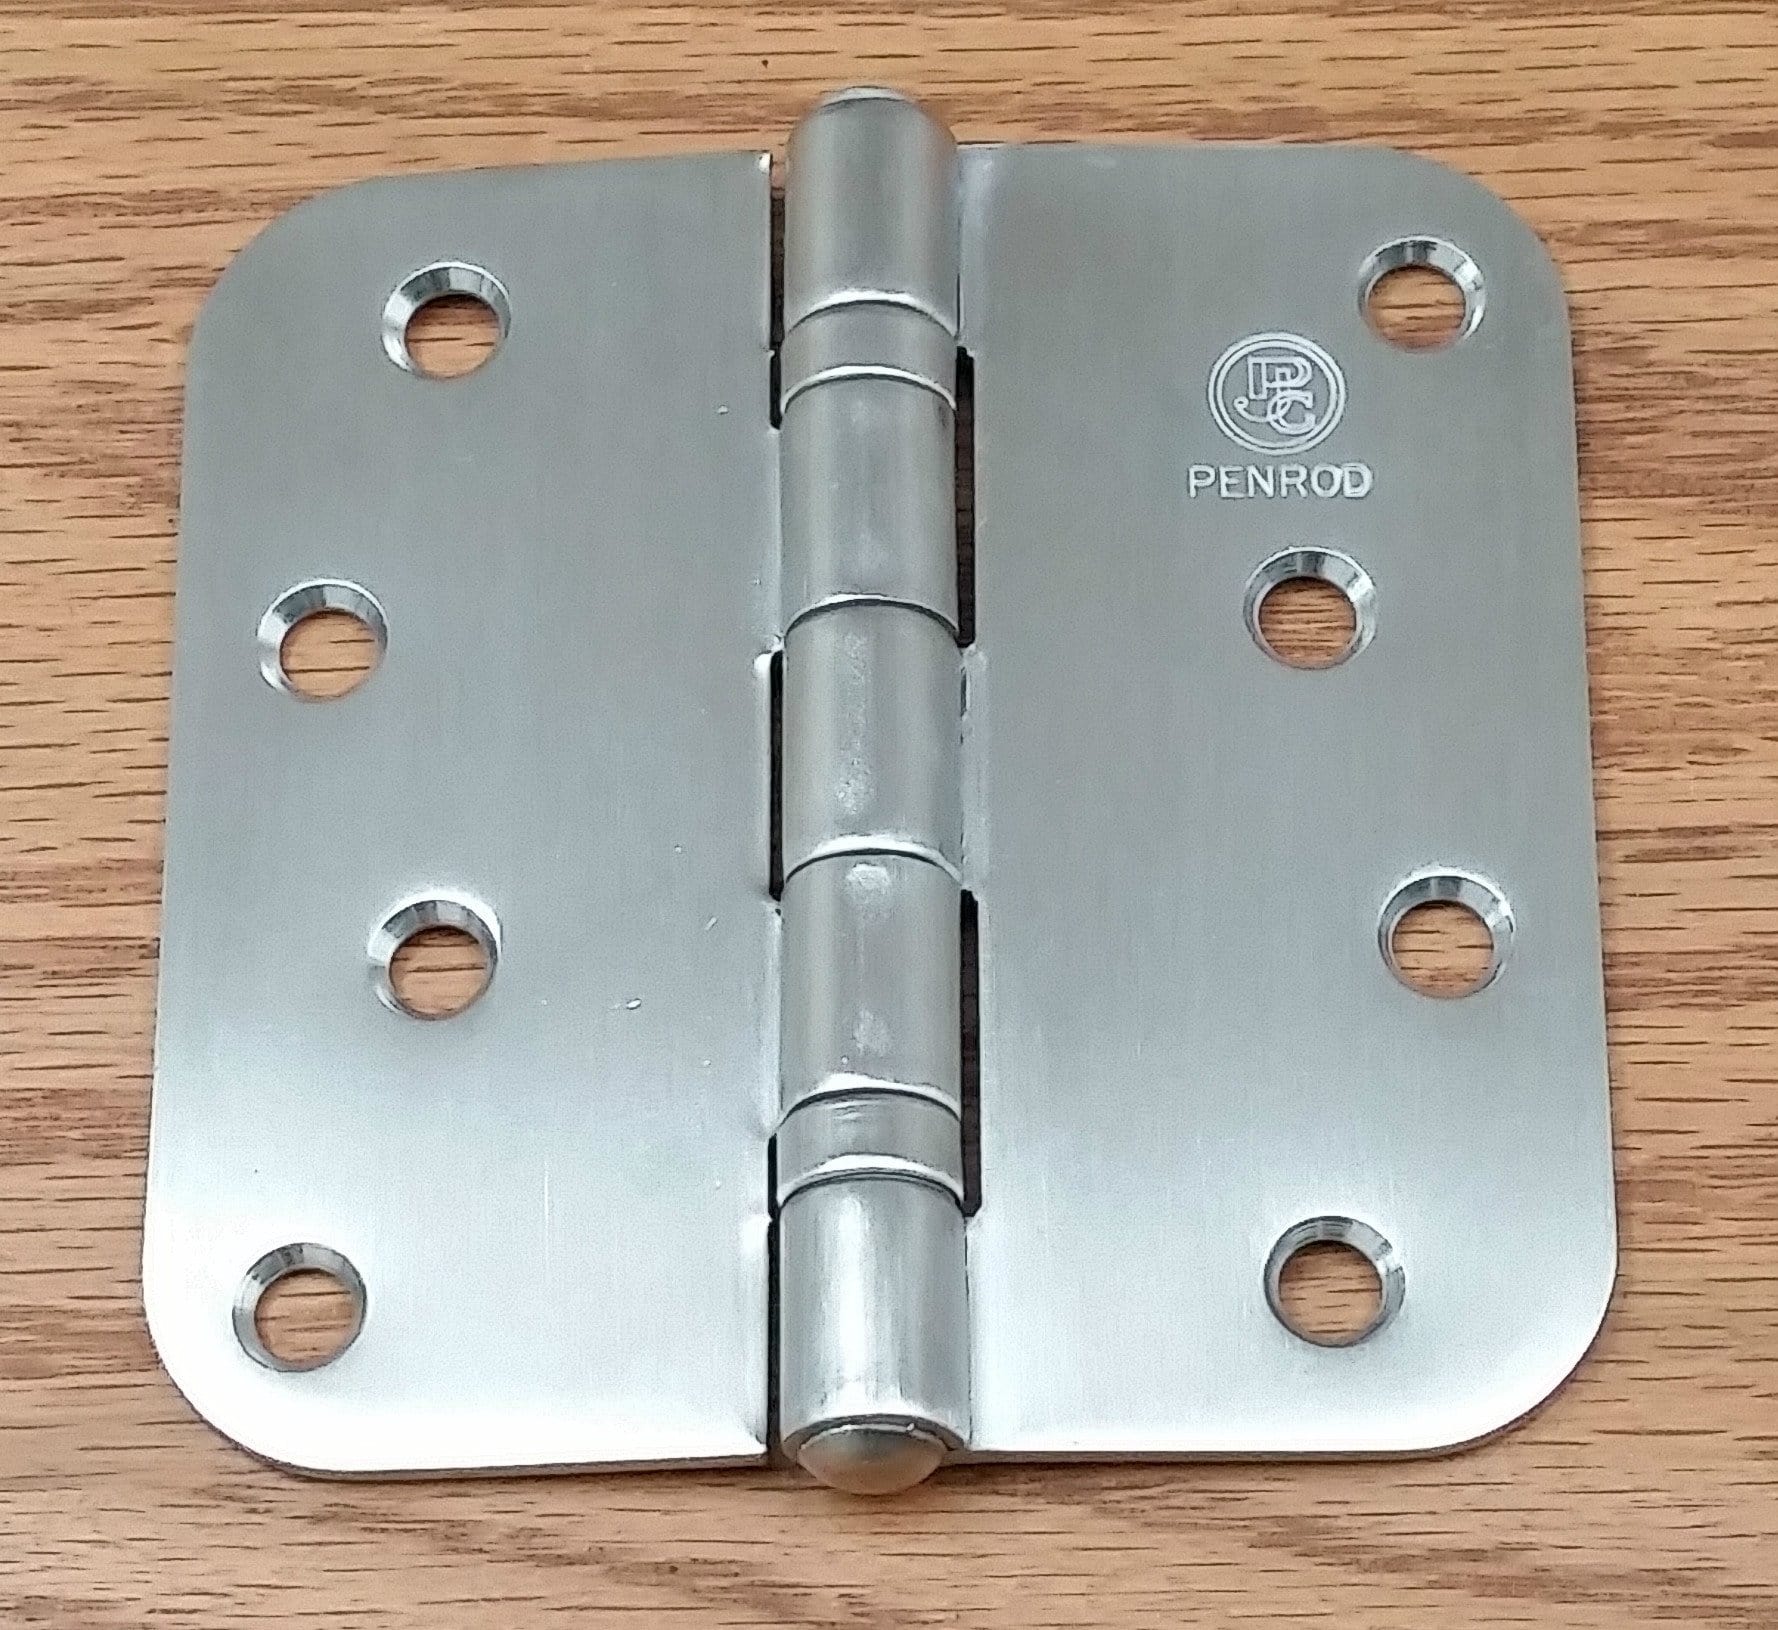
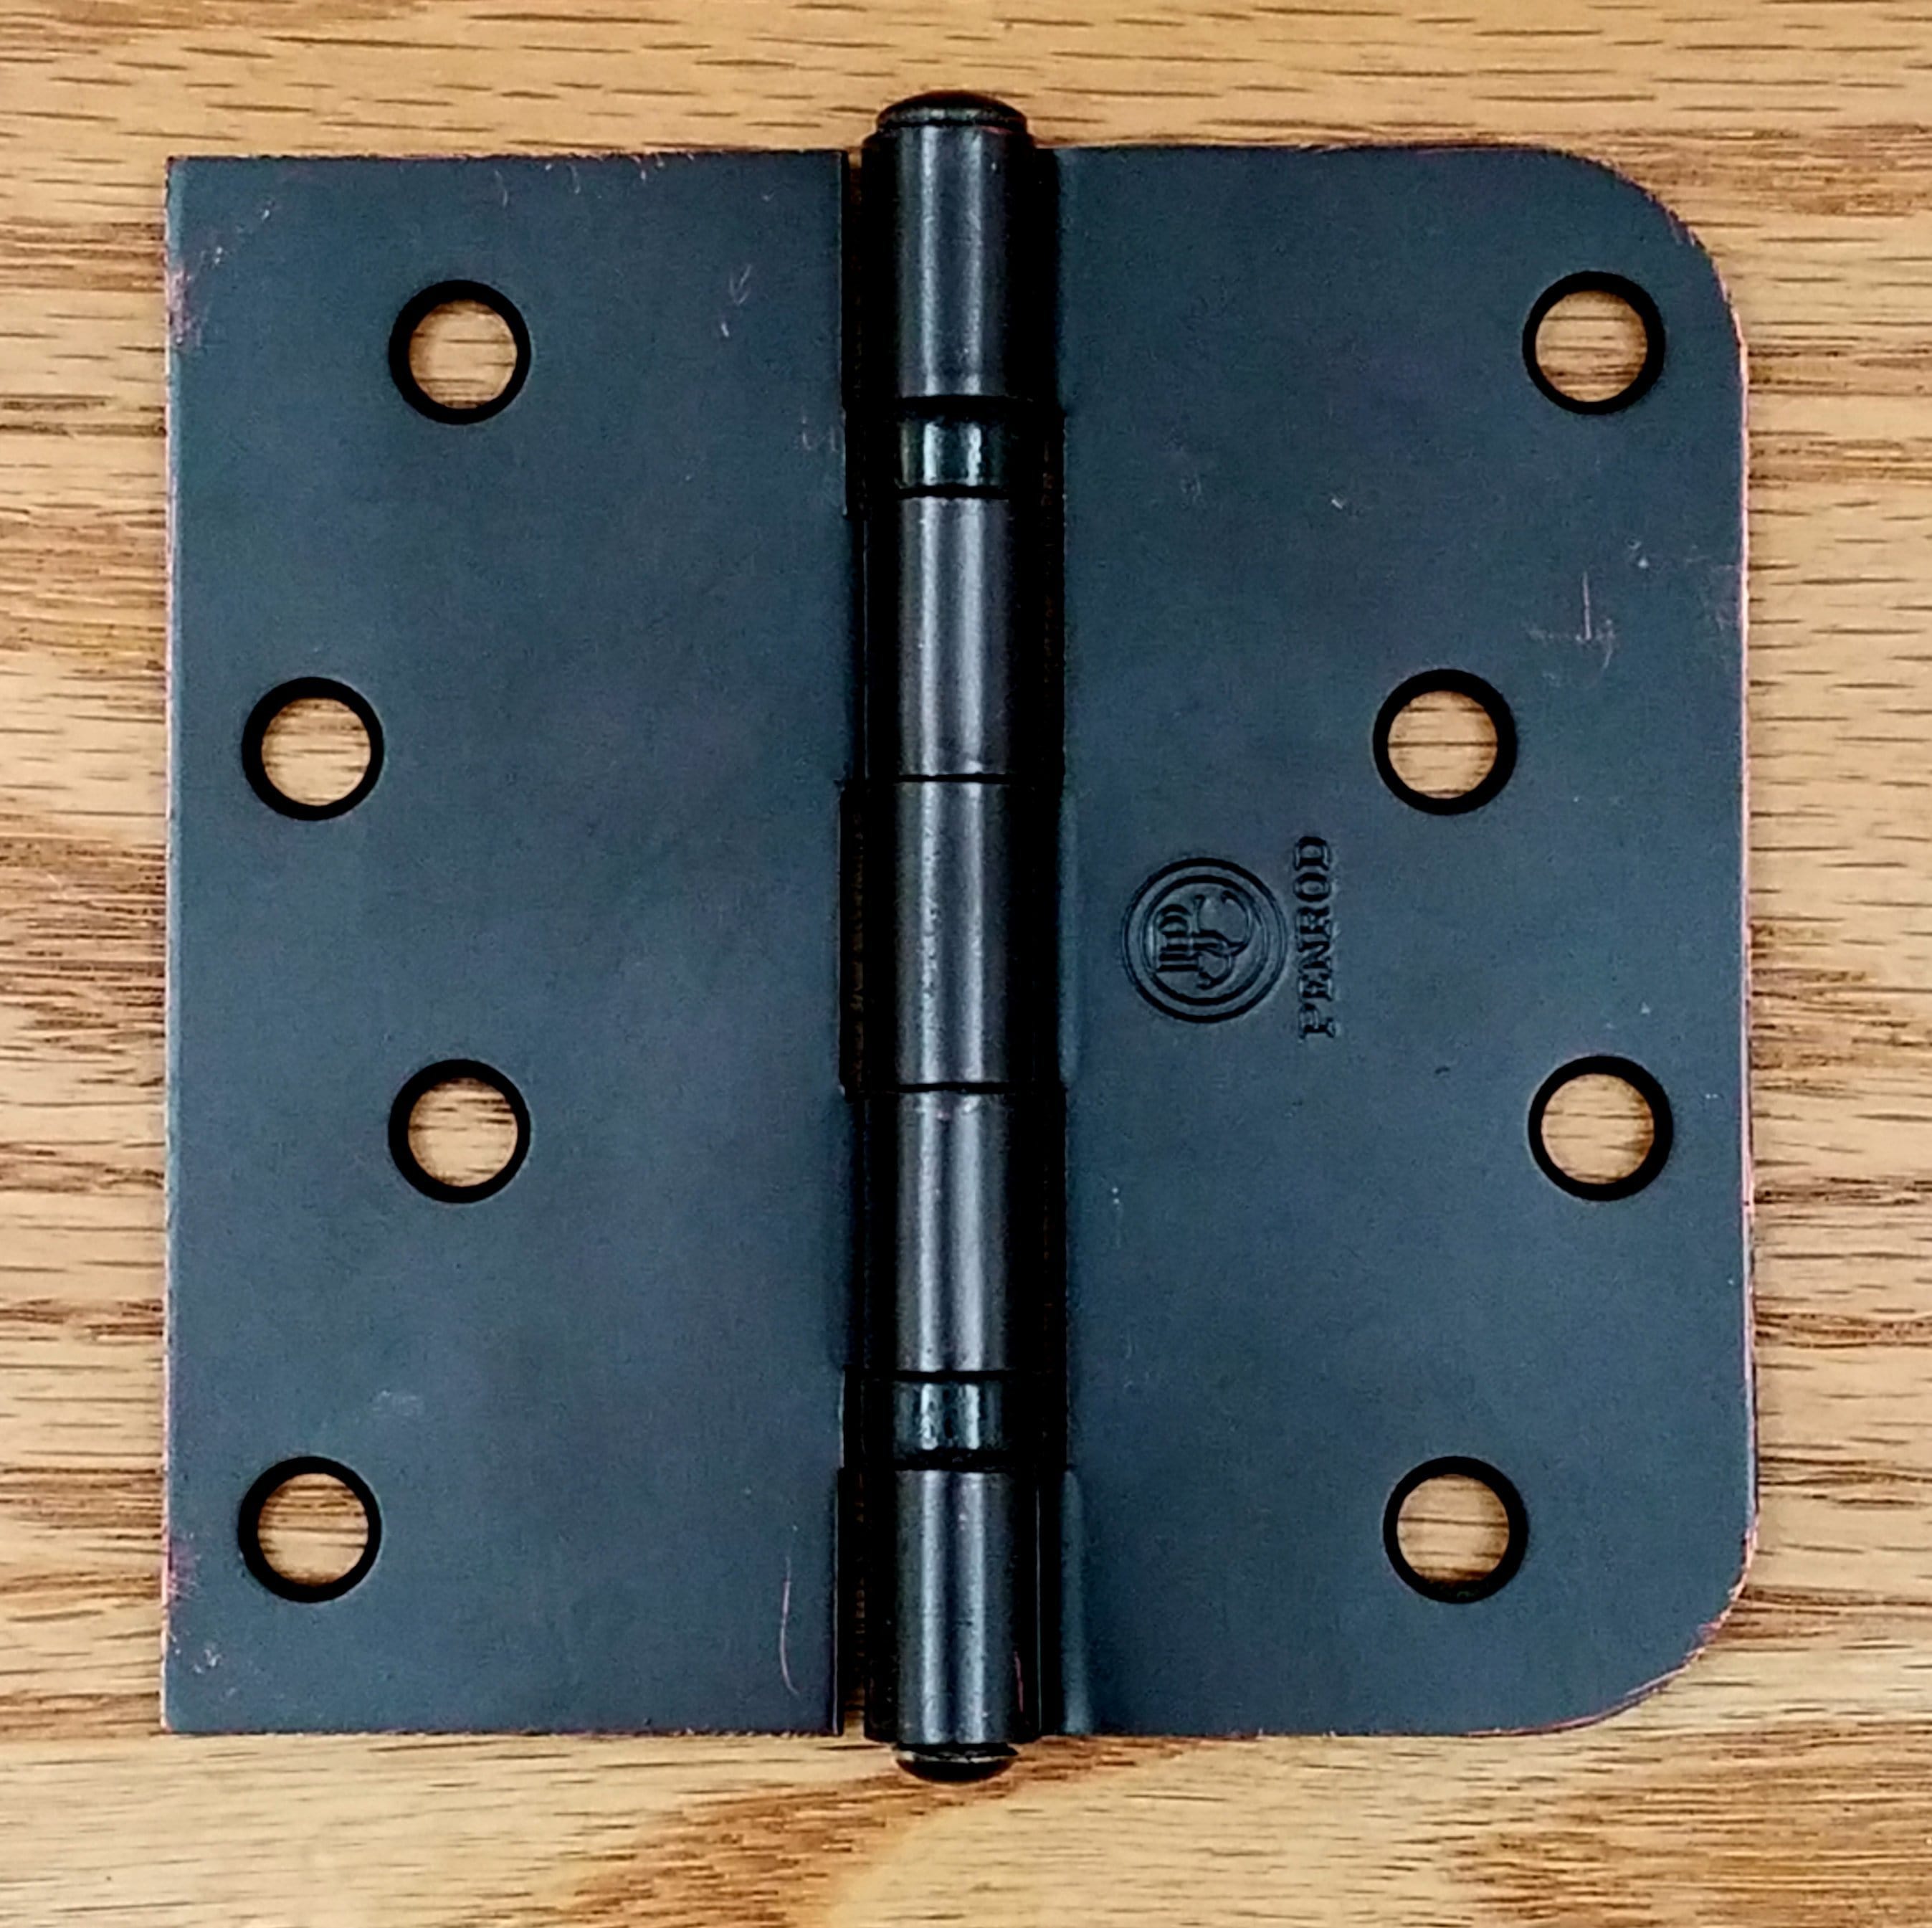
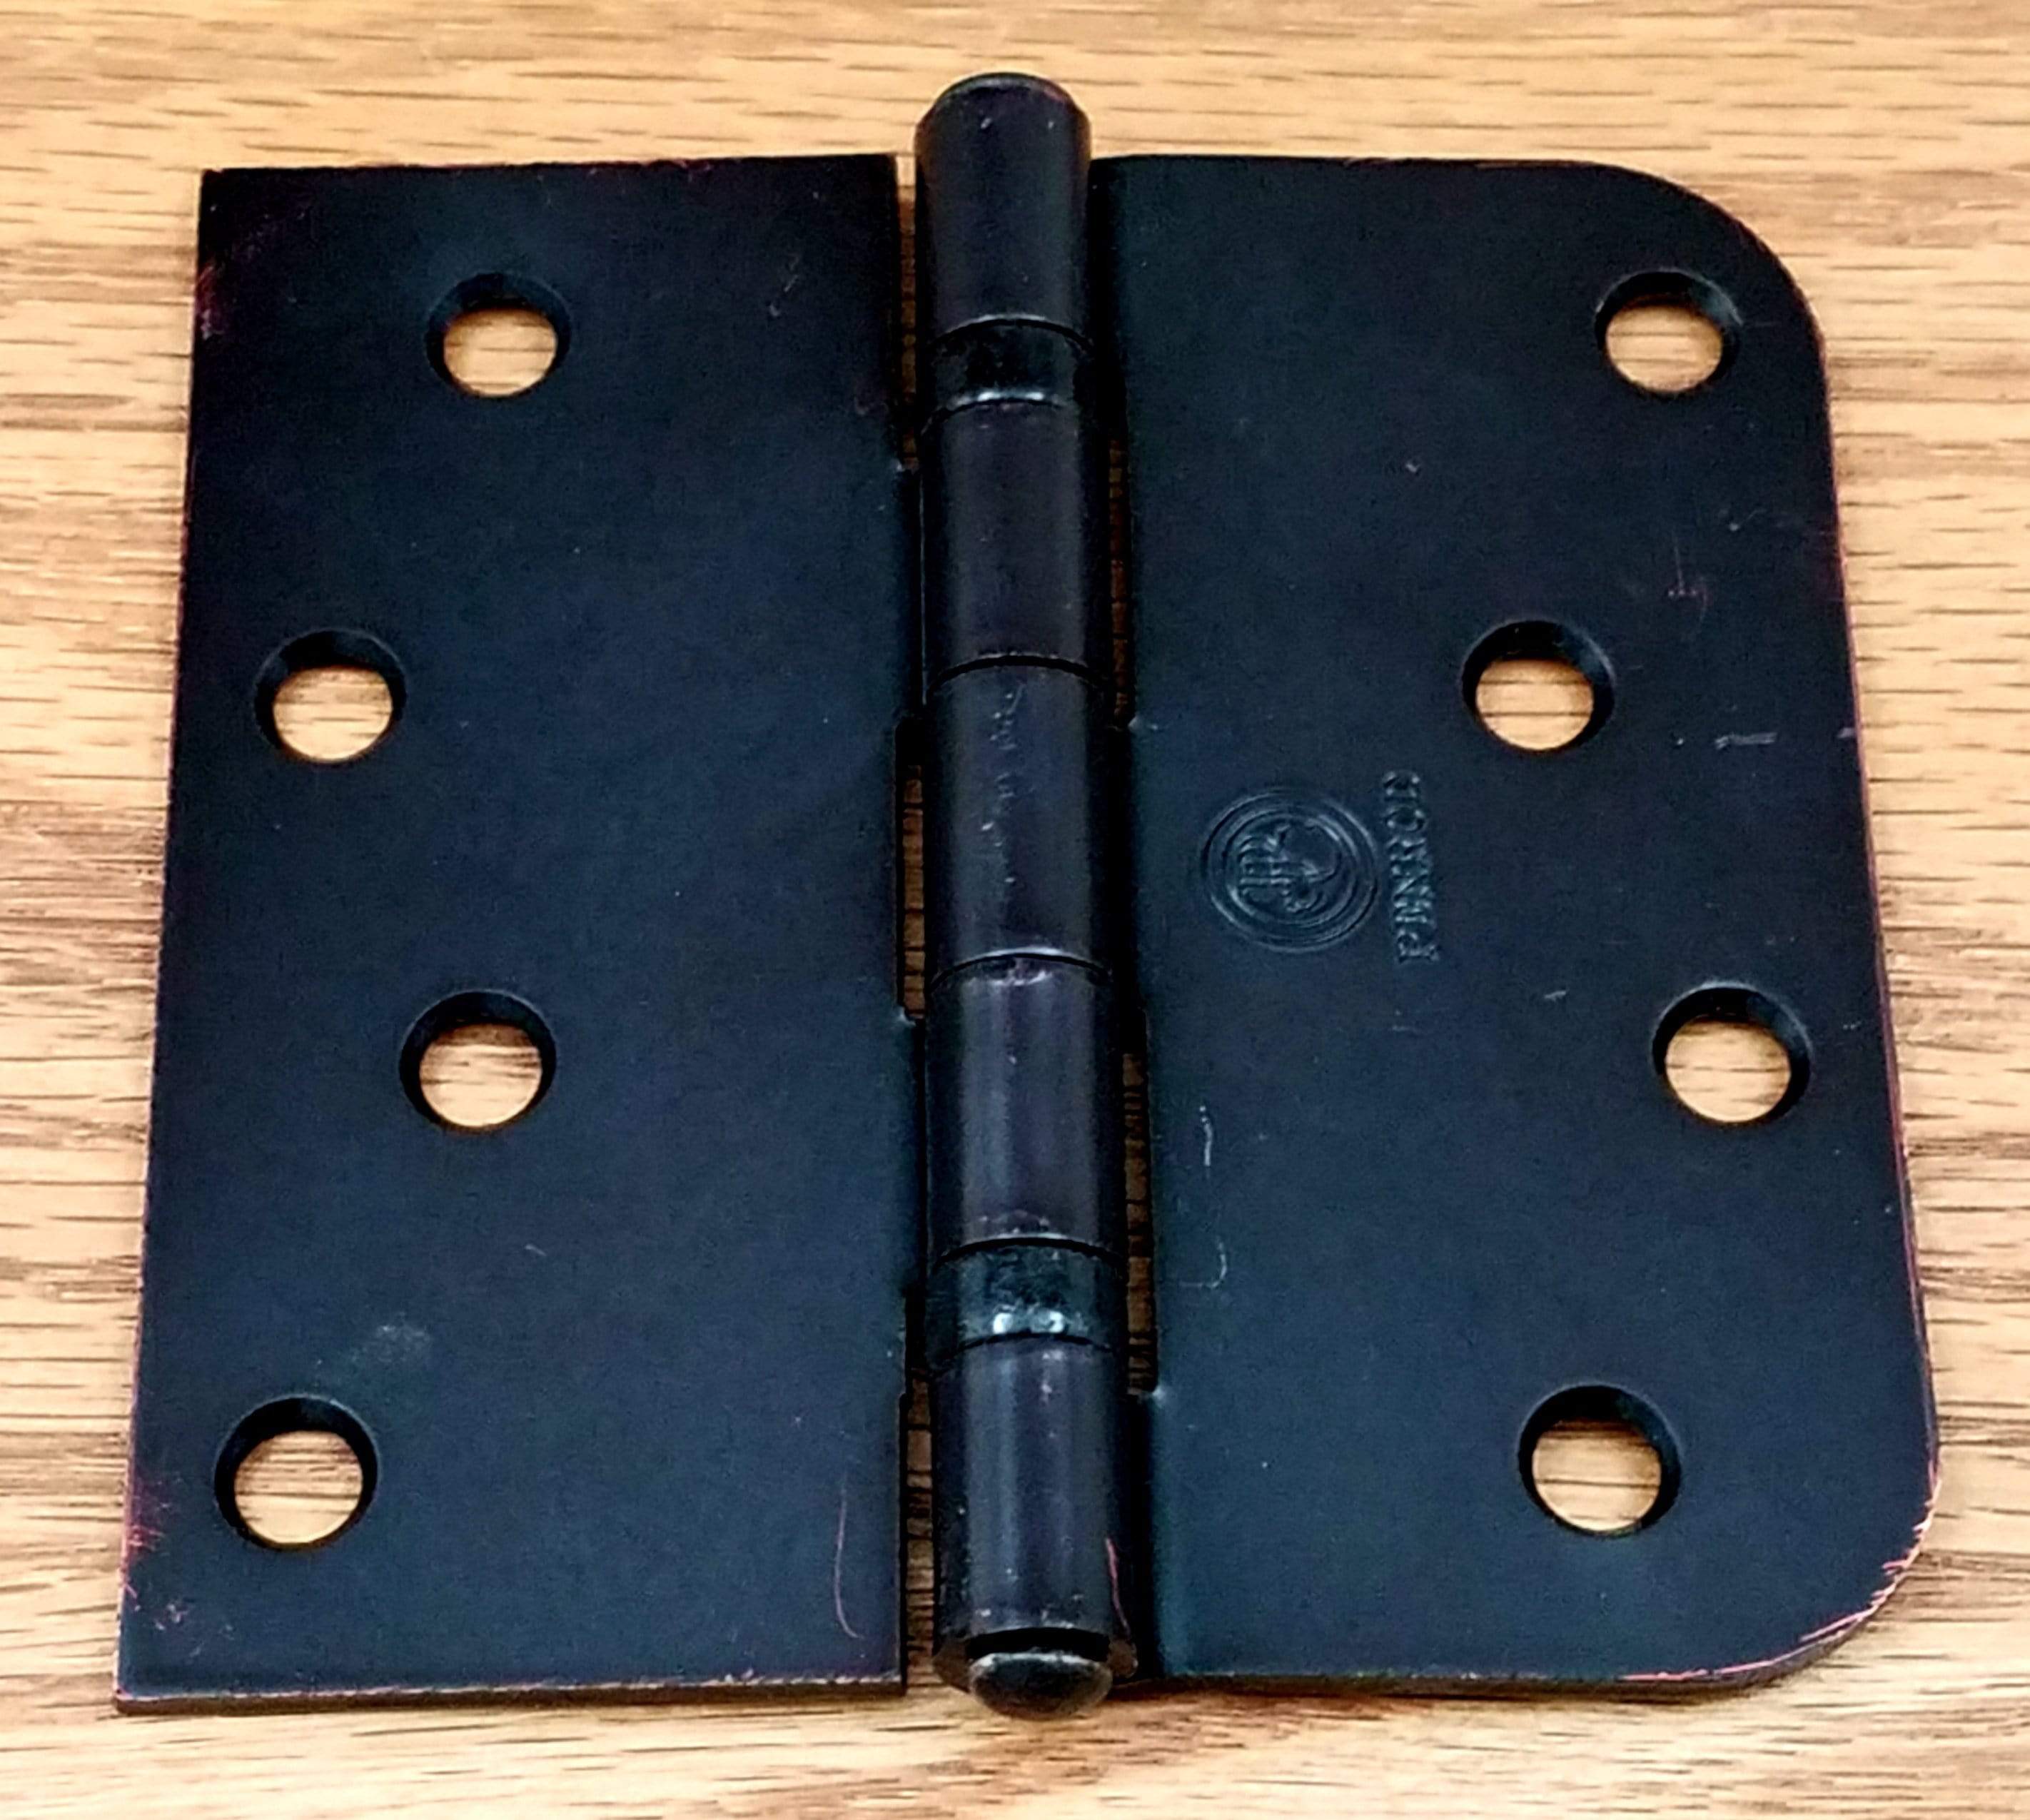
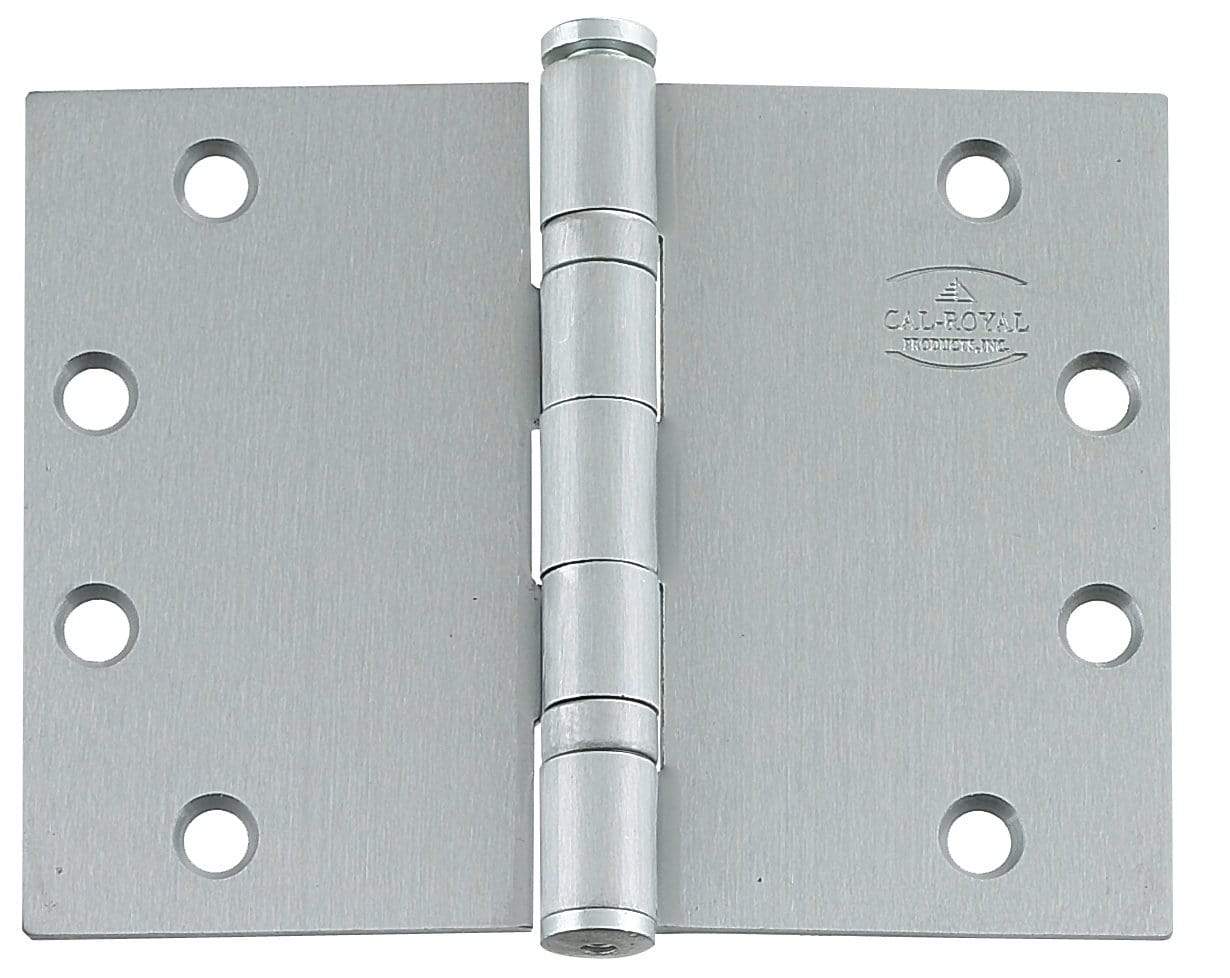
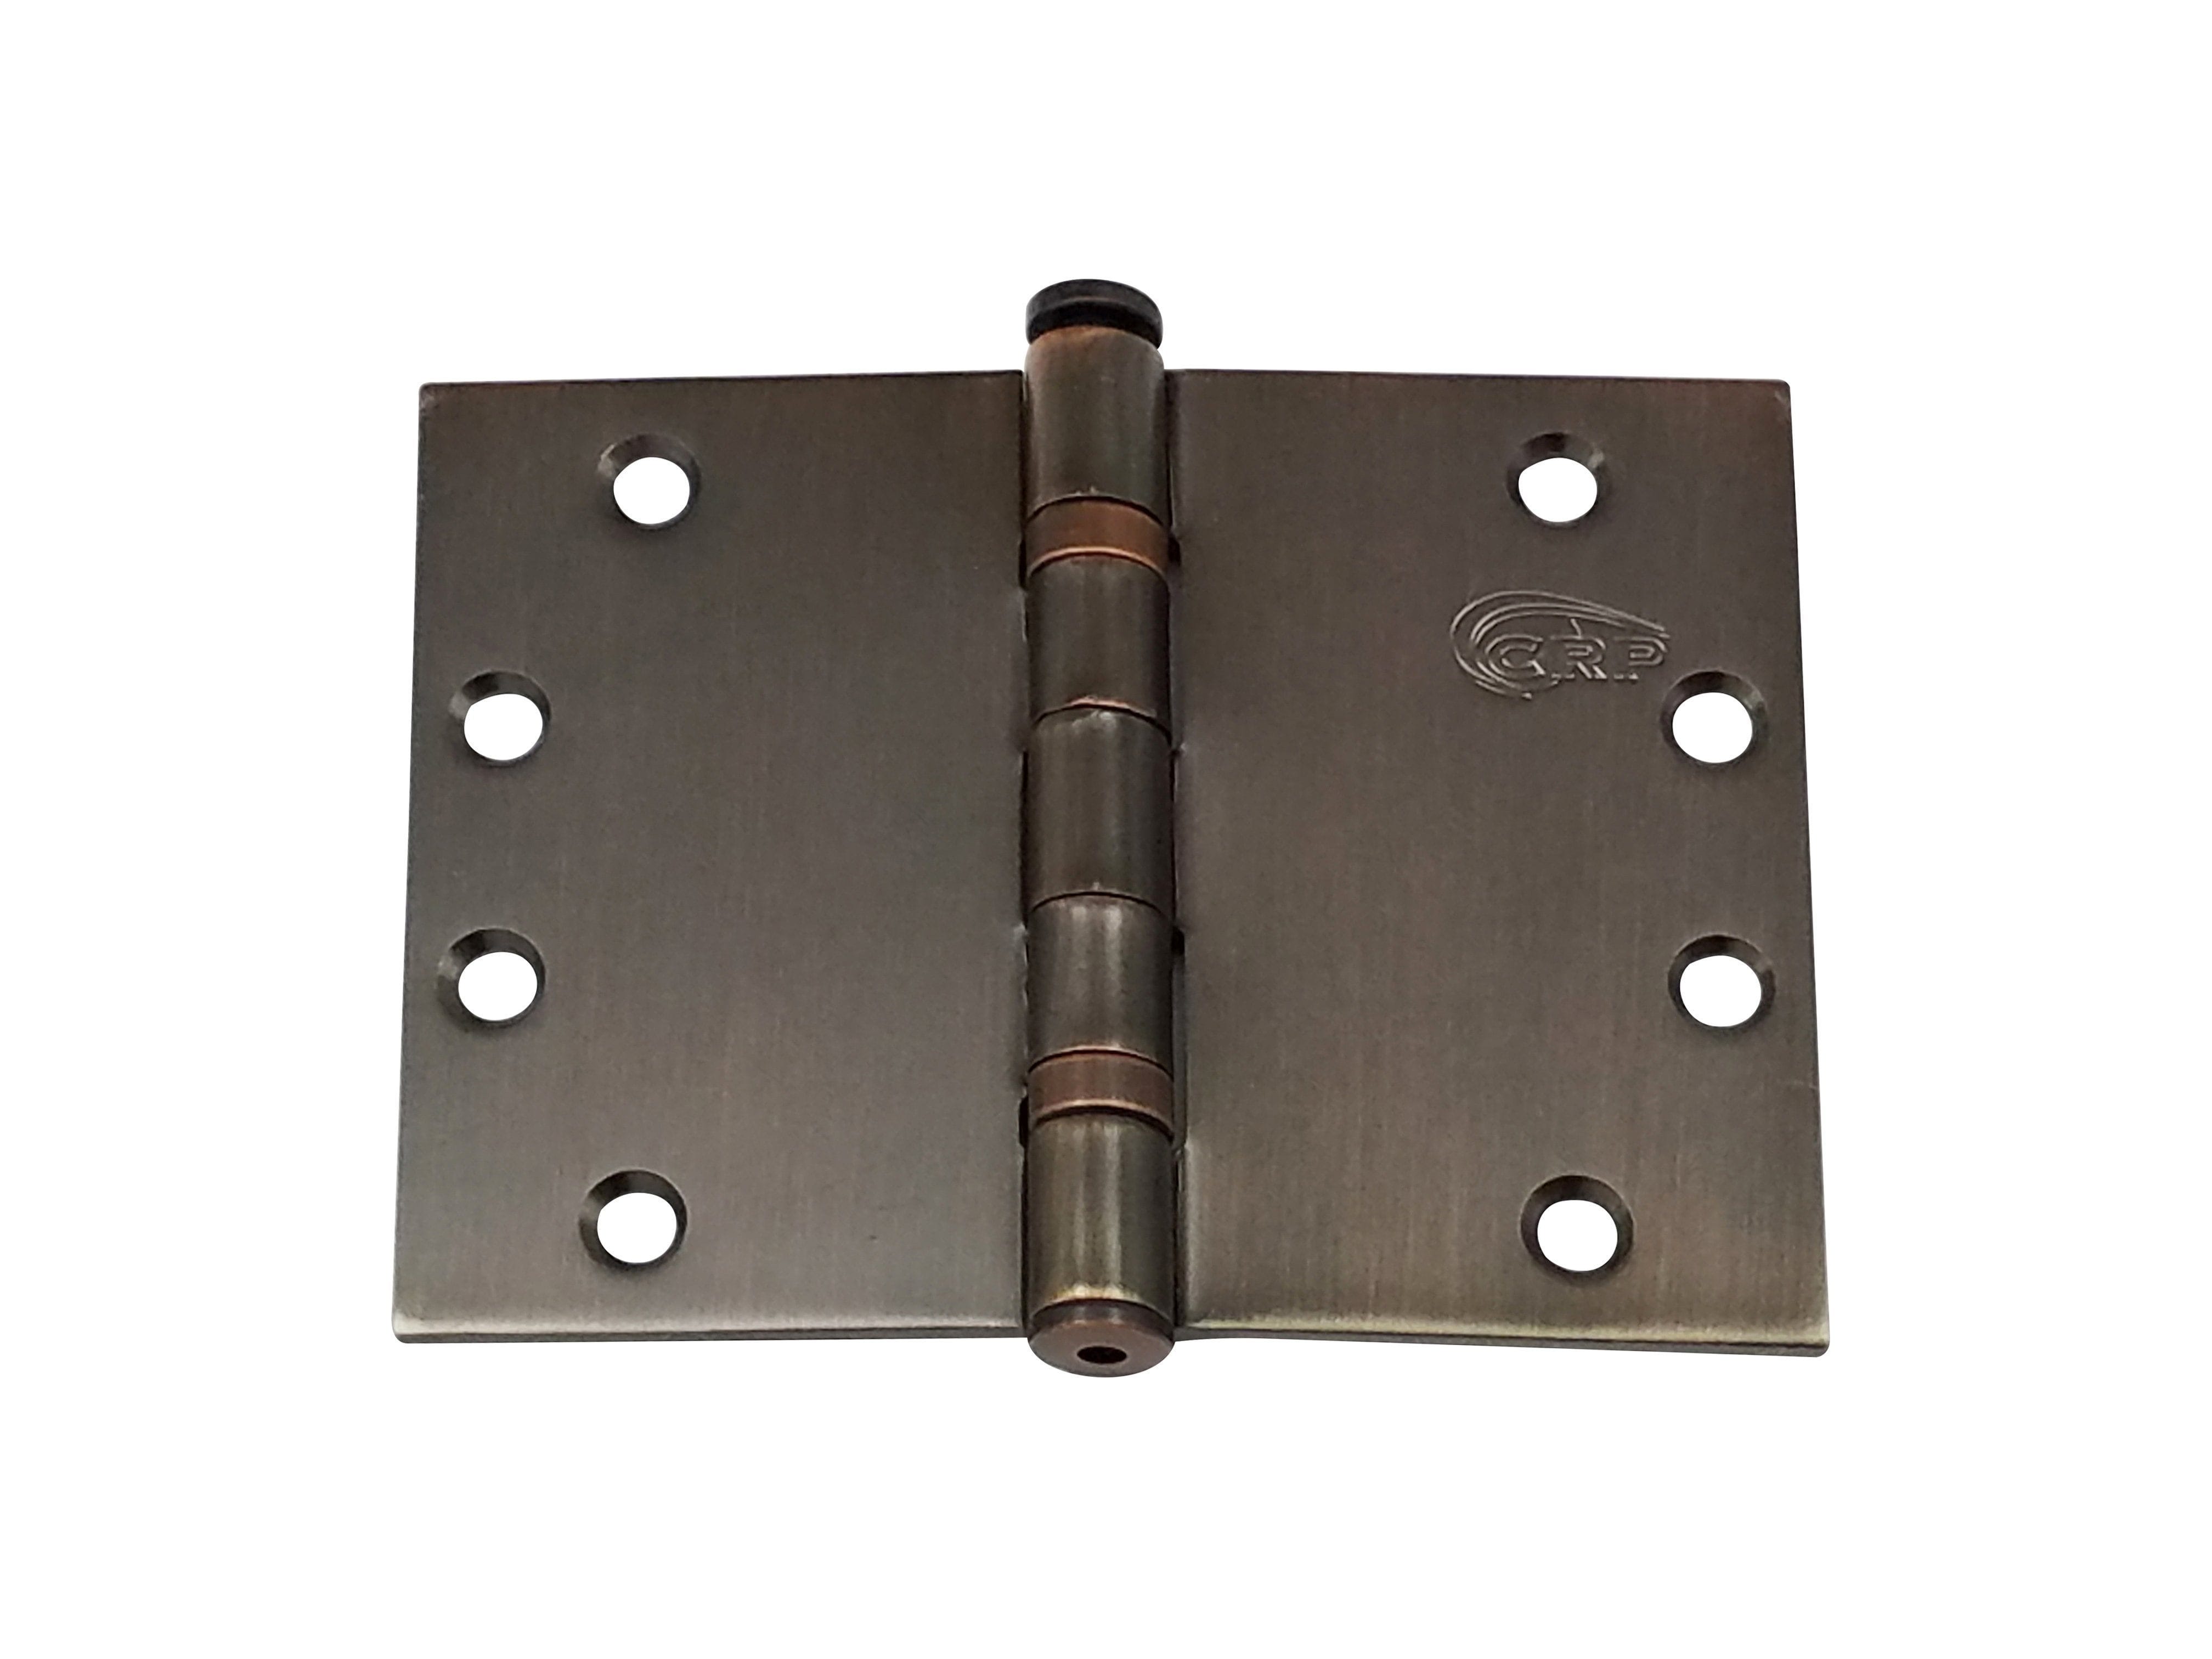
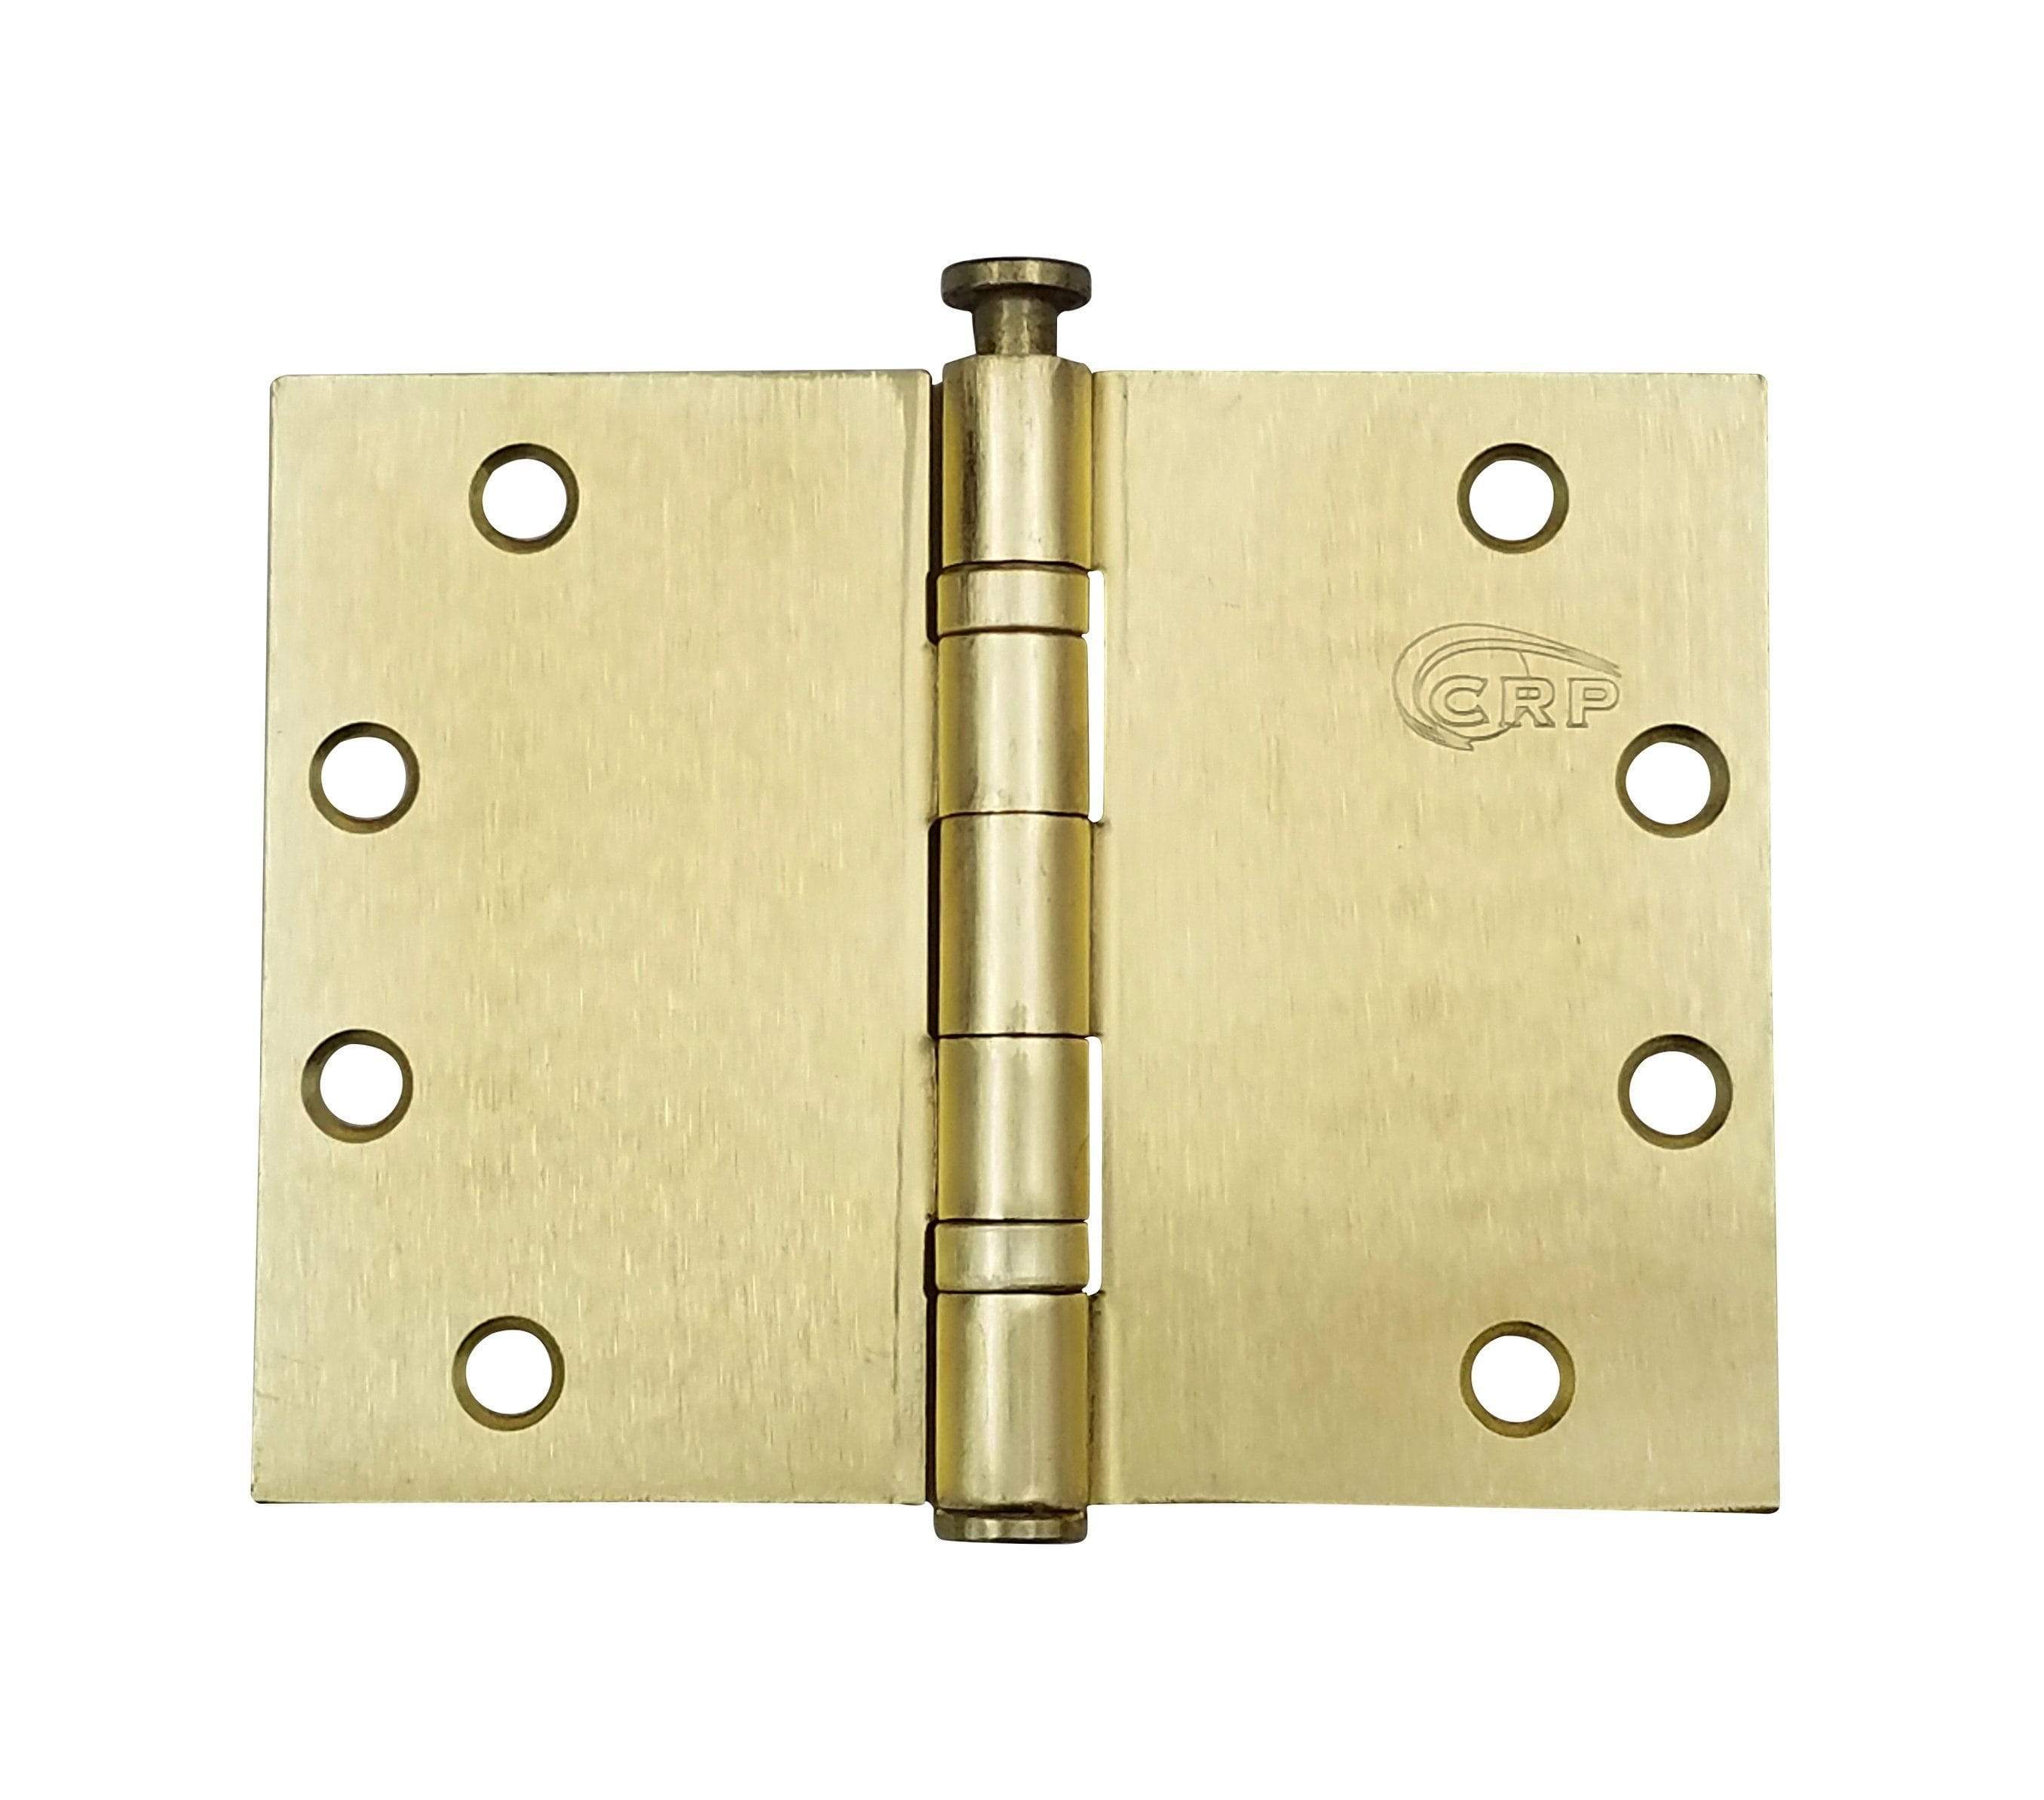
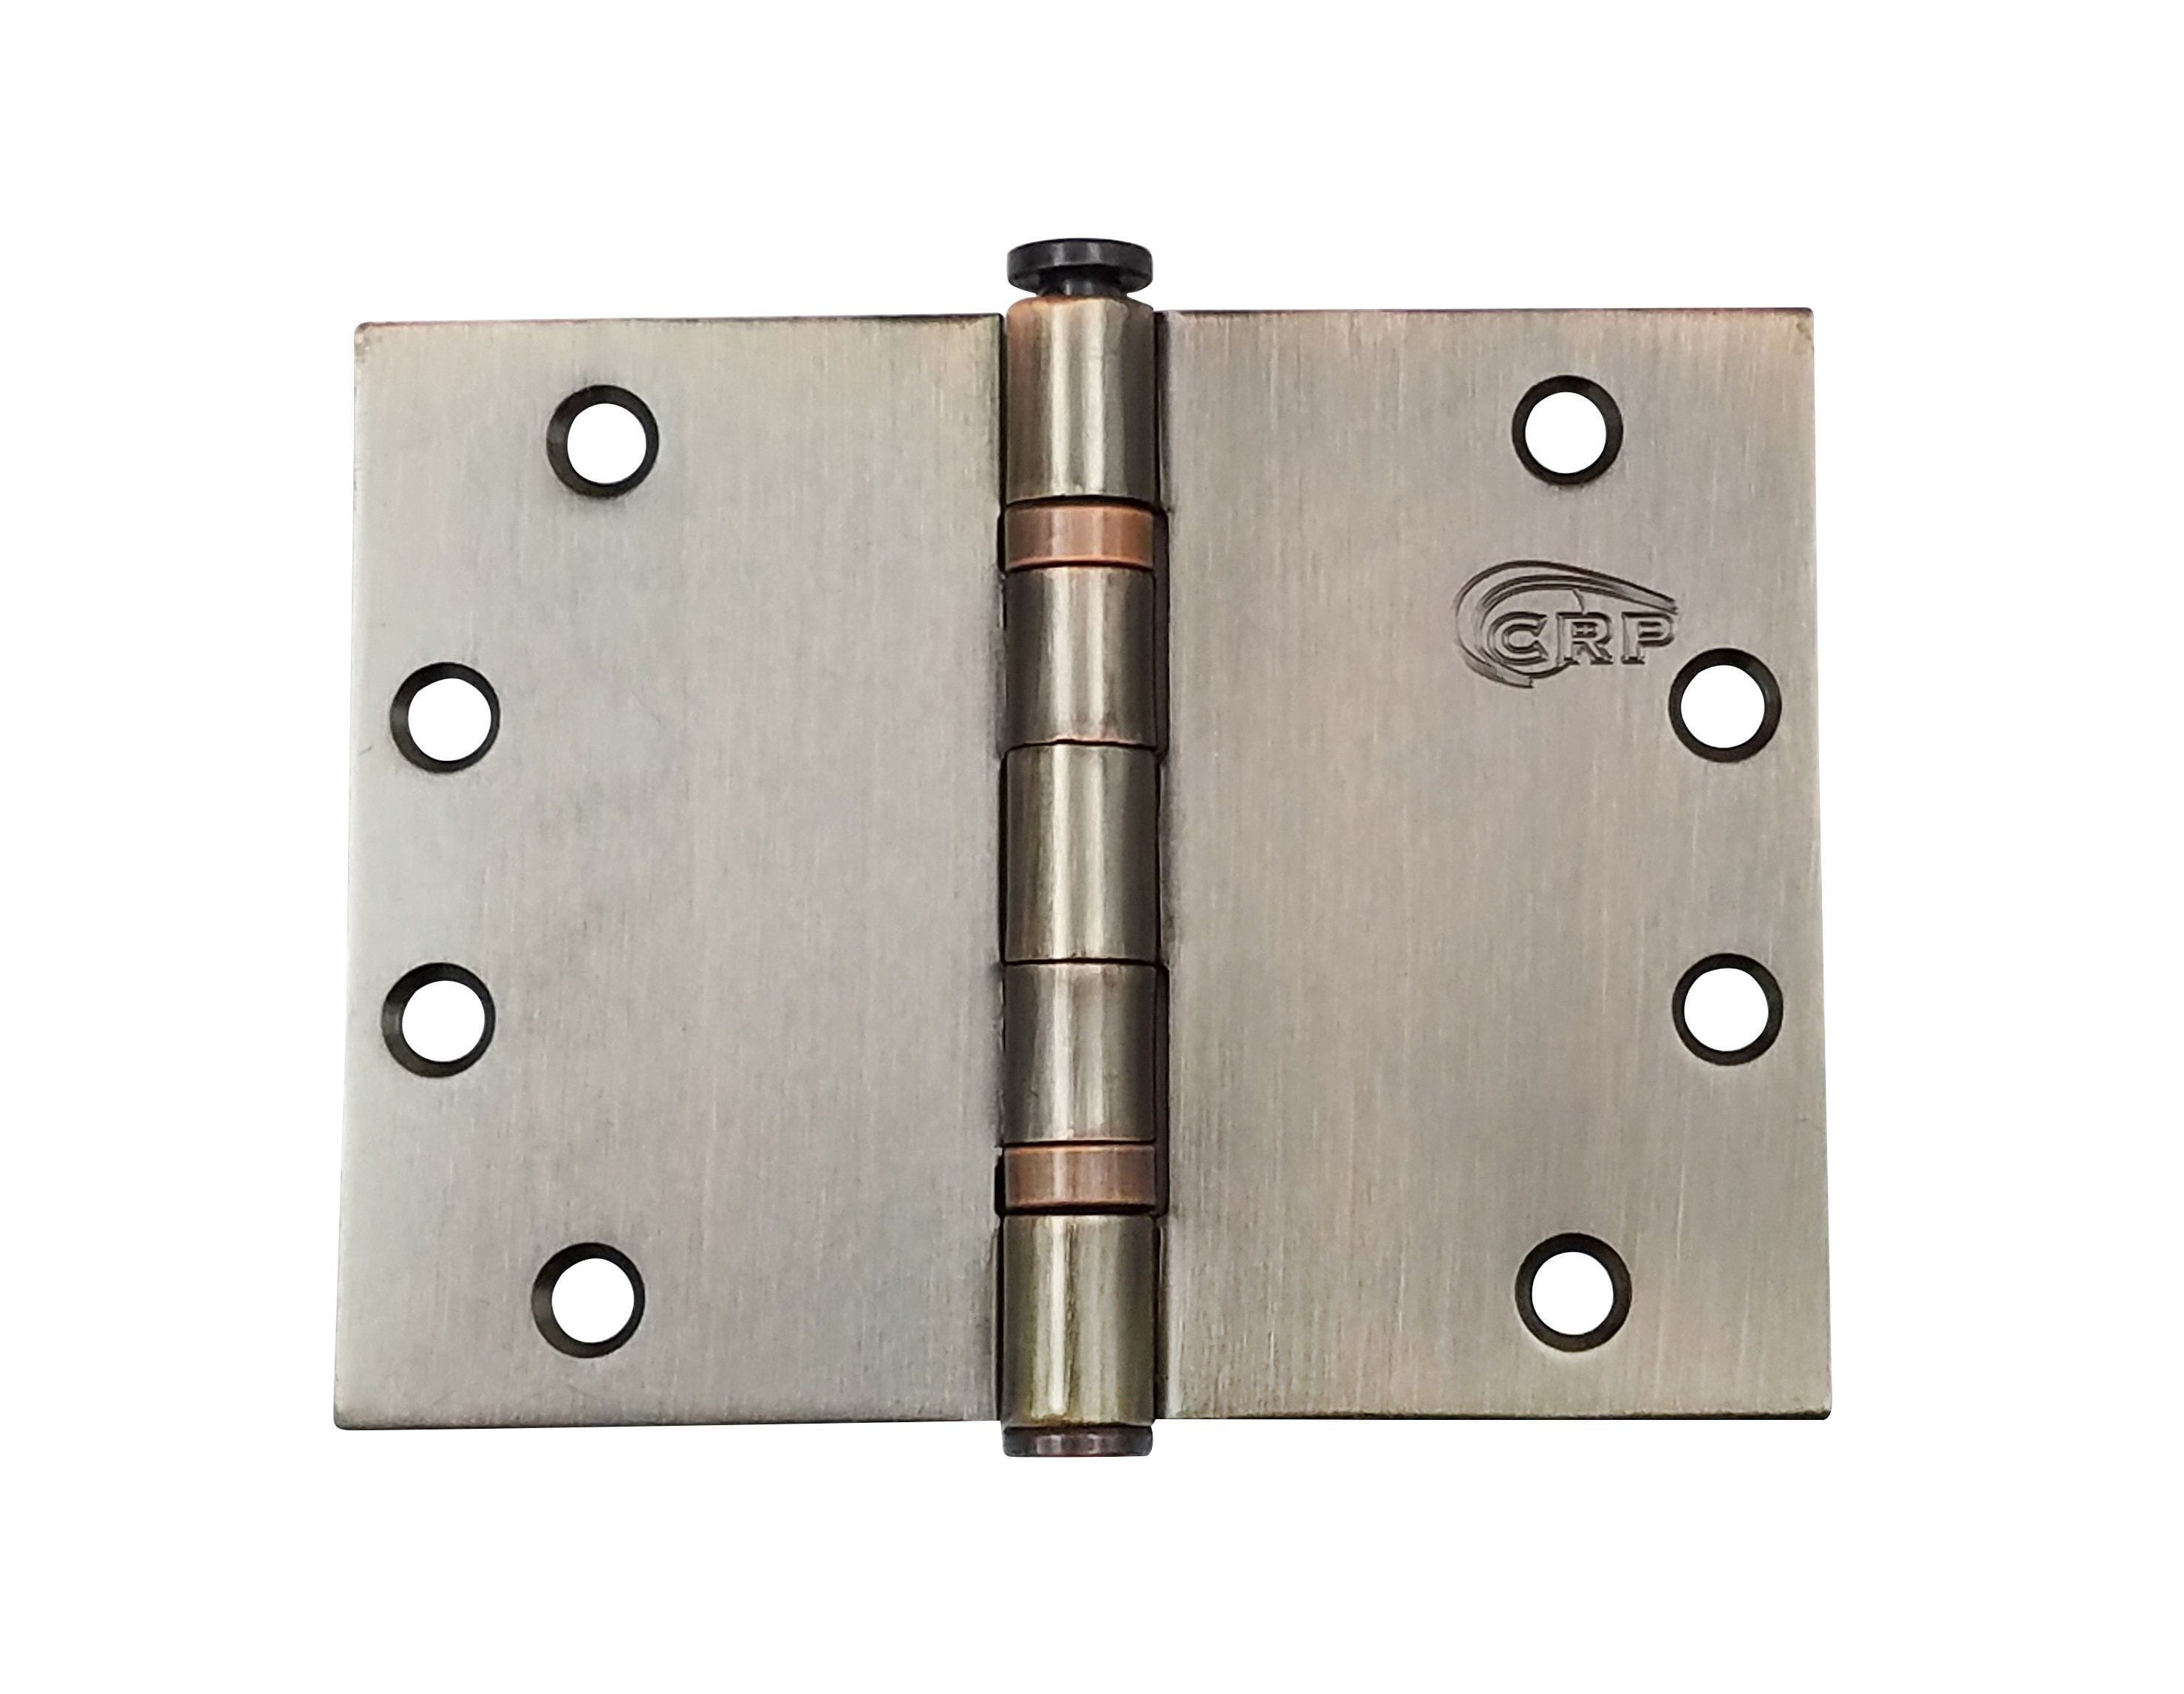
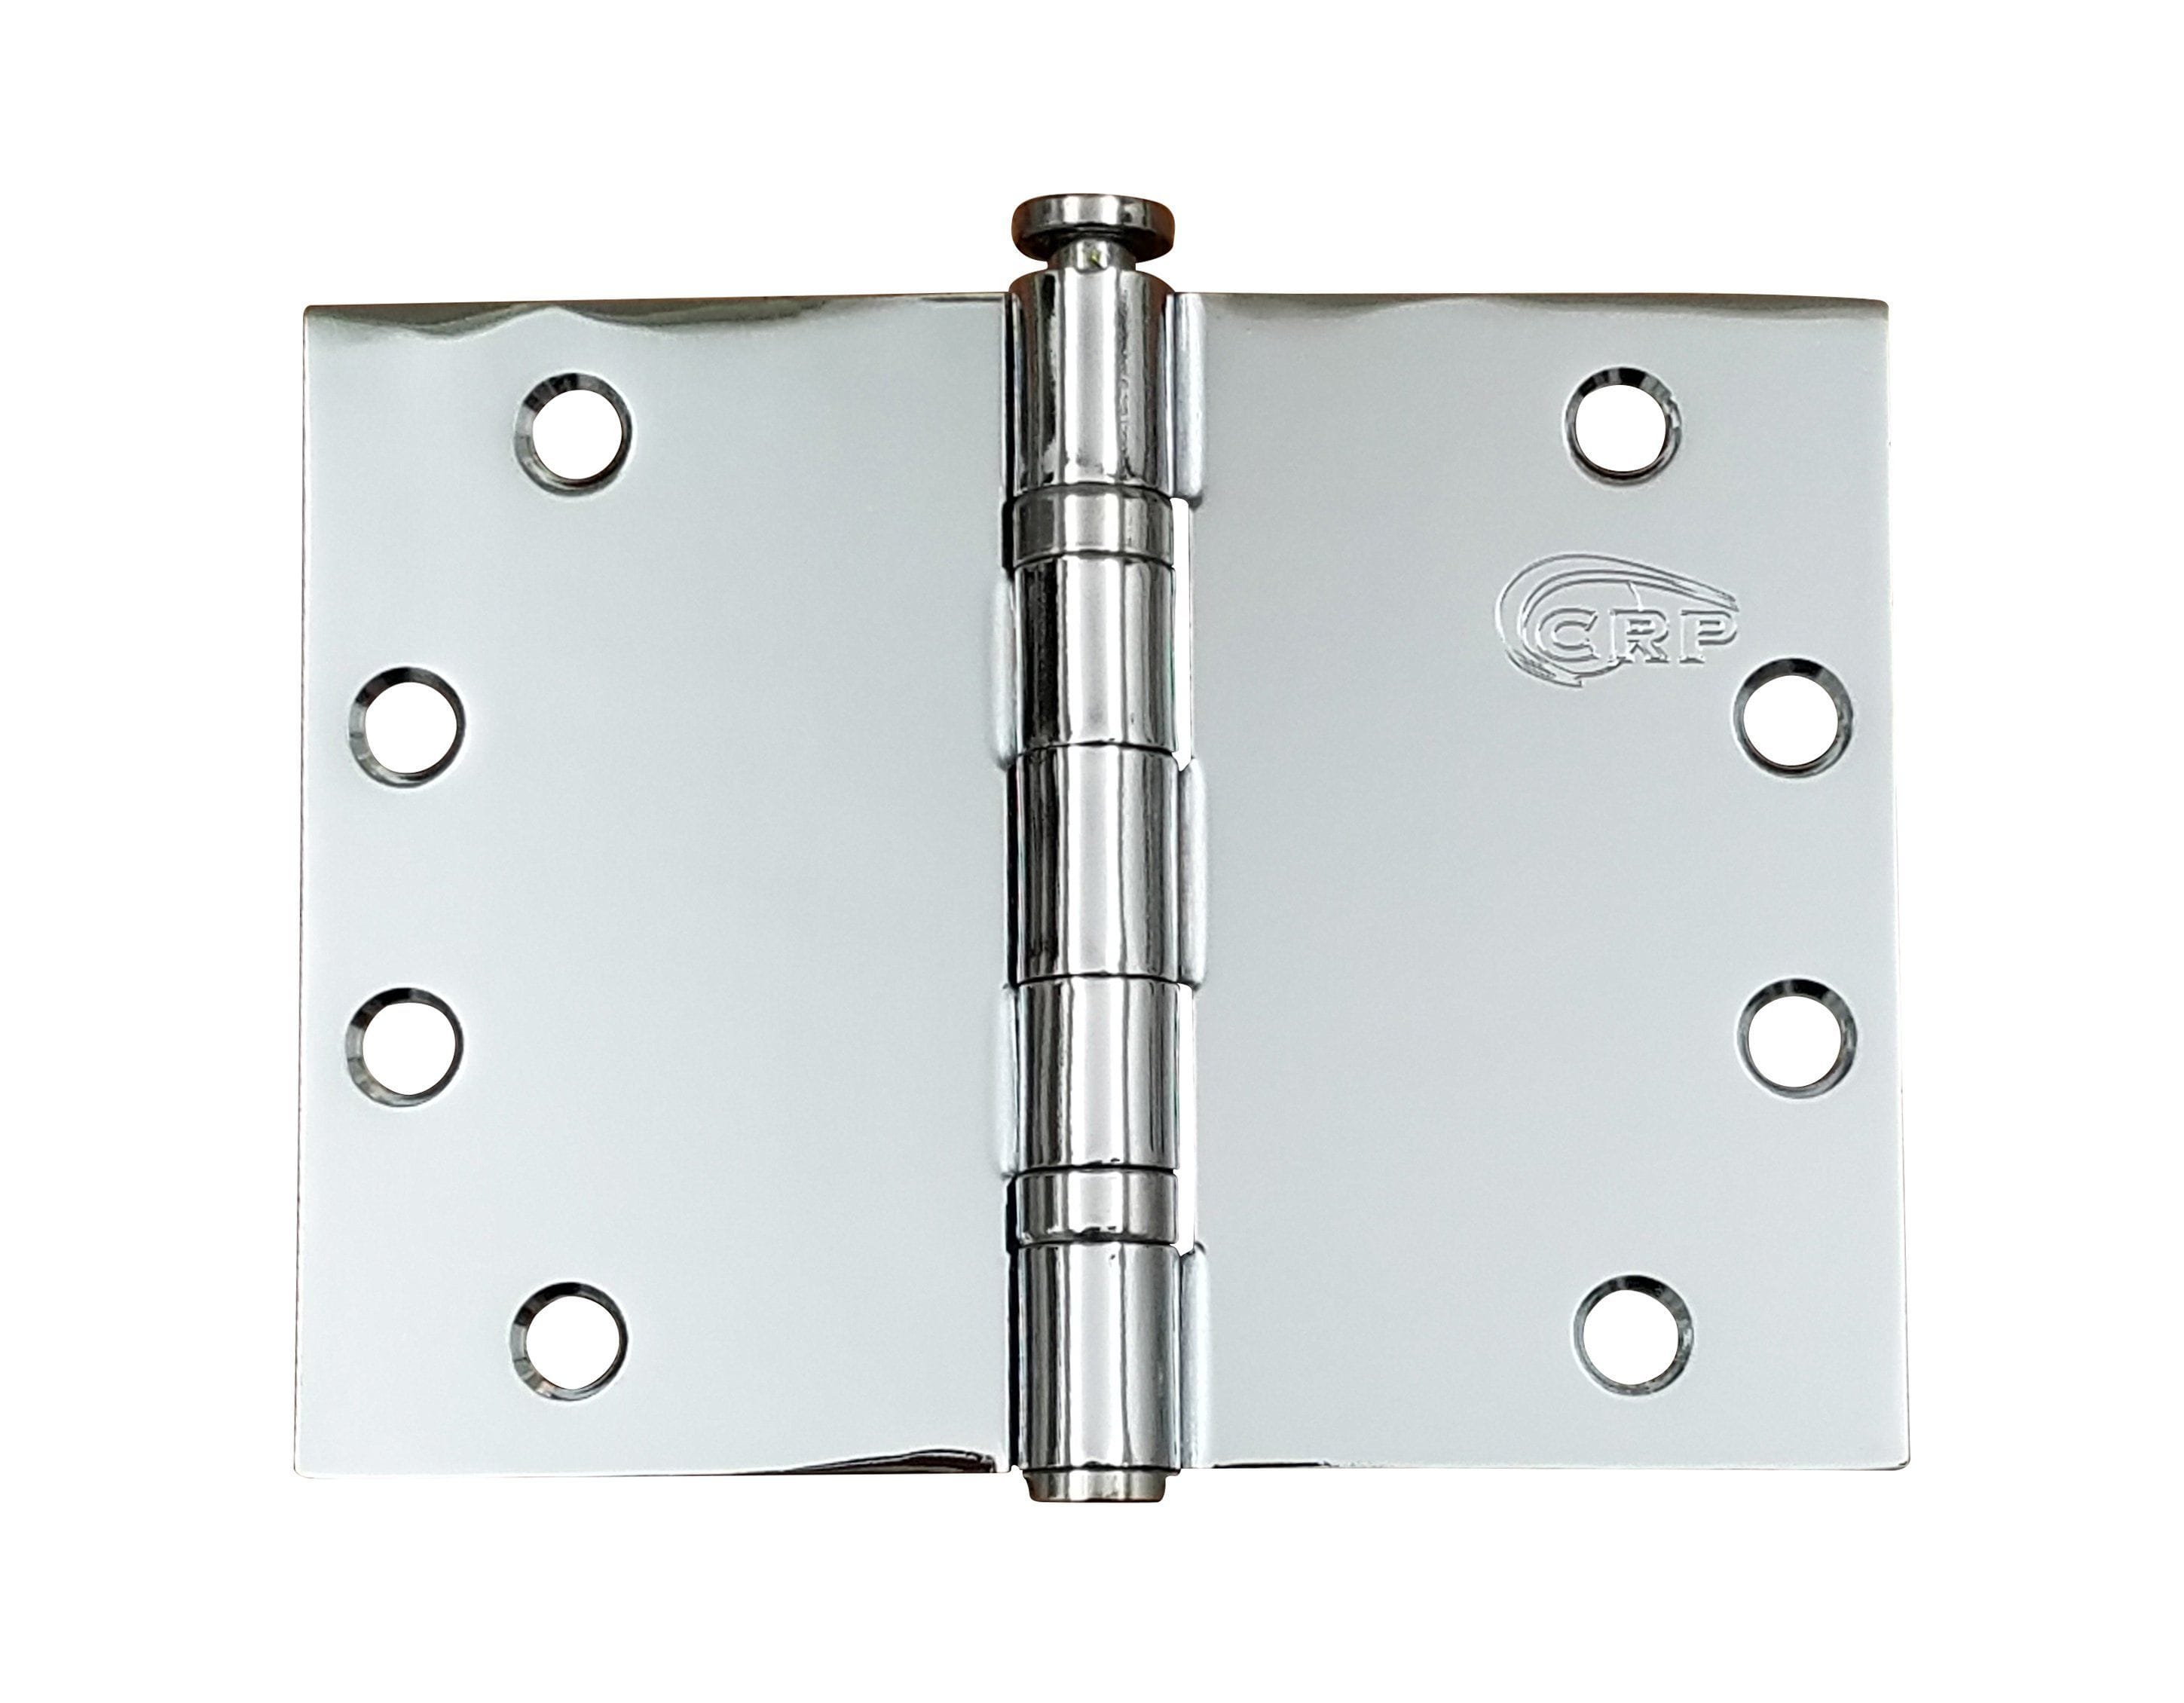
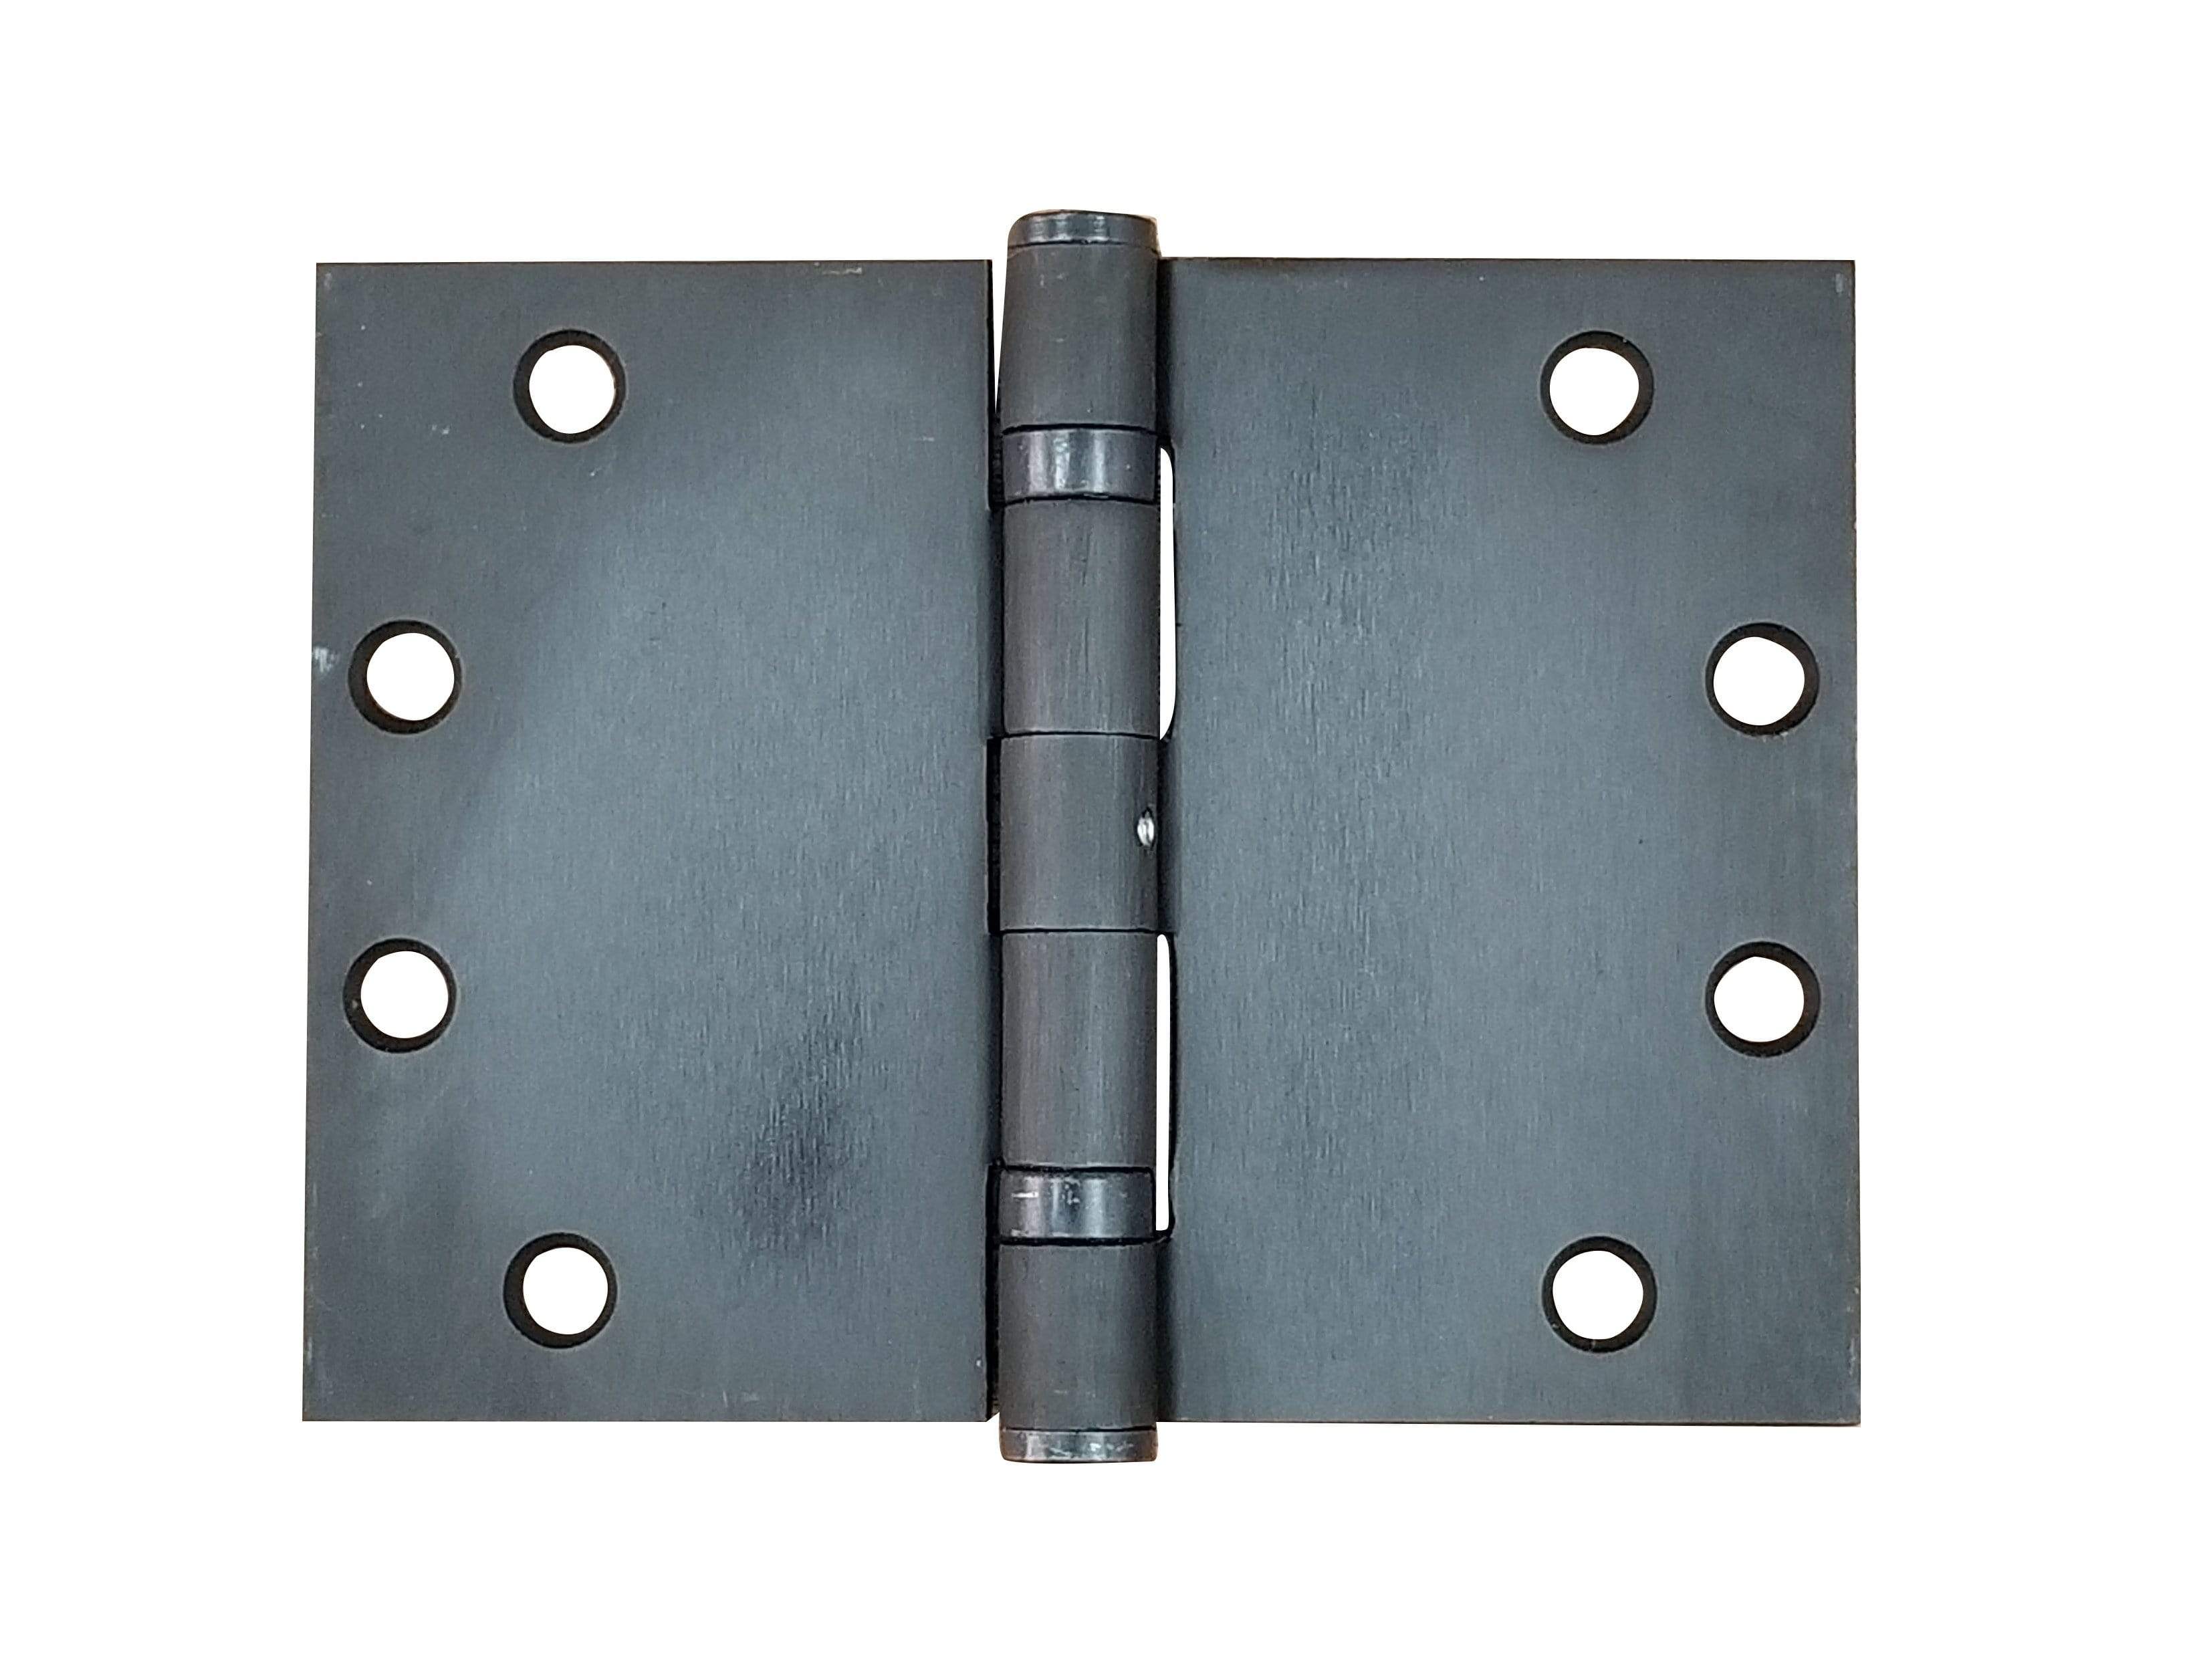
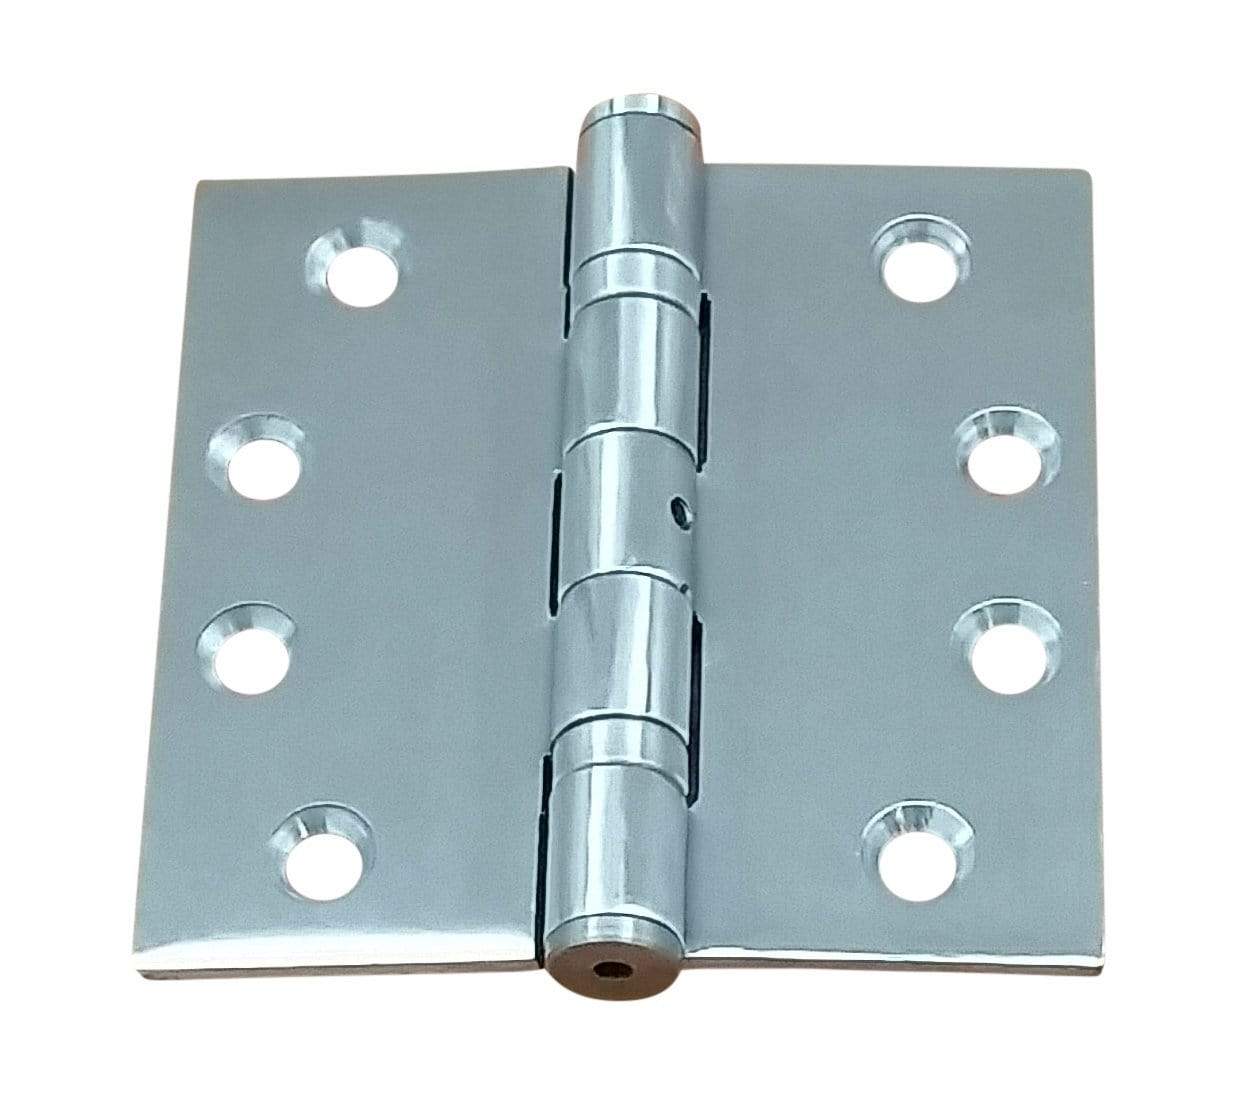
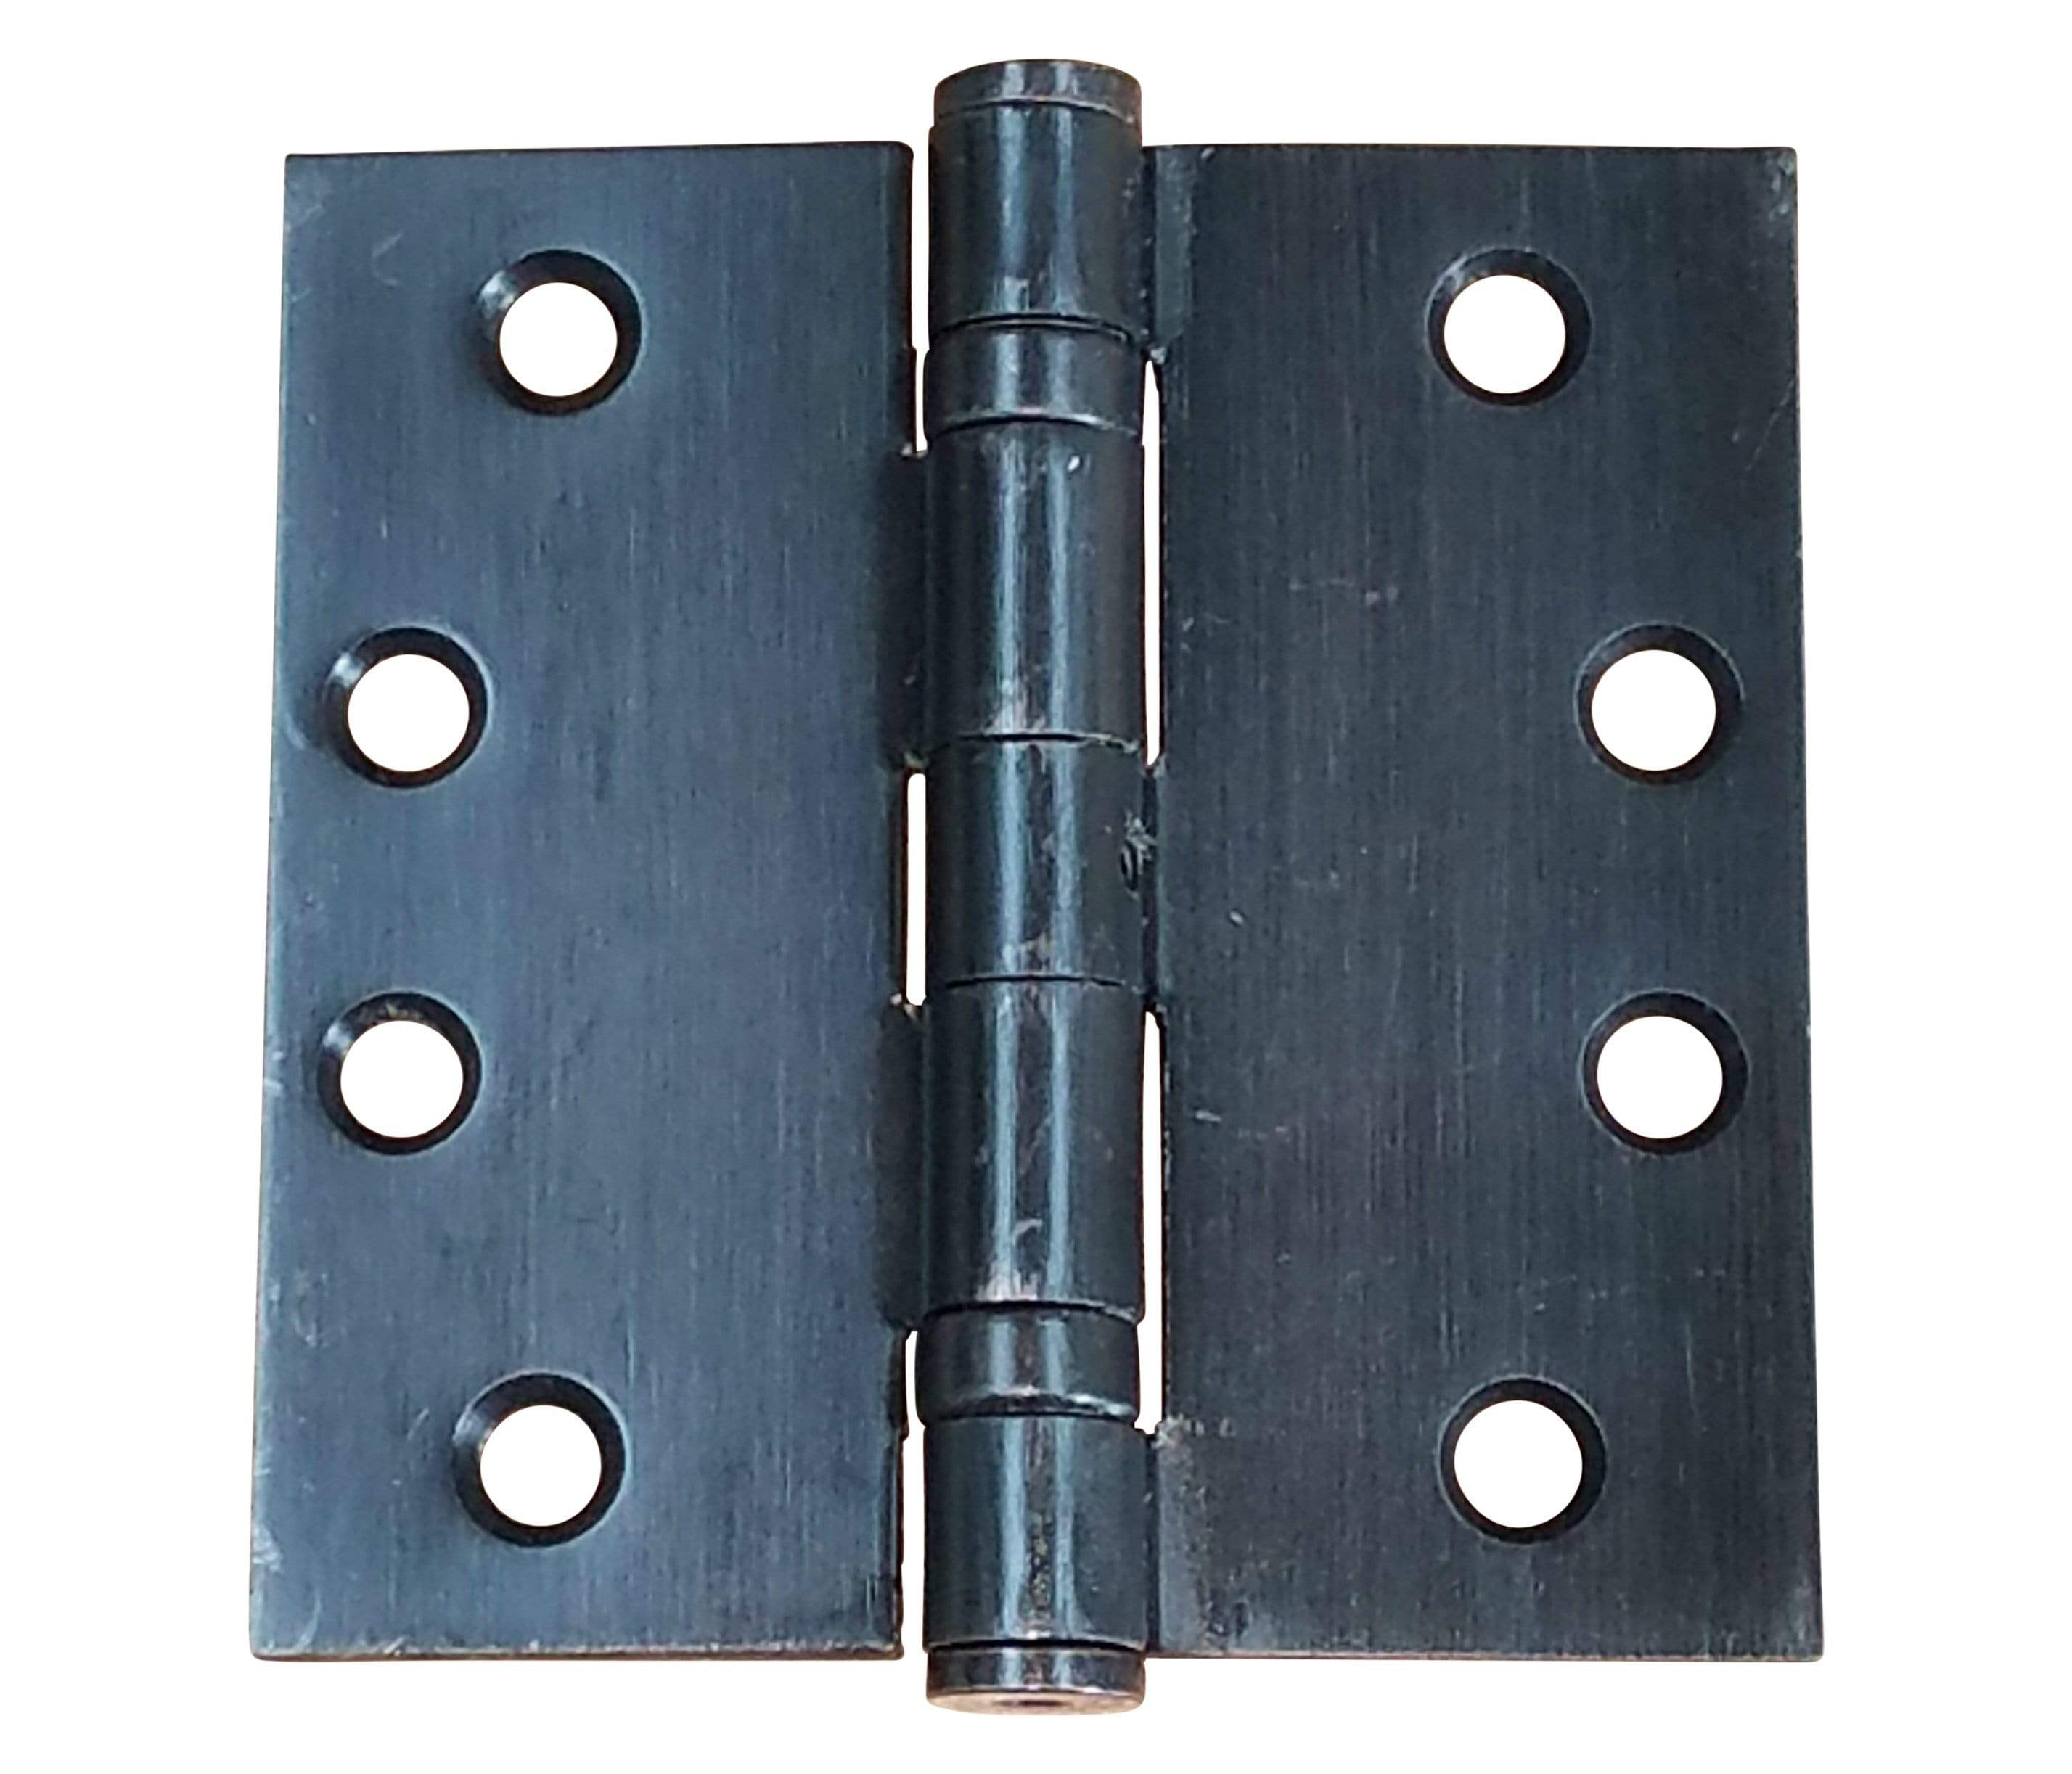
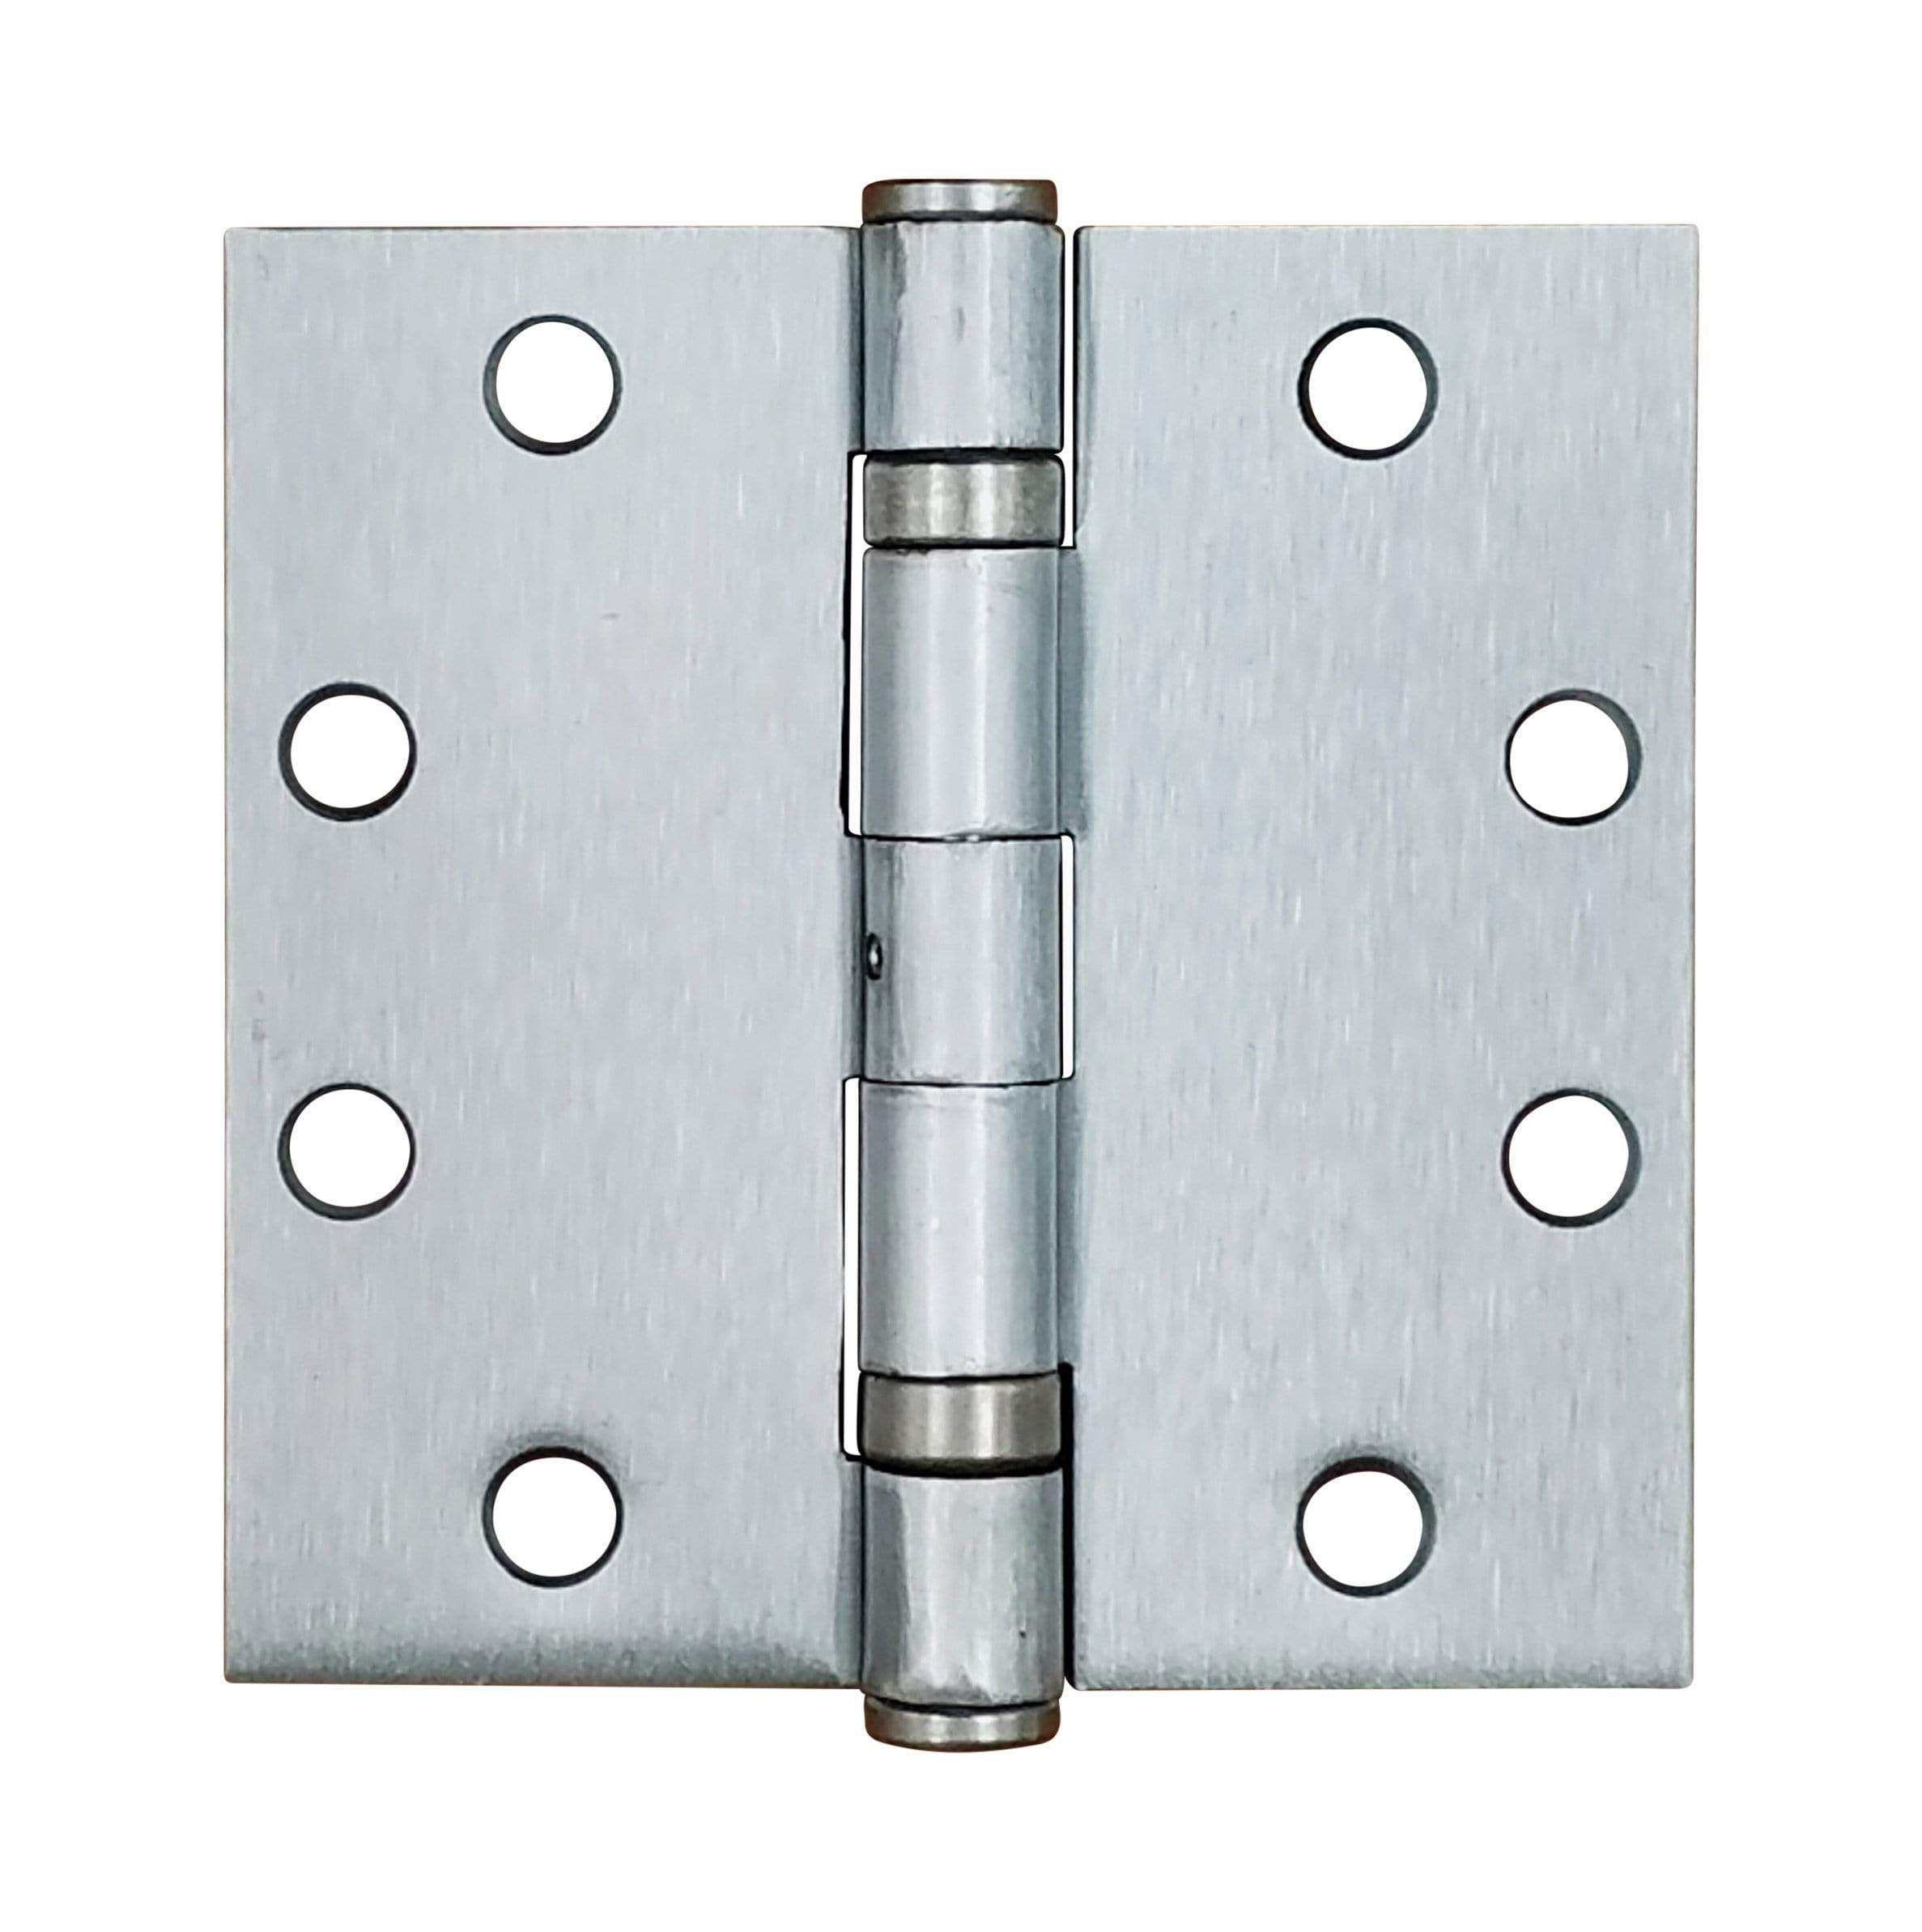
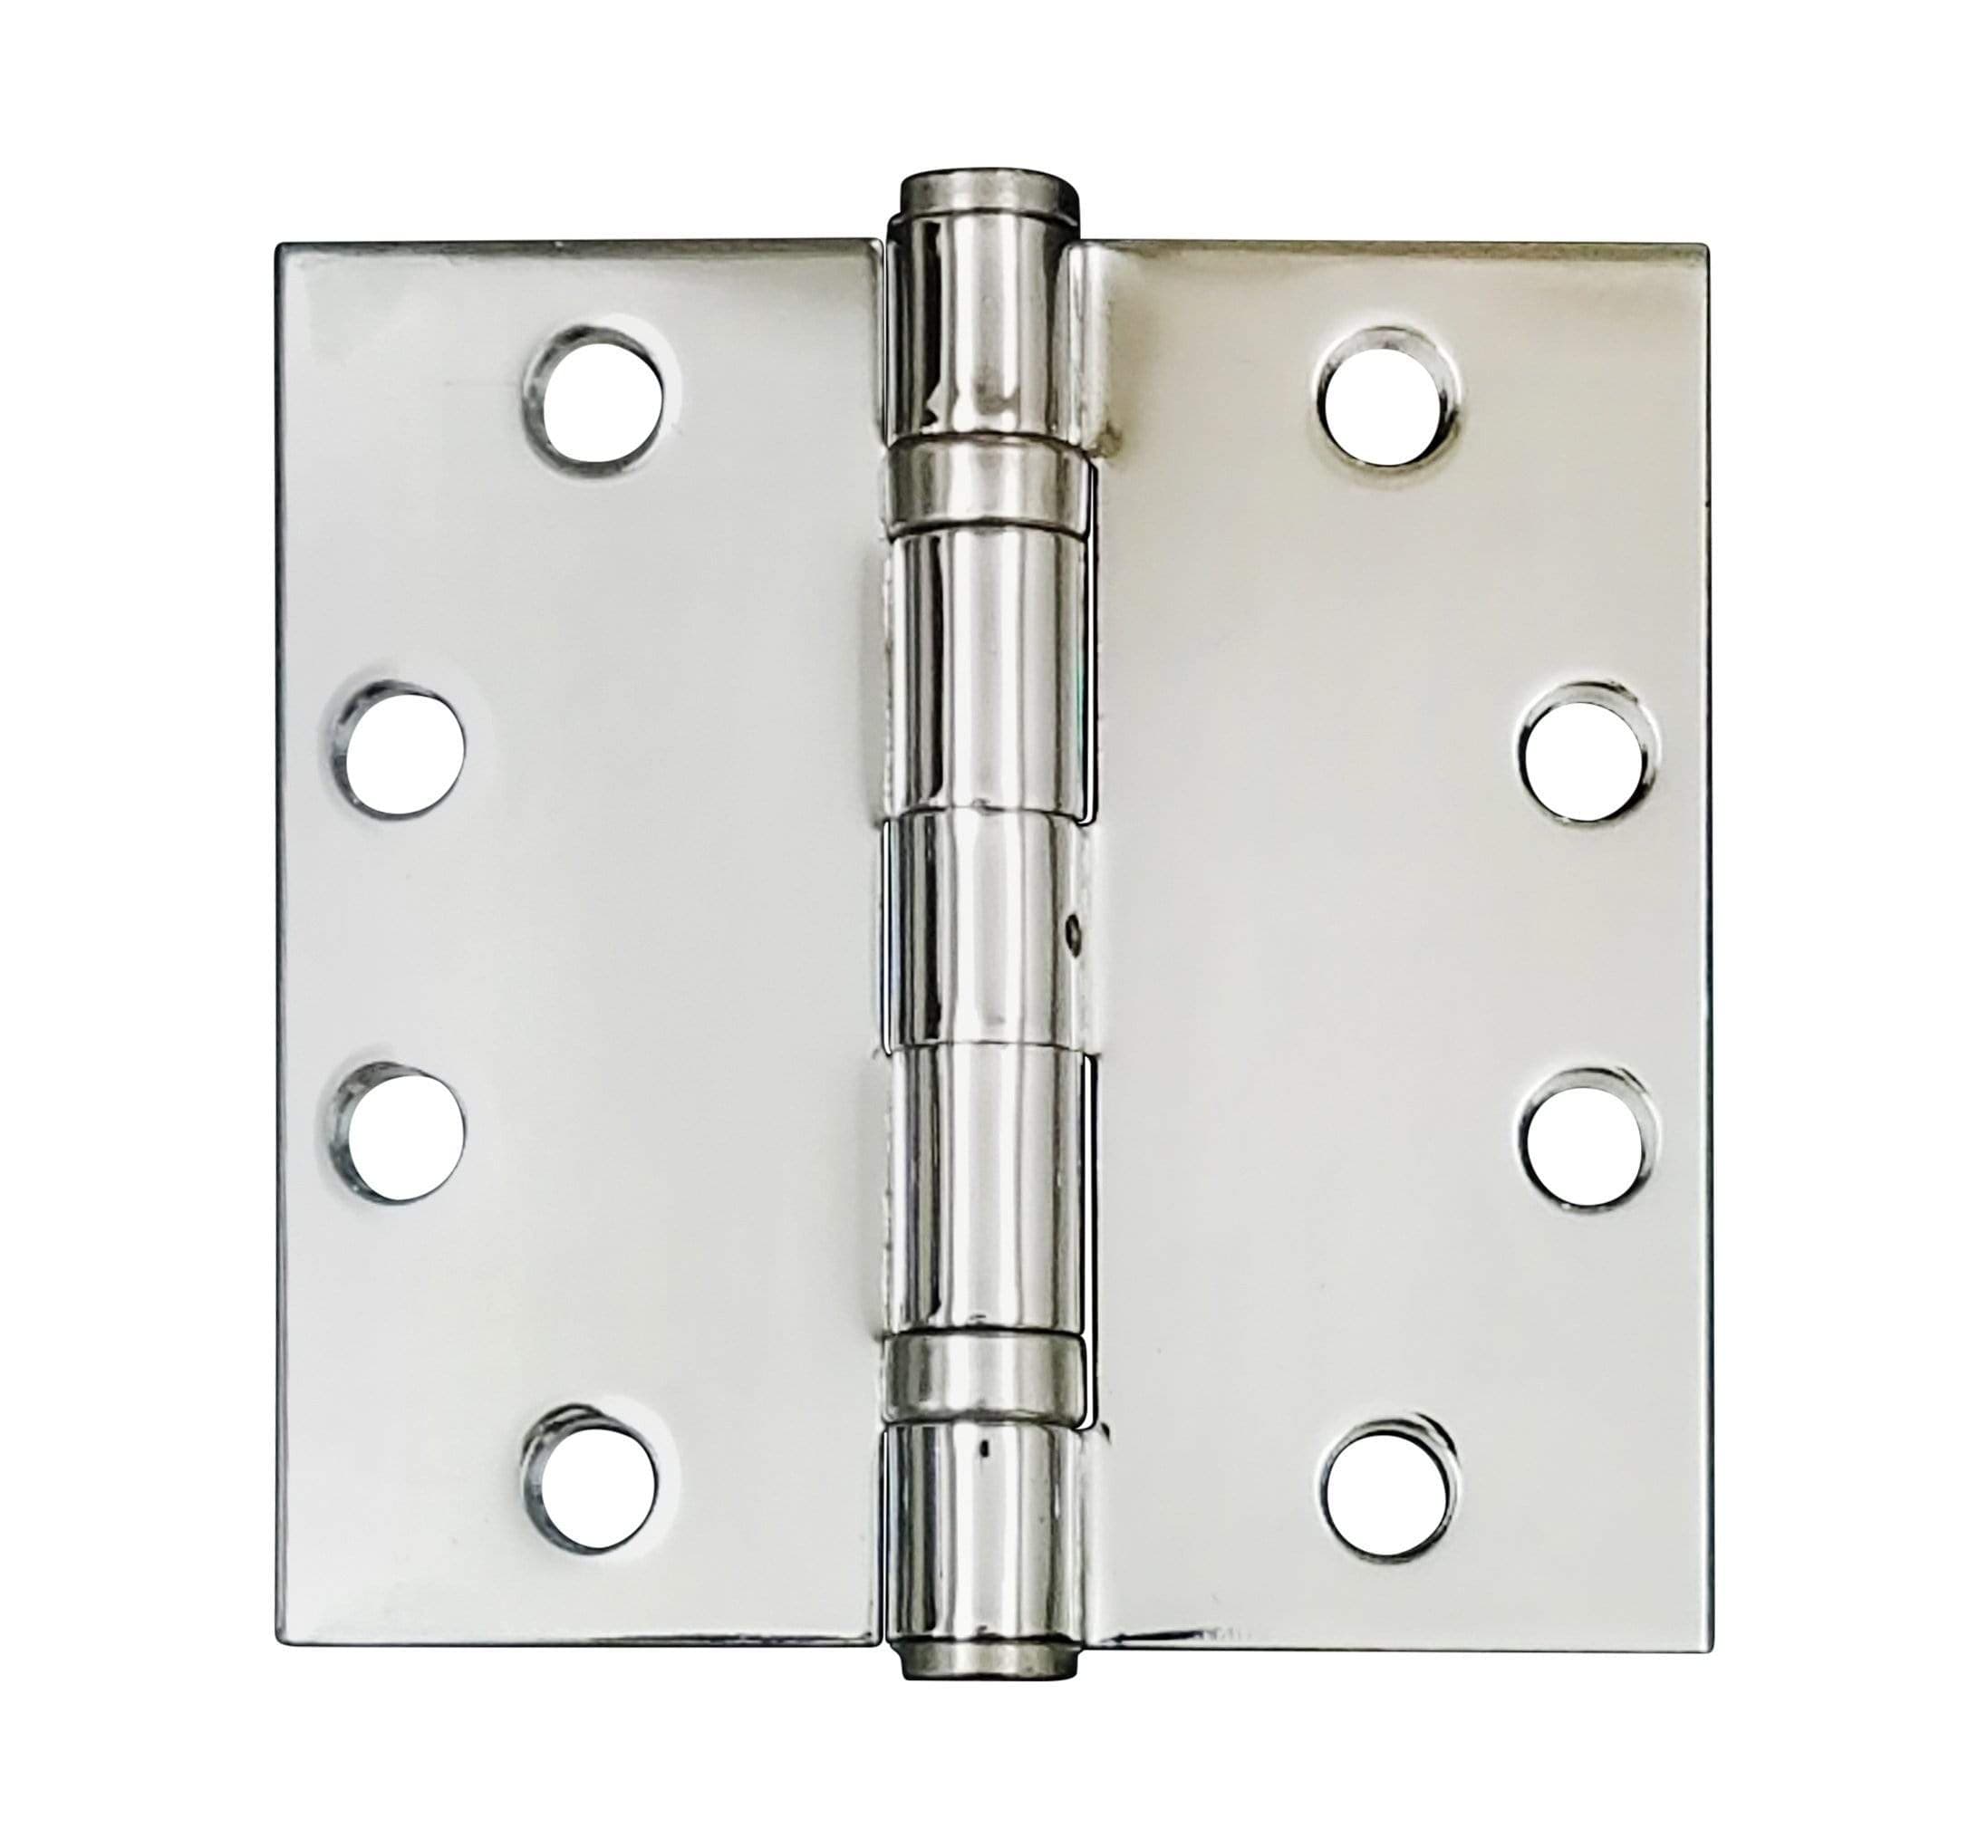
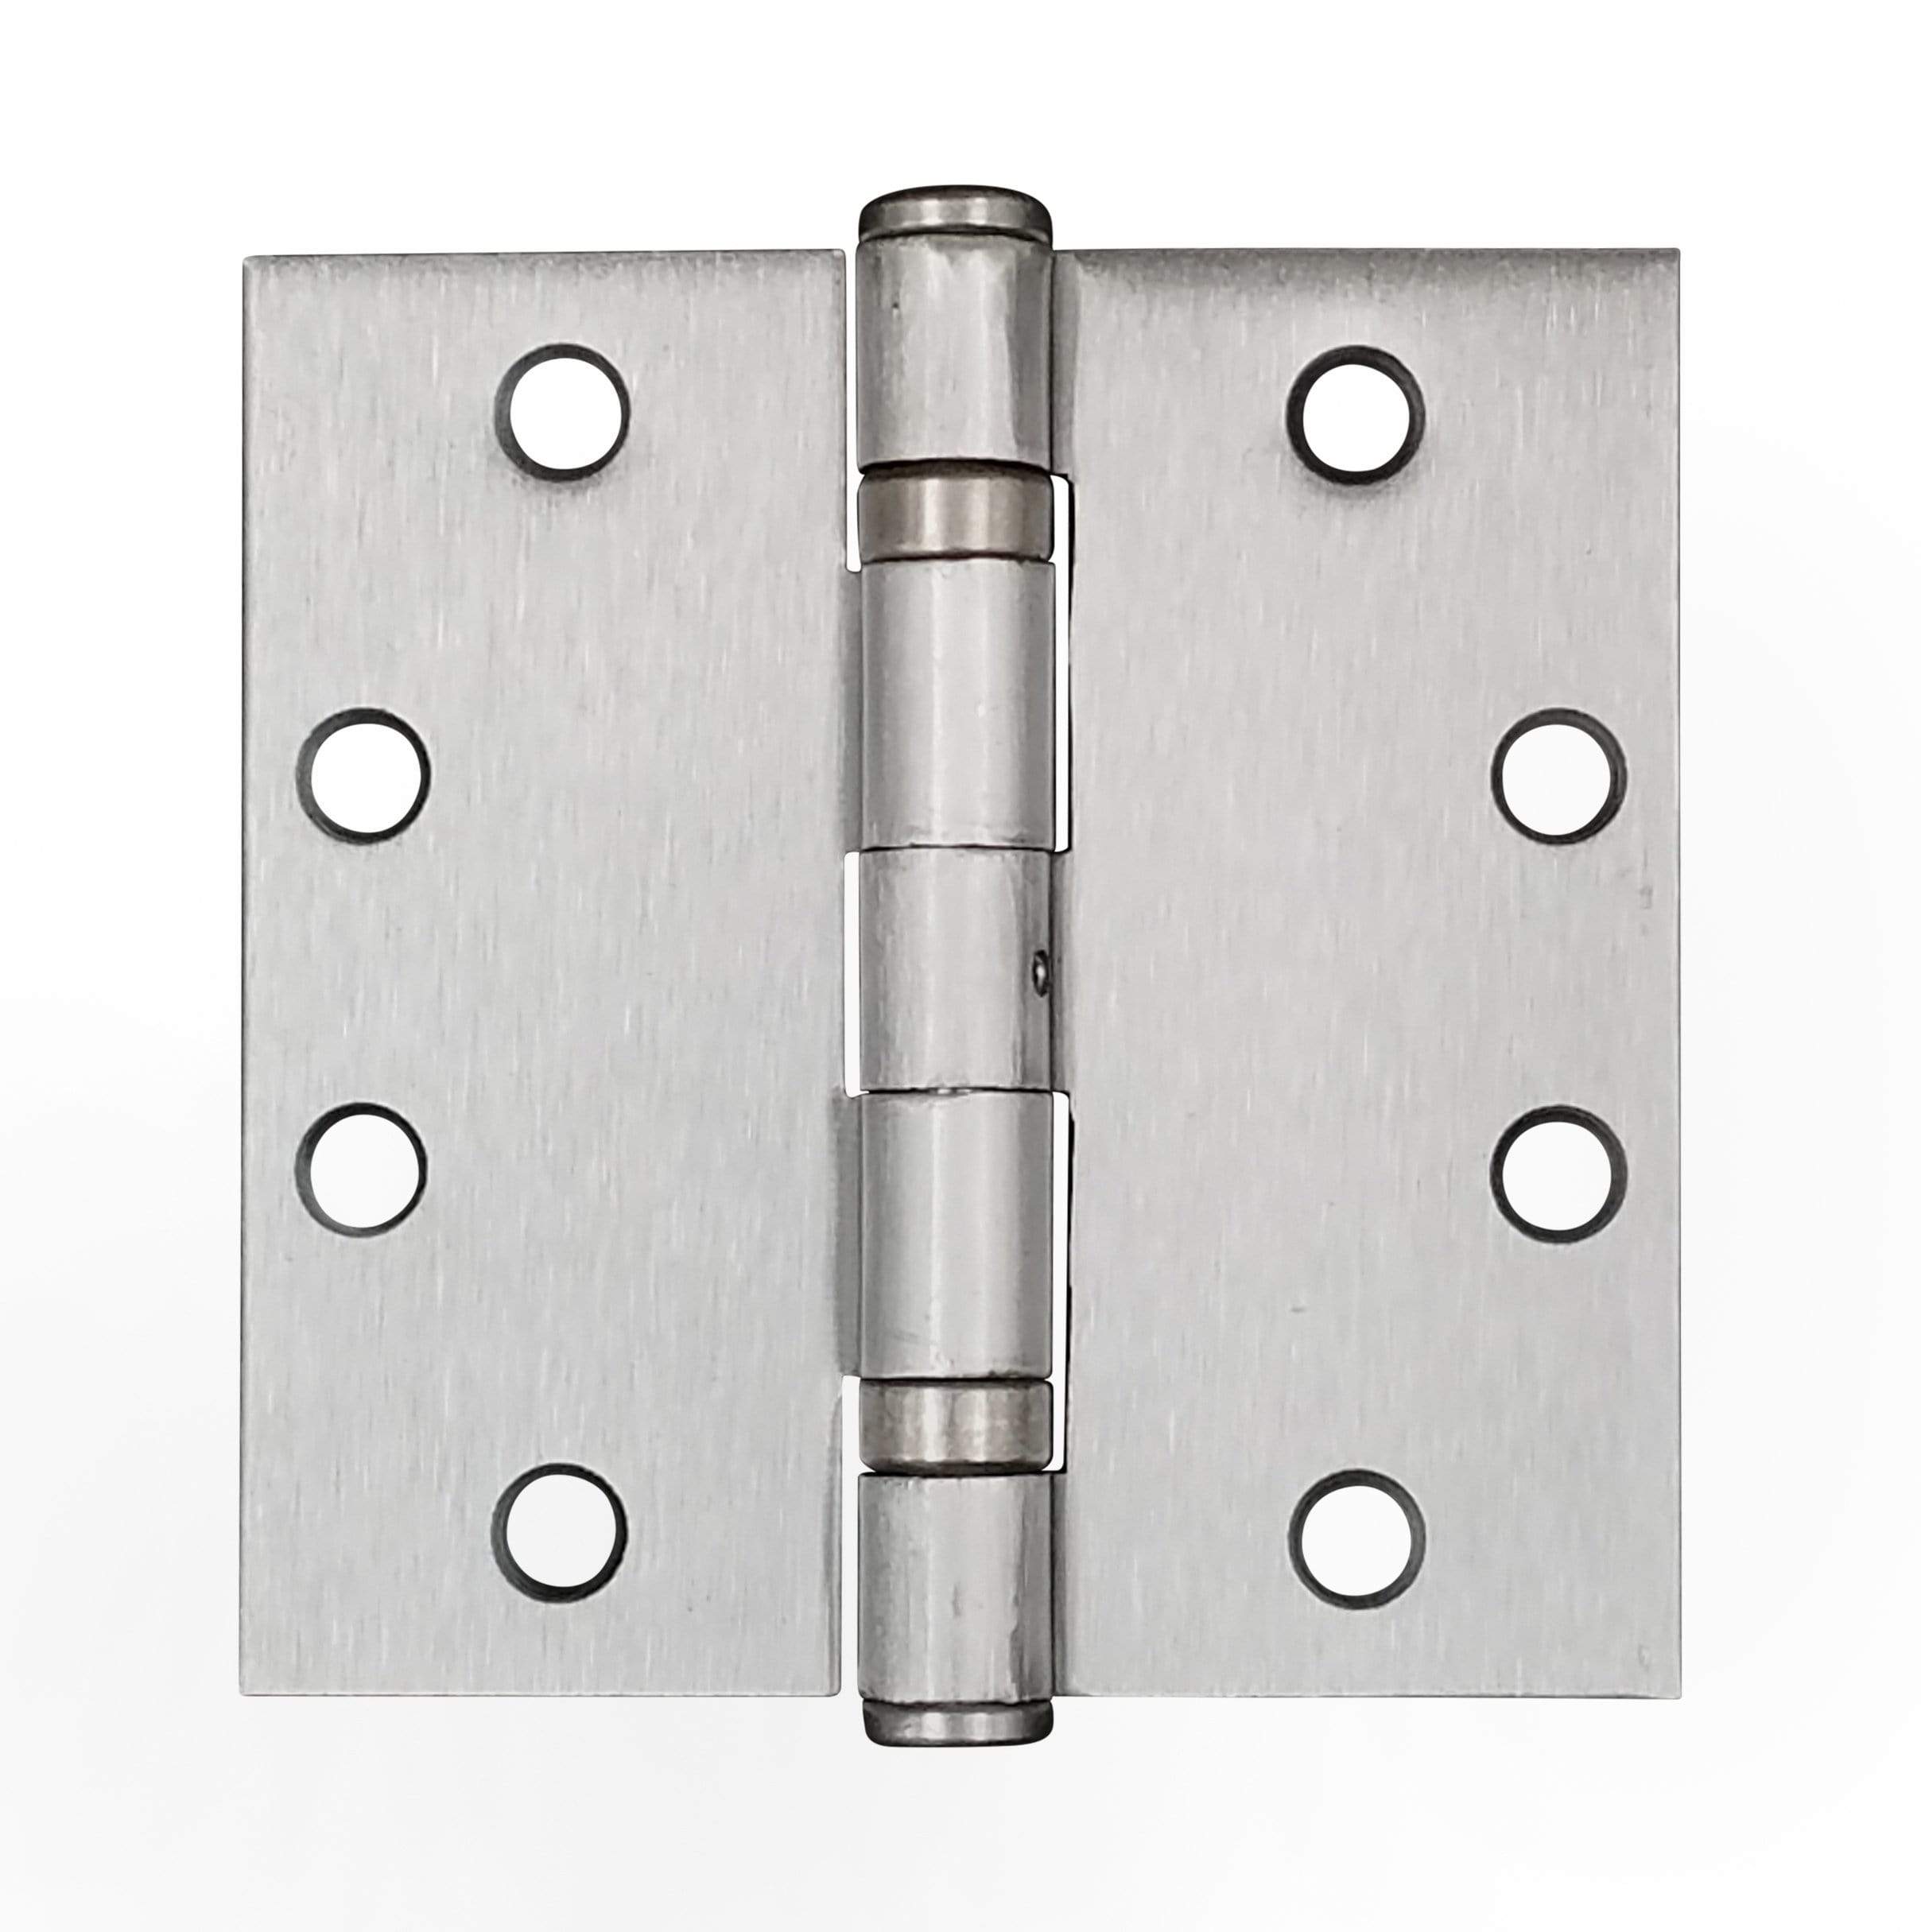
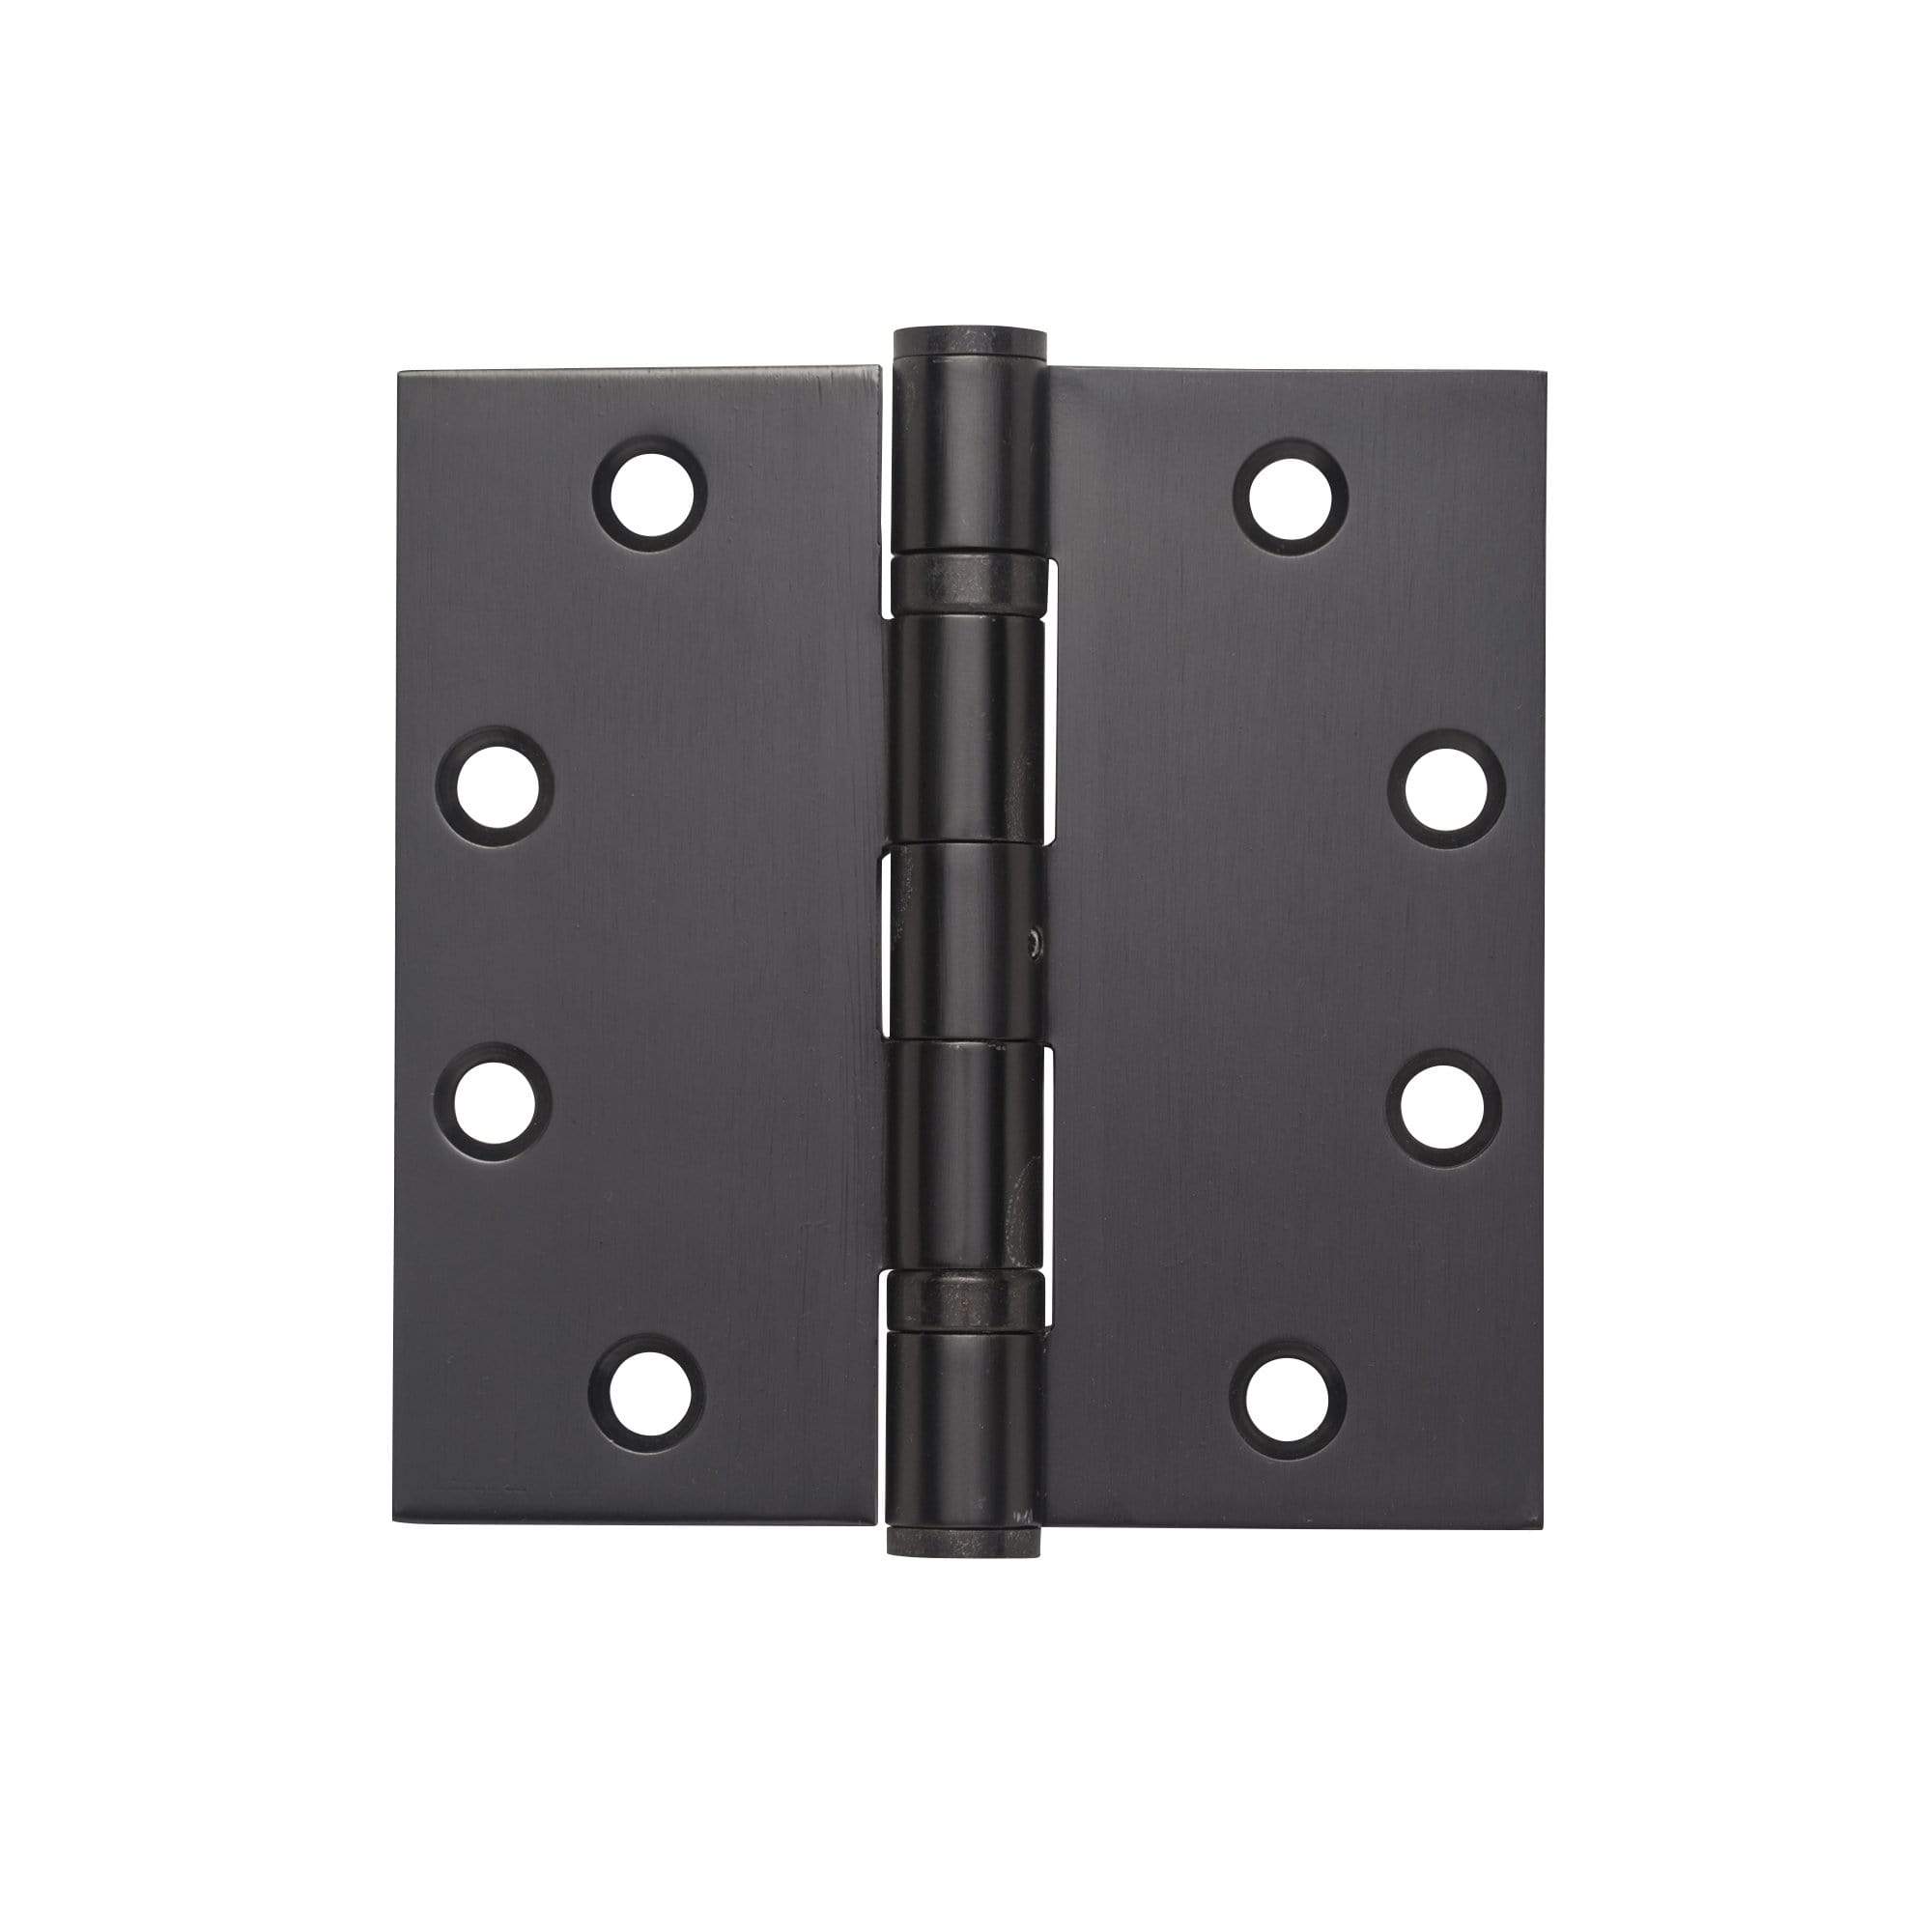
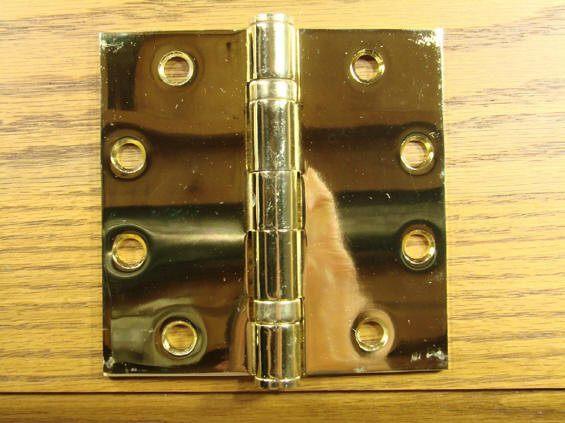
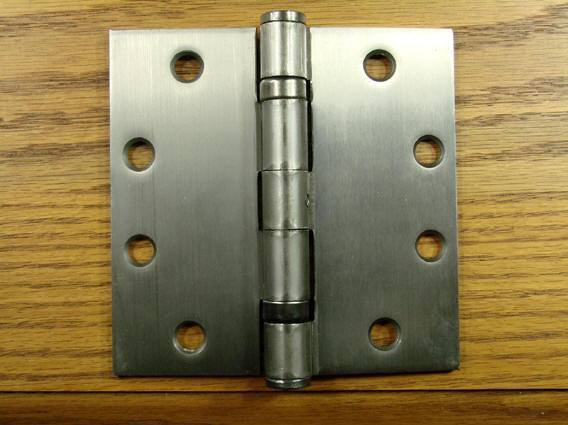
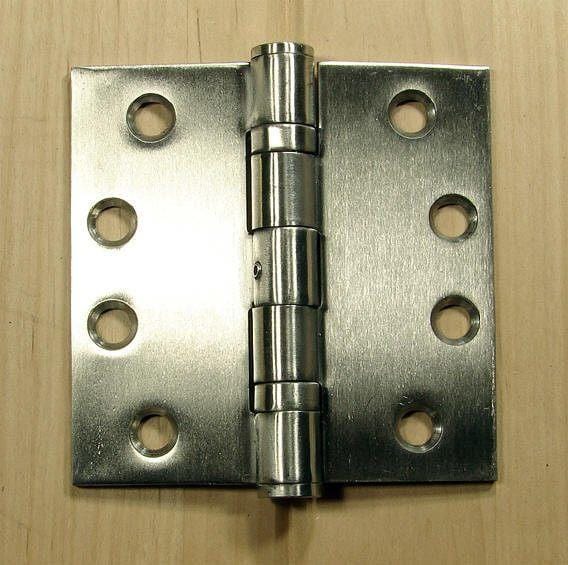
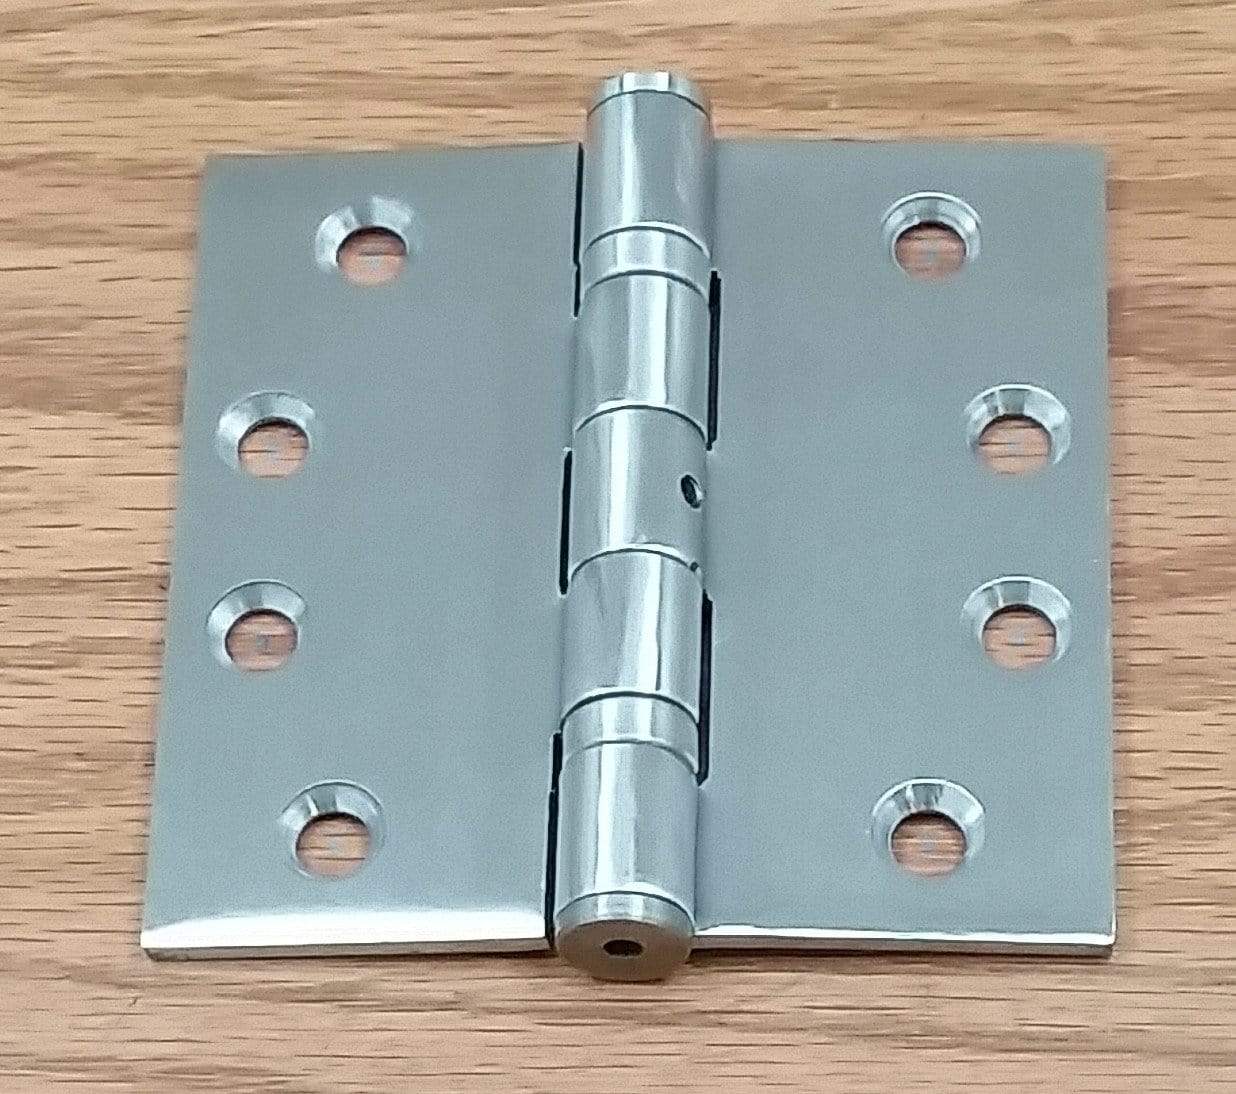
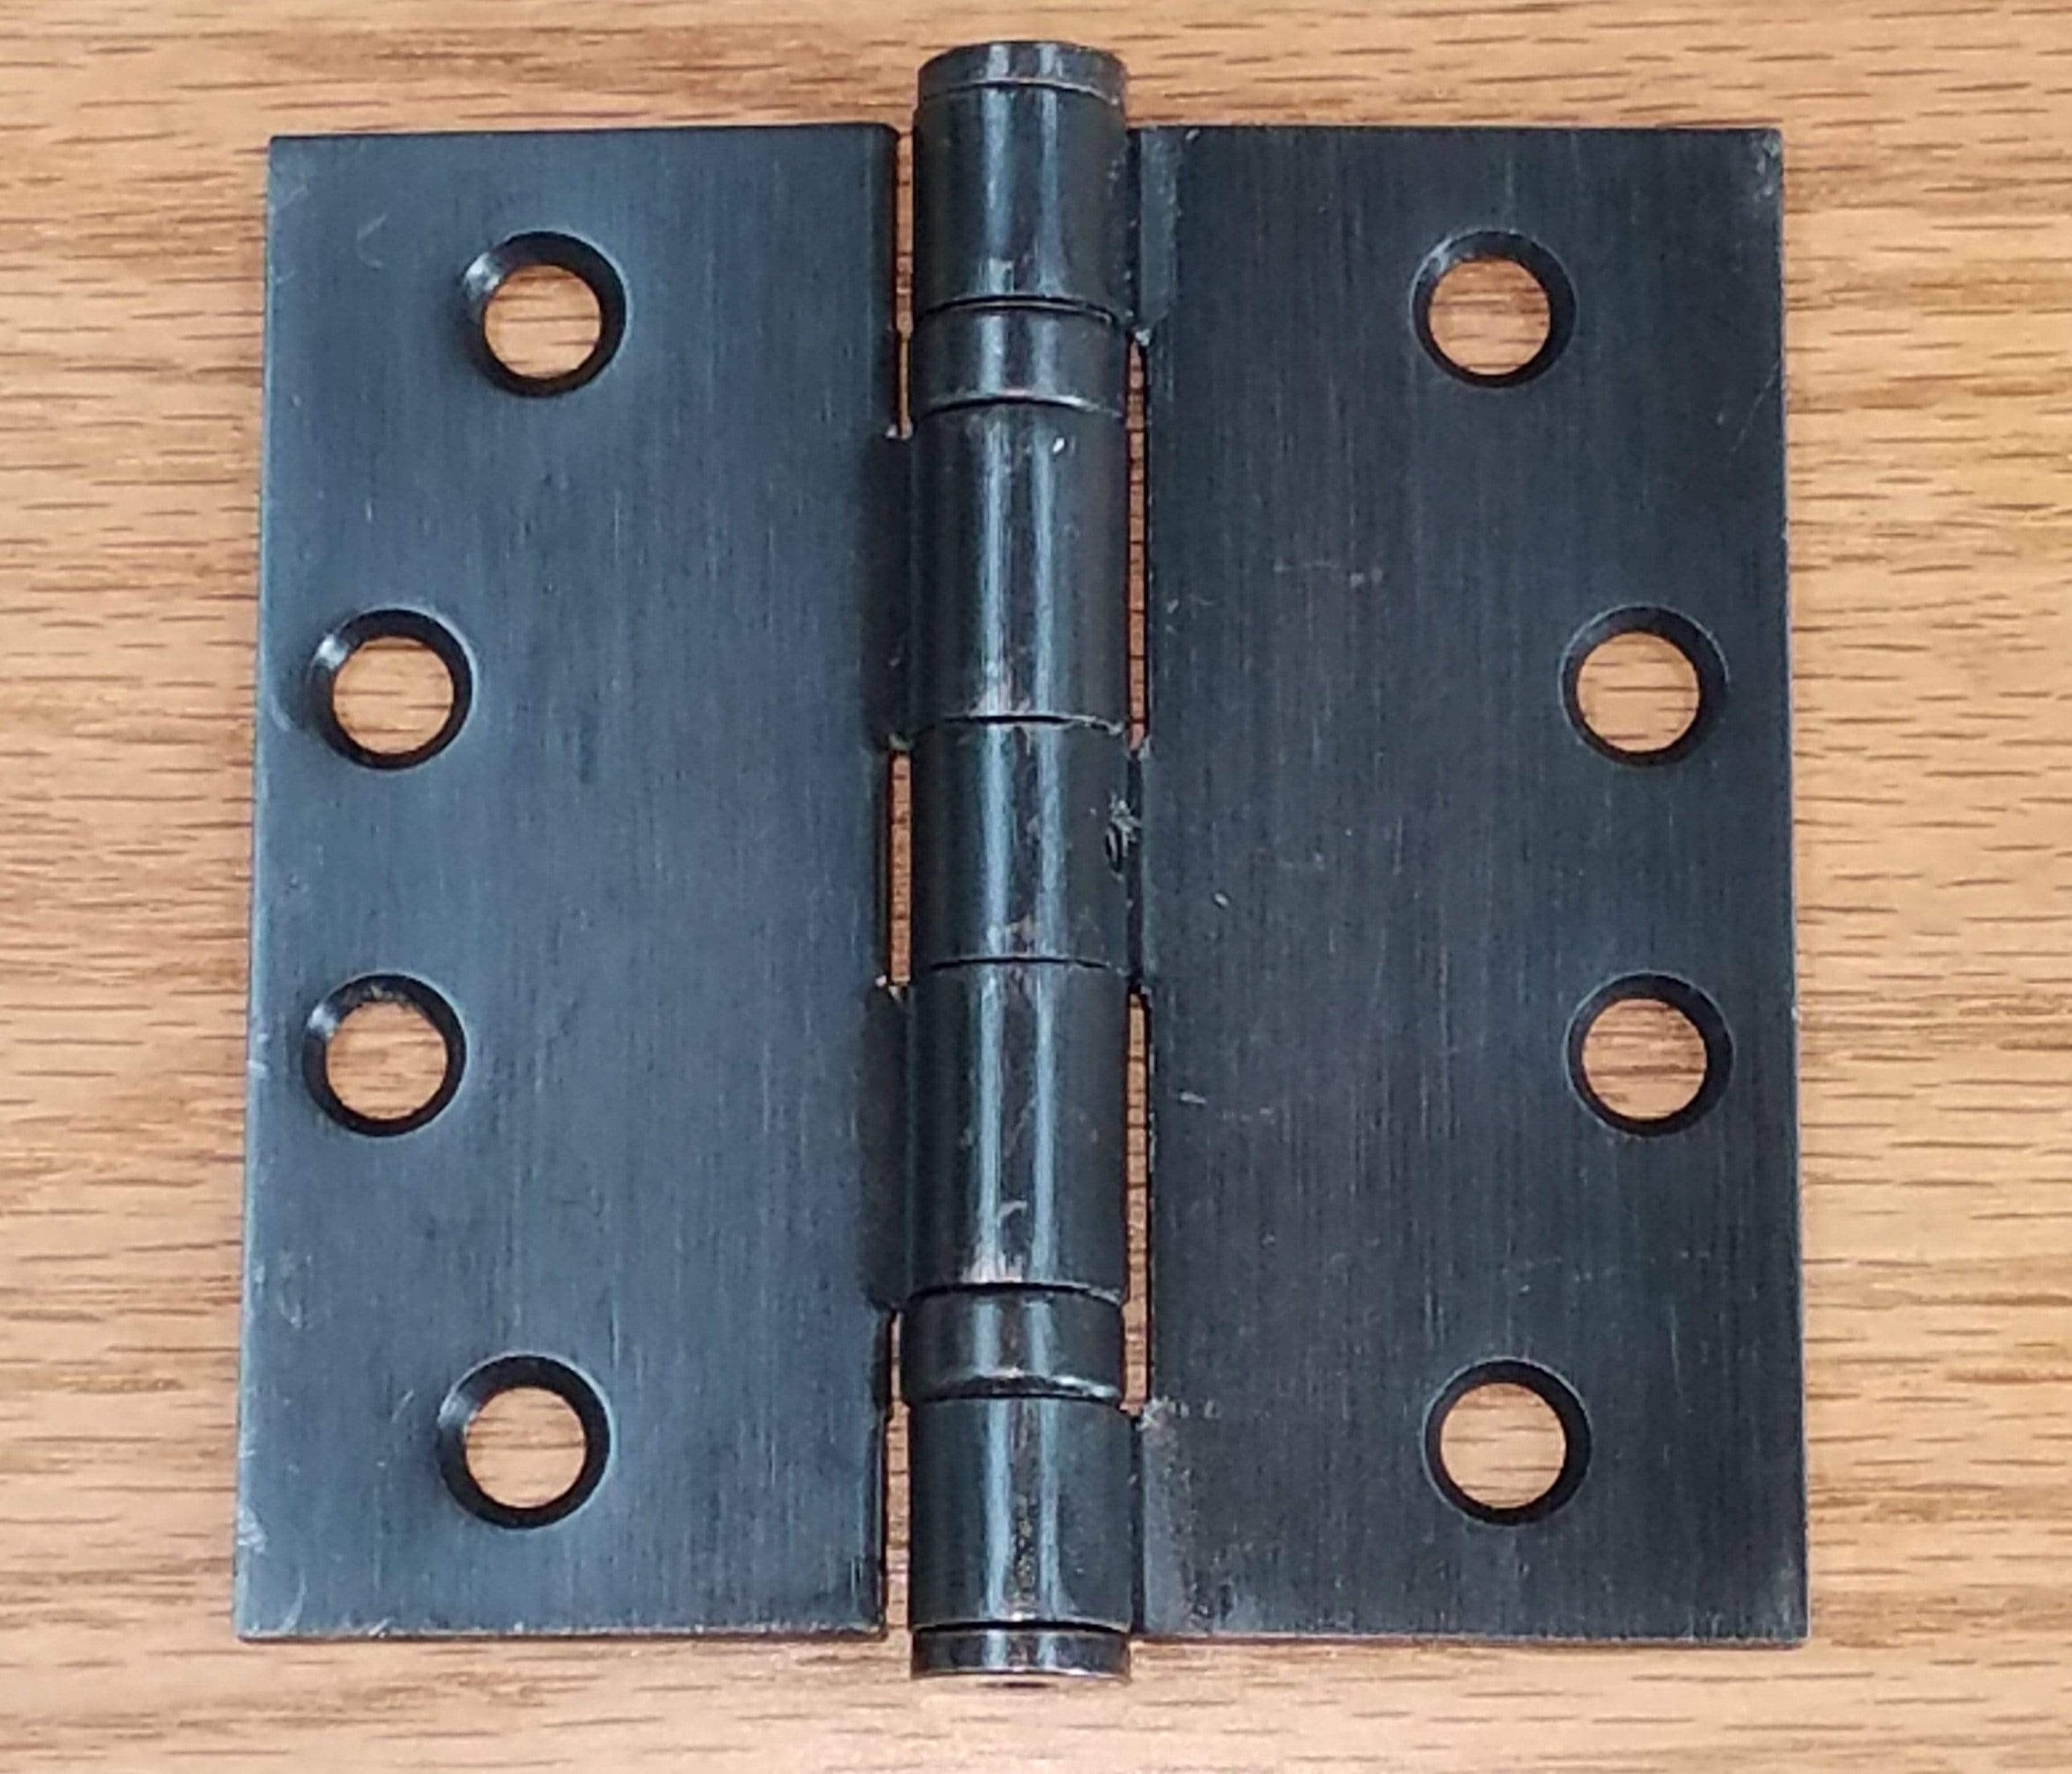
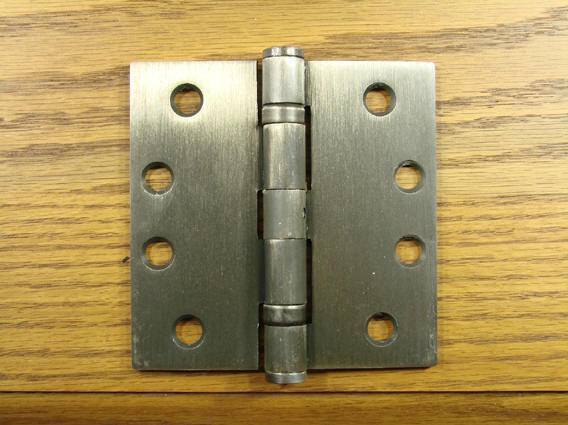
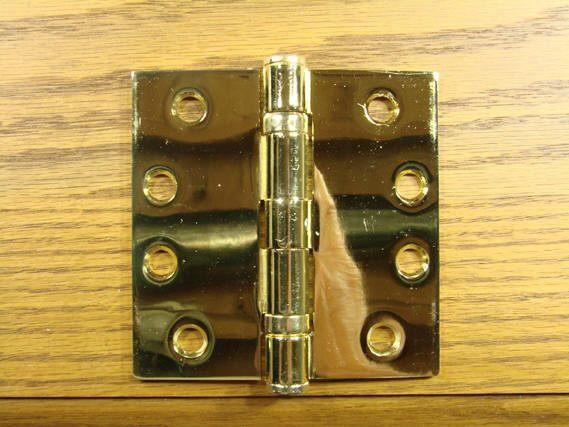
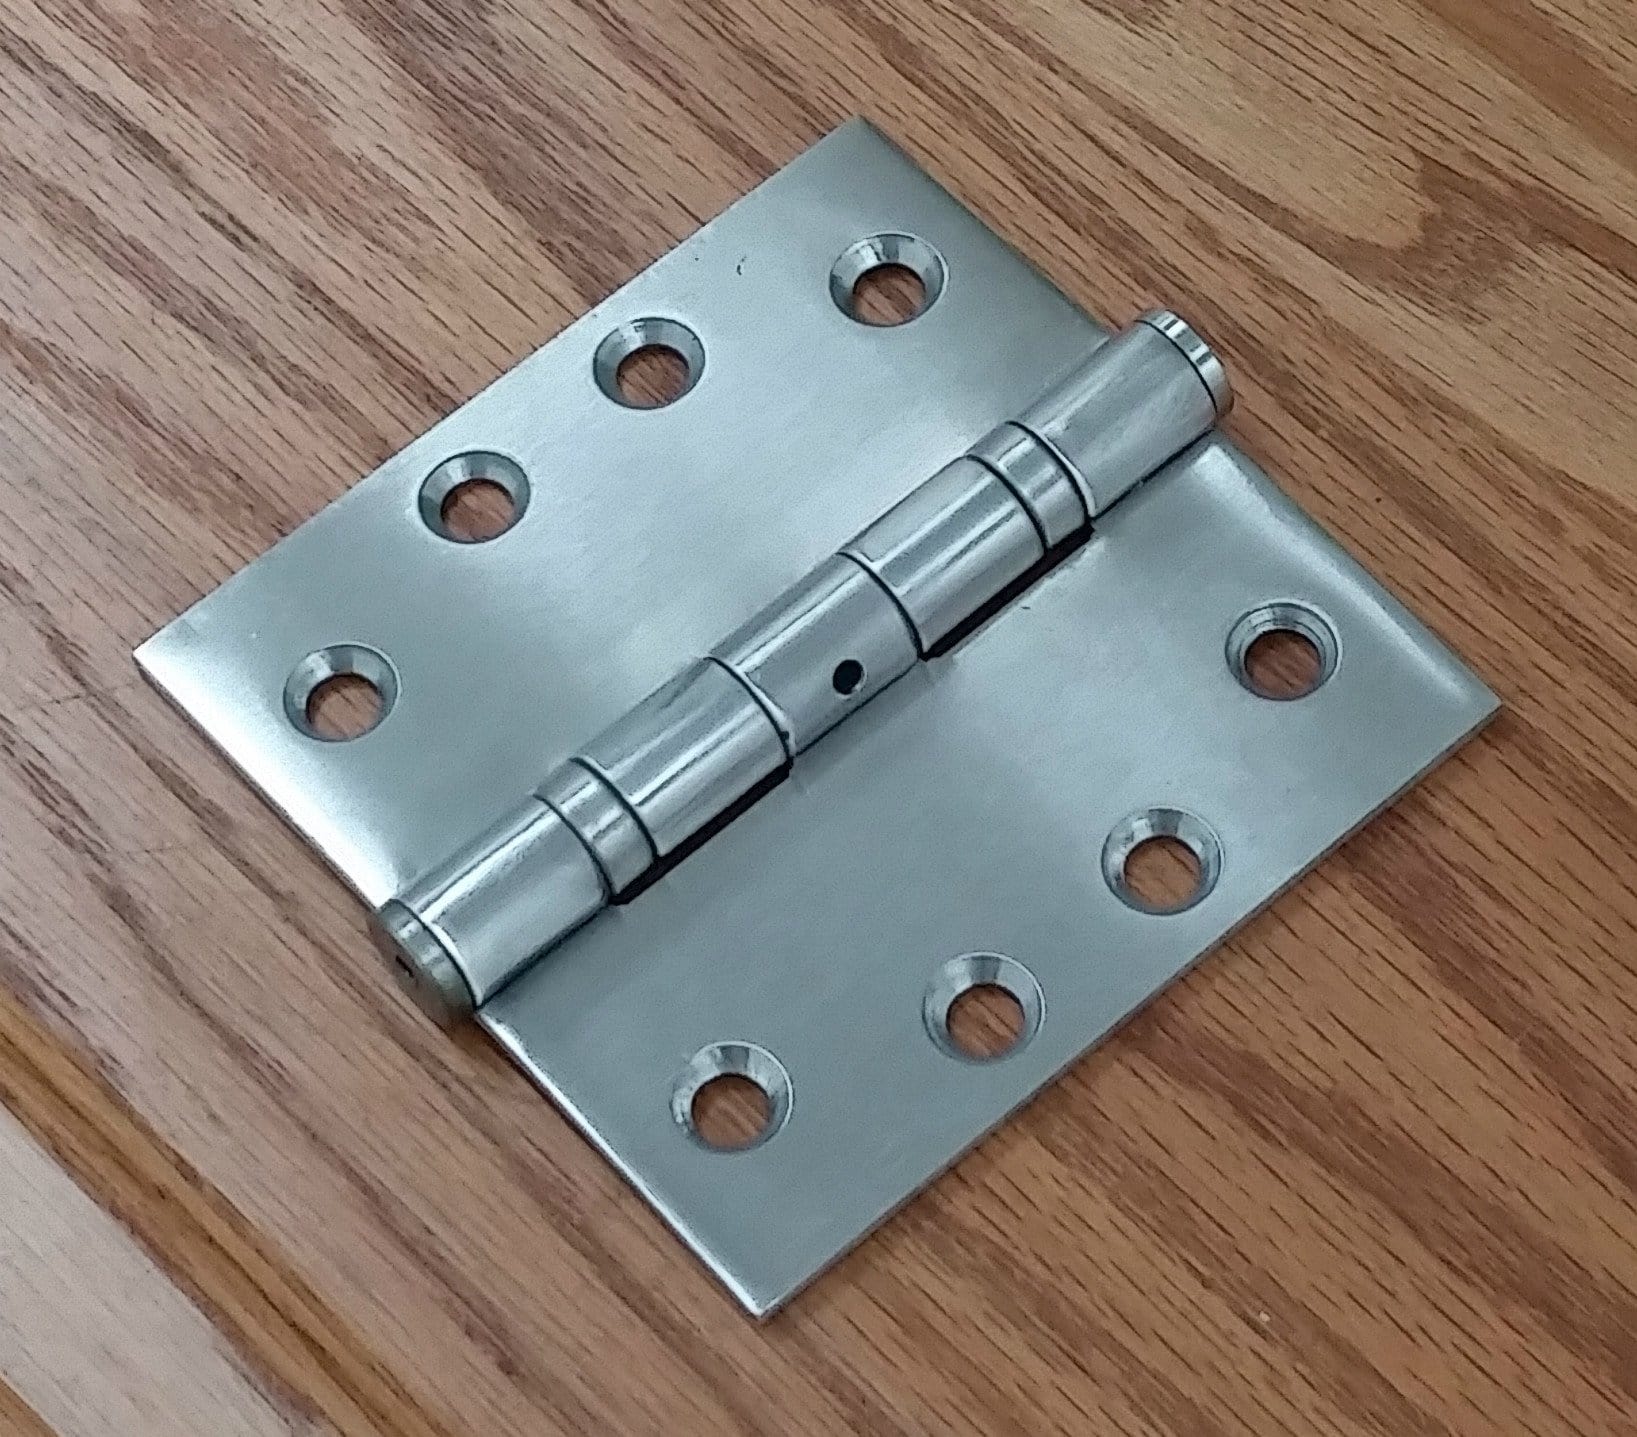
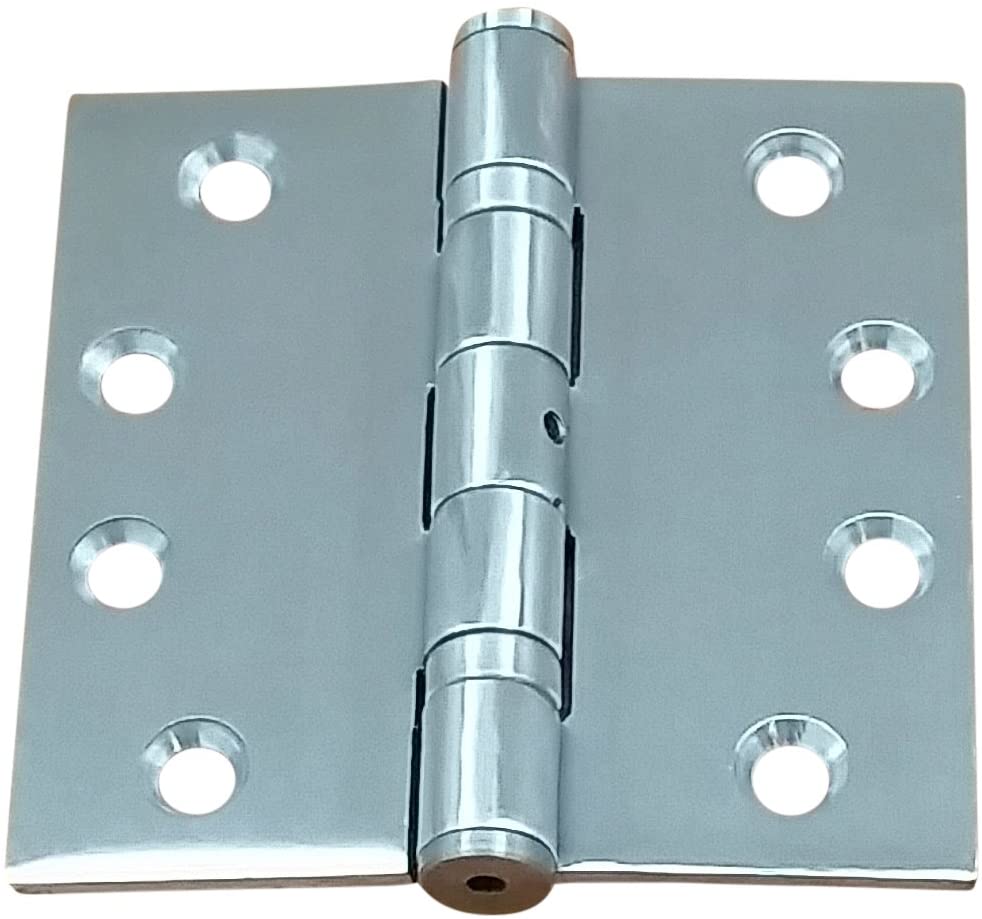
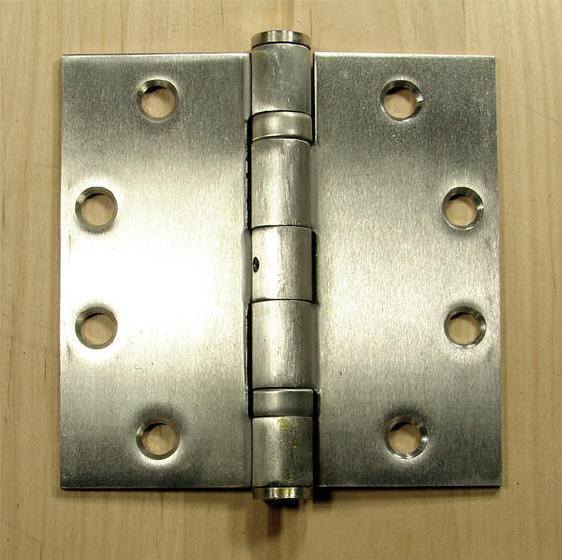
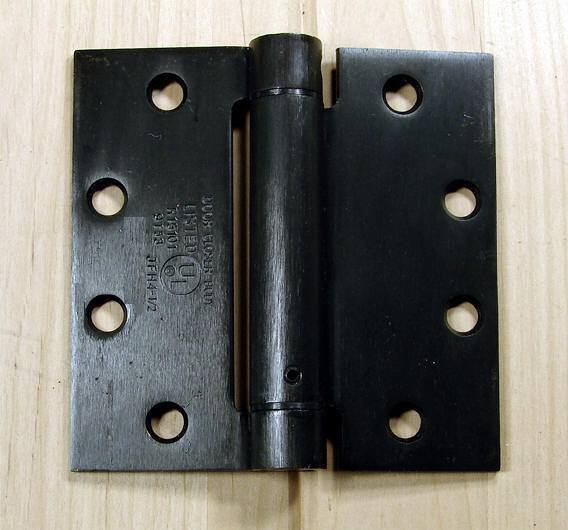
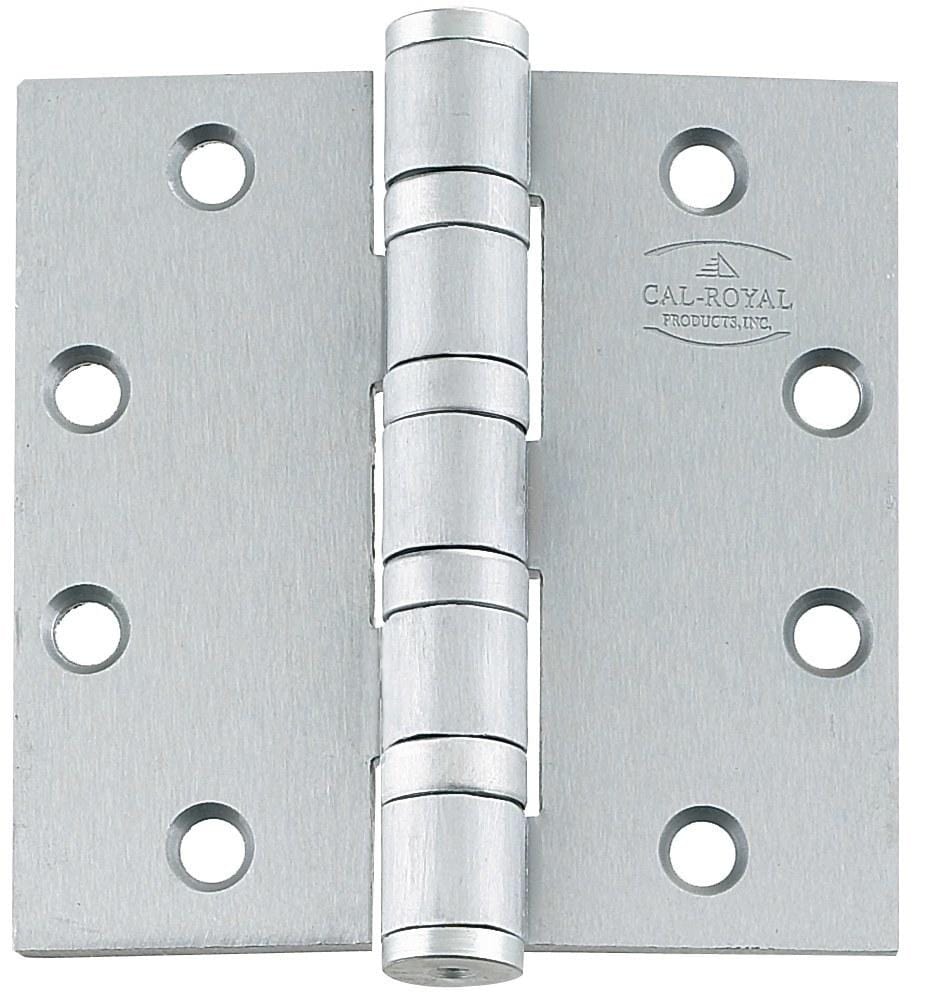
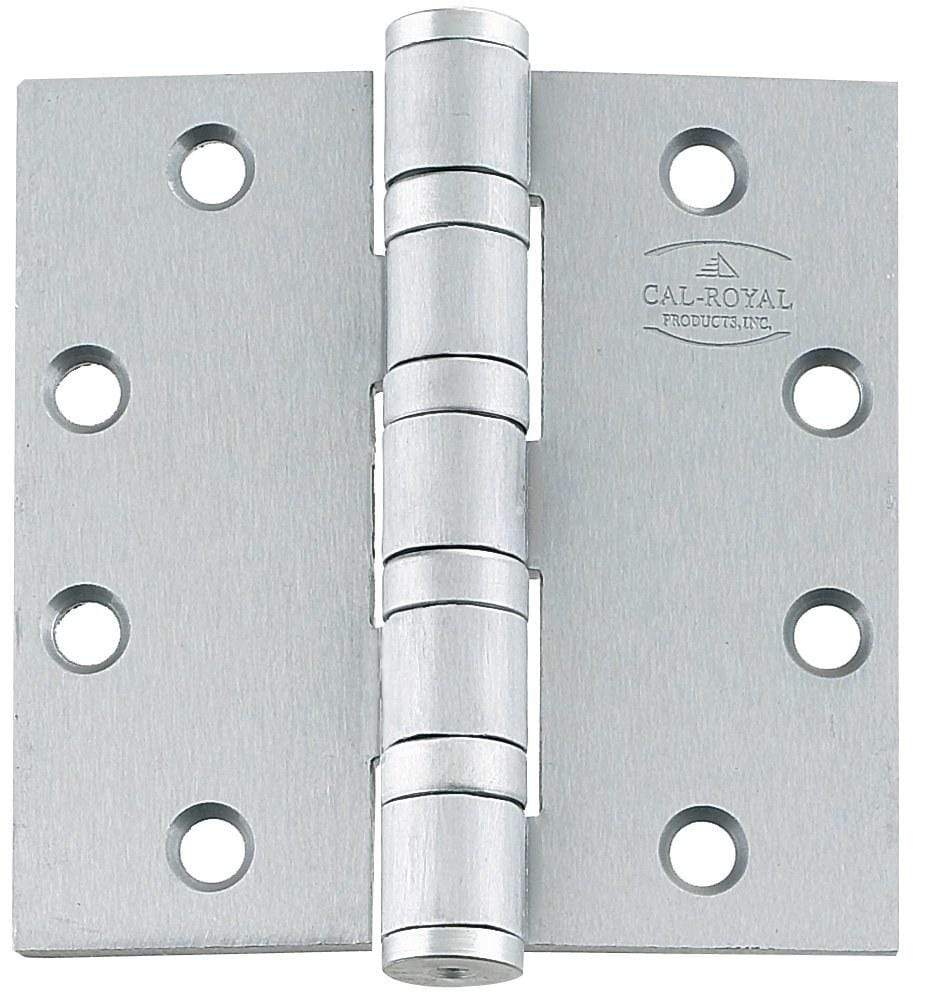
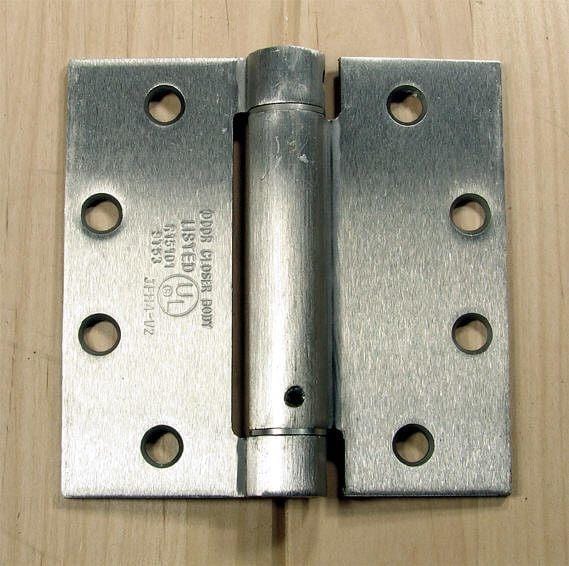
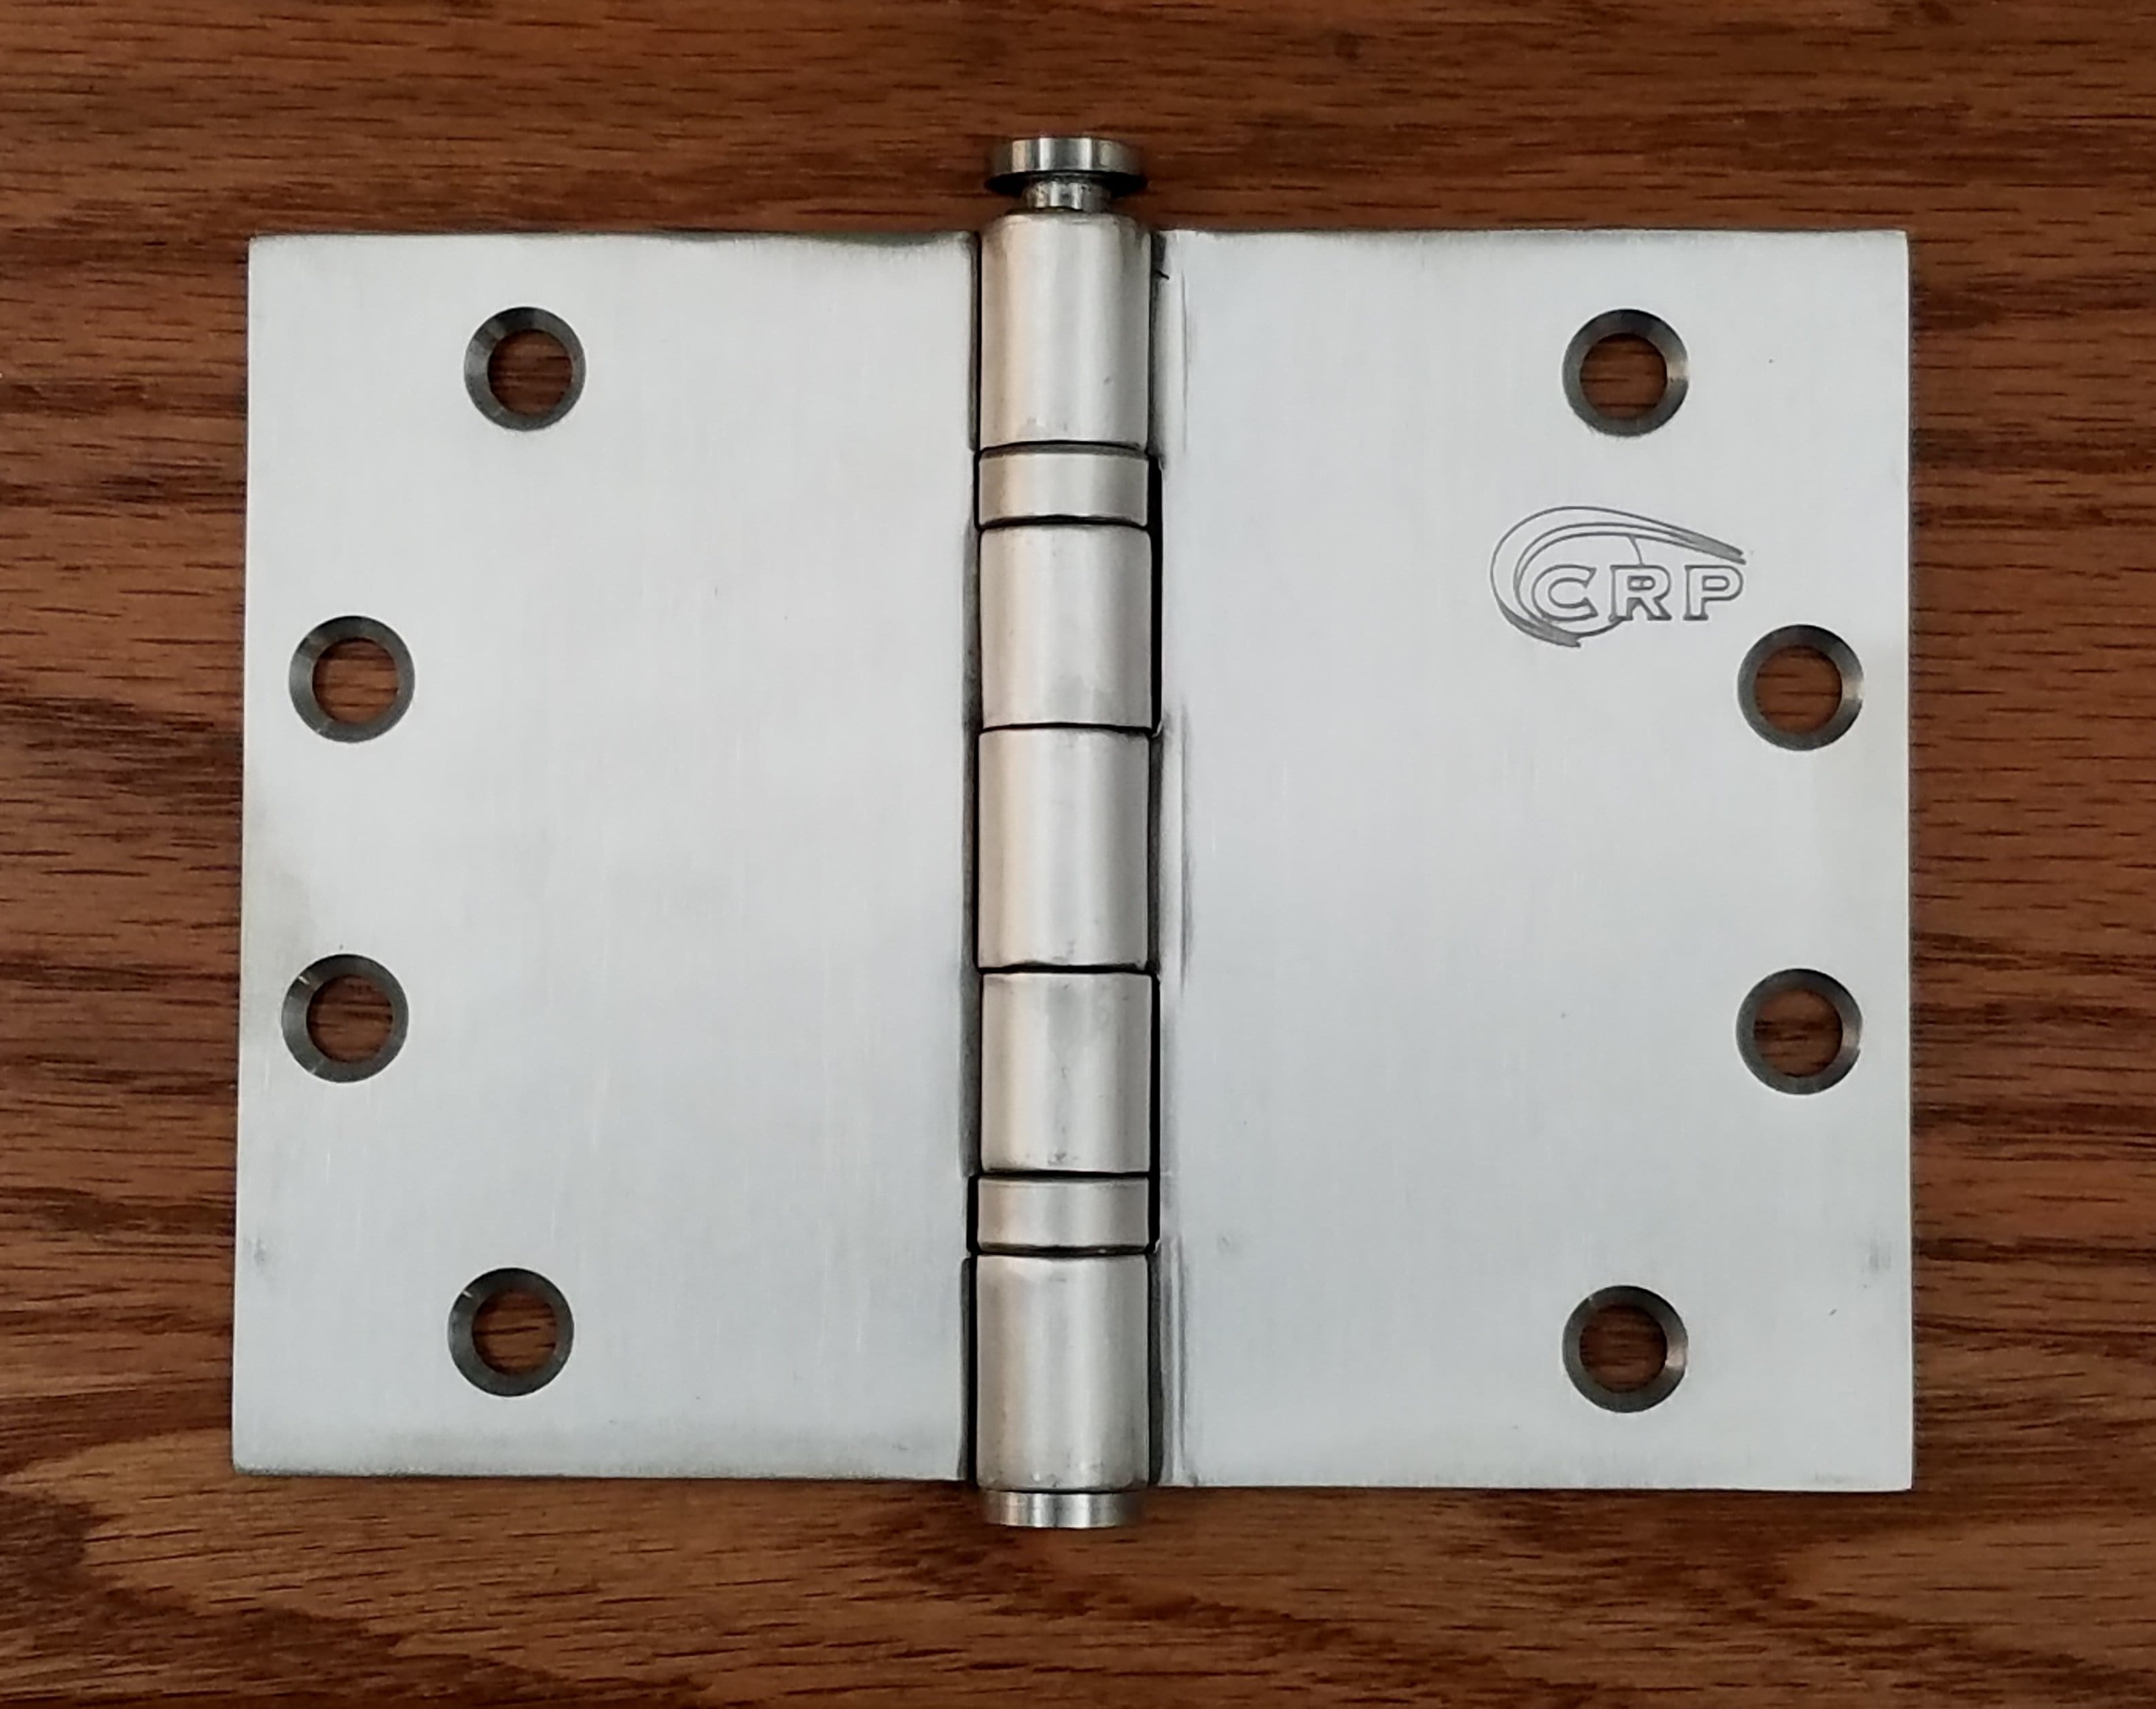
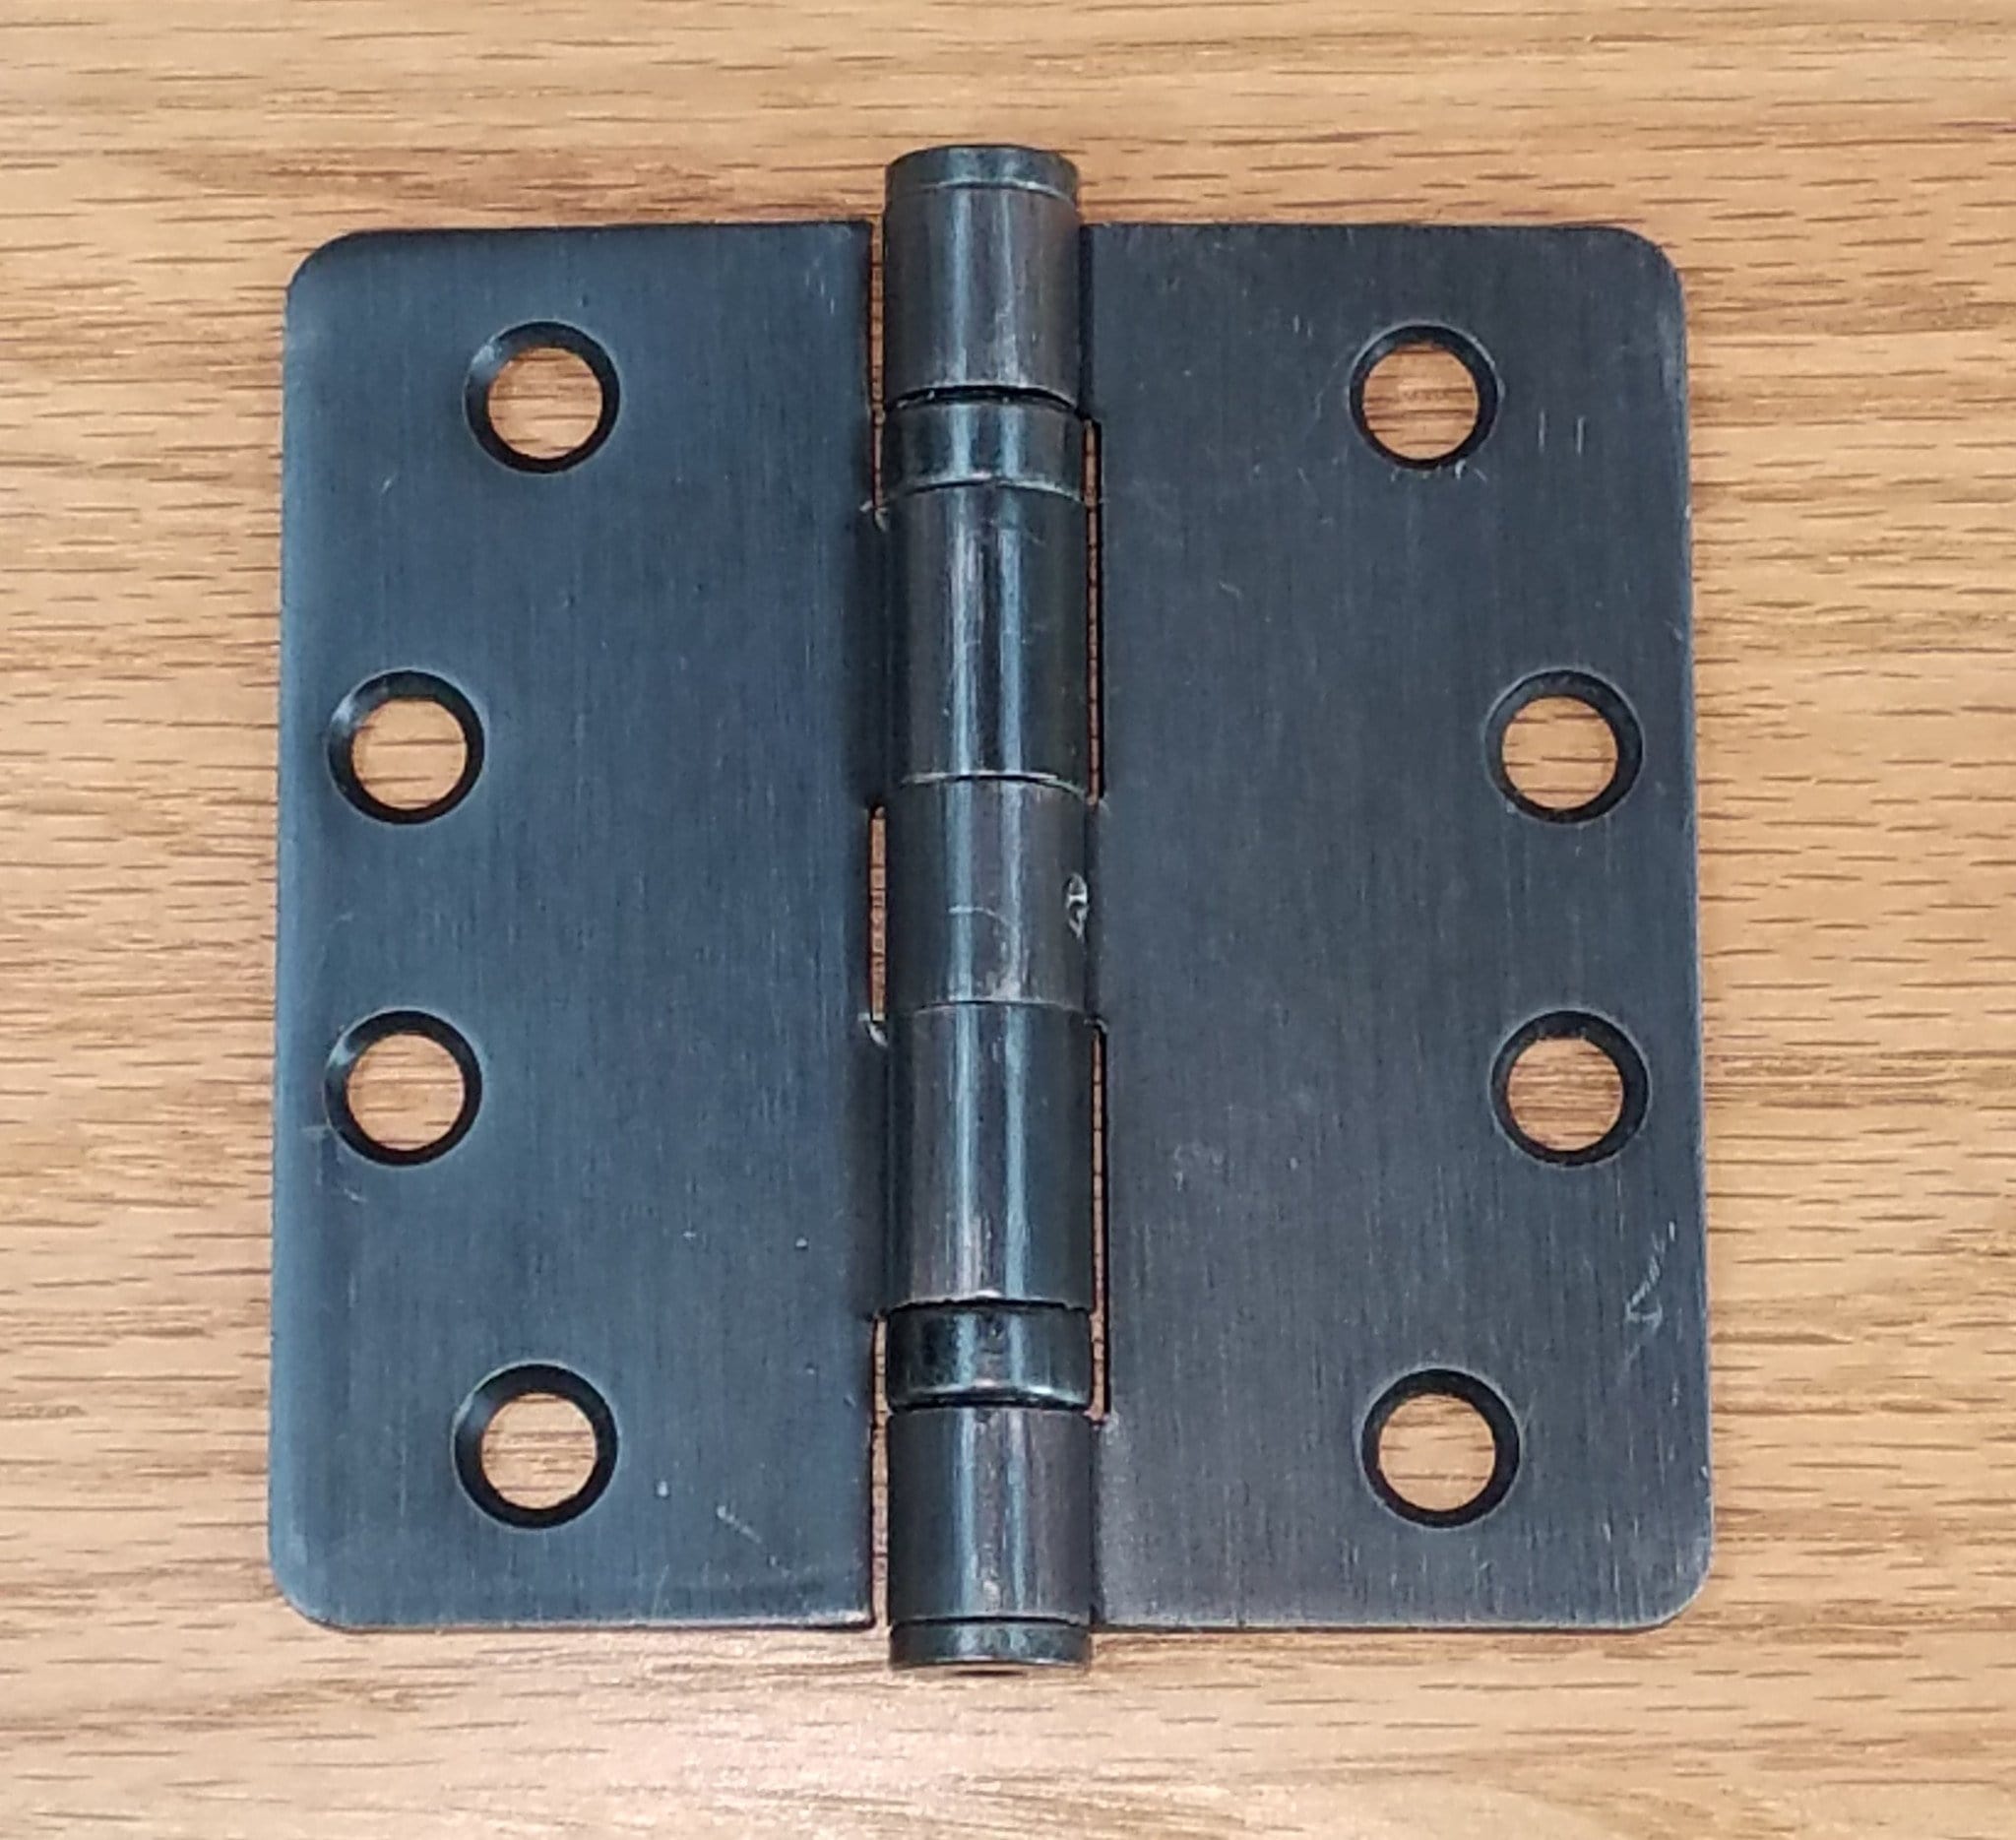
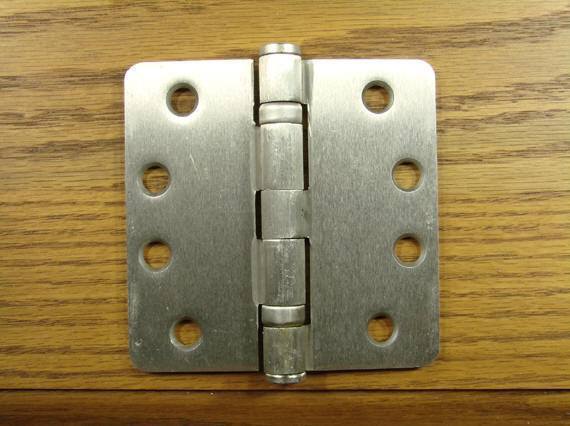
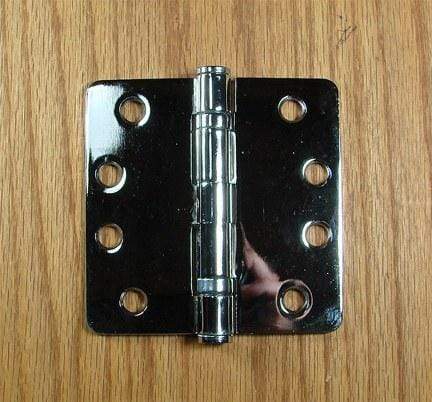
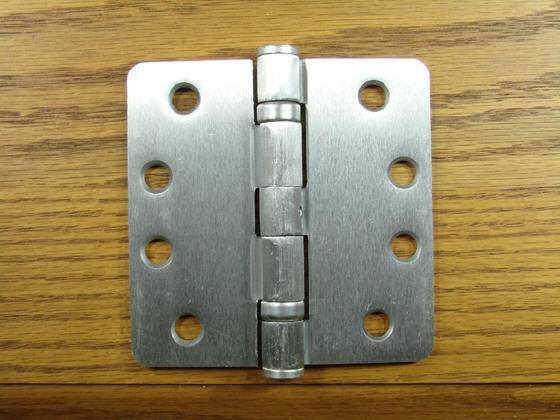
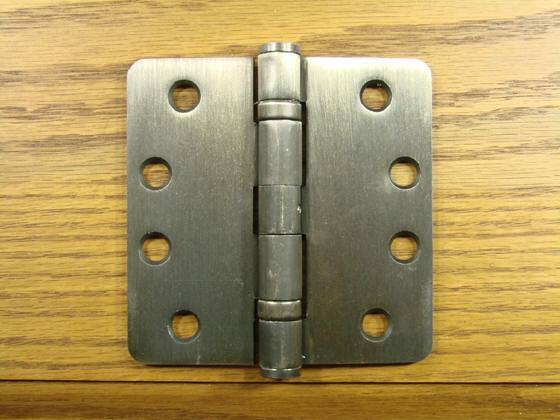
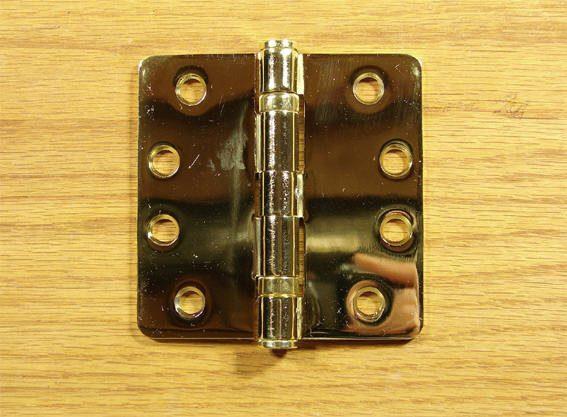
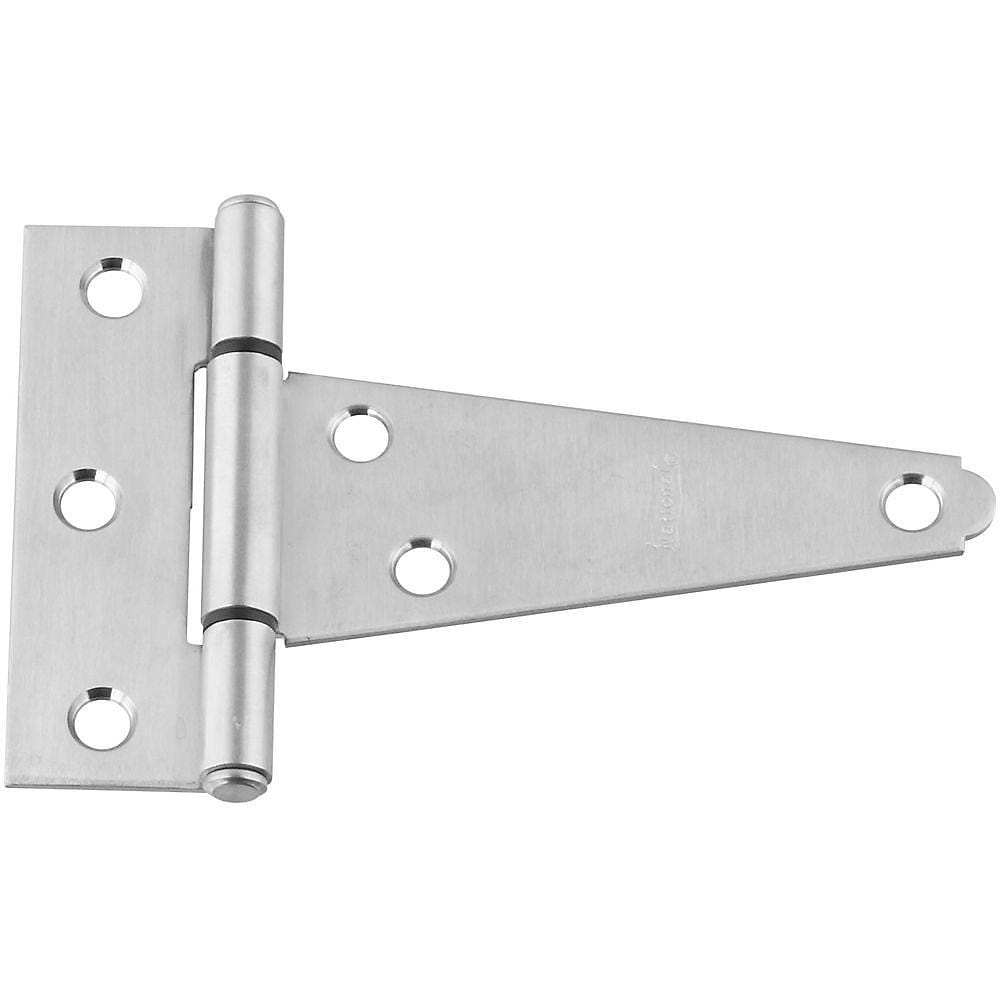
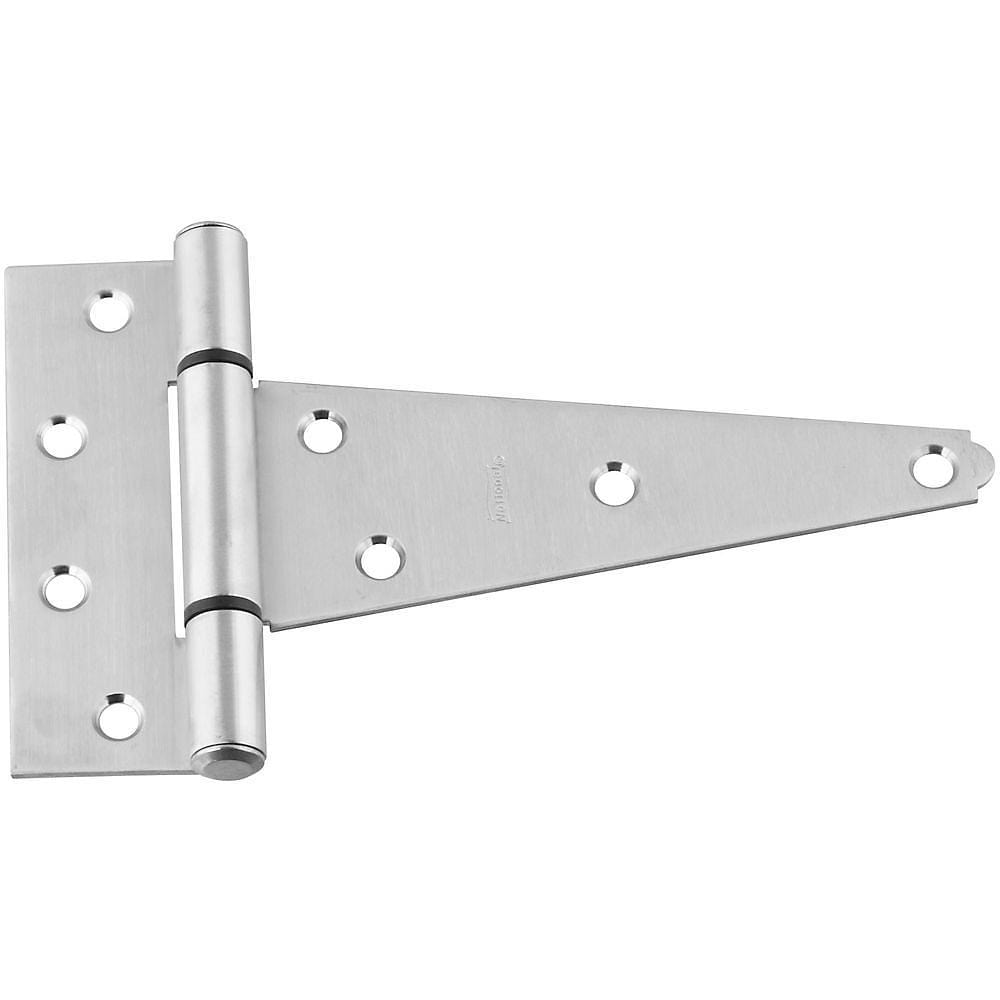
One of the most common uses for a router template is cutting hinge mortises. These are the shallow recesses that allow door hinges to sit flush with the door and frame surface. Getting these right by hand is time-consuming and easy to mess up.
If they’re cut too shallow, the hinge will protrude and prevent the door from closing flush. Too deep, and there will be a gap. A hinge template makes the job accurate, fast, consistent, and repeatable.
Selecting the Right Router Bit for Door Hinges
For hinge mortises, you'll want a straight router bit. Key specs to look for include:
-
Diameter. Match the bit width to the width of your hinge leaf, or go slightly narrower and make overlapping passes.
-
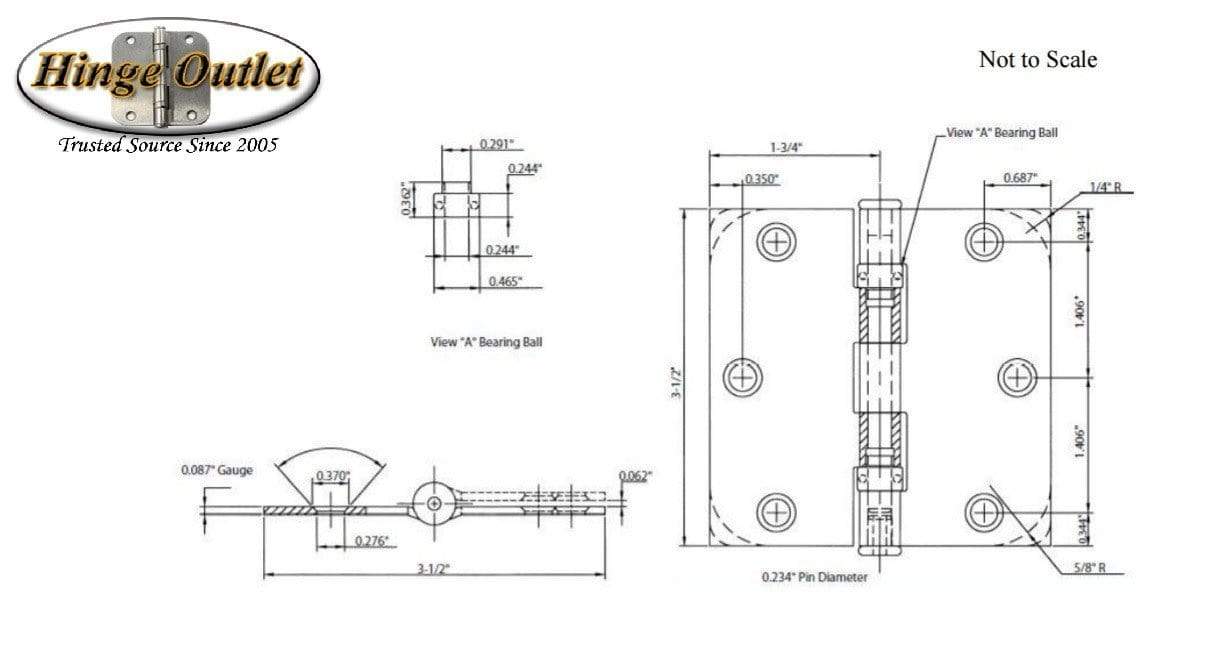
Cutting depth. Should match your hinge leaf thickness (typically ⅛ to 3/16 inch for standard butt hinges).
-
Carbide-tipped. For clean cuts in hardwood door frames.
The bit must be sharp. A dull router bit for door hinges will tear the grain rather than slice it cleanly, leaving a ragged mortise that's difficult to clean up.
Setting Up the Hinge Template
Most pre-made hinge templates are adjustable to fit different hinge sizes. To set up:
-
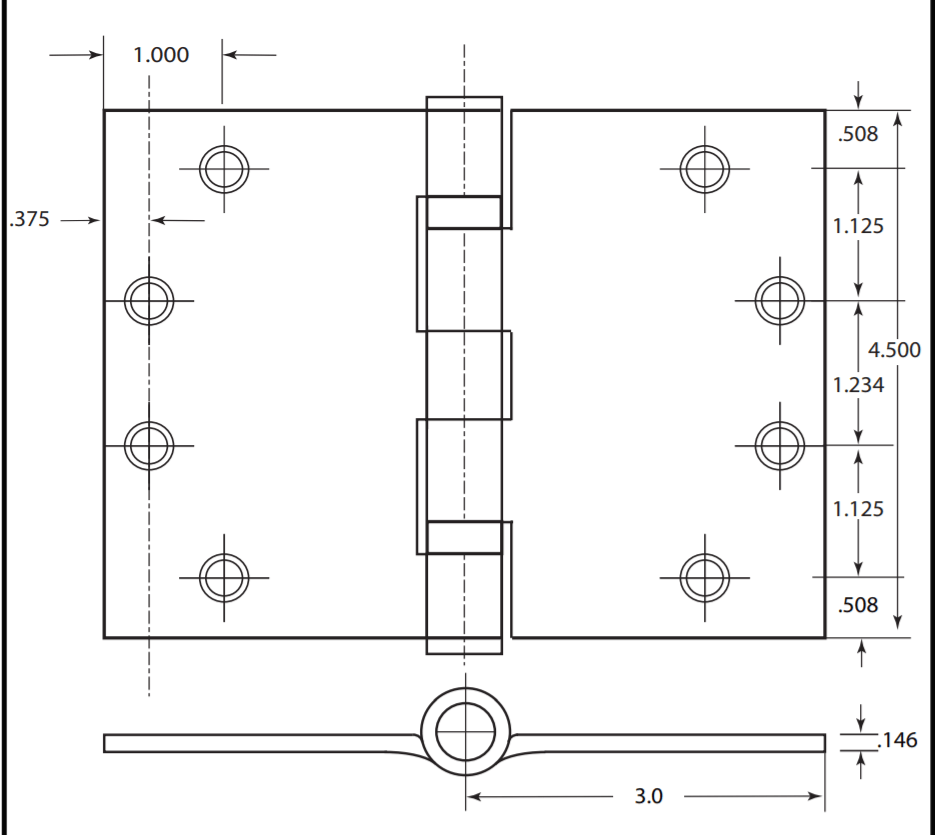
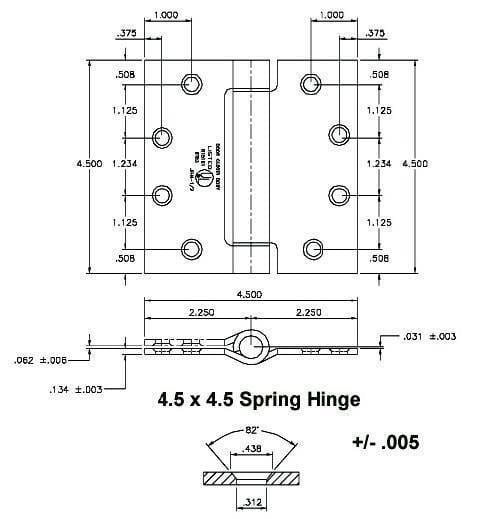
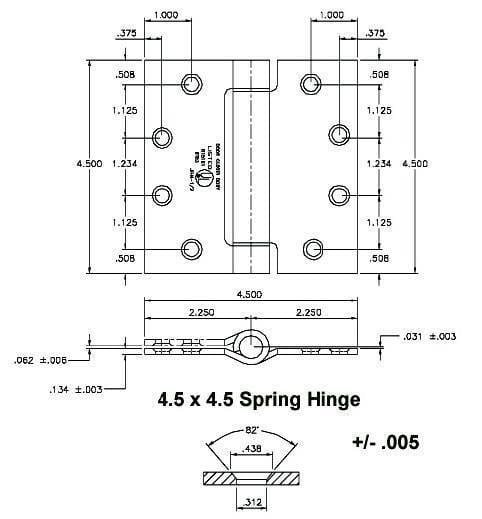
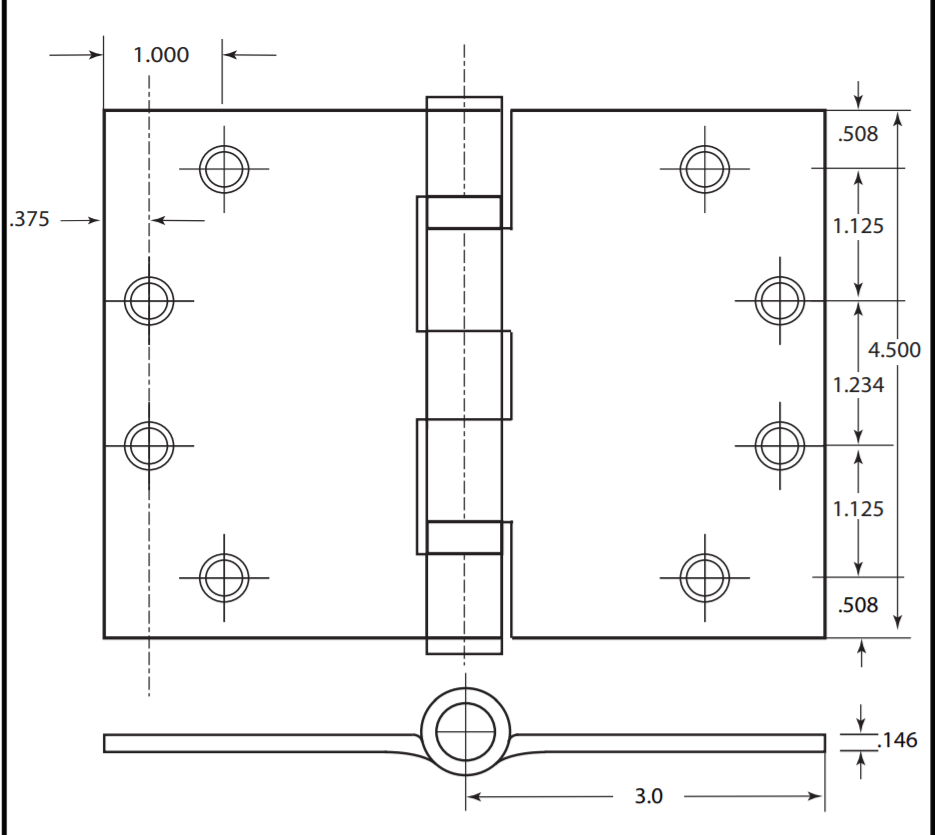
Measure the length, width, and thickness of your hinge leaf.
-
Adjust the template to match those dimensions.
-
Mark the hinge location on the door edge and frame.
-
Clamp the template in position, aligning it precisely with your marks.
Routing the Hinge Mortise
With the template clamped in place:
-
Set your router bit depth to match the hinge leaf thickness.
-
Plunge the router into the corner of the mortise area and work your way across in overlapping passes.
-
Clean out the full area of the mortise, keeping the guide bushing in contact with the template at all times.
-
Repeat for each hinge location on the door and the frame.
Note: Test-fit the hinge after each mortise. It should sit flush with no rocking.
Avoiding Tearout
To prevent grain tearout when routing hinge mortises:
-
Always use a sharp bit.
-
Make a light scoring pass around the perimeter first before routing to full depth.
-
Feed the router at a steady pace. Too fast and you’ll have a rough cut. Too slow and you’ll have burning.
Tips for Getting the Best Results
-
Respect grain direction. Routing against the grain tears fibers. When possible, feed in the direction that cuts with the grain.
-
Take shallow passes. Especially in hardwoods, multiple light passes produce cleaner results than one deep plunge.
-
Keep template edges clean. Debris caught between the bushing and template edge will cause the router to wander. Blow out dust regularly.
-
Lubricate the guide bushing. A small amount of paste wax on the bushing reduces friction and helps it glide smoothly along the template edge.
-
Test on scrap first. Always make a test cut on a piece of scrap wood that matches your workpiece material before committing to the real thing.
Common Router Template Mistakes to Avoid
Template shifting during the cut
This is the most common and most damaging mistake. Use enough clamps, and consider double-sided tape as a backup. Check that the template hasn't moved before each new pass.
Wrong bushing-to-bit offset
If you're using a guide bushing, the gap between the bushing's outer diameter and the bit's cutting diameter means your cut won't match the template exactly. Calculate this offset before you start and adjust your template size accordingly.
Routing against the grain
This leads to tearout and a rough surface. Pay attention to grain direction, especially when working with figured or interlocked grain.
Using a dull bit
A dull bit requires more force, generates more heat, and produces a rougher cut. If your bit is burning the wood or chattering, it's time to replace it.
Skipping a test cut
Even with a perfect template and the right bit, it only takes a moment to run a test cut on scrap. Don't skip it.
Final Thoughts
A router template transforms what could be a frustrating, imprecise task into a smooth, easier-to-do process. Once you understand how to set one up and how to choose the right bit for the job, you’ll never go back to free-hand!
If you have questions about which specific hardware is best for your setup, contact our Hinge Outlet team.