If you're looking for a way to secure your property, a hardware cloth fence might be just what you need. These fences are made of strong, durable wire mesh and are often used for garden and animal enclosures. They are a great alternative to traditional wood or vinyl fences and can be easily installed with the right tools and supplies. In this blog post, we're going to walk you through the steps of how to install a hardware cloth fence. So grab your tools and let's get started!
What Not to do When Installing Hardware Cloth Fence?
Installing a hardware cloth fence can be a DIY project, but it's important to be mindful of common mistakes to ensure a successful and safe installation. Here are some things to avoid when installing a hardware cloth fence:
-
Abandoning the planning stage: The installation of a hardware cloth fence requires careful planning before you begin. Taking precise measurements will help you decide where to put the fence so that it is most functional.
-
Not having the proper equipment: Tools like wire cutters, pliers, and a drill are needed to set up a hardware cloth fence. The installation process might be complicated and time-consuming if the proper equipment isn't available.
-
Cutting corners: Shortcutting the installation of a hardware cloth fence might lead to a less secure and stable barrier. Be sure to utilize the recommended methods and tools for securing the fence, as specified by the manufacturer.
How to Install Hardware Cloth Fence?
Before we begin, here are some of the tools and supplies you'll need:
-
Hardware cloth
-
Posts
-
Concrete
-
Post-hole digger
-
Shovel
-
Level
-
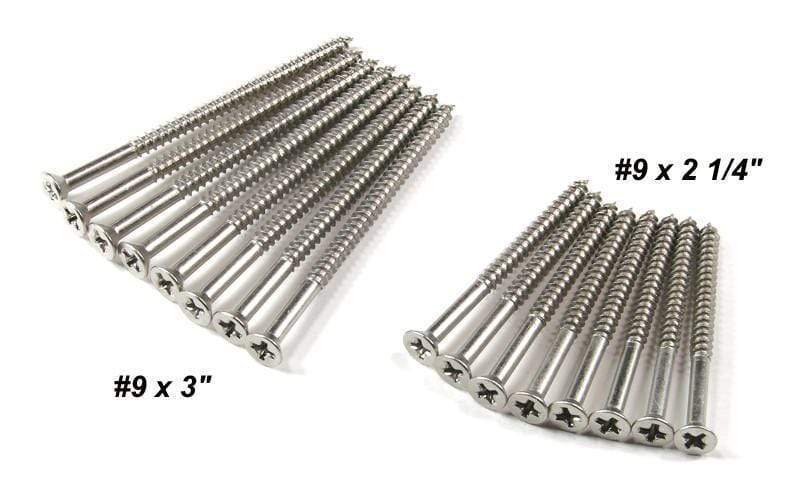
Screws
-
Power drill
Step 1: Determine the Length and Height
First, you'll need to determine the length and height of your fence. Once you have this information, you can purchase the appropriate amount of hardware cloth, and posts. Make sure to choose posts that are sturdy and will hold up over time.
Step 2: Dig Holes for Your Posts
Next, use the post-hole digger to dig holes for your posts, making sure they are deep enough to hold the concrete. Fill the holes with concrete and insert the posts. Use the level to ensure the posts are straight, and allow the concrete to dry completely.
Step 3: Attach the Hardware Cloth
Once the concrete has dried, it's time to attach the hardware cloth to the posts. Start by unrolling the hardware cloth and measuring it to the length you need. Cut the hardware cloth to the appropriate size using wire cutters or pliers. Then, attach it by screwing the hardware cloth directly into the posts, or by using wire or zip ties to secure it. Make sure the hardware cloth is tight and secure, as this will ensure the fence will not sag over time.
Step 4: Add a Gate
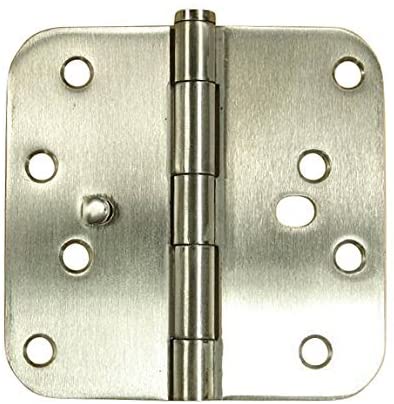
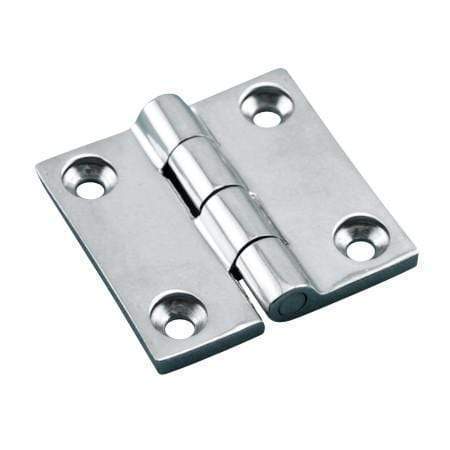
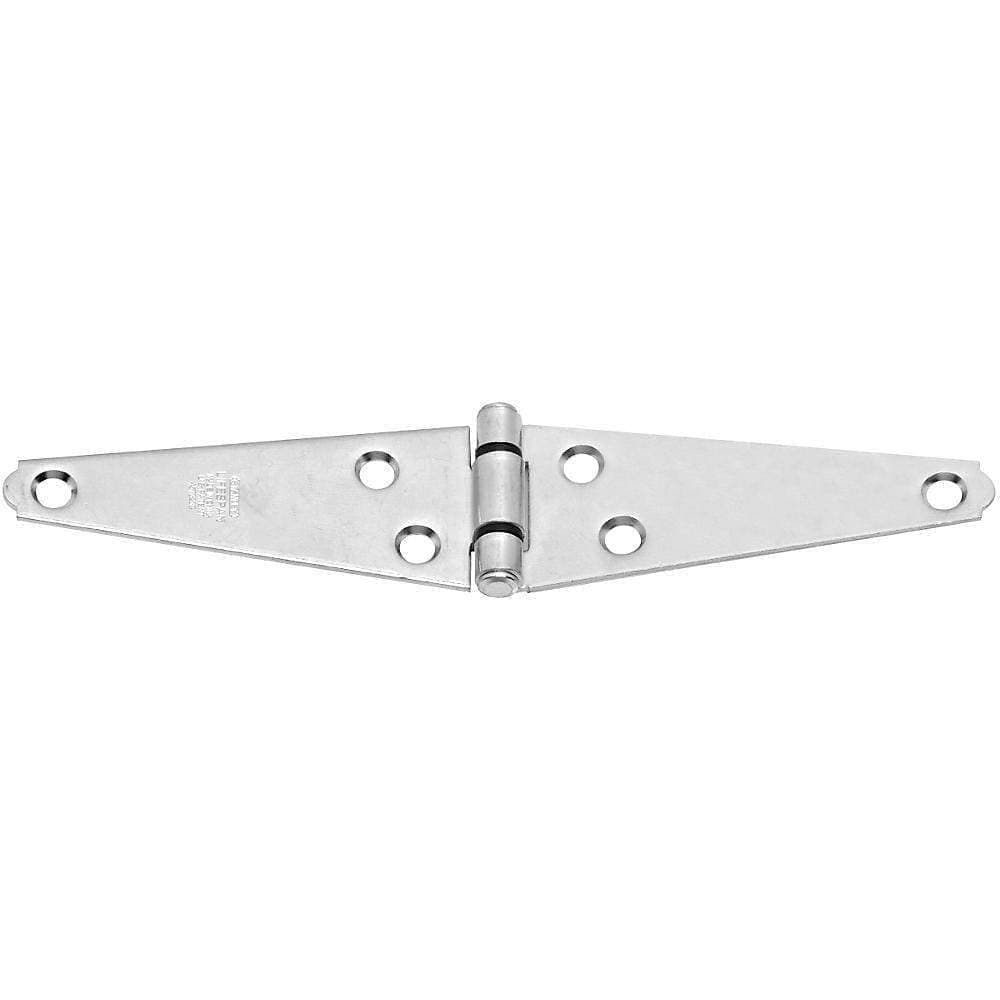
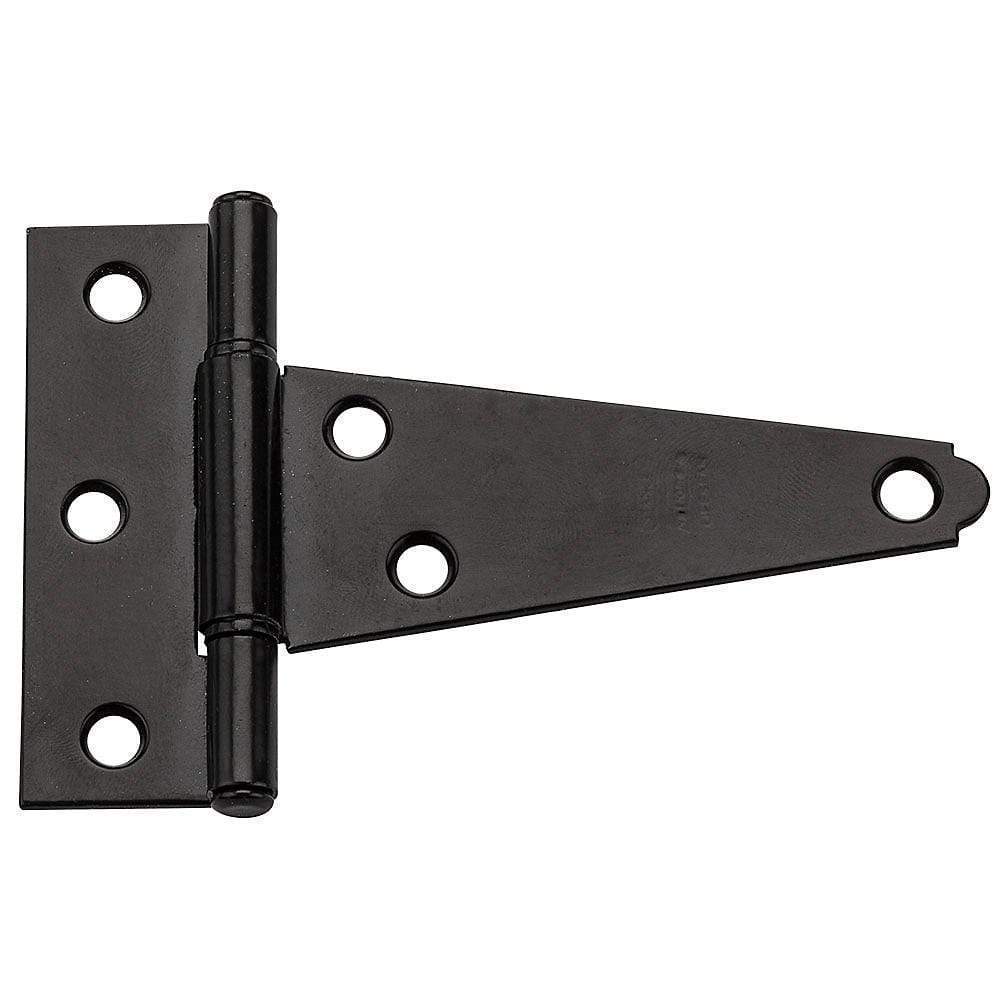
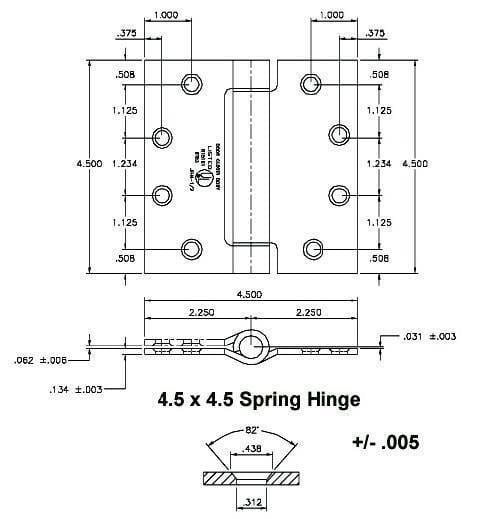
Finally, you can add a gate if you need one. You can install a gate in the same way as you installed the fence. Just make sure the gate is sturdy and swings easily with the appropriate gate hinges.

And that's it! With these simple steps, you'll be able to install your own hardware cloth fence. The process is relatively straightforward, but if you have any questions, don't hesitate to reach out for help. By the end of this project, you'll have a sturdy and secure fence that will keep your property safe for years to come.