While some hinges are chosen for minimum visibility, butterfly hinges are designed to be seen. Learning how to install a butterfly hinge properly is key to obtaining its decoratively functional benefits. This step-by-step guide provides all the information you need to install these hinges properly!
How to Install a Butterfly Hinge: Anatomy, Tools, and Instructions
Dissecting Butterfly Hinges

Before you install a butterfly hinge, it’s essential to understand the unique anatomy and versatility of these hinges.
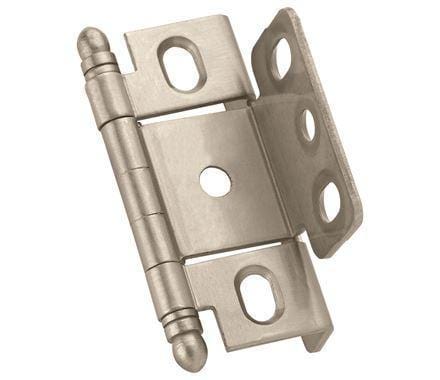
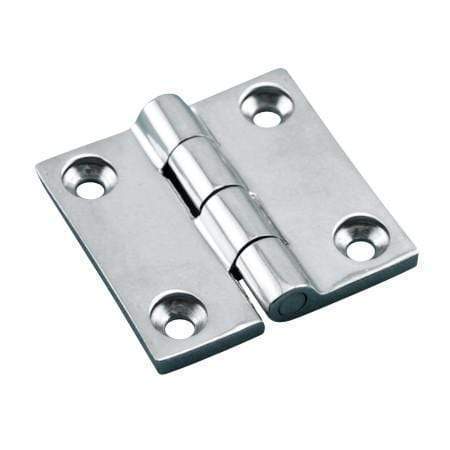
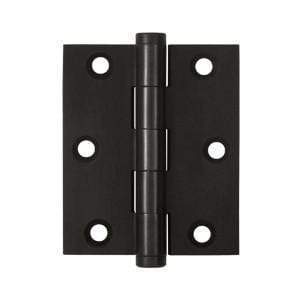
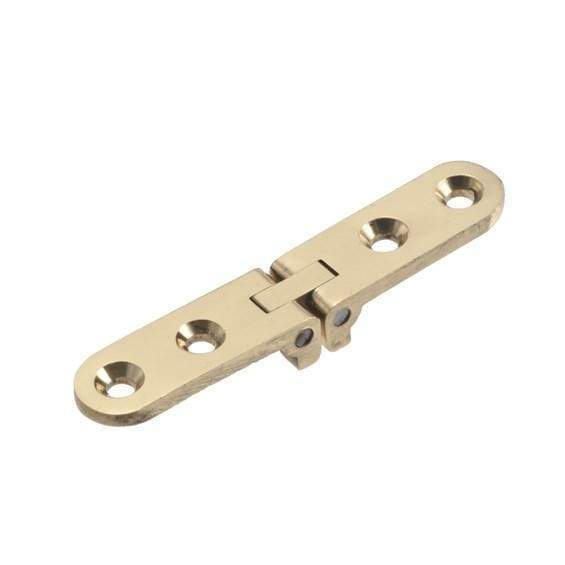
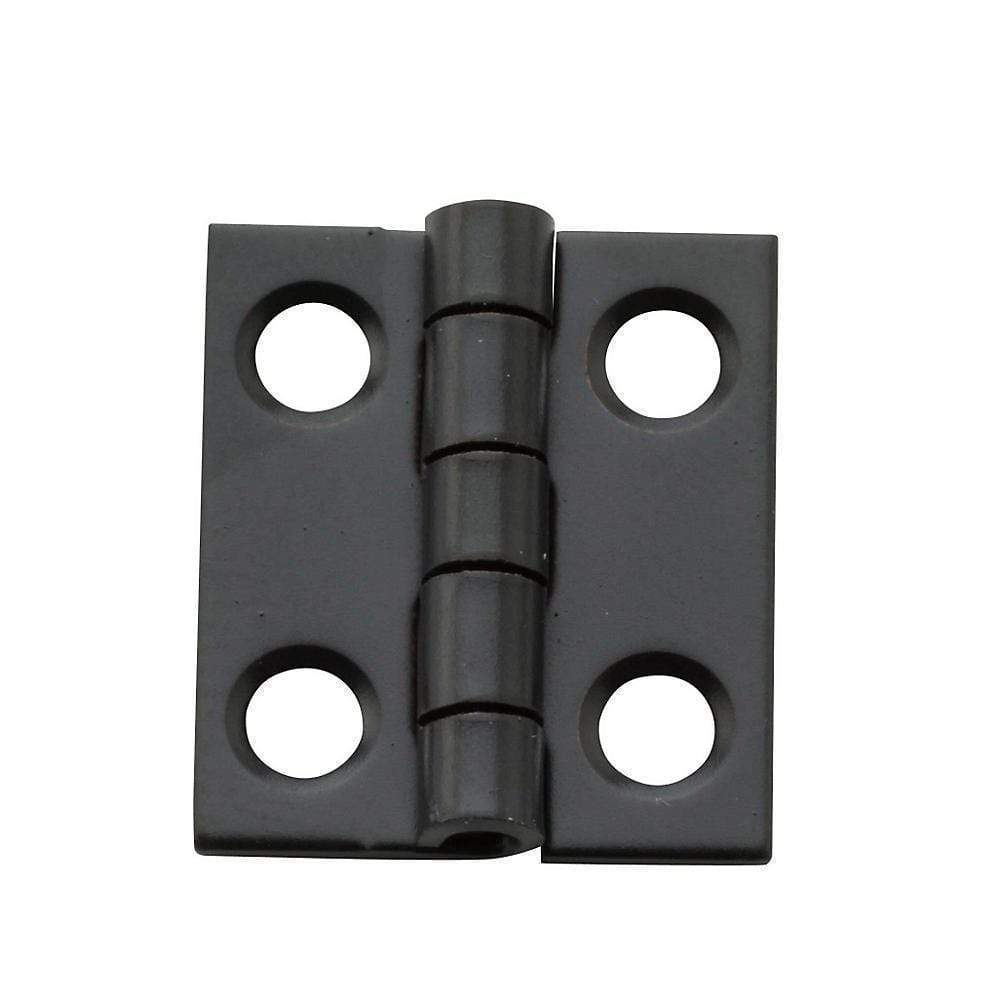
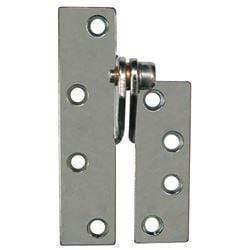
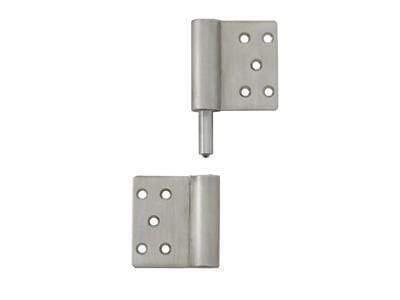
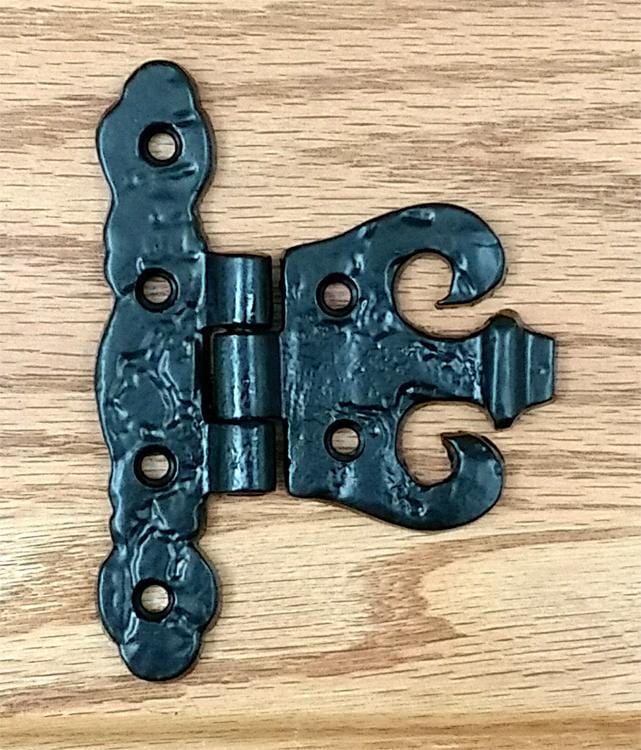
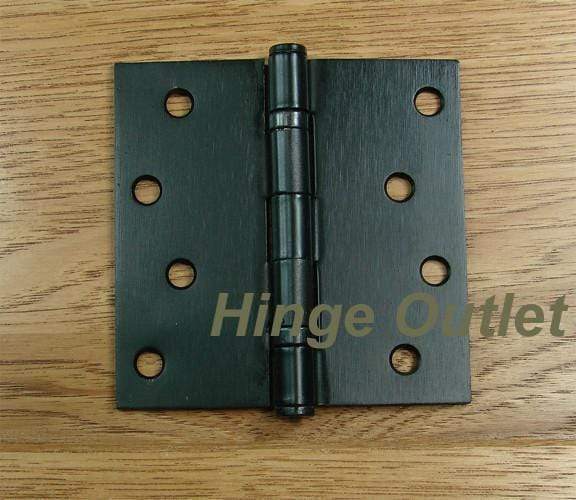
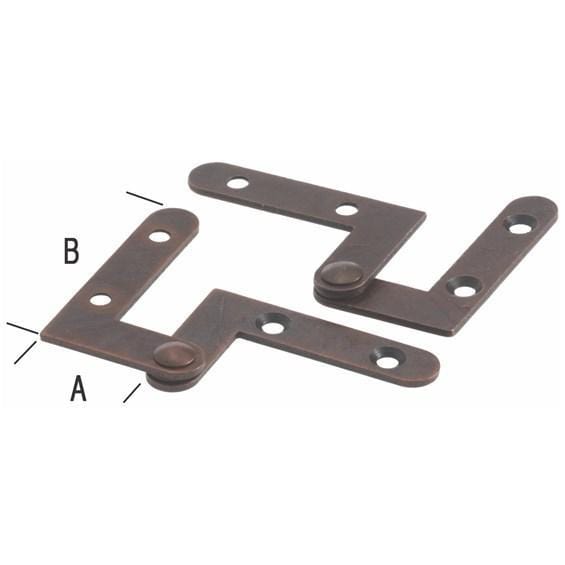
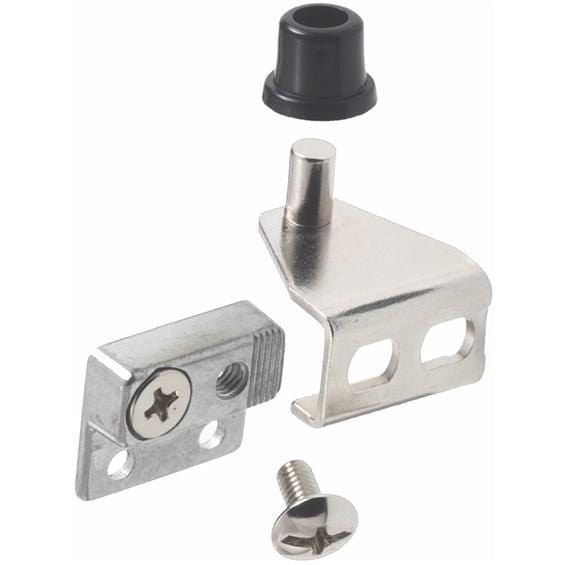
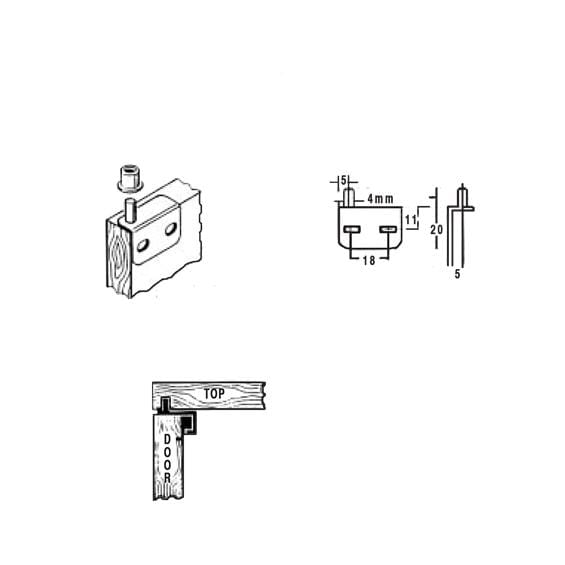
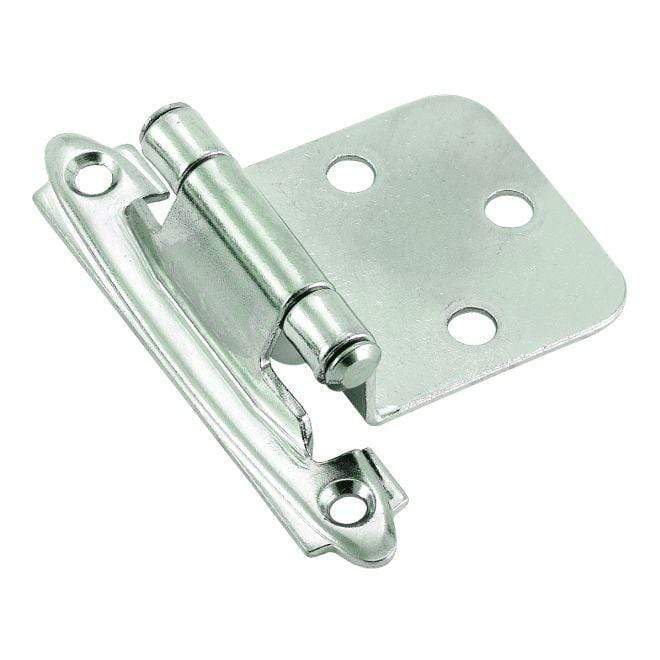
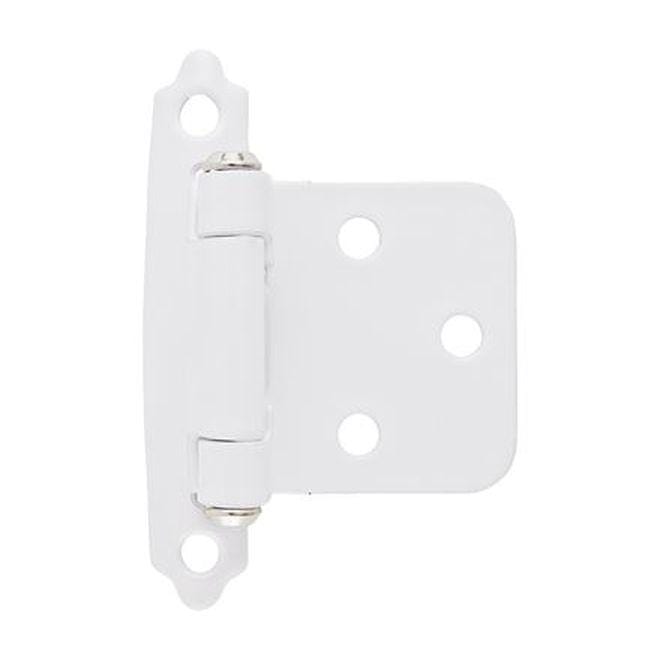
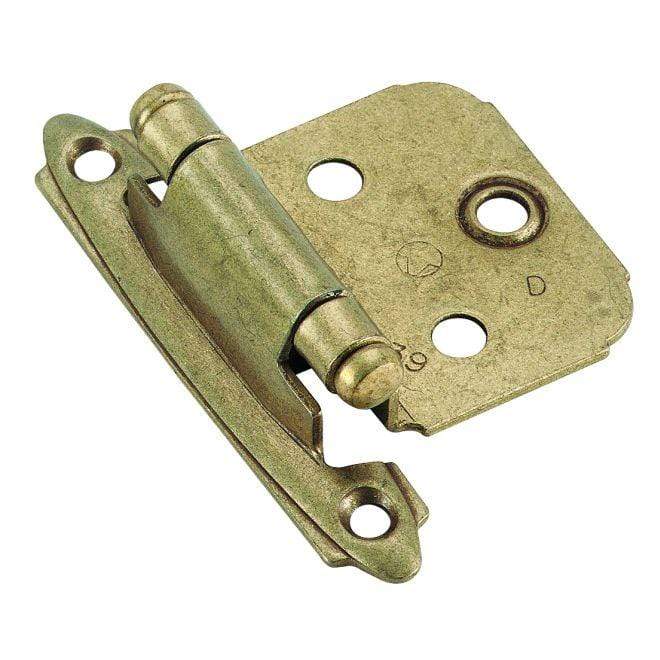
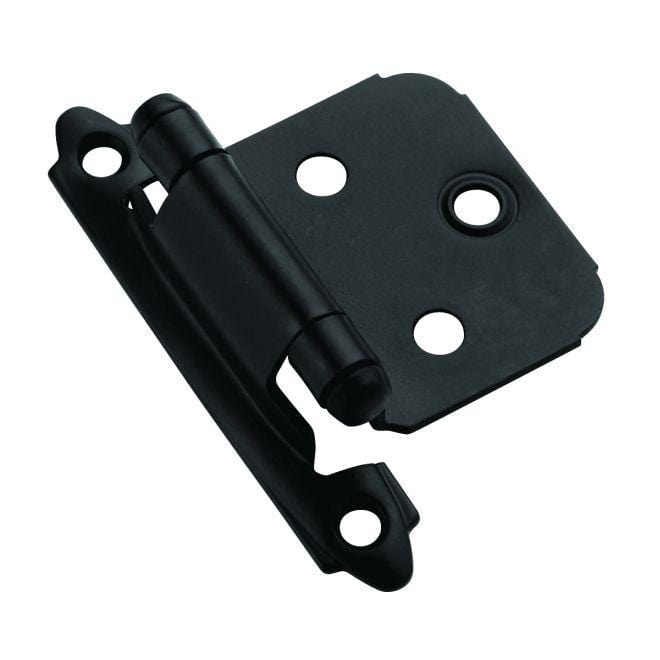
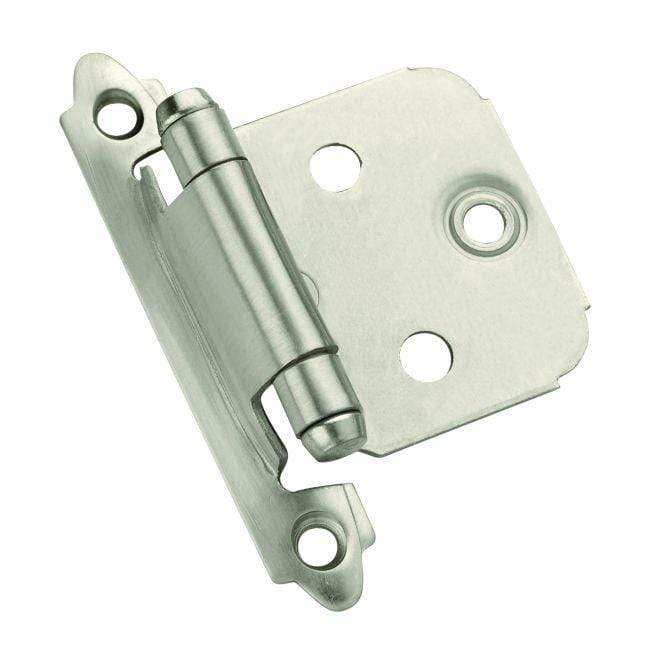
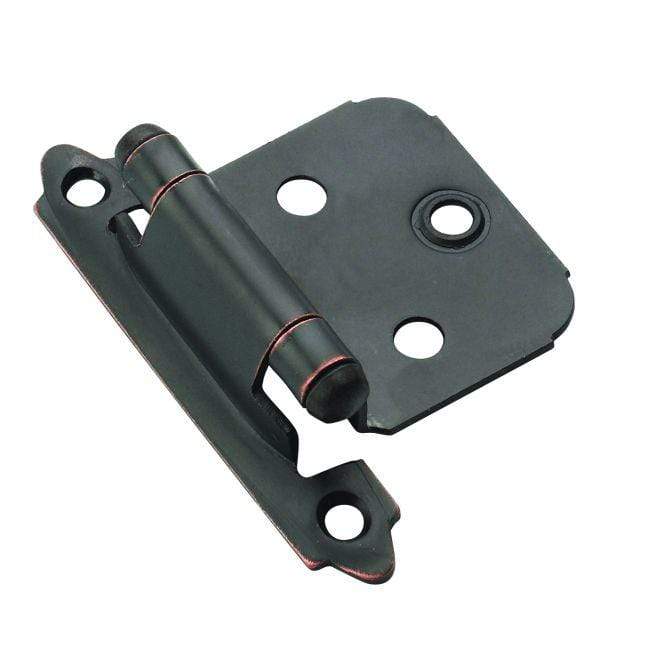
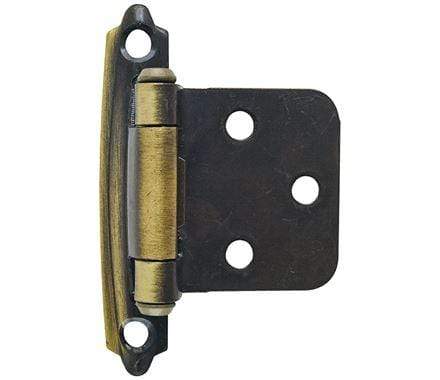
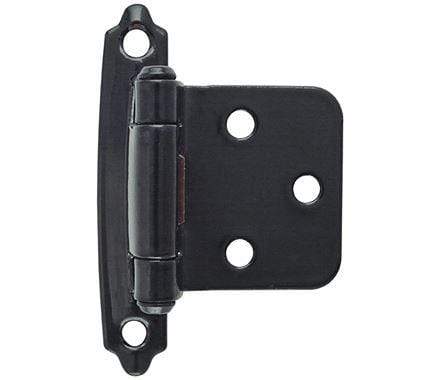
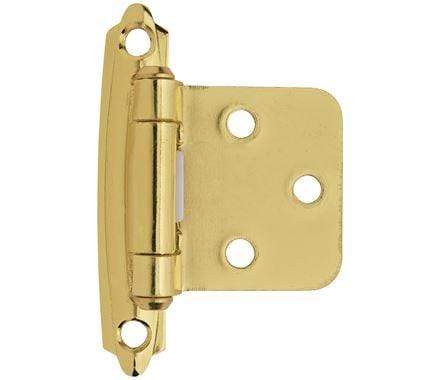
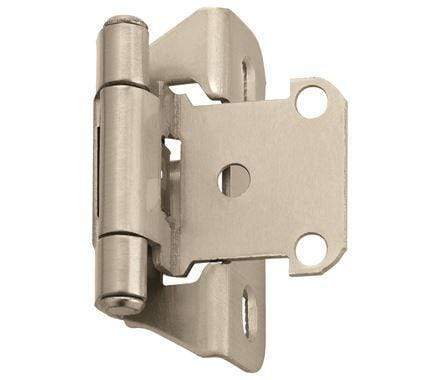
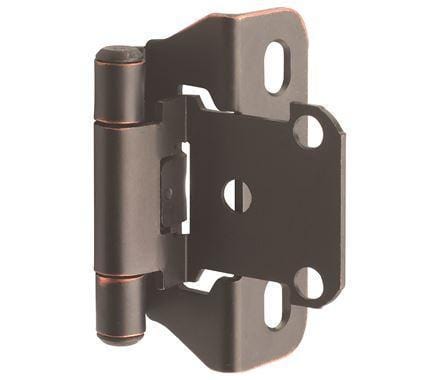
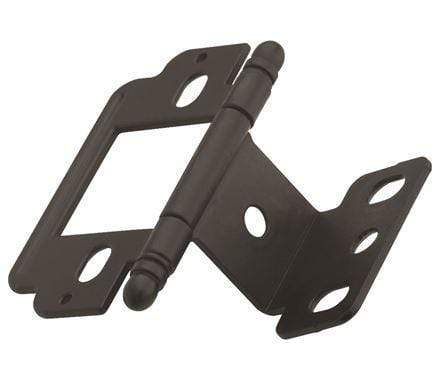
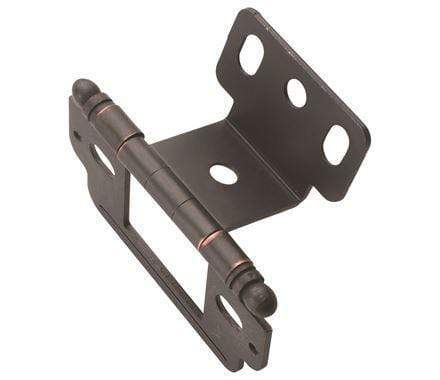
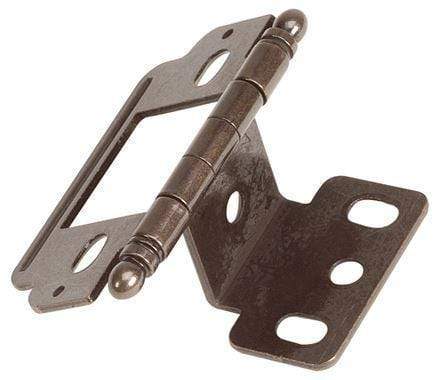
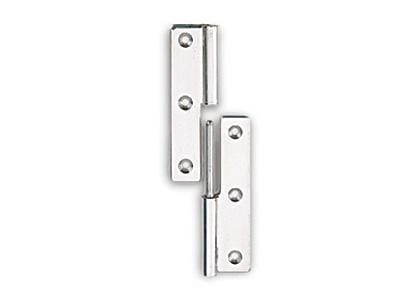
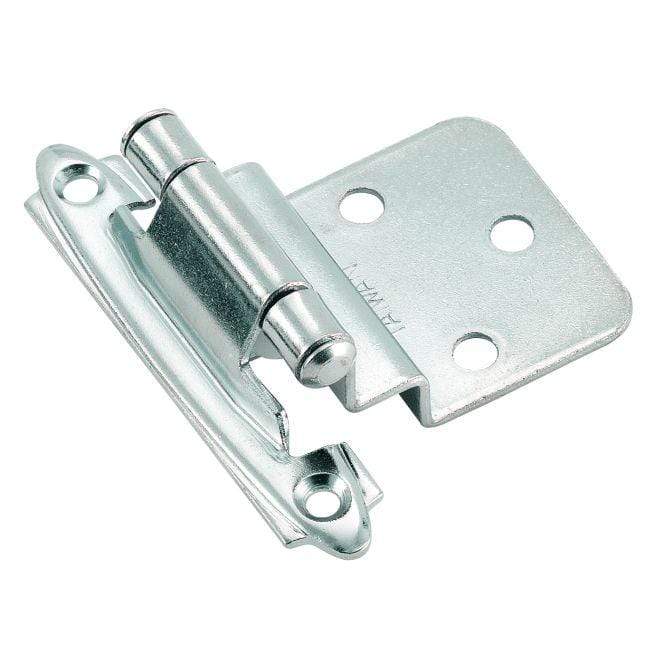
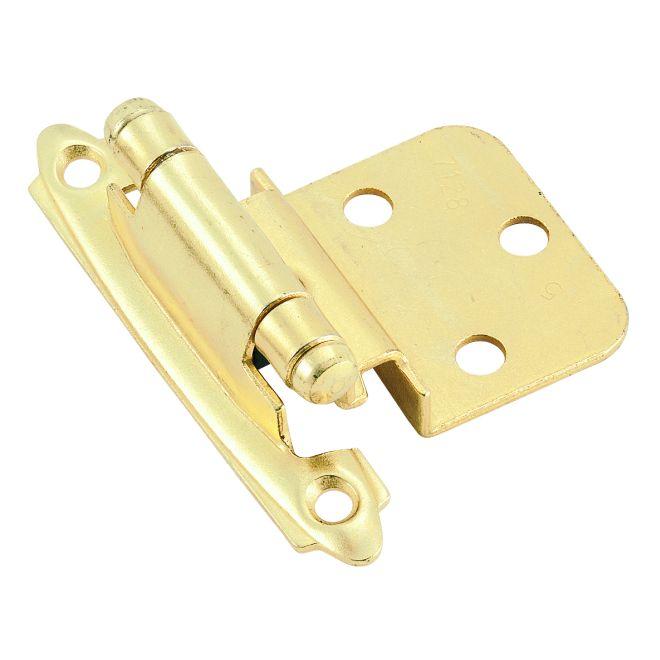
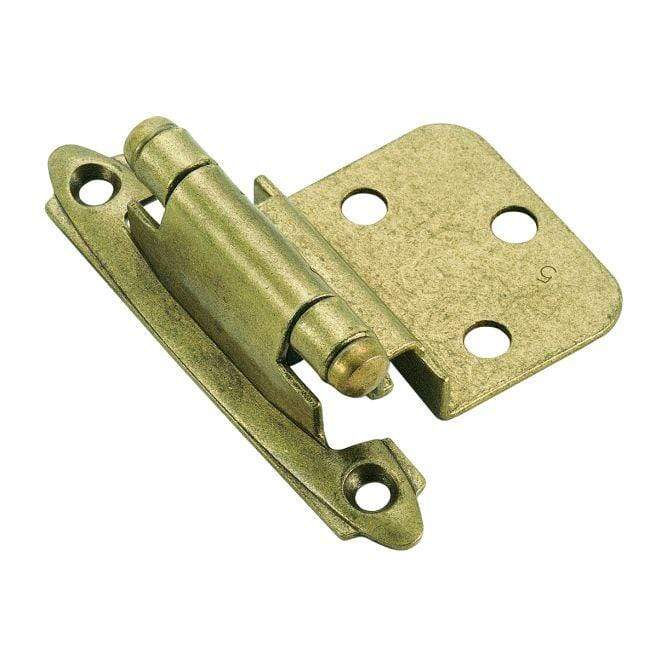
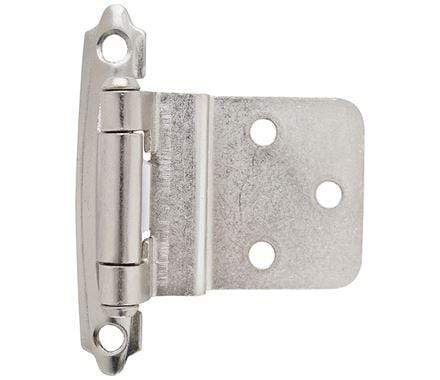
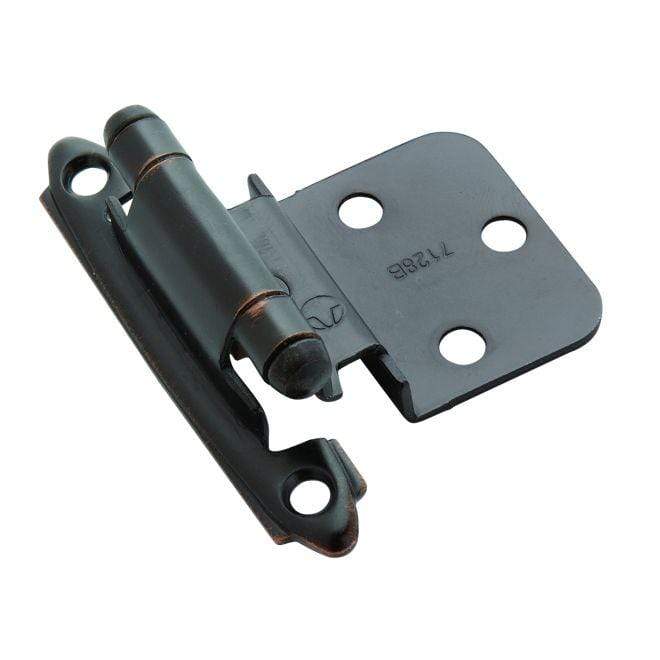
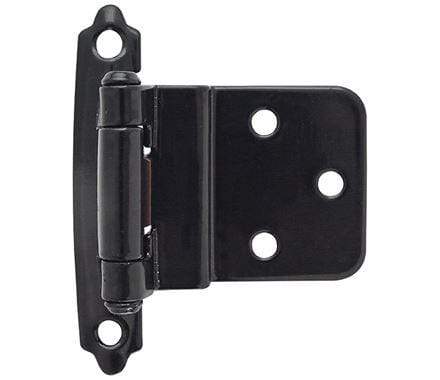
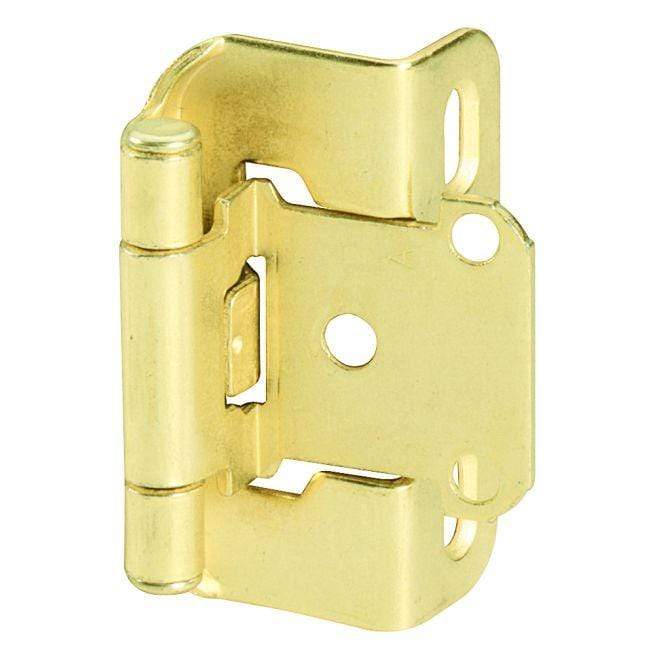
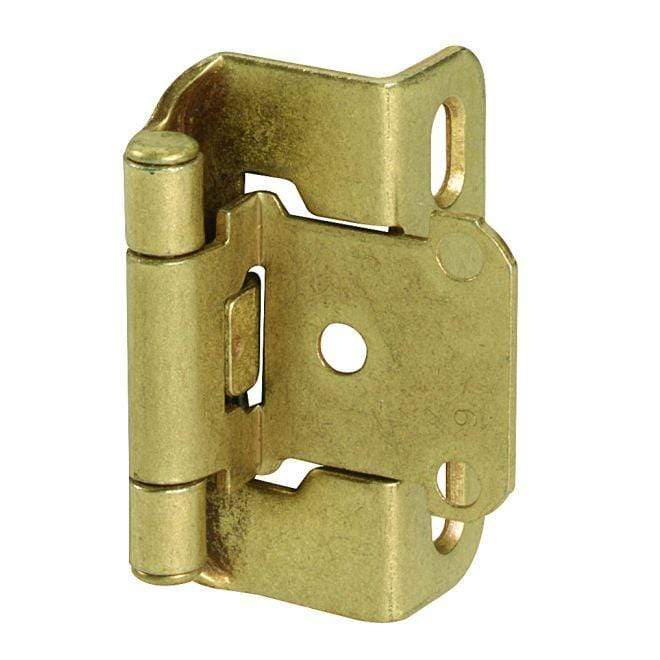
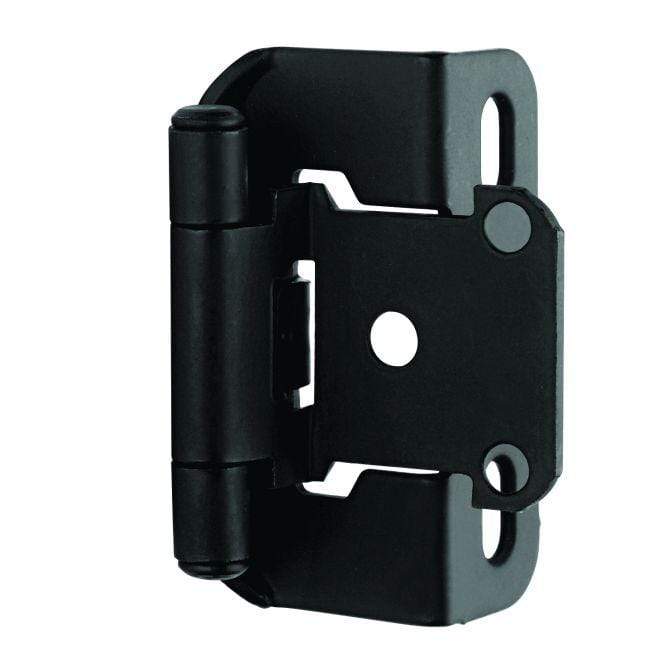
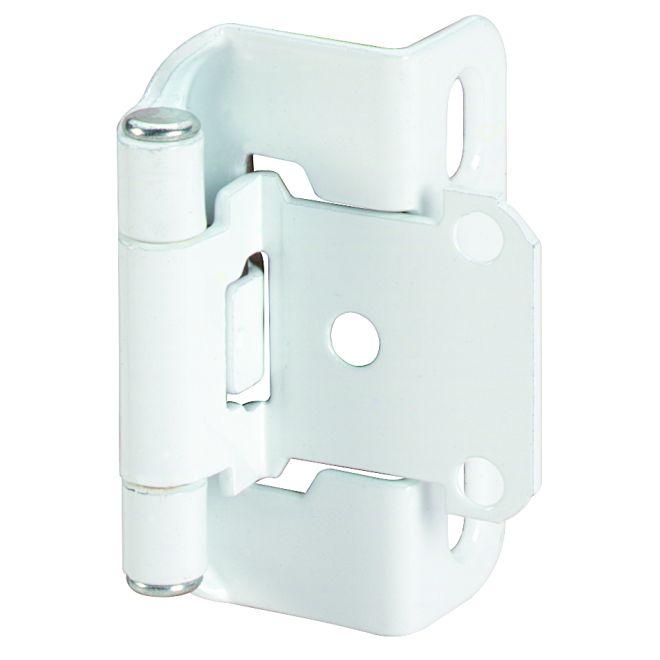
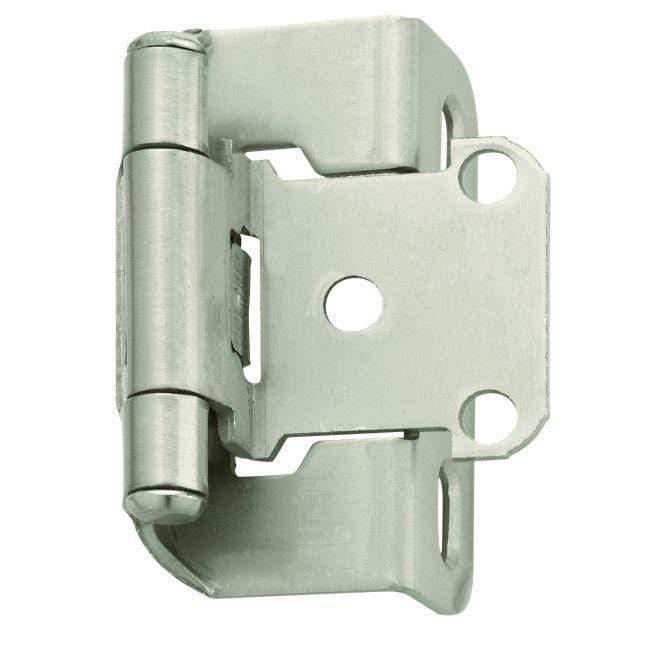
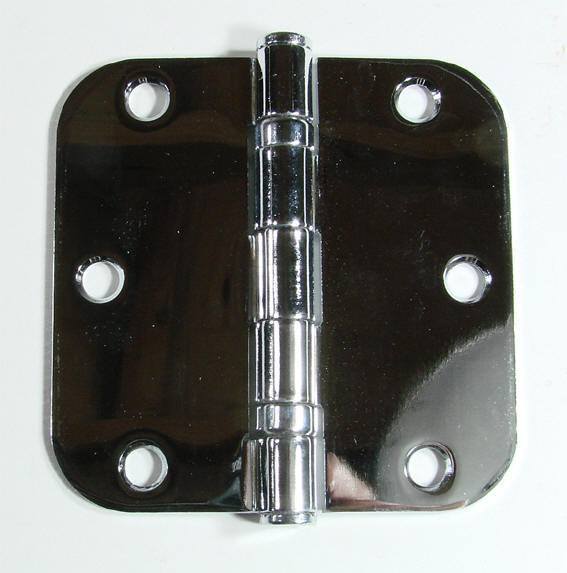
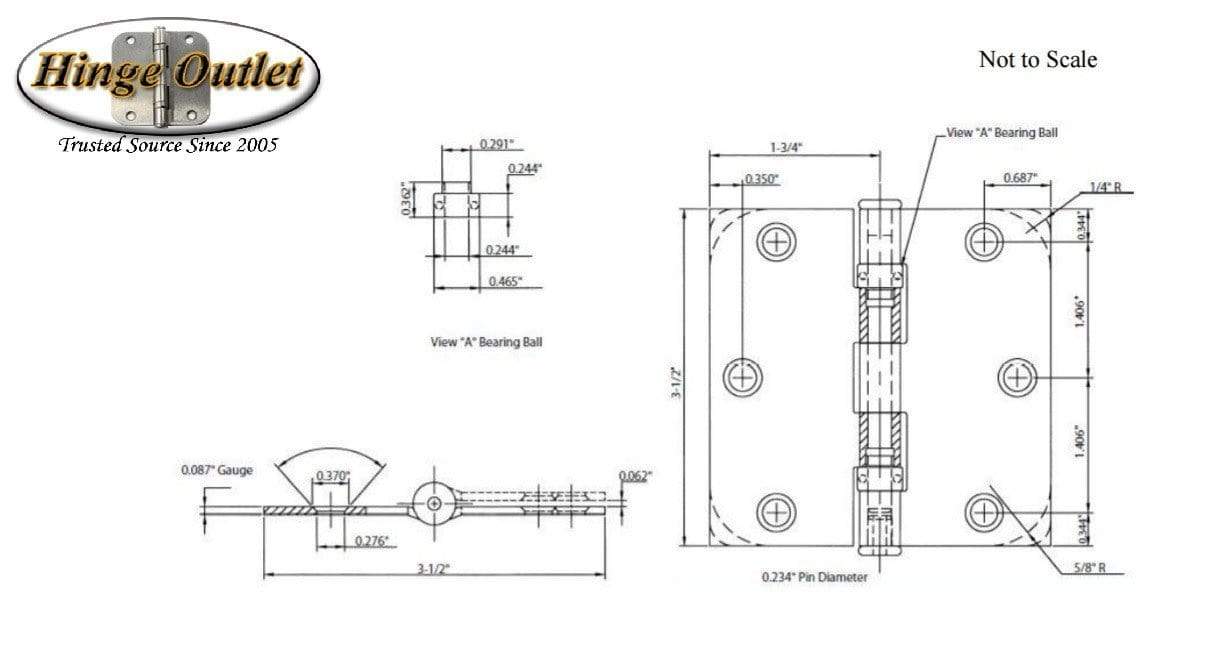
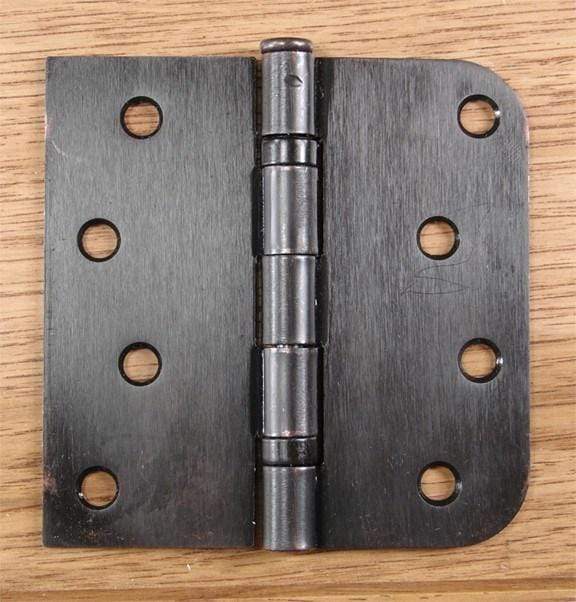
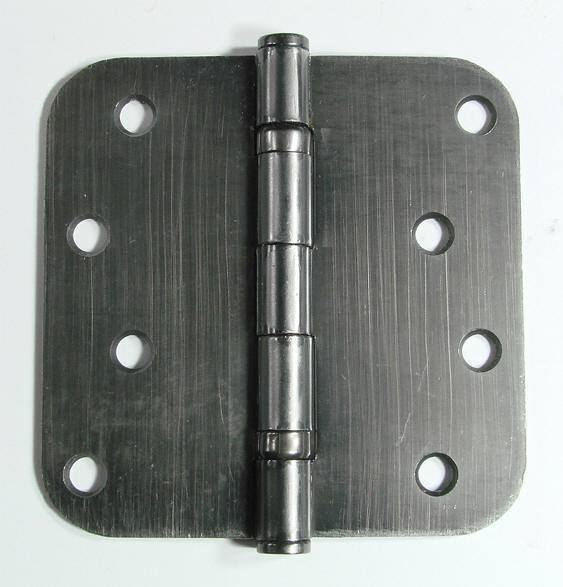
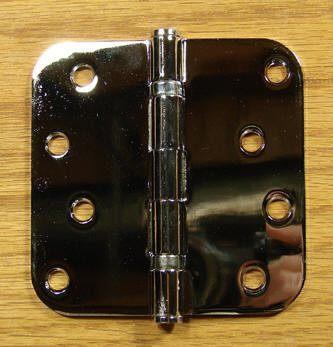
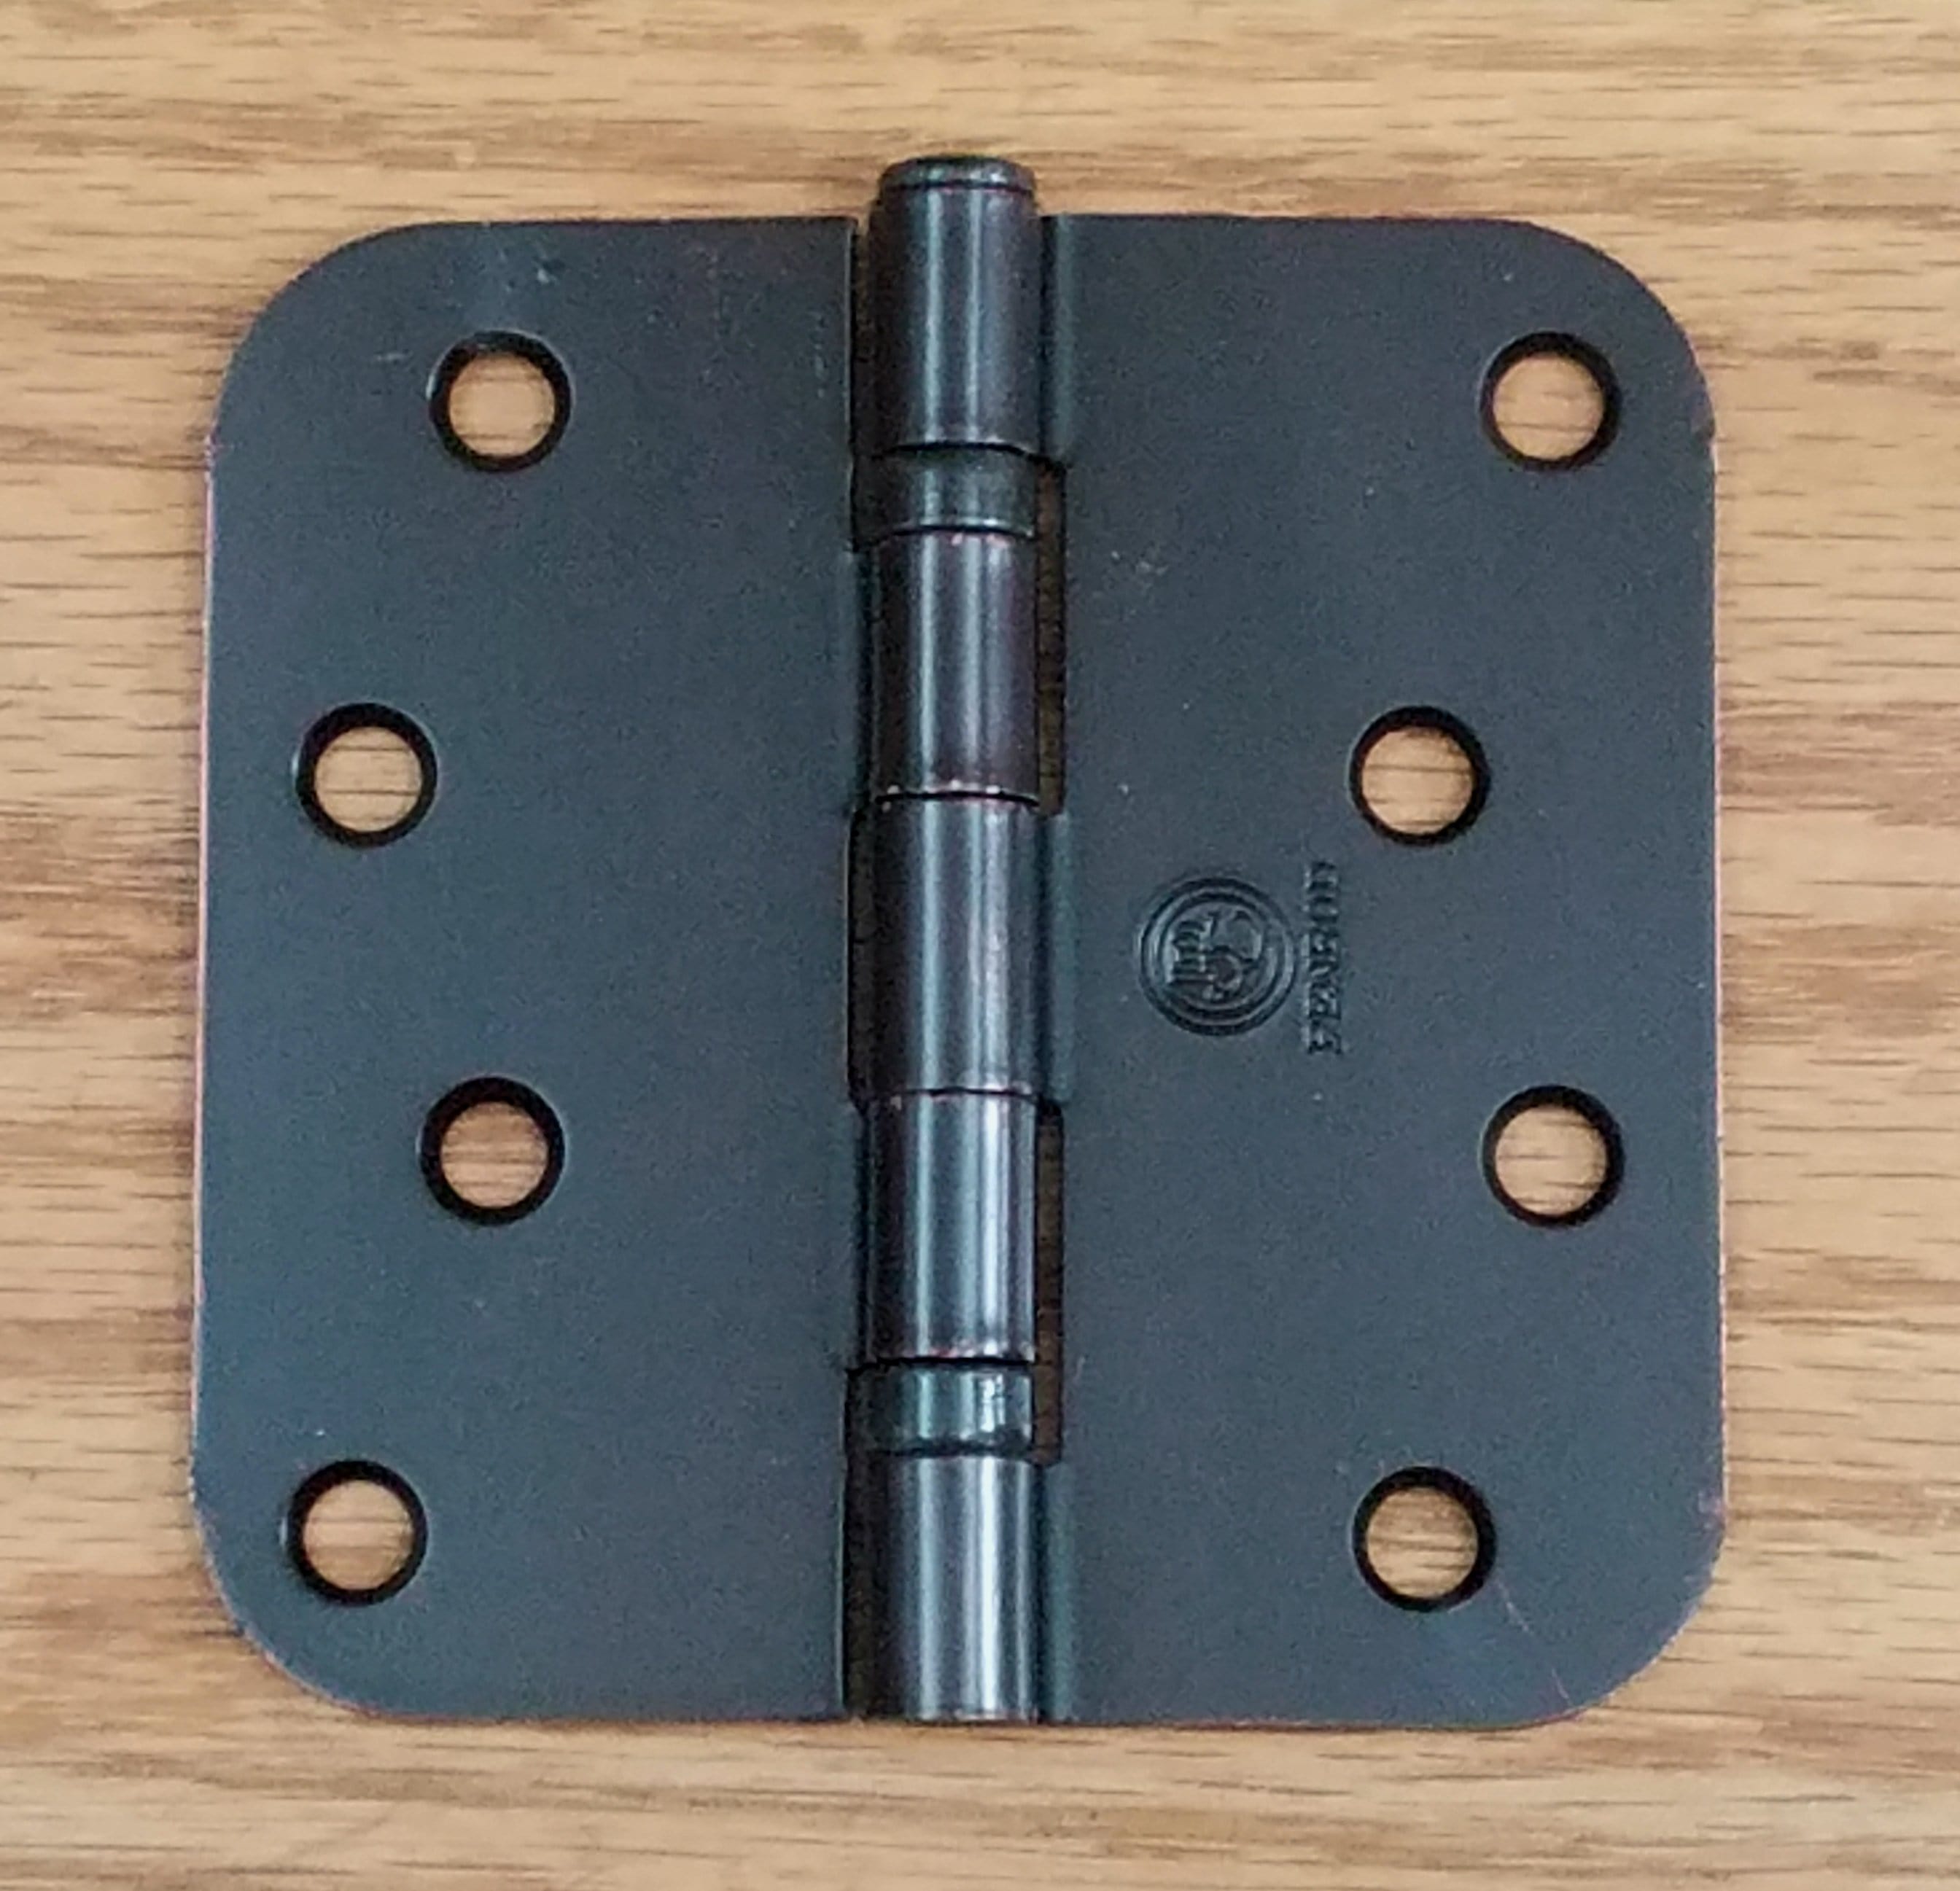
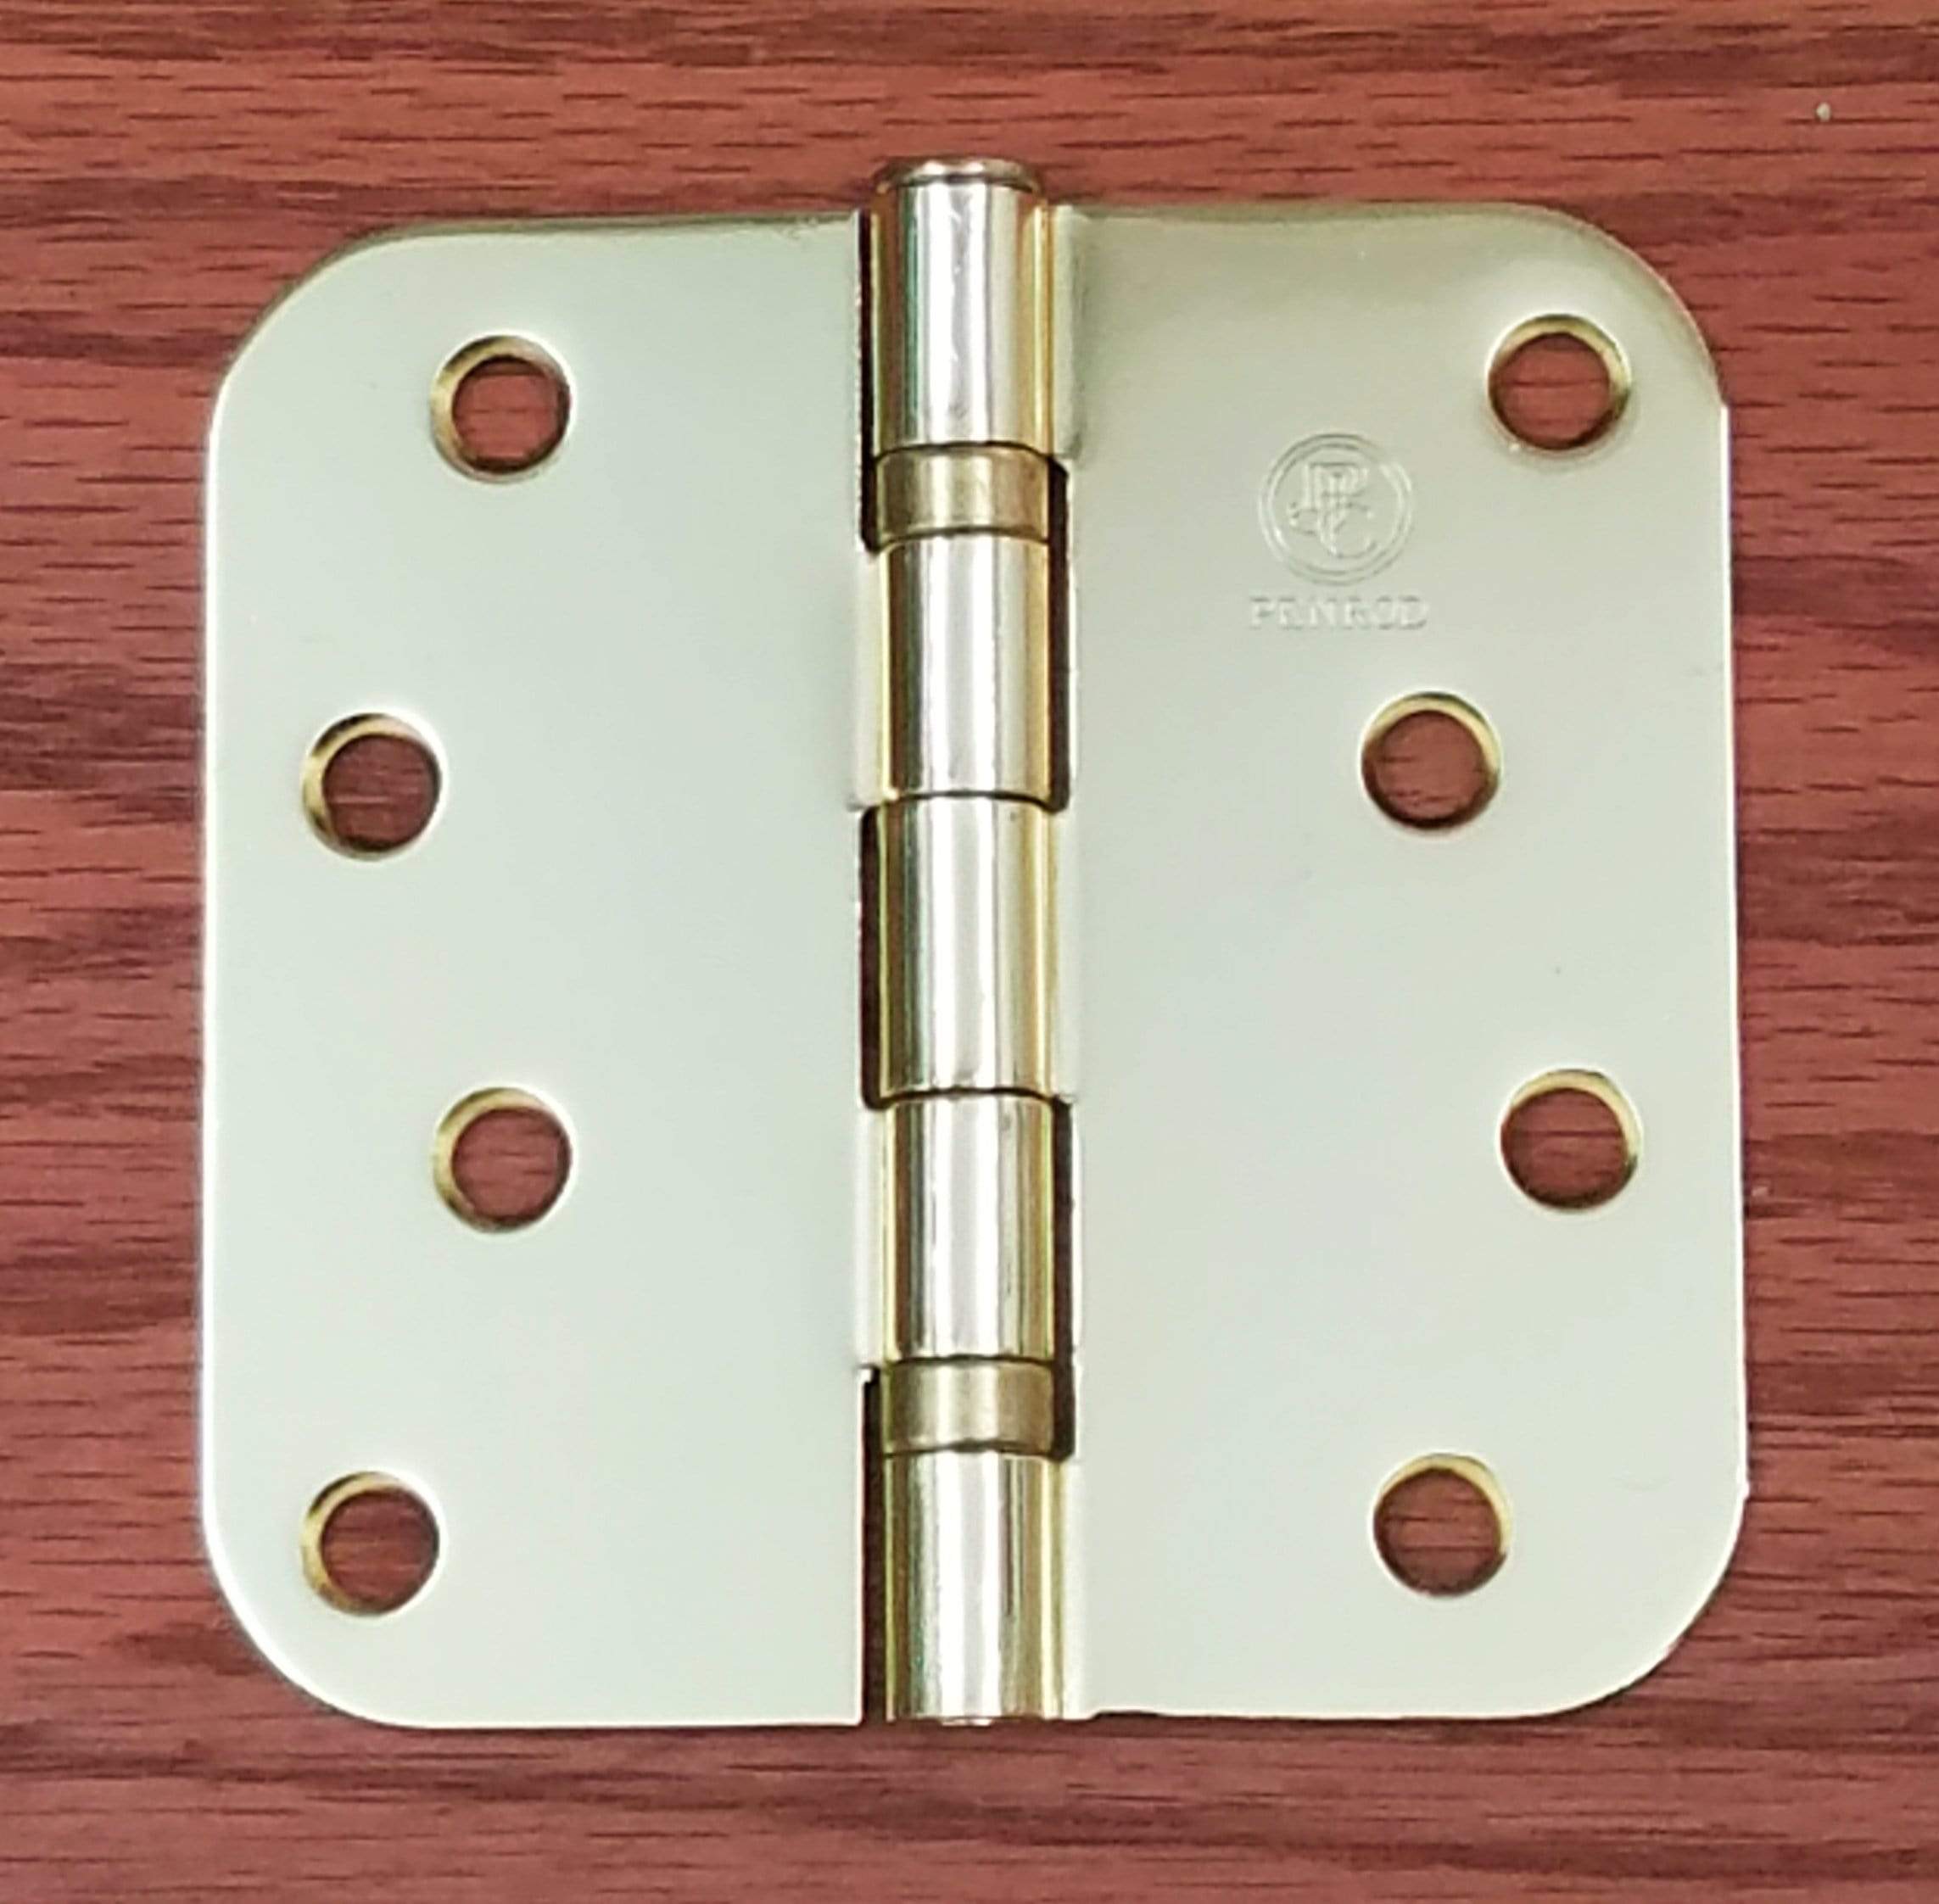
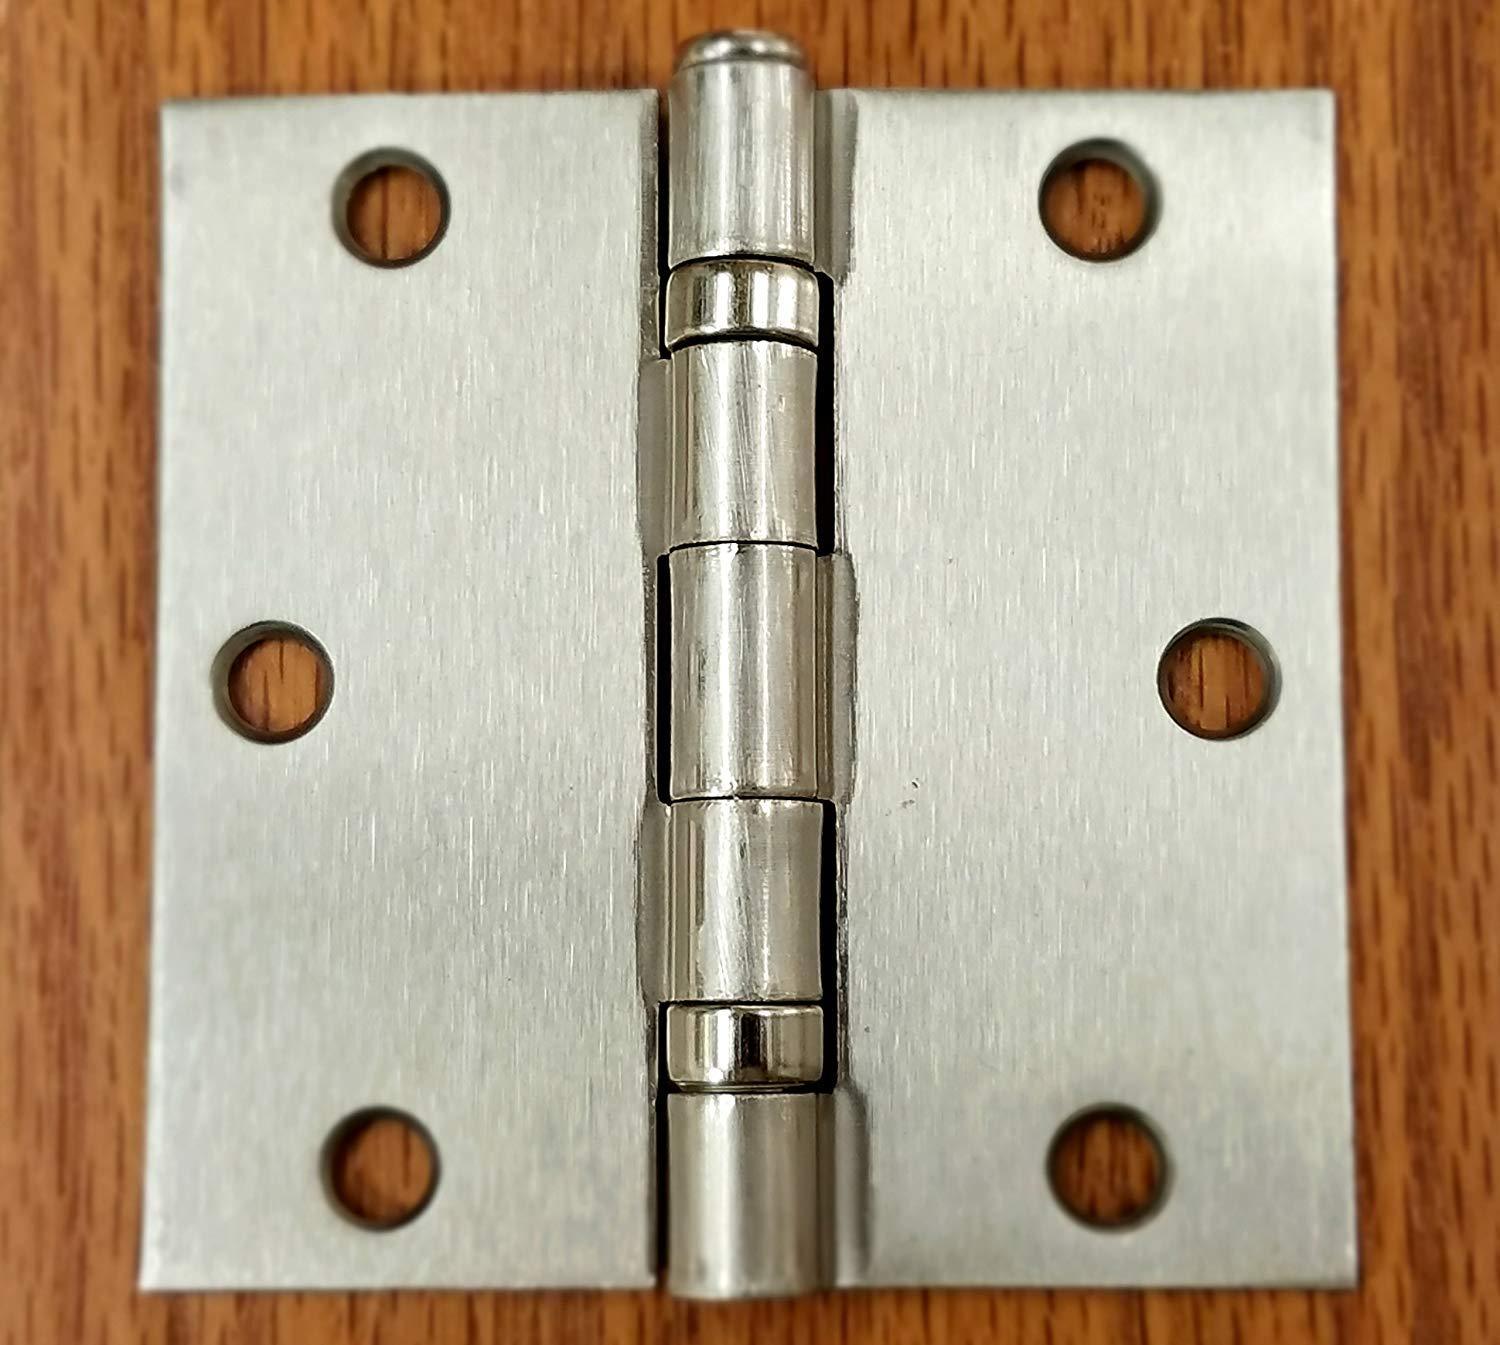
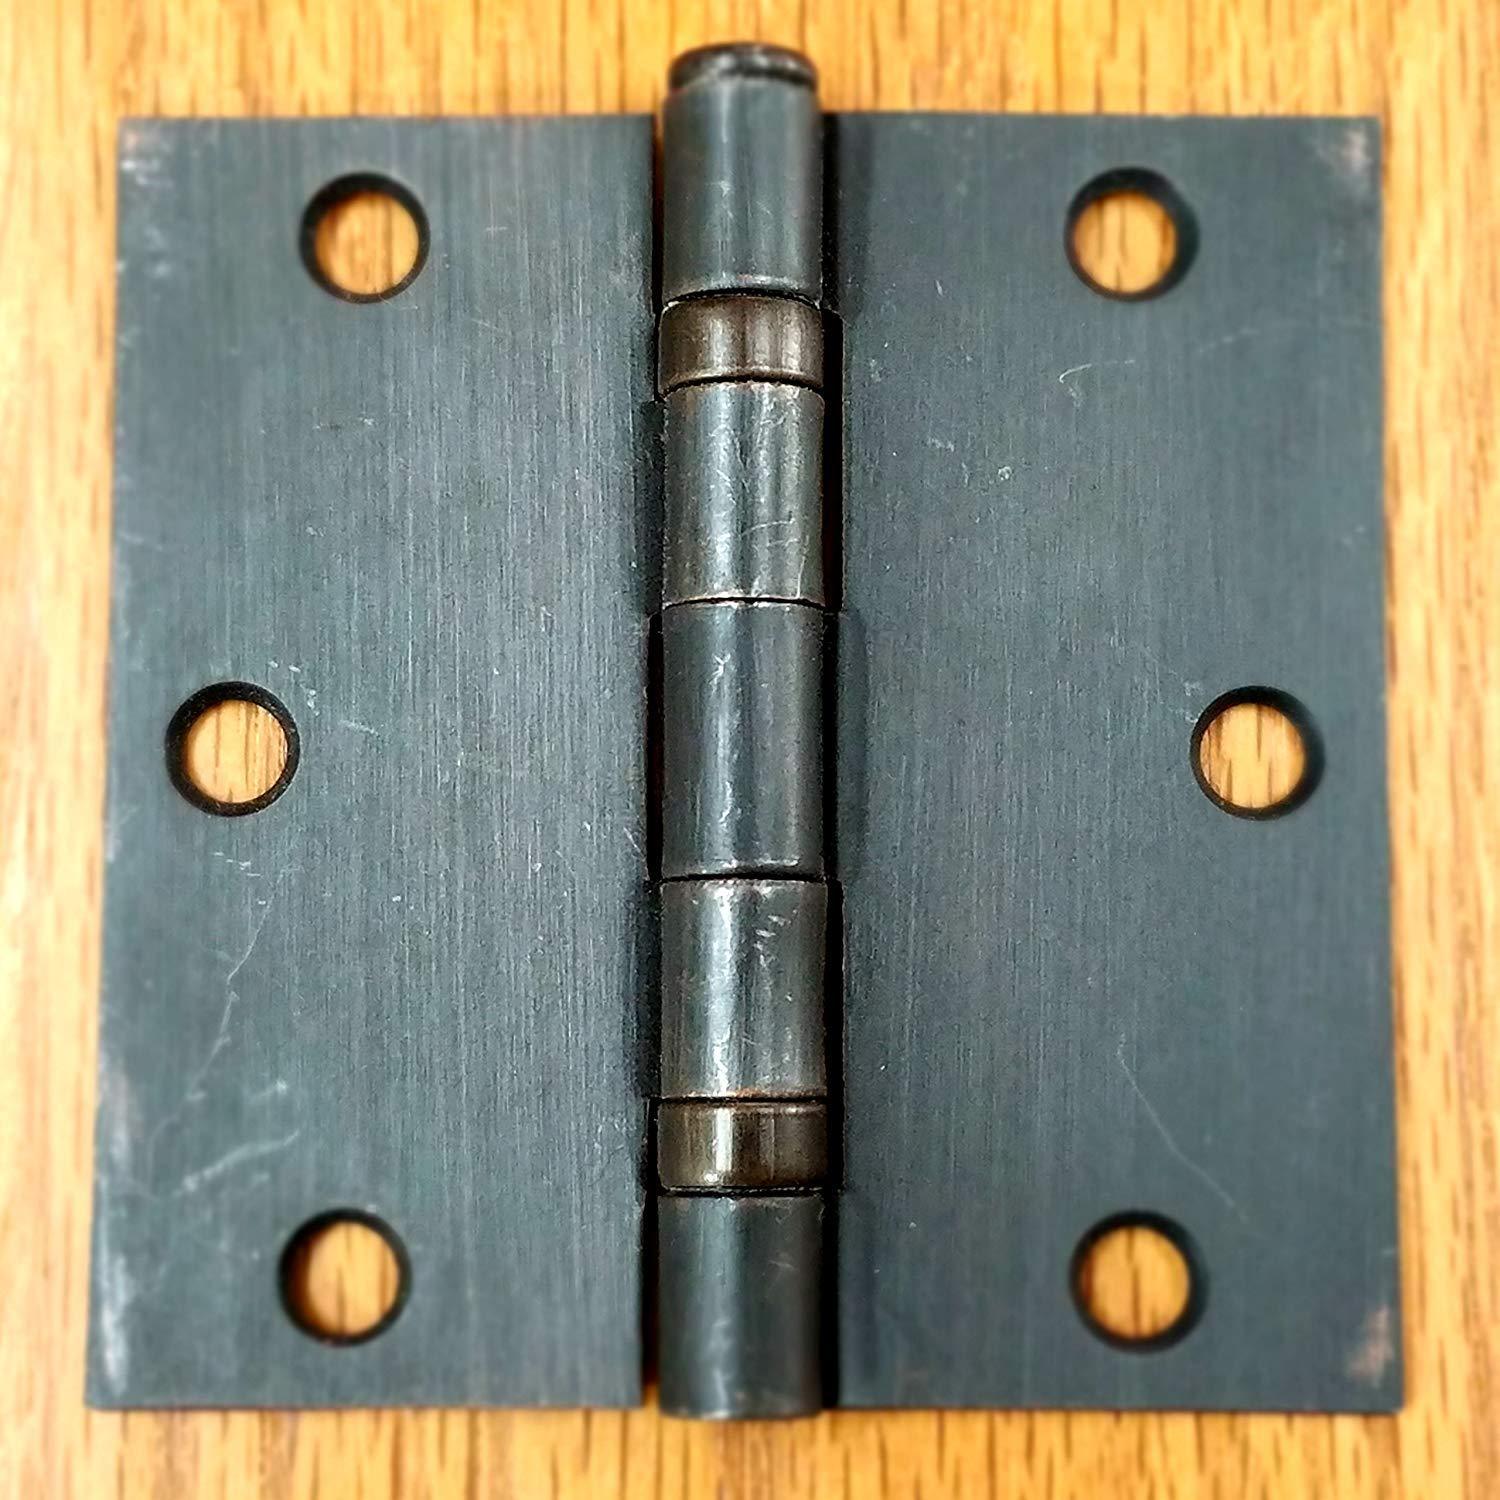
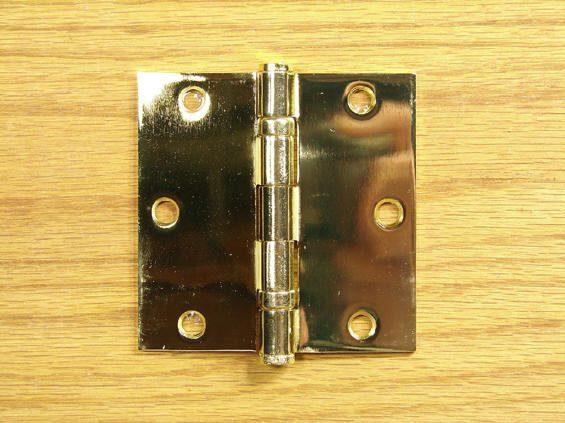
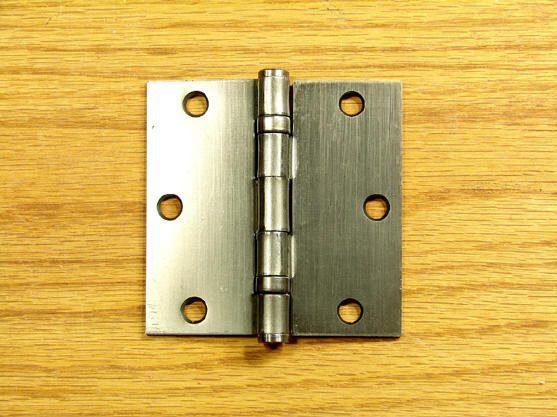
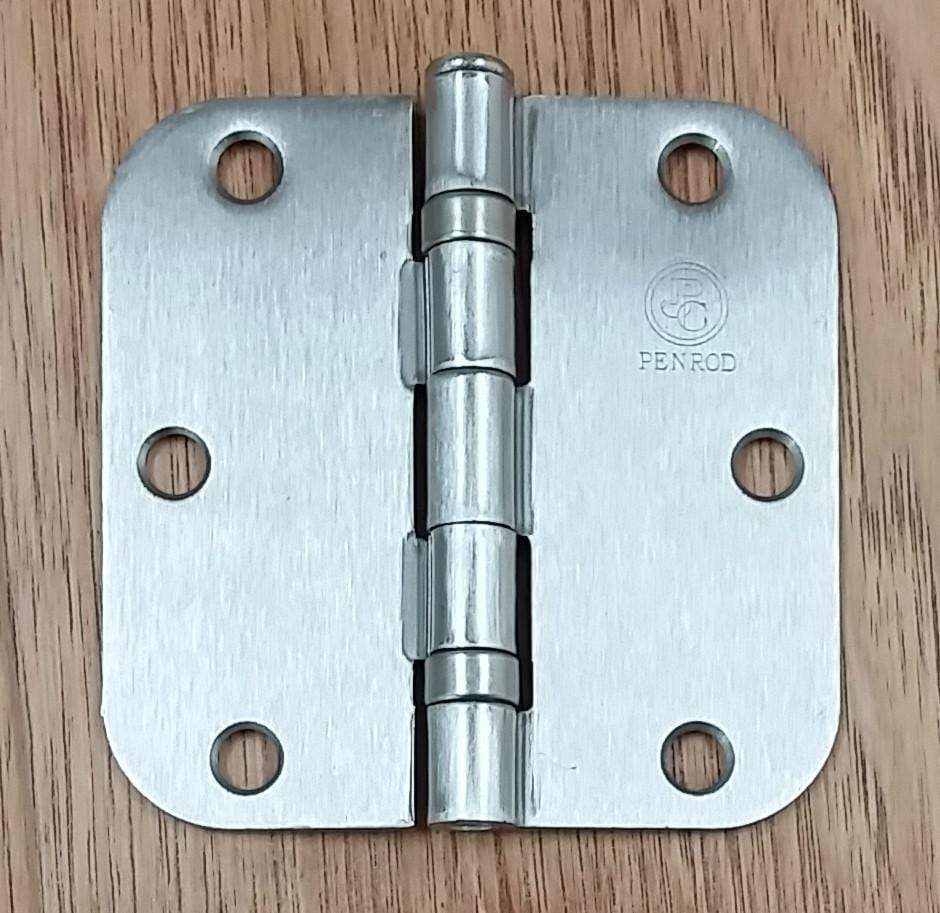
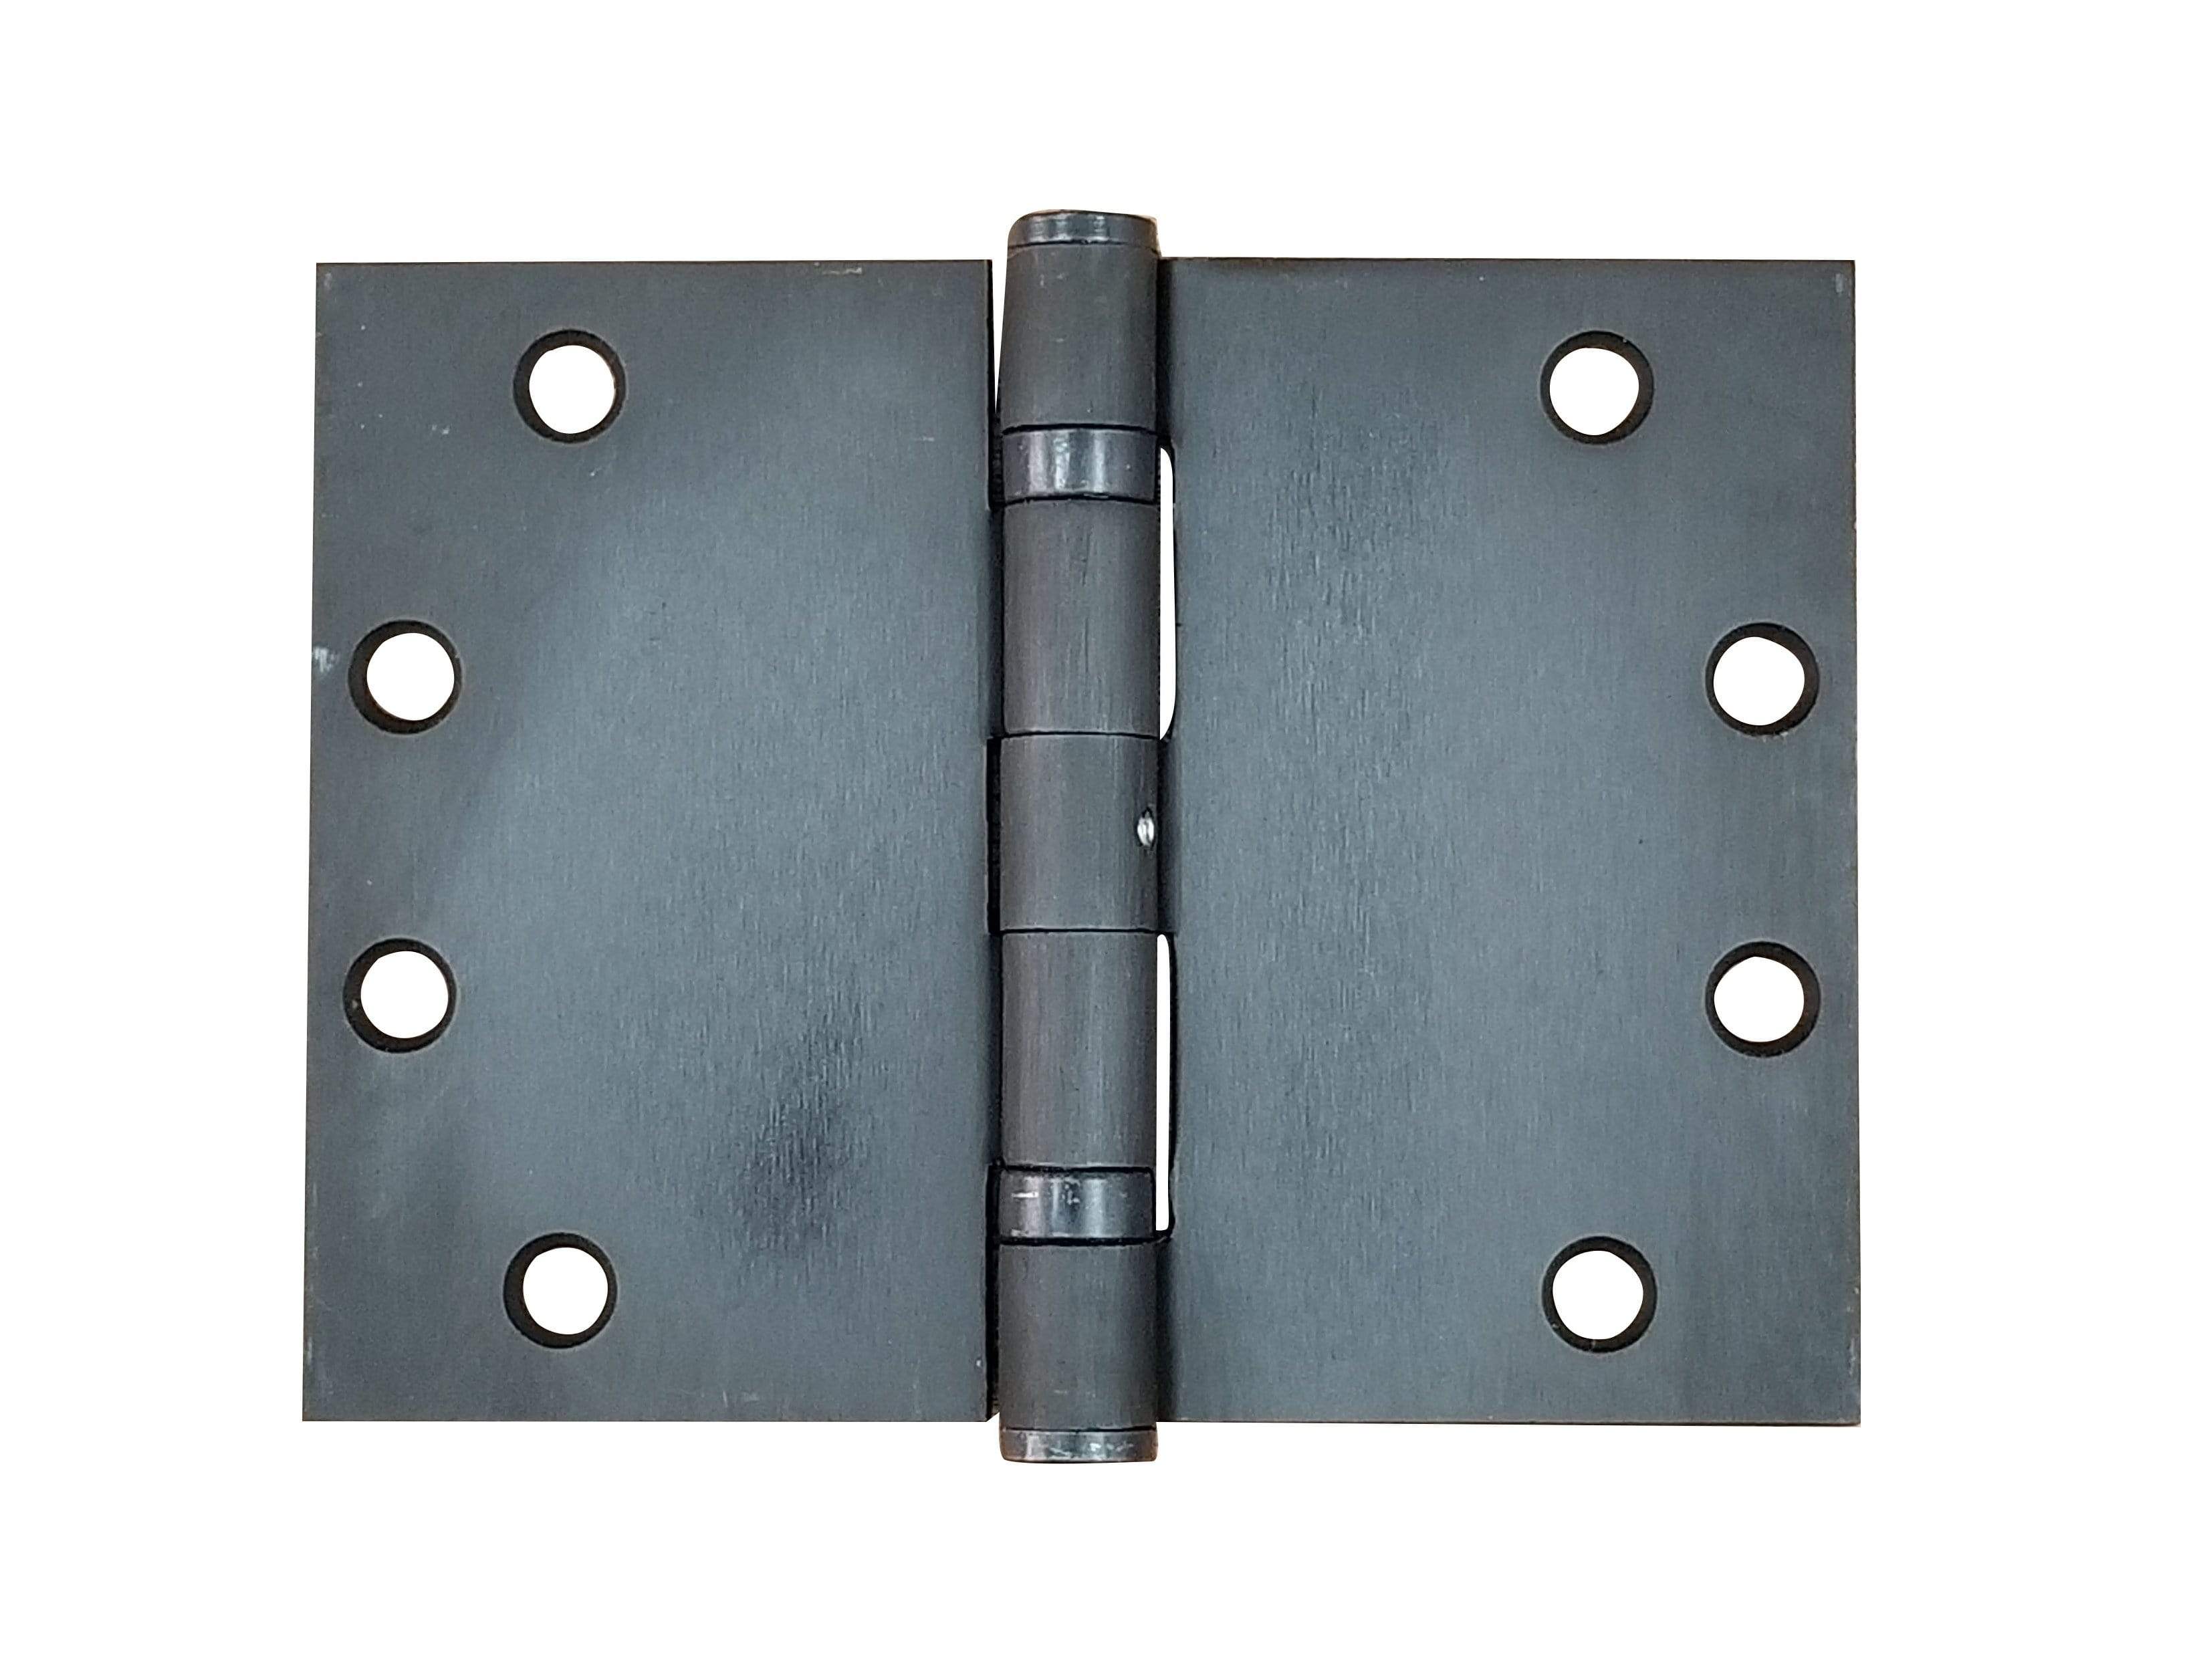
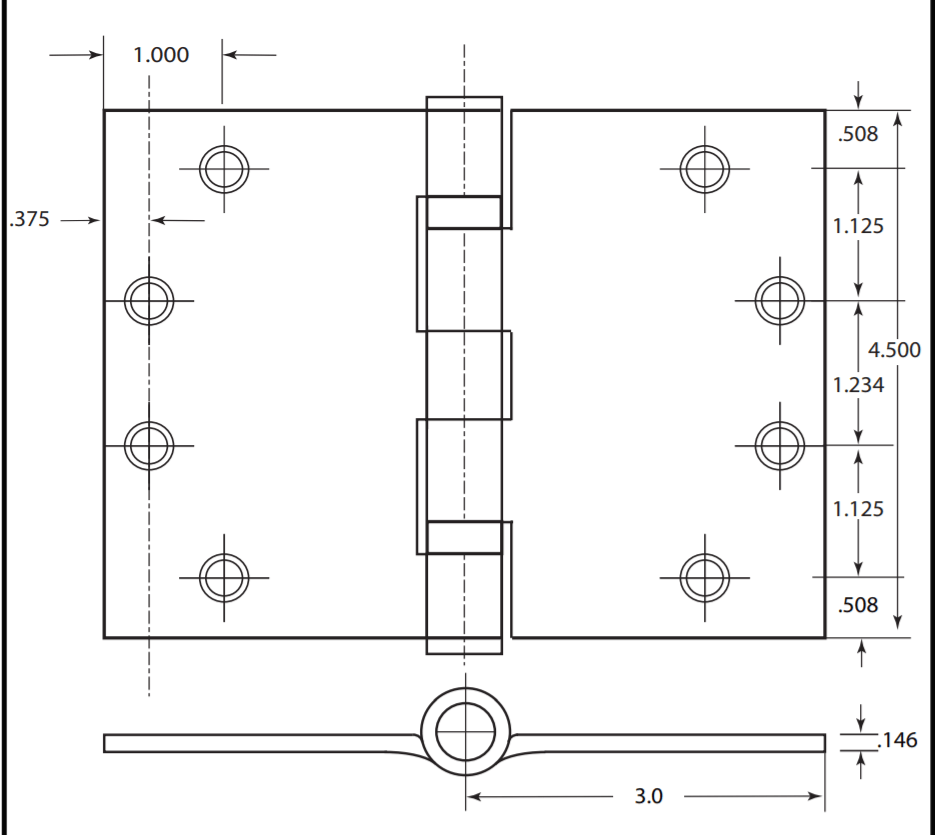
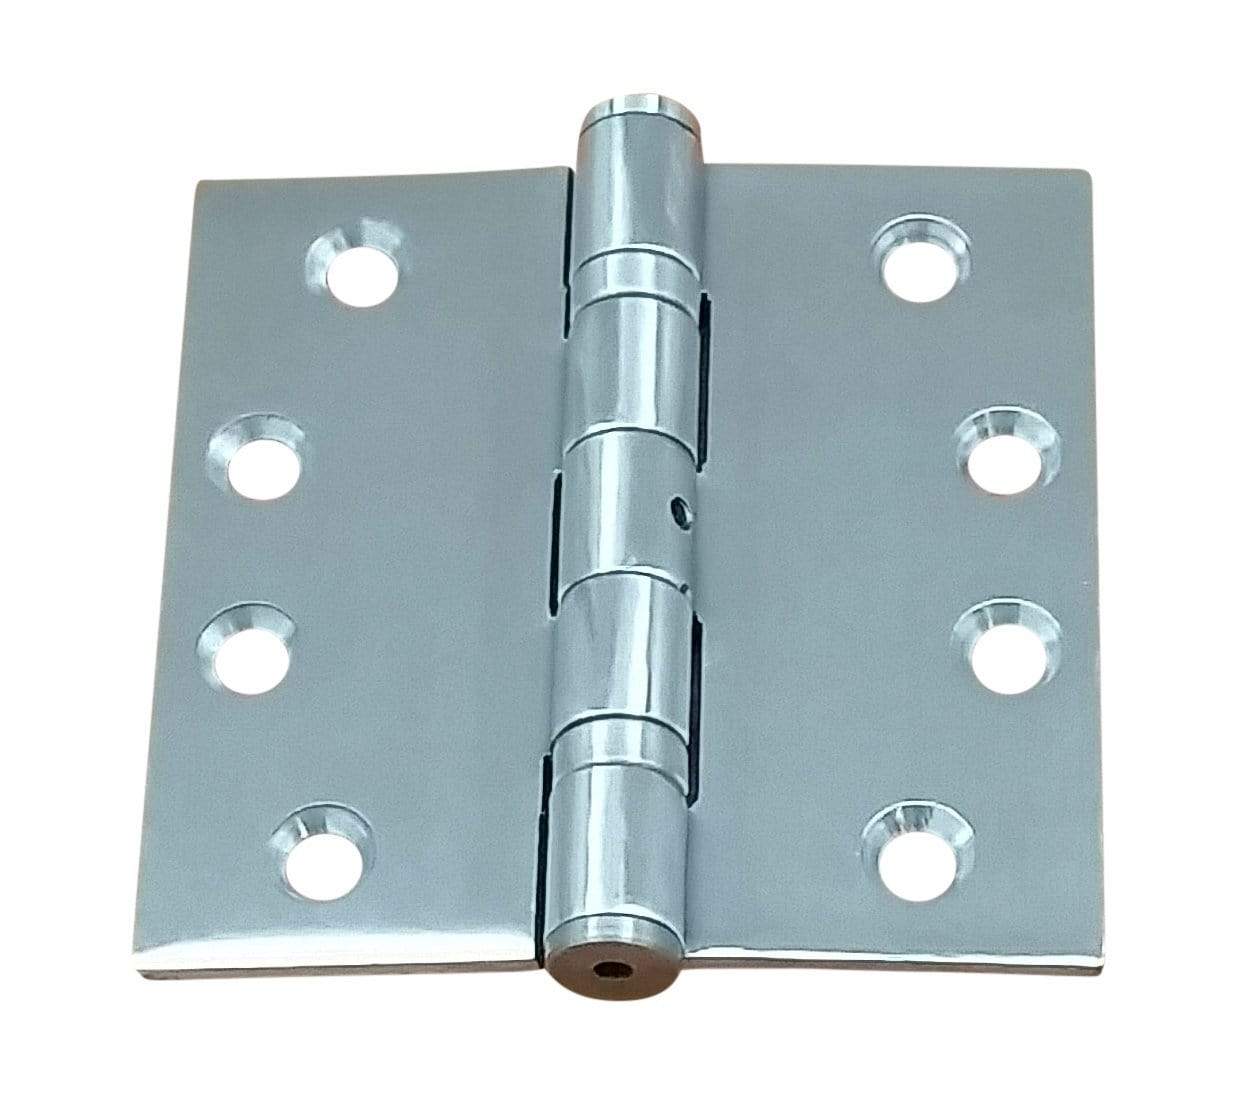
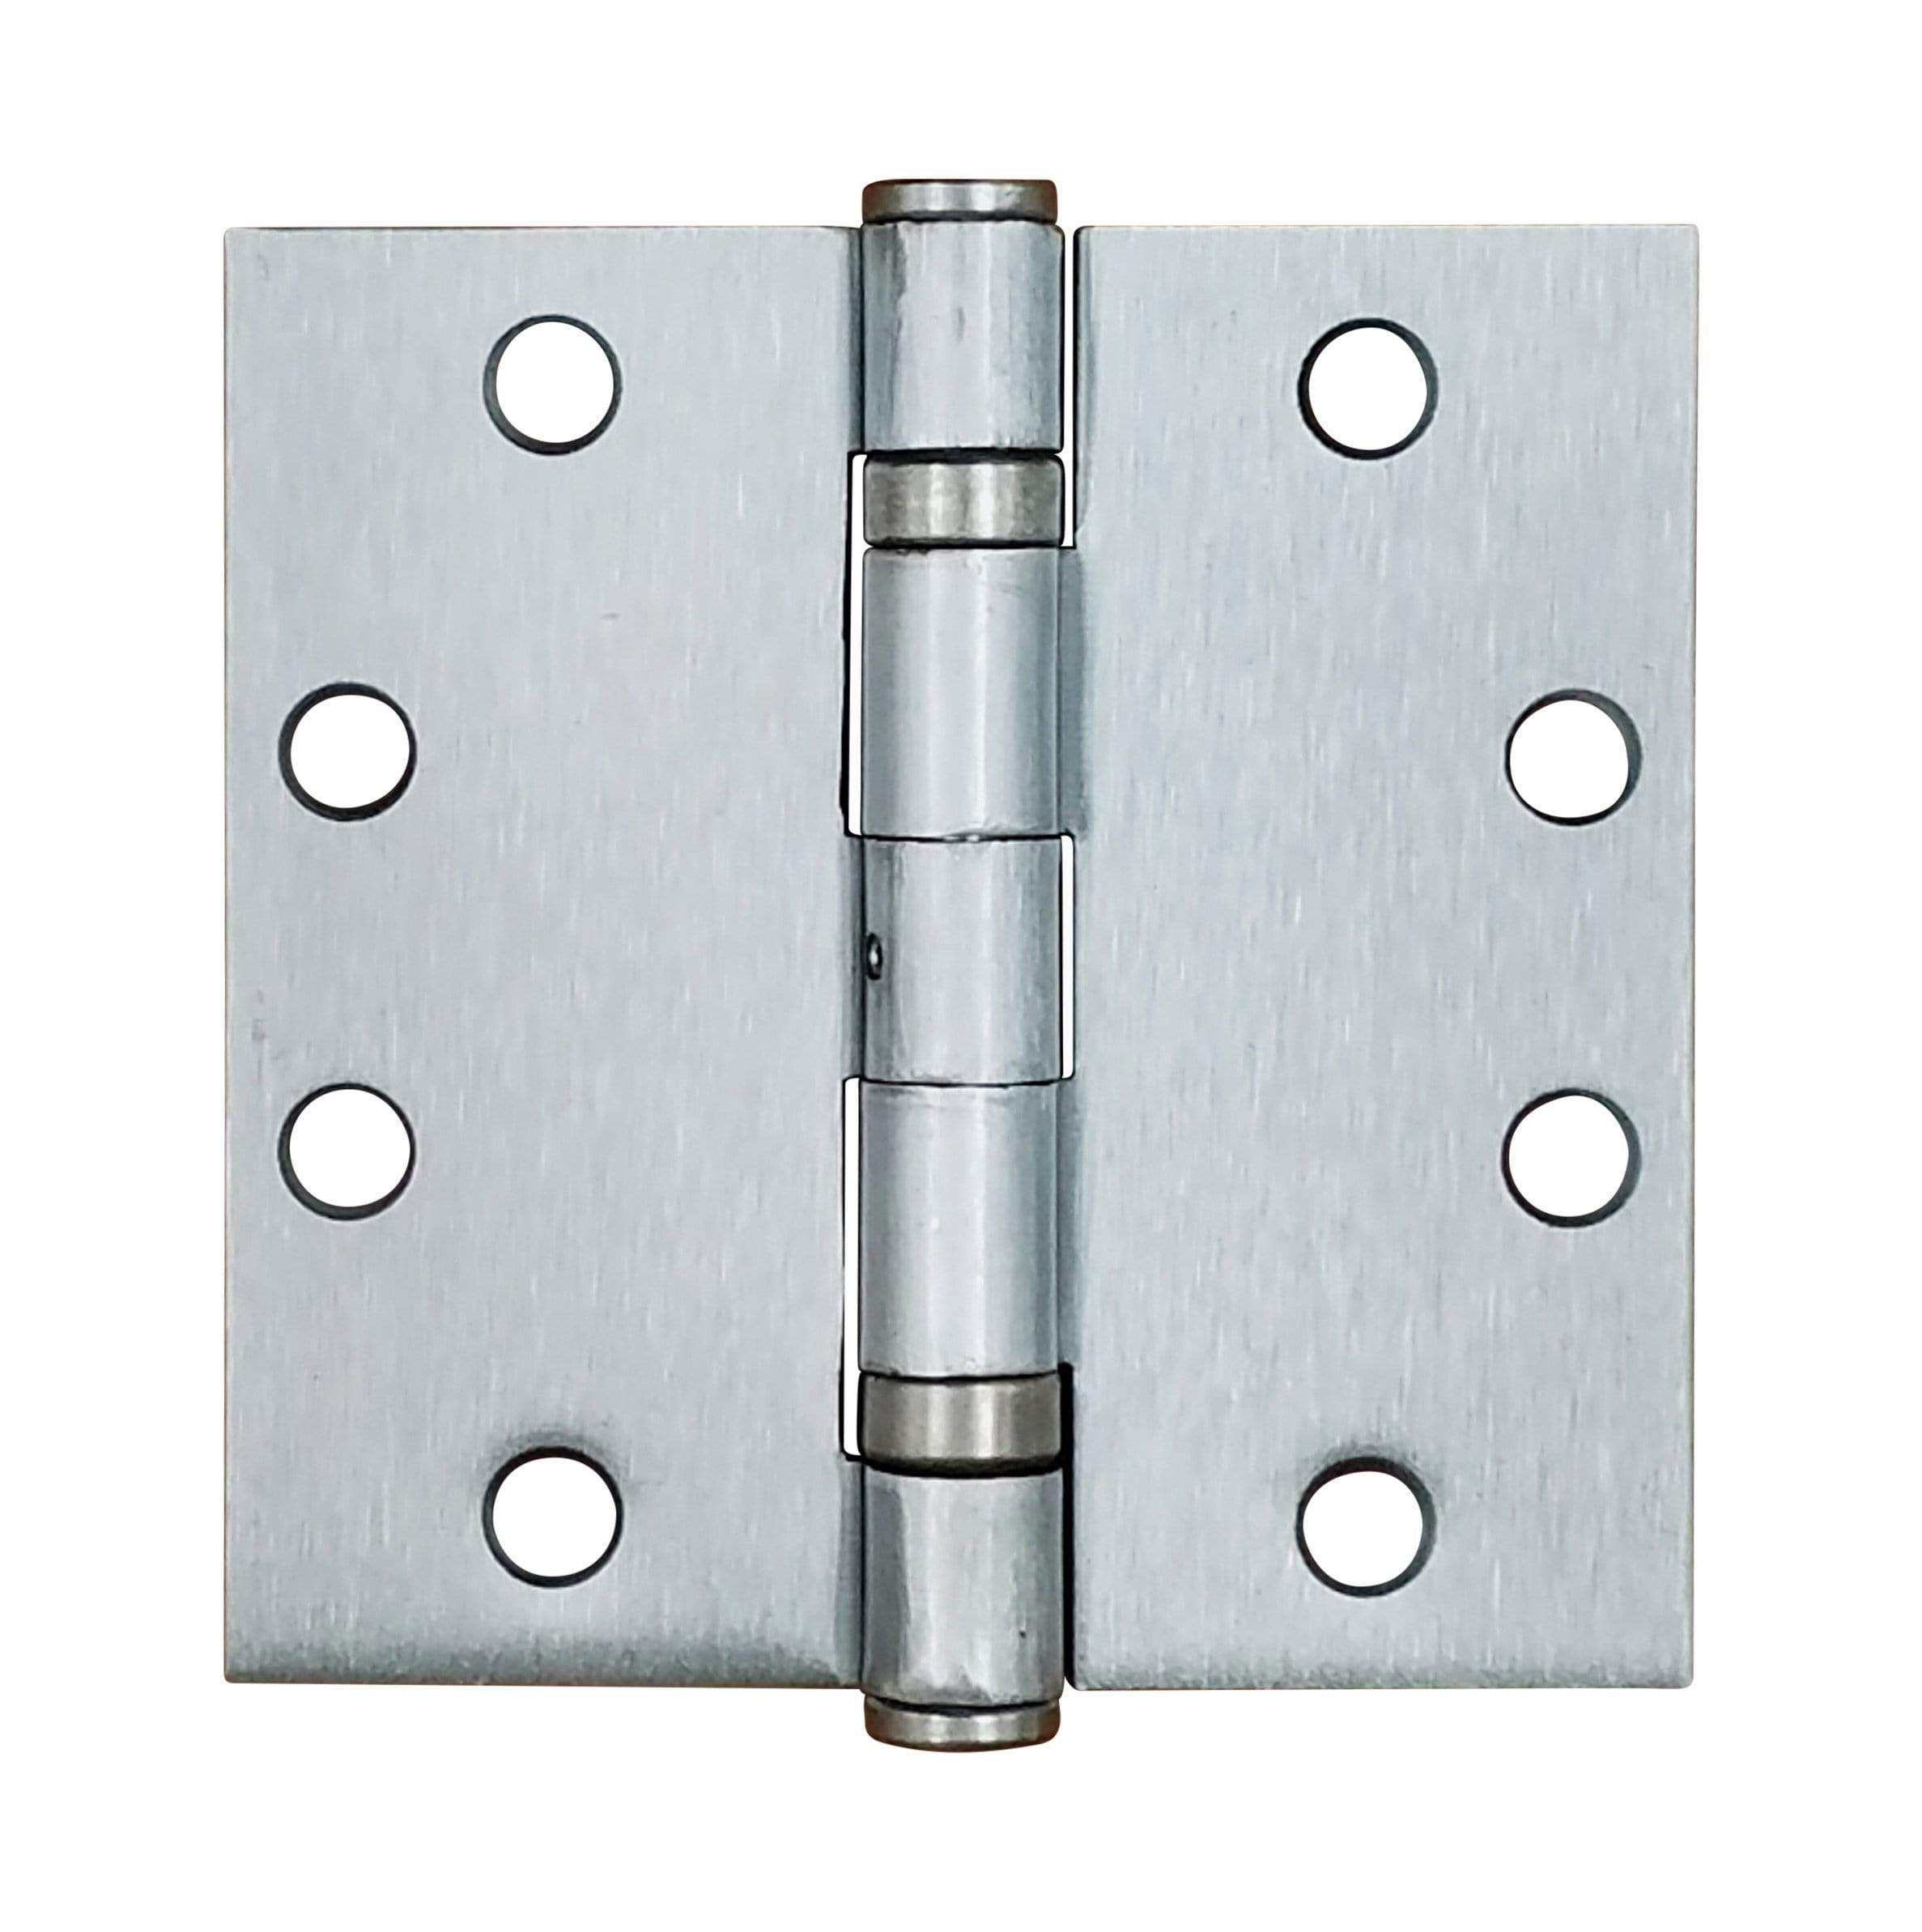
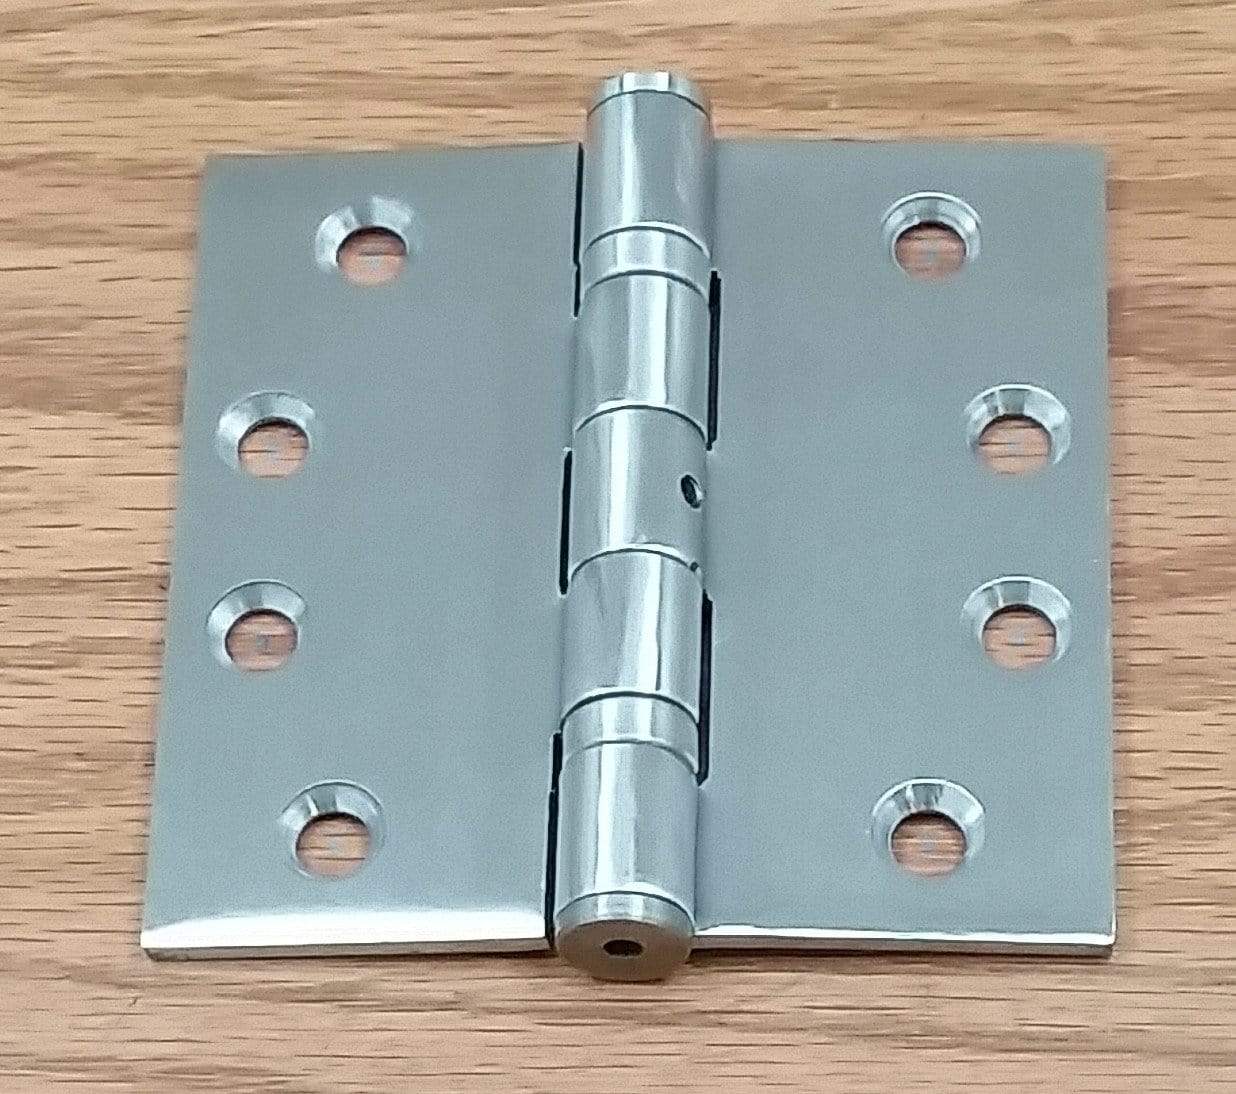
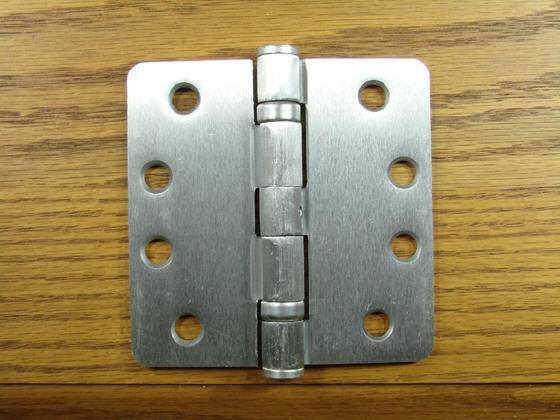
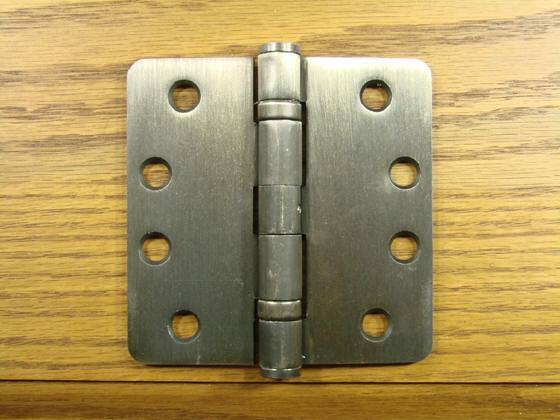
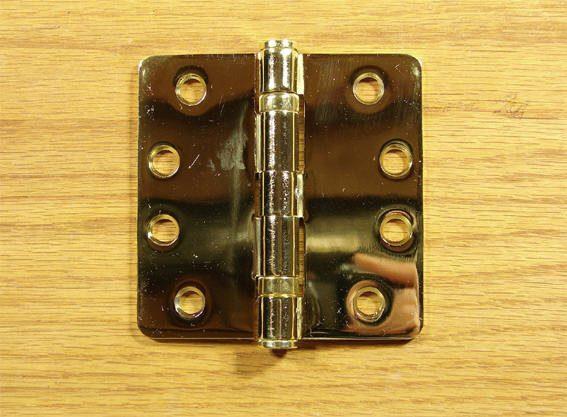
Design: Butterfly hinges have two leaf-like plates connected by a central pin, giving them their signature butterfly-wings appearance when opened.
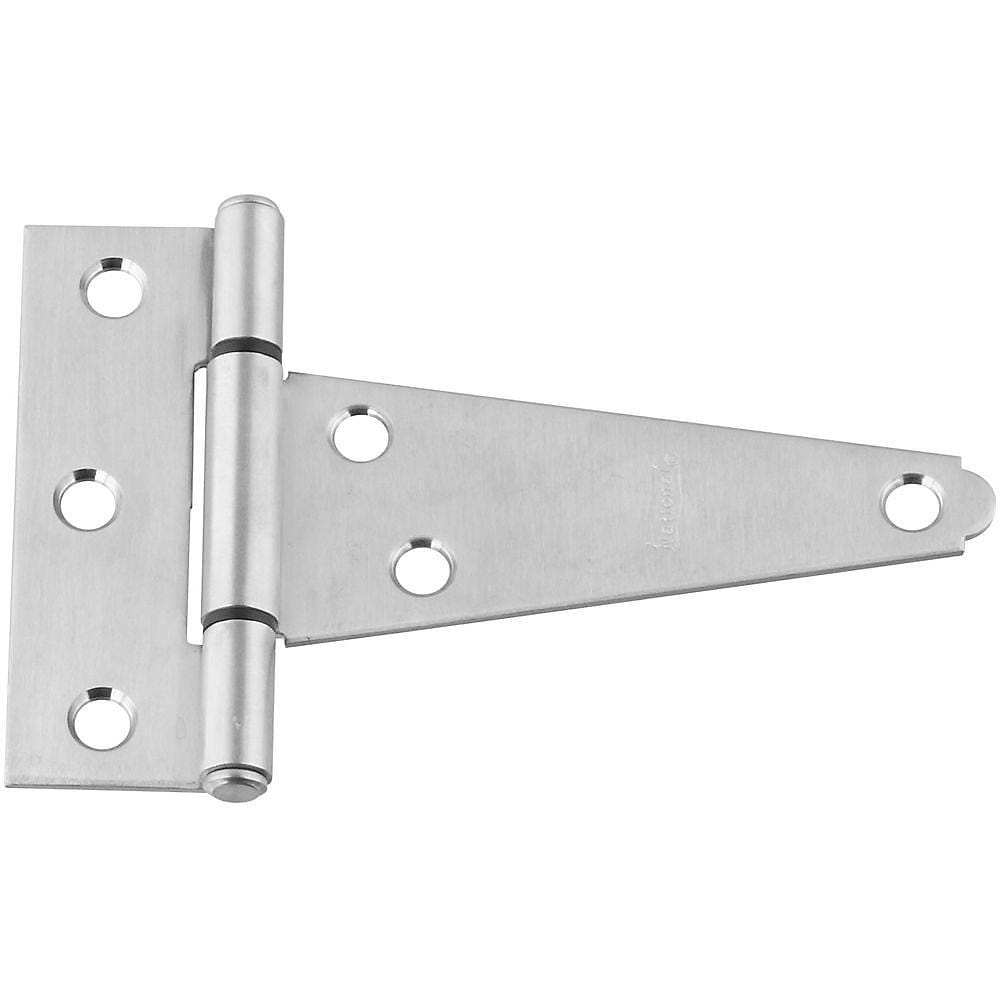
Project Versatility: Butterfly hinges can be installed on cabinets, boxes, small doors, and decorative furniture.
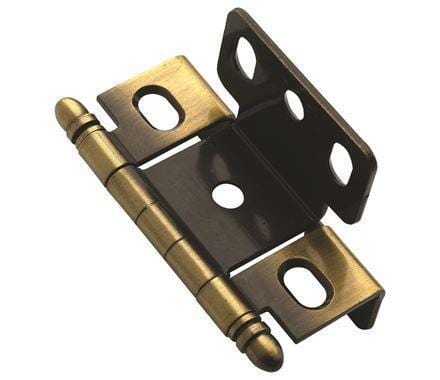
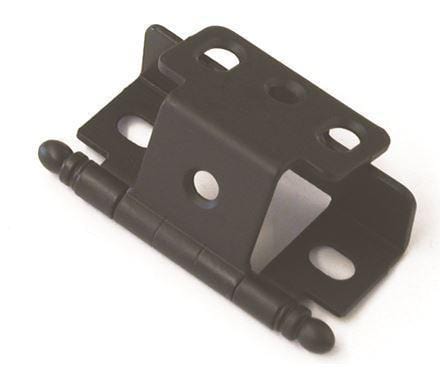
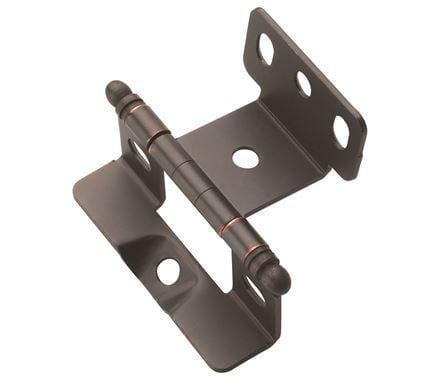
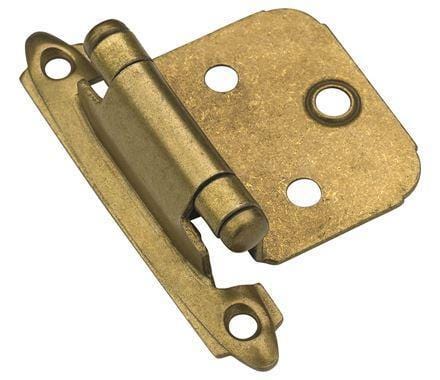
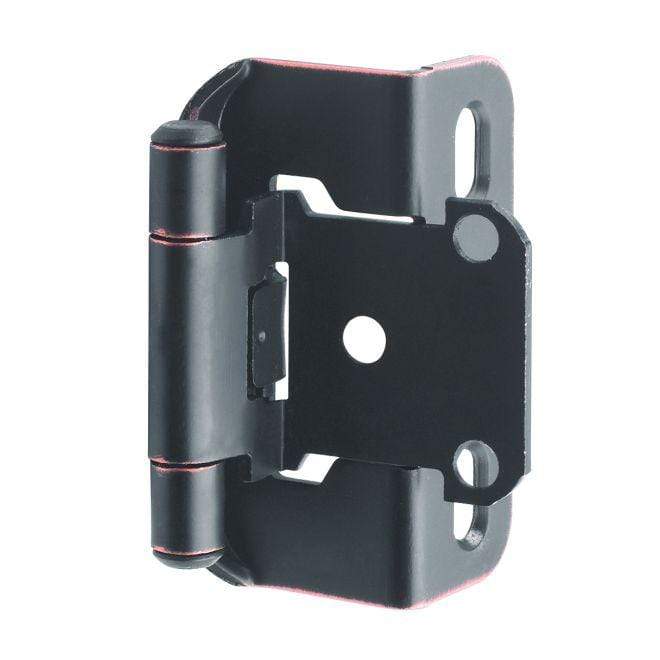
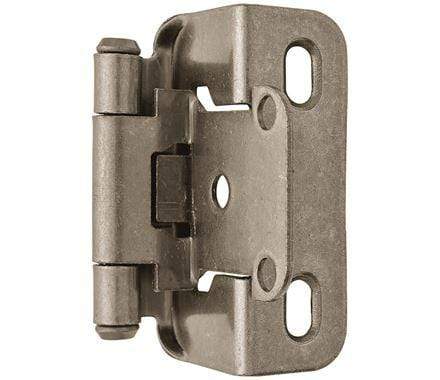
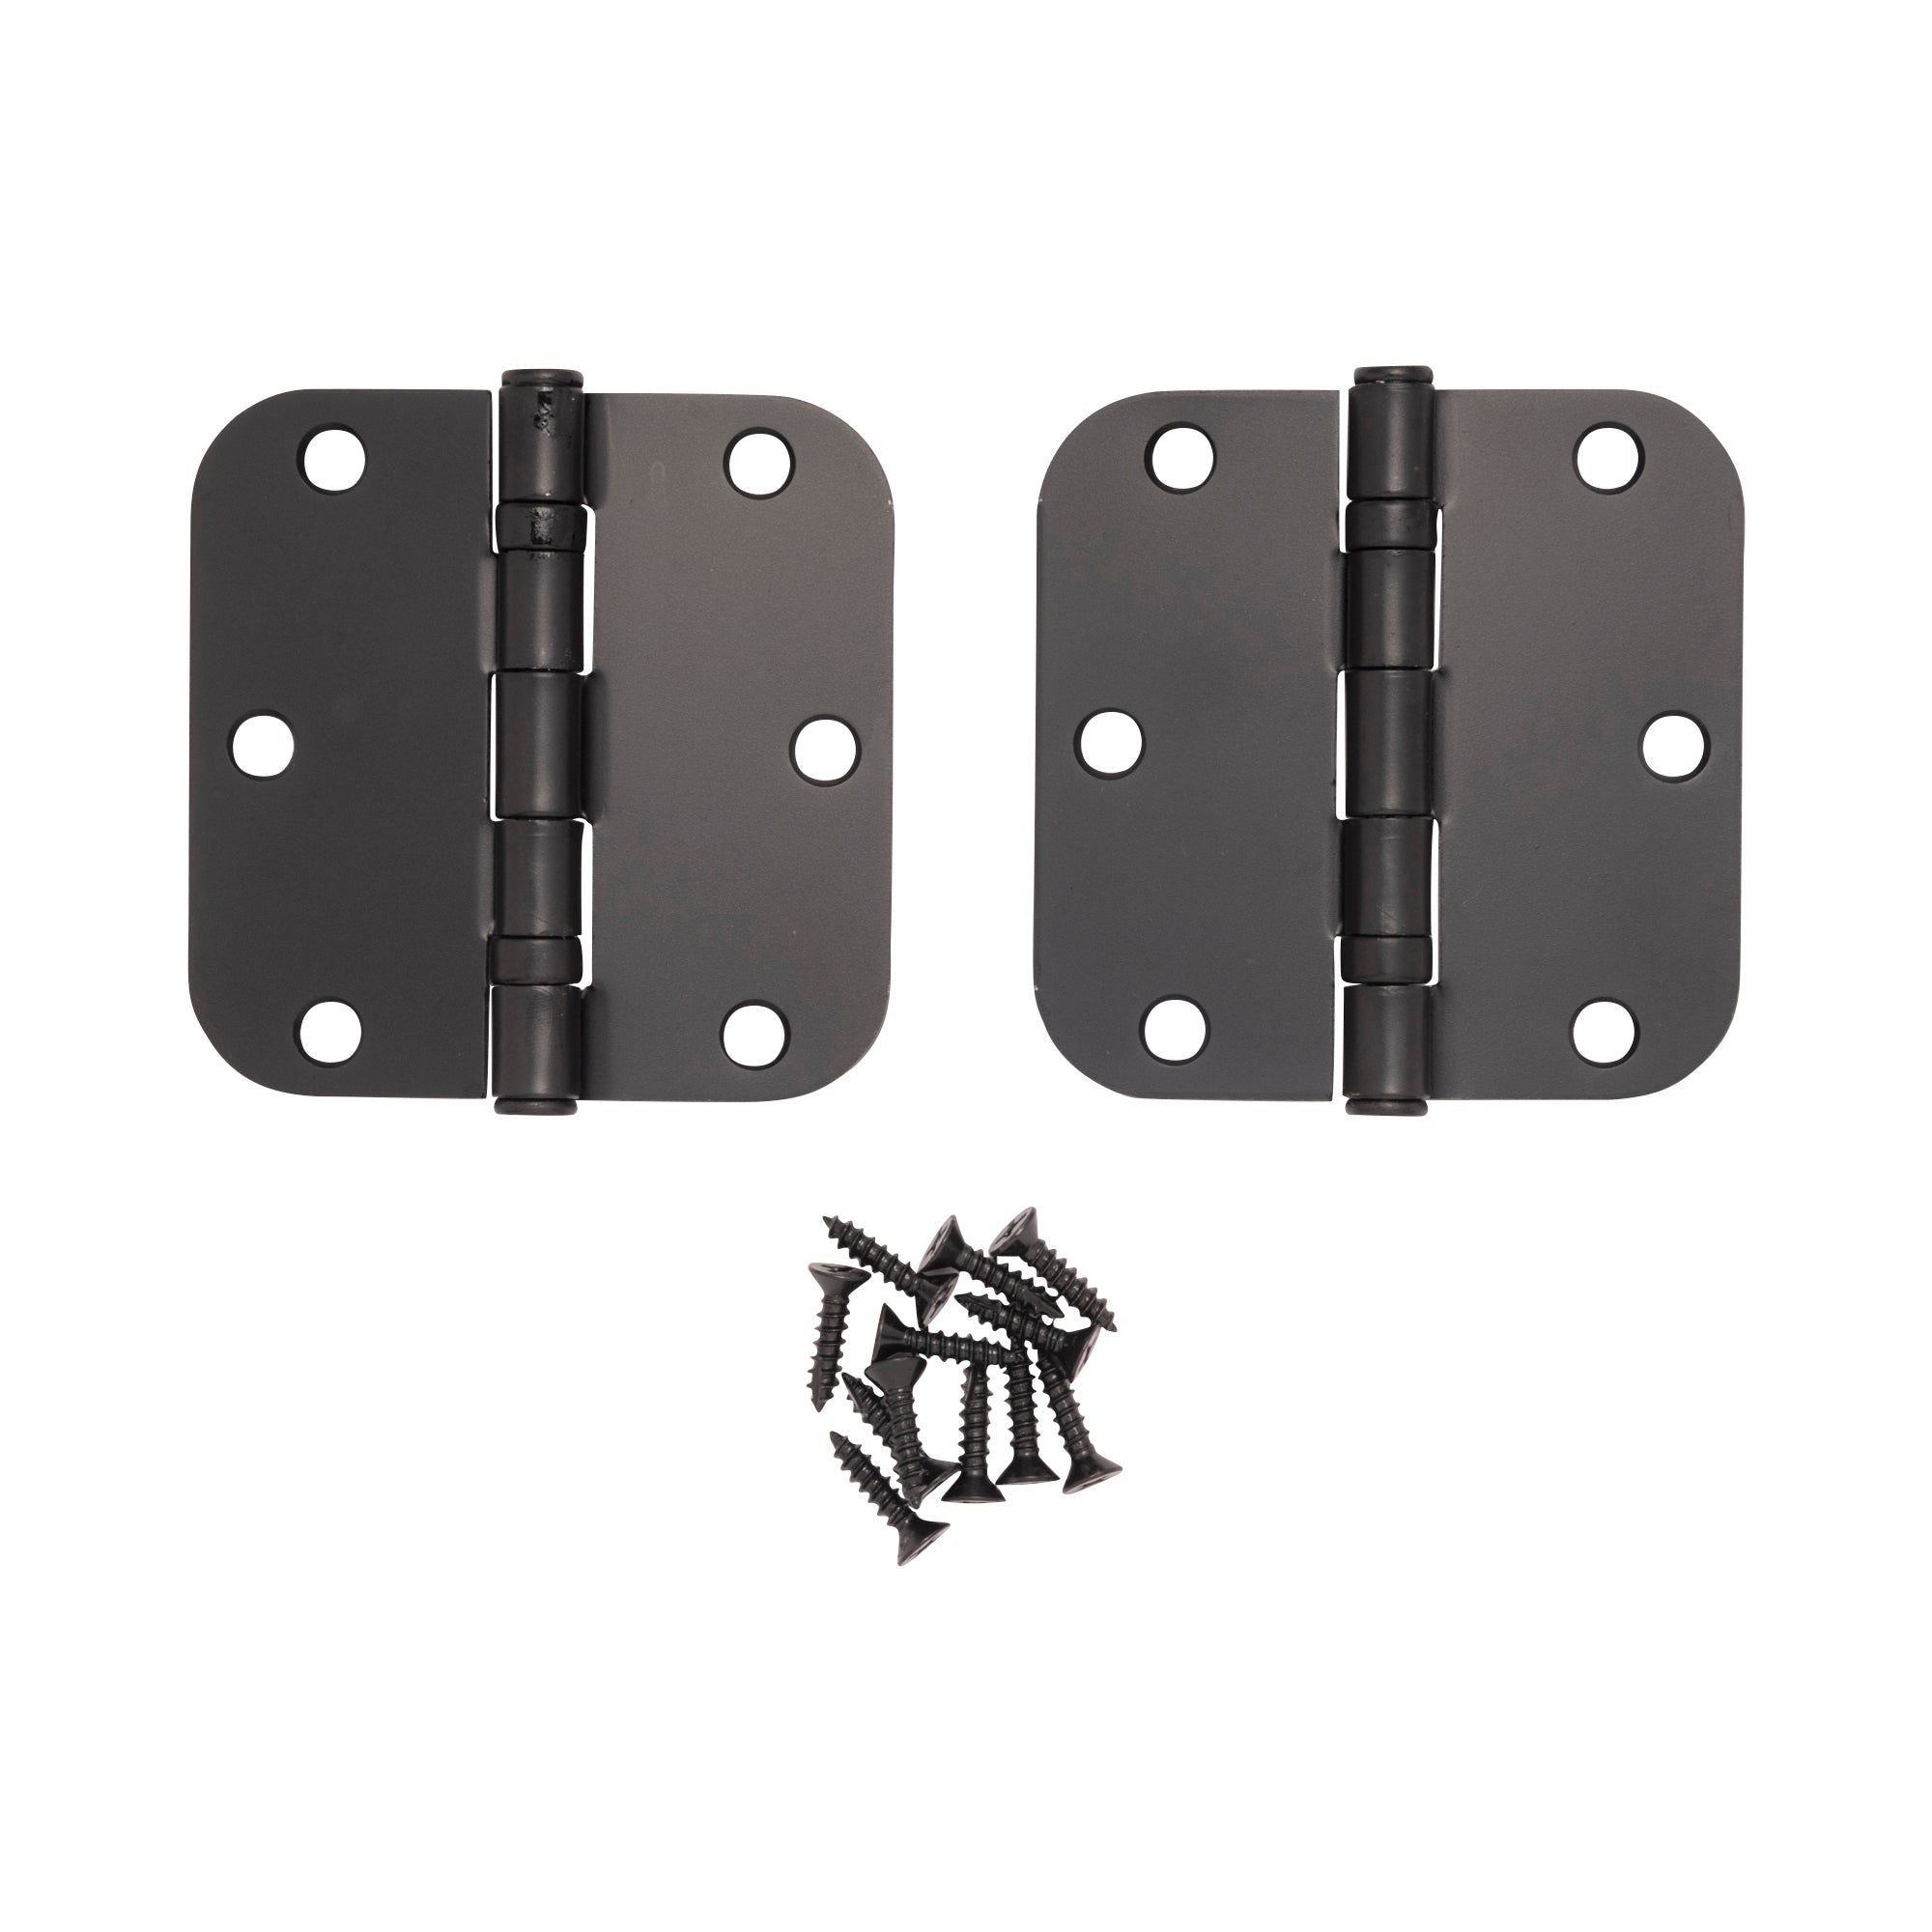
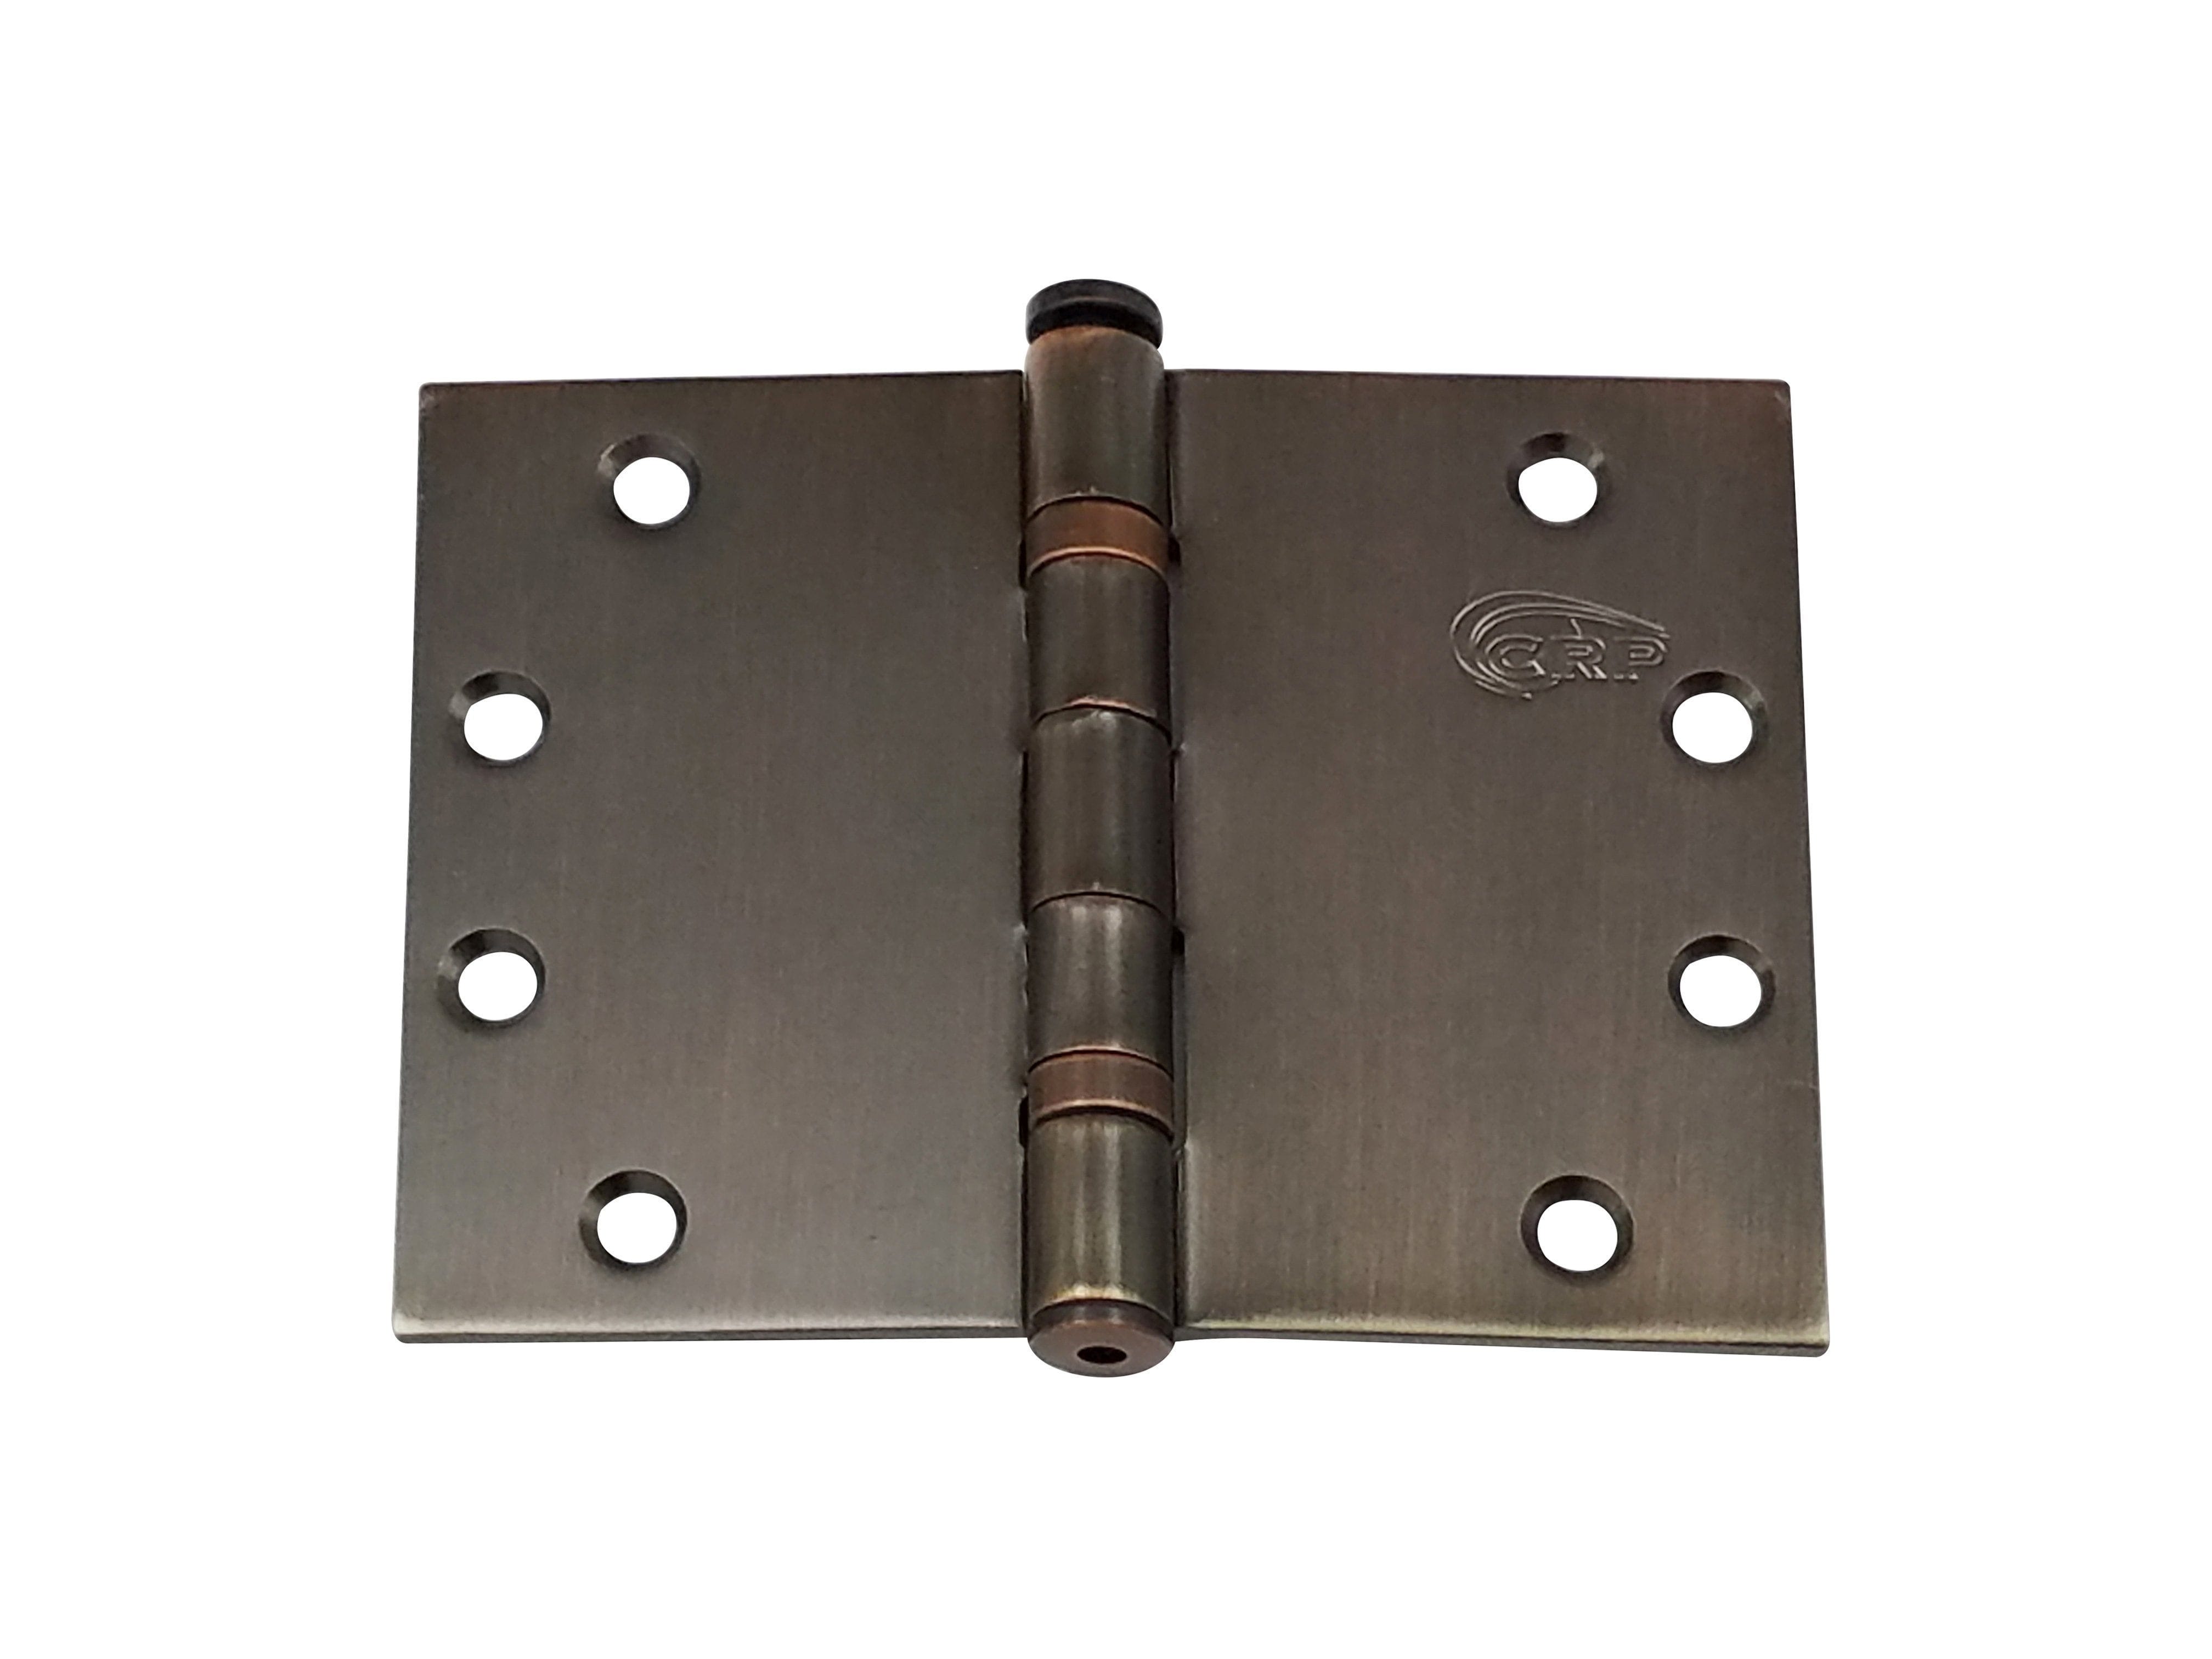
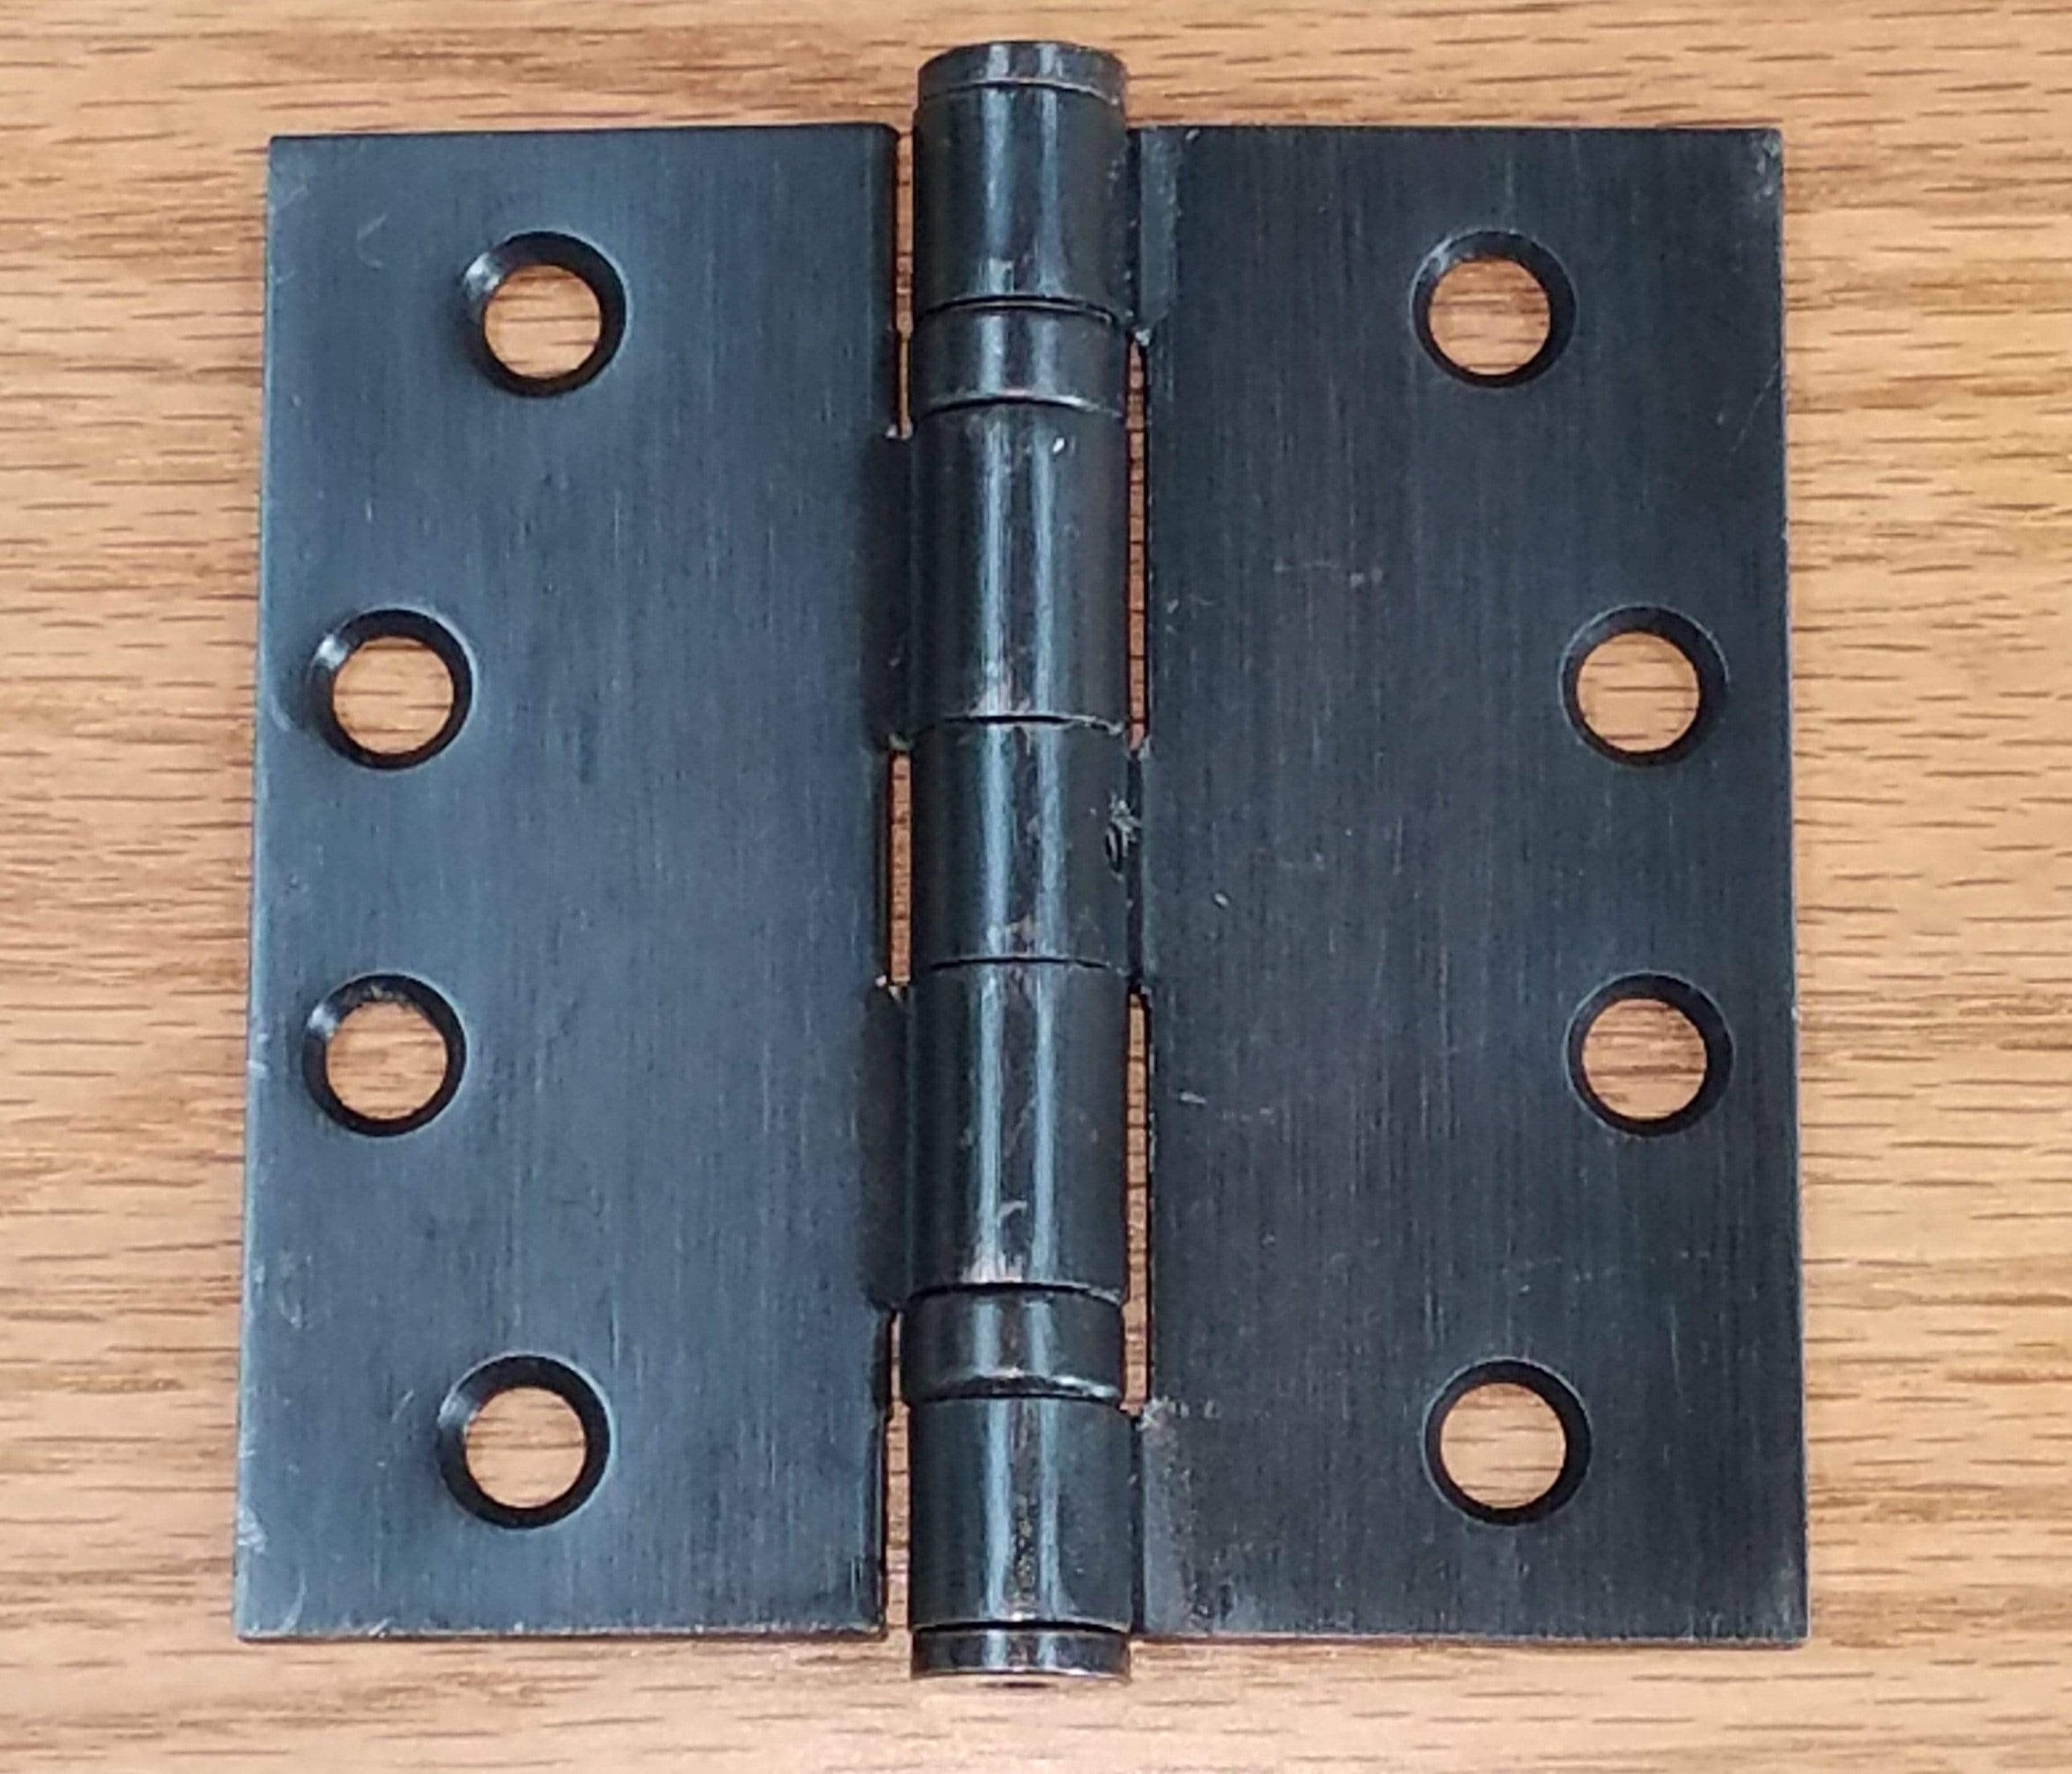
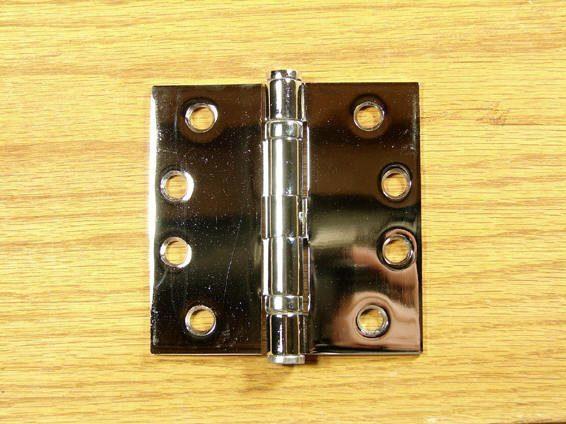
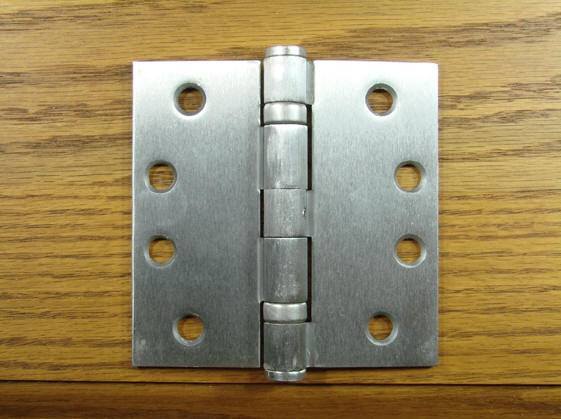
Finish Versatility: Butterfly hinges are available in several finishes, including brass, matte black, and wrought iron, allowing them to match various design styles.
Tools and Materials Needed
To install butterfly hinges, you'll need the following tools and materials:
- Butterfly hinges
- Screwdriver (flathead or Phillips, depending on your hinge screws)
- Pencil
- Measuring tape
- Drill with the appropriate bit size
- Wood screws
- Protective eyewear
- Optional: wood filler, sandpaper, and touch-up paint
Step-by-Step Butterfly Hinge Installation Guide

1. Determine Hinge Placement
For most applications, you'll want to install butterfly hinges about 2-3 inches from the top and bottom of the door or lid. Mark these locations lightly with a pencil.
2. Position the Hinge
- Open the butterfly hinge fully.
- Position one hinge leaf on the frame of your project, aligning it with your hinge placement pencil mark from step one.
- Ensure the hinge is straight and flush with the edge of the wood.
3. Mark Screw Holes
- With the hinge in position, use your pencil to mark the screw hole locations on the wood.
- Repeat this process for both the frame and the door or lid.
4. Pre-drill Holes
Carefully drill pilot holes at each marked location. This step is essential to prevent the wood from splitting and makes it easier to drive in the screws.
Note: The drill bit used for this step should be slightly smaller than your screws.
5. Attach the Hinge to the Frame
- Position the hinge back on the frame, using your pilot holes as a guide.
- Insert the screws and tighten them with your screwdriver.
- Be careful not to over-tighten, as this can strip the wood or damage the hinge.
6. Attach the Hinge to the Door or Lid
With the frame-side of the hinge secured, carefully align the door or lid with the other hinge leaf. Make sure everything is square and even before inserting and tightening the screws on this side.
7. Test the Hinge
Slowly open and close the door or lid to test the hinge's movement, checking for bending or misalignment.
This step should be done carefully to prevent damage to the door, frame, or lid from incorrect alignment.
8. Make Adjustments
If the door or lid doesn’t close properly, loosen the screws slightly and adjust the hinge position. Ensure the butterfly hinges are installed the same distance from the edge on both the frame and door. Retighten the screws once finished.
Maintenance tip: If hinges become loose over time, do not tighten the existing screws. Instead, remove the screws, fill the holes with wood filler, allow to dry, then re-drill and re-insert the screws.
Time to Install Your Butterfly Hinges!
Check out Hinge Outlet on YouTube for more guidance on installing various hinge types.