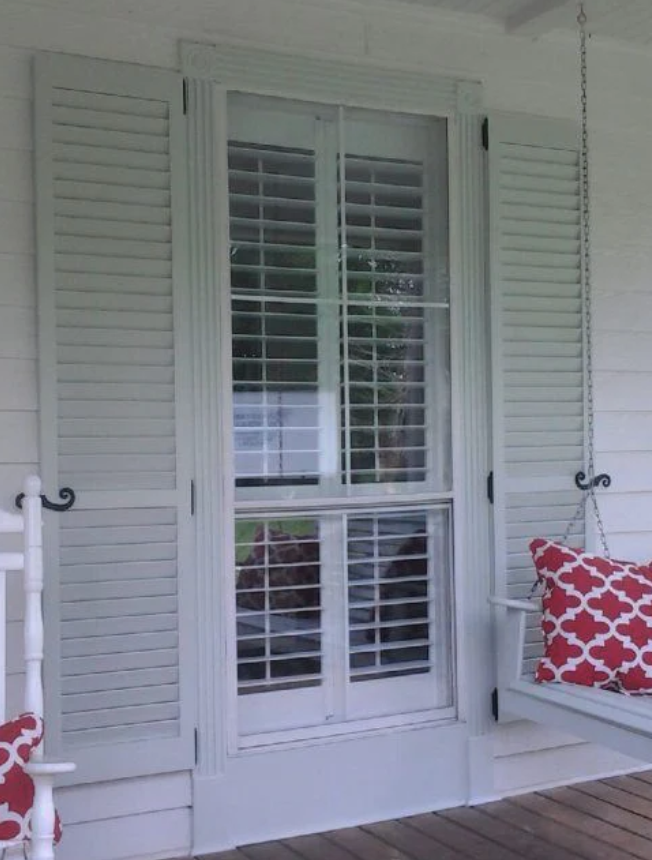
Simple yet incredibly effective, weatherstripping your doors will keep out drafts, keep your house cozy, and save you energy costs. The ability to install door weatherstripping is valuable and can be completed in just a few simple steps, regardless of your level of DIY experience. Let’s dive into the process and get those doors sealed up tight!
How to Install Door Weatherstripping
Step 1: Gather Necessary Tools
- Adhesive: If your weatherstripping is not self-adhesive, you'll need a strong, durable adhesive to ensure it stays in place through various weather conditions.
- Measuring Tape: A crucial tool to obtain accurate measurements of your door to determine the length of weatherstripping needed.
- Scissors or Utility Knife: Depending on the material chosen, a good pair of scissors or a sharp utility knife will be necessary for clean cuts.
- Cleaning Supplies: A clean surface is vital for ensuring the adhesive sticks properly, so gather some cleaning cloths and a mild cleaner.
Ensuring you have all necessary items on hand before beginning the installation will prevent any unnecessary interruptions once you get started.
Step 2: Choose the Right Weatherstripping Material
Heavy-Duty Weatherstripping: This type, often called the 825 series, is robust and durable, making it suitable for doors that experience heavy traffic and usage. It's designed to withstand wear and tear, providing a long-lasting seal.

Medium-Duty Weatherstripping: Also known as the 730 series, this type provides a reliable seal and is typically easier to install than its heavy-duty counterpart. It's suitable for doors that experience moderate traffic.

Light-Duty Weatherstripping: Light-duty or 650 series weatherstripping is often used for doors that experience lighter traffic. It provides a primary seal and is usually more affordable and easier to install.

Automatic Door Bottom Weatherstripping: This type automatically seals the gap at the bottom of the door when it is closed and retracts when it is opened. It comes in various duty levels (light, regular, and heavy) and can be surface-mounted or mortised into the door.

Brush Weatherstripping: Brush weatherstripping, available in various sizes and finishes, is often used to seal gaps around and between doors. The brush fibers stop drafts and dust without inhibiting the door's movement.

Corner Pads: Corner pads can be installed where the door hinge meets the frame, providing an additional seal in an often overlooked area.

When choosing weatherstripping material, consider the following aspects:
- Durability: Ensure the material can withstand the wear and tear of regular usage.
- Installation: Some materials are self-adhesive, while others might require additional tools and adhesives for installation.
- Aesthetics: Choose a material that complements your door’s design and finish.
- Cost: Select a material that fits your budget while meeting your door’s sealing requirements.
Step 3: Measure and Cut the Weatherstripping

Measure Thoroughly: Use your ProCarpenter Flatback Flexible Tape Measure to measure the door perimeter where the weatherstripping will be applied. Ensure to measure twice to avoid any mistakes.
Add Some Extra: Always cut a bit extra to account for misjudgments or installation errors. It’s better to have too much than too little!
Cutting Technique: Use your scissors or utility knife to clean and accurately cut the material. Ensure the cuts are straight and even to avoid any gaps when applied.
Test Fit: Before removing any adhesive backing, do a test fit to ensure the cut length fits appropriately.
Measuring and cutting accurately will ensure a snug fit and an effective seal, preventing drafts or leaks.
Step 4: Remove Old Weatherstripping
Gentle Removal: Carefully peel or pry away the old weatherstripping, being mindful not to damage the door or frame.
Cleaning the Surface: Once removed, clean the area thoroughly with a mild cleaner to remove any residue or debris. Ensure all adhesive remnants are removed for a smooth application of the new material.
Let it Dry: Allow the surface to dry completely before applying the new weatherstripping to ensure optimal adhesion.
Inspect the Area: Before proceeding, inspect the area for any damage or wear that might affect the new installation.
Properly preparing the surface by removing old weatherstripping and cleaning the area will create an ideal base for your new installation, ensuring longevity and effectiveness.
Step 5: Install the Weatherstripping
Alignment is Key: Begin by carefully aligning the weatherstripping with the edge of the door or frame. Ensure it is straight and consistent to prevent any gaps.
Adhere Securely: If using self-adhesive weatherstripping, peel the backing off gradually as you press it into place to avoid any misalignment. Apply a durable adhesive or use the recommended installation method for non-adhesive types.
Press Firmly: Once aligned, press down firmly along the entire length of the weatherstripping, ensuring it is securely adhered and that there are no bubbles or loose areas.
Check the Door: Open and close the door several times to ensure the weatherstripping is not obstructing its movement and provides a tight seal.
Step 6: Check for Gaps and Adjust as Needed
Visual Inspection: Look along the edges of the door for any visible light or gaps. Ensure the weatherstripping is uniformly applied.
Feel for Drafts: Move your hand along the sealed area to feel for any noticeable drafts or cold spots.
Adjust Accordingly: If you find any issues, gently peel back the weatherstripping and reapply or adjust it to eliminate any gaps.
Additional Testing: Consider using a piece of paper; close the door on it and try to pull it out. If it slides out easily, you may need to adjust the weatherstripping for a tighter seal.
Step 7: Additional Tips for Maintenance
Regular Checks: Periodically inspect the weatherstripping for wear, damage, or any loosening, and replace or adjust as needed.
Gentle Cleaning: Clean the weatherstripping gently with a mild cleaner to remove any dirt or debris that could affect its performance without causing damage.
Seasonal Inspections: Pay extra attention to the weatherstripping during seasonal changes, as weather conditions can affect its durability and effectiveness.
Replacement: Be mindful of the material's lifespan and be prepared to replace it when it shows signs of wear to ensure a continuous, effective seal.
Ensuring a meticulous installation, conducting thorough checks, and maintaining the weatherstripping will guarantee a cozy, draft-free home for the long term.
Troubleshooting Common Issues
Weatherstripping, while straightforward, can present a few hiccups during or after installation. Here are some common issues and their solutions:
Adhesive Failure: If the weatherstripping is peeling away, ensure the surface is clean and dry during installation. Consider using an additional adhesive for a stronger bond.
Gaps or Leaks: Should you notice drafts despite installation, double-check the length and positioning of the weatherstripping. Ensure it’s flush against all surfaces, and consider adding an extra layer if needed.
Wear and Tear: Regularly inspect the weatherstripping for signs of degradation or damage, replacing sections as needed to maintain a tight seal.
Door Sticking: If the door sticks or is hard to open, the weatherstripping may be too thick or improperly positioned. Adjust or choose a slimmer option as needed.
Weatherstripping by Door Type

Front Doors: Often exposed to the elements, front doors benefit from durable, heavy-duty weatherstripping like vinyl or rubber to withstand varying conditions.
Sliding Doors: Consider using brush weatherstripping or compression strips that can seal without inhibiting the sliding motion.
Interior Doors: Light-duty weatherstripping like foam tape can be suitable for interior doors where the main goal is to prevent drafts or noise transfer.
Garage Doors: Utilize a combination of robust, durable weatherstripping and a door sweep to prevent drafts, pests, and debris from entering.