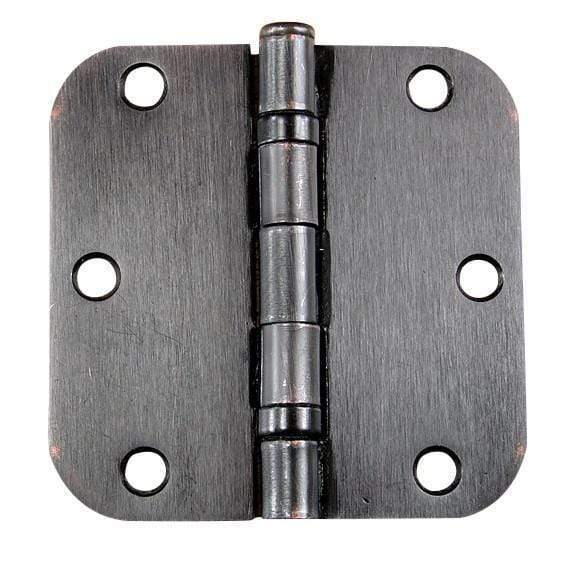
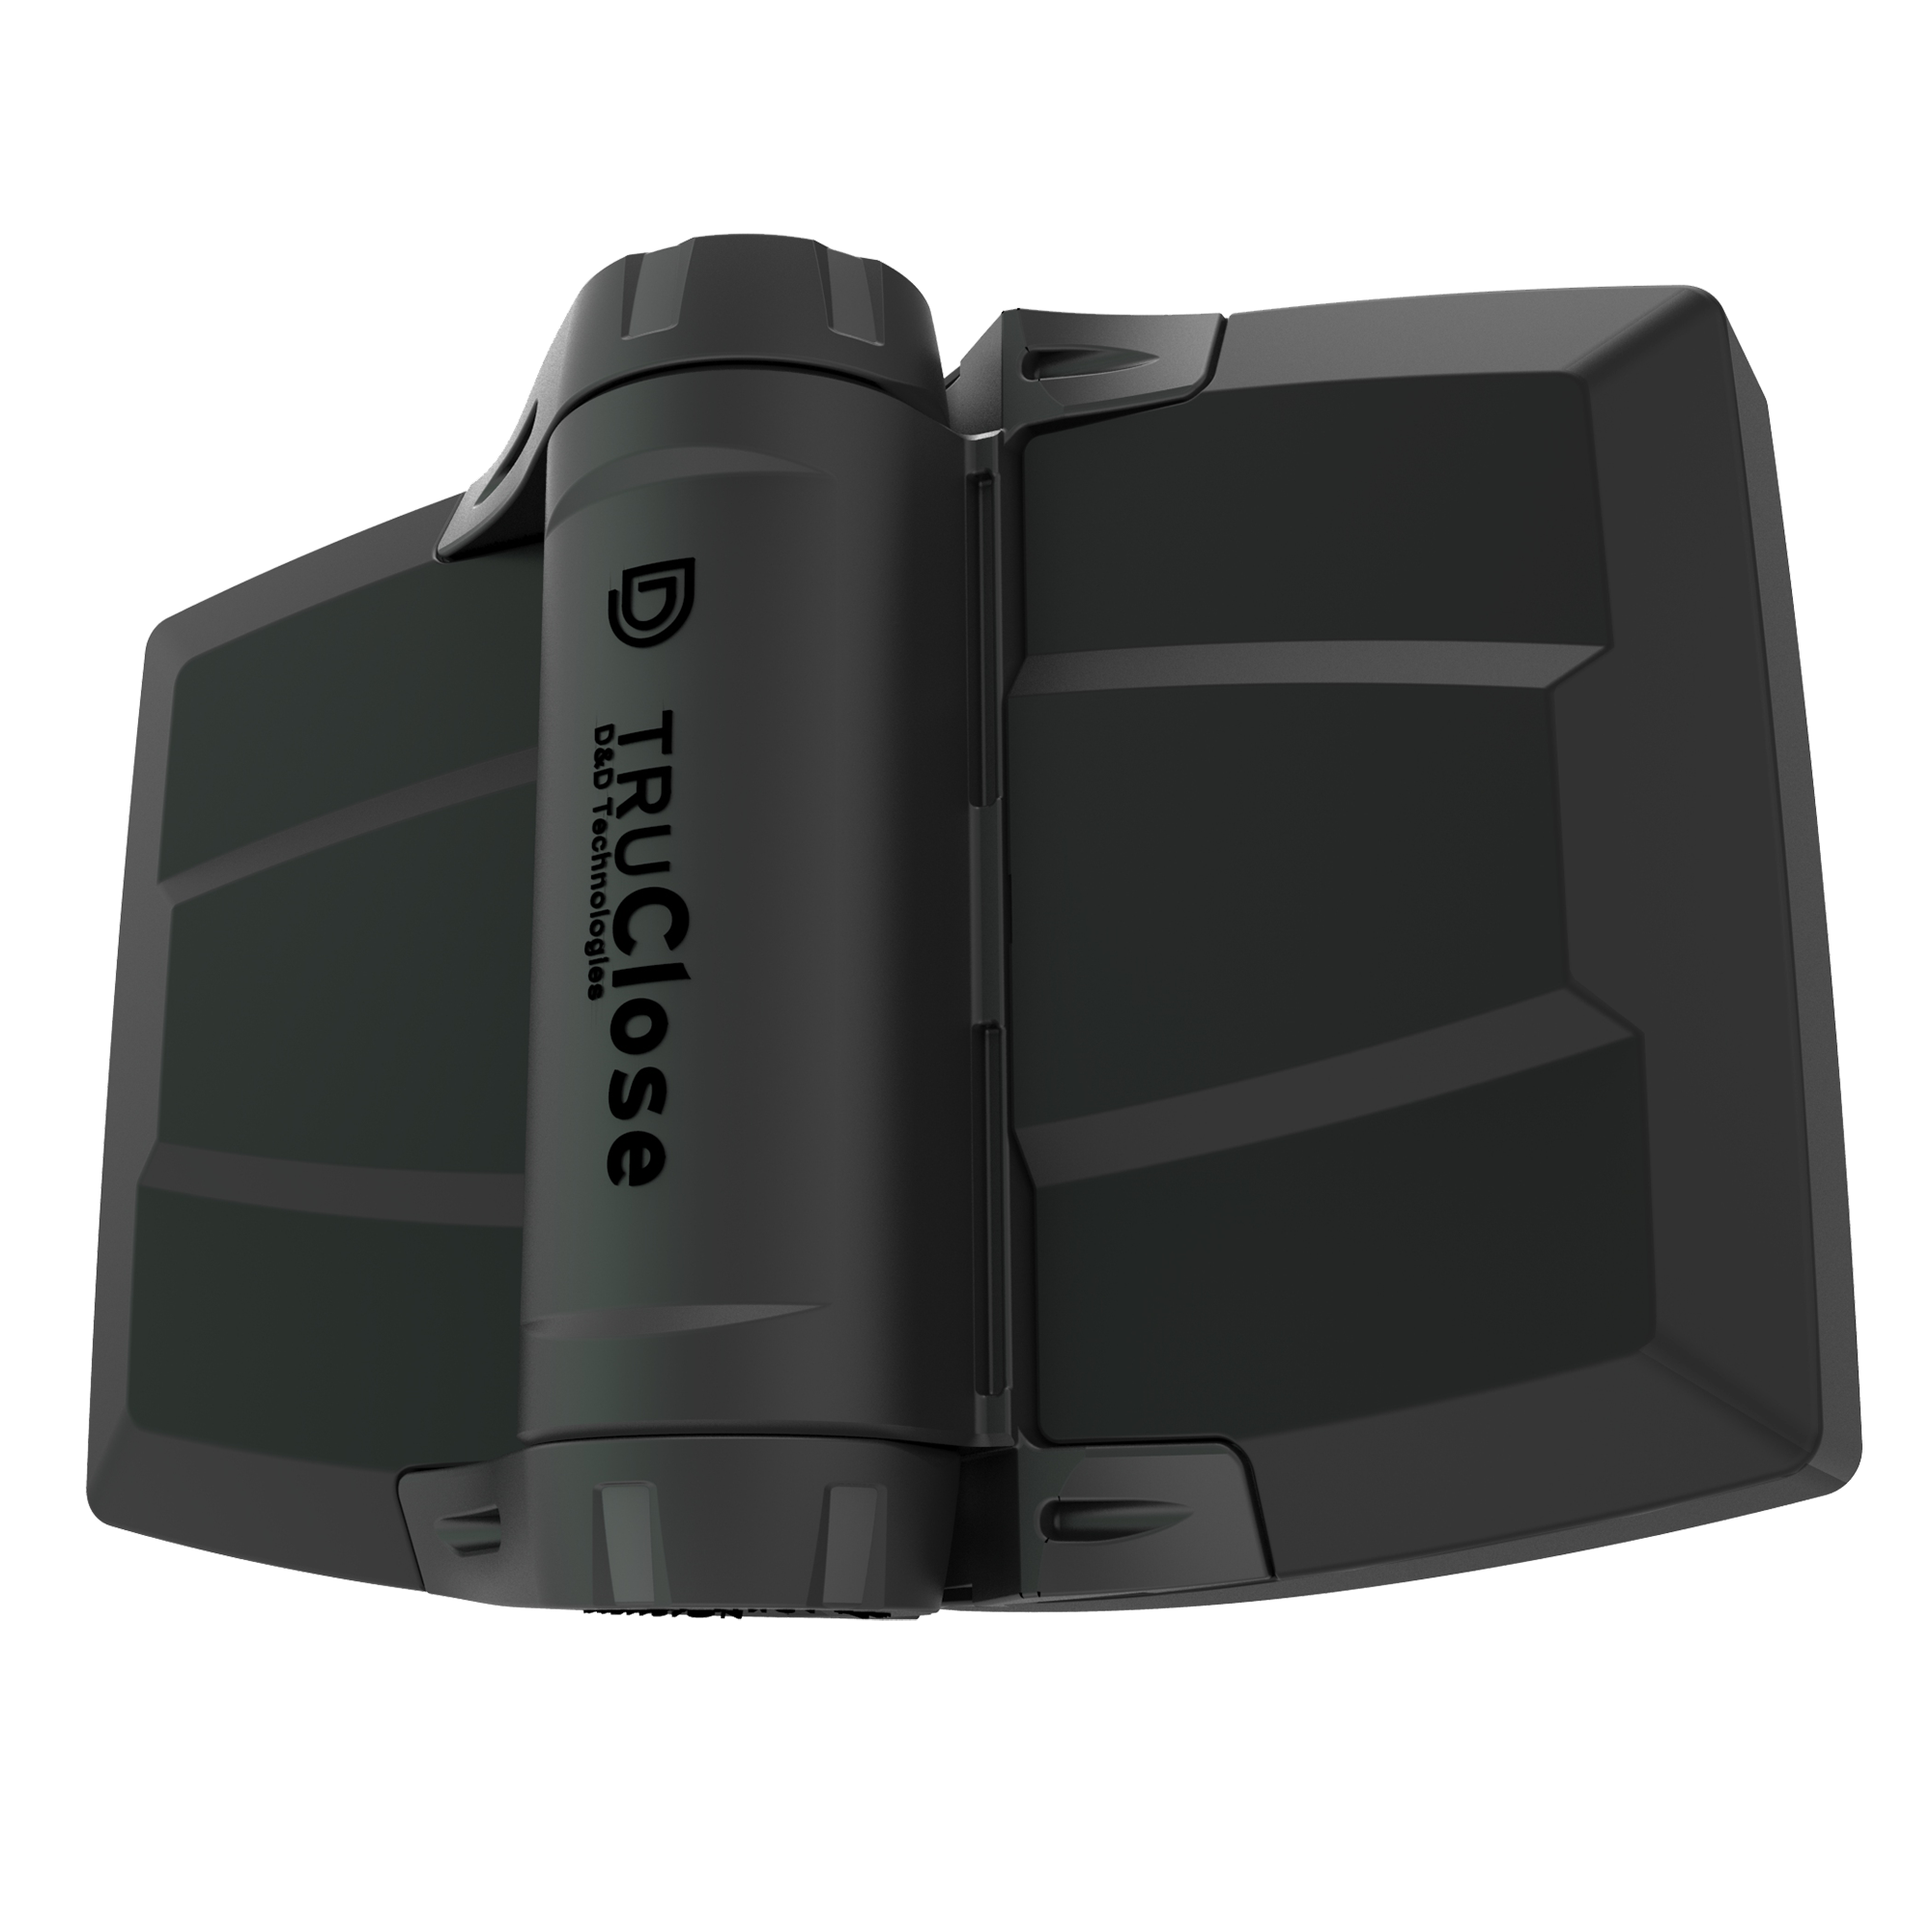
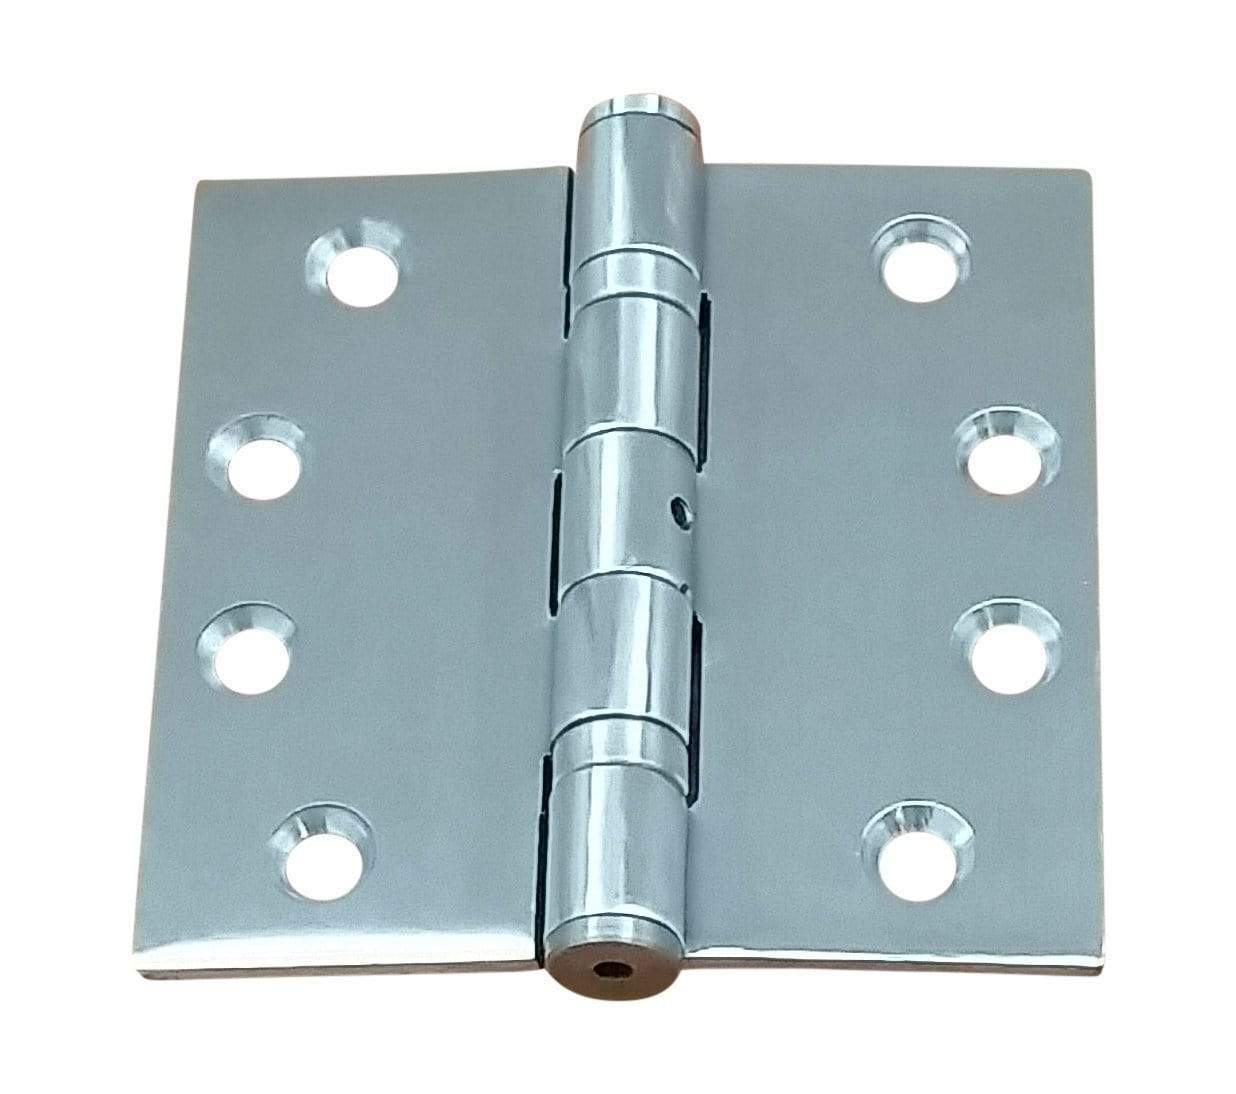
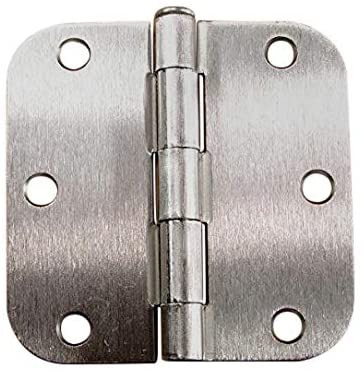
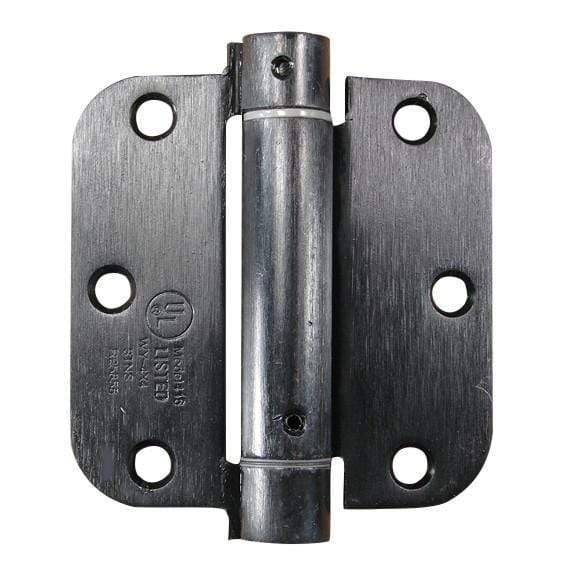
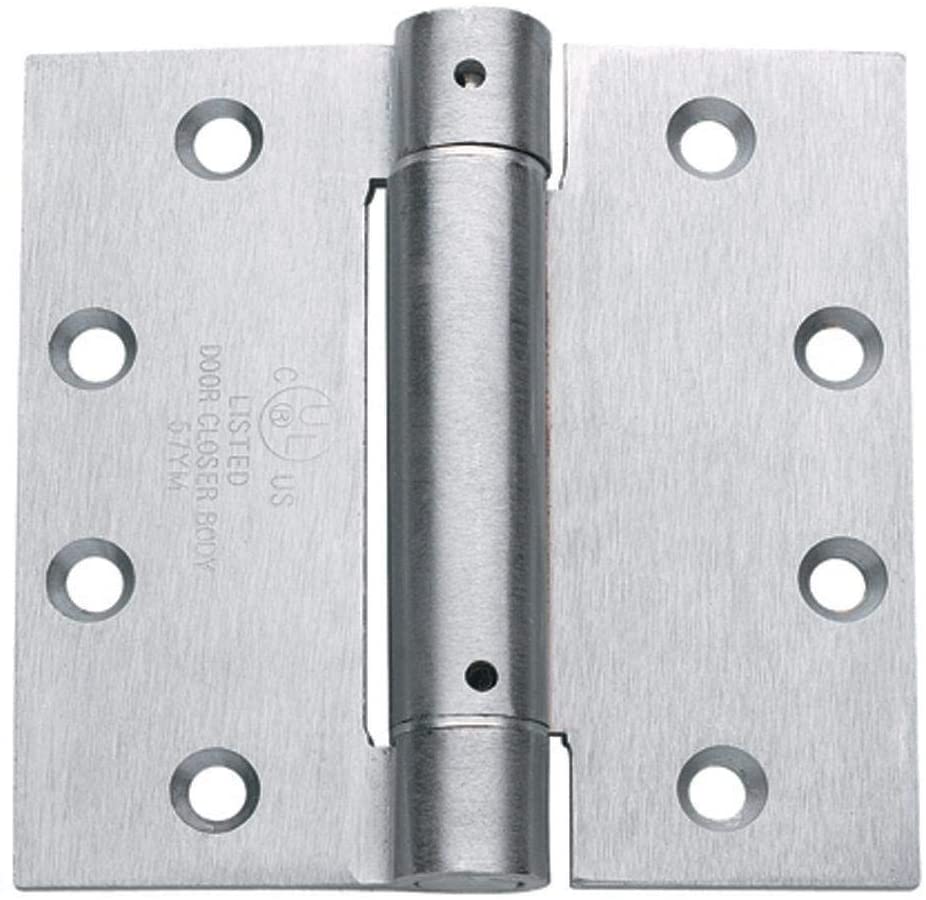
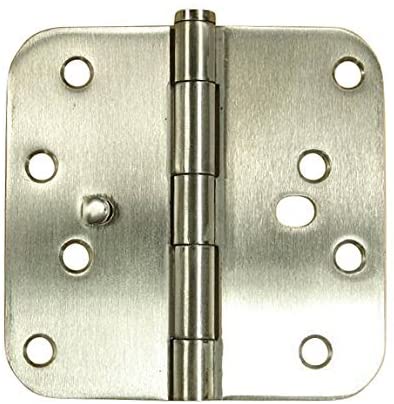
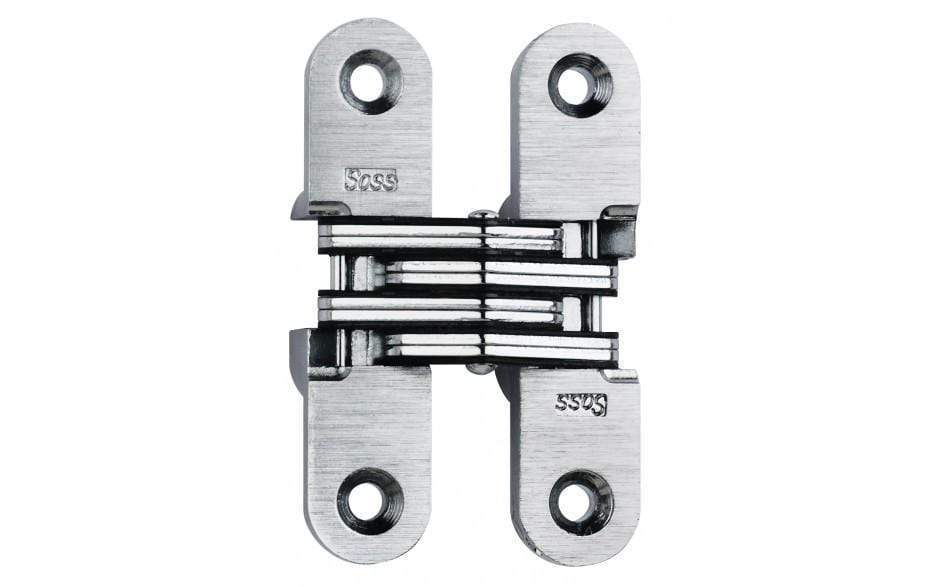
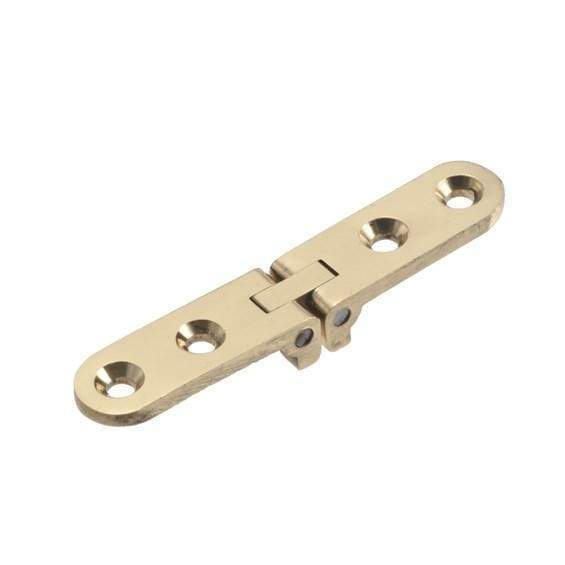
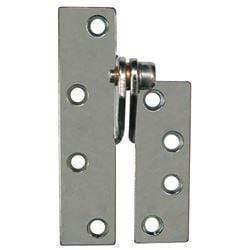
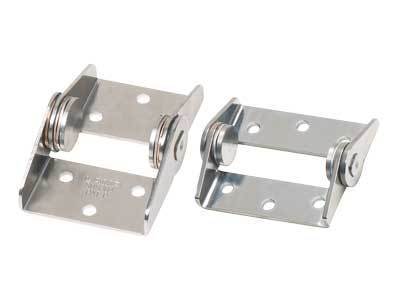
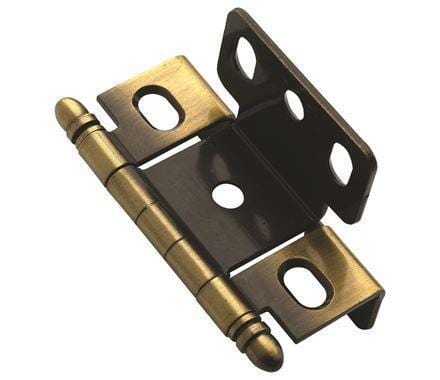
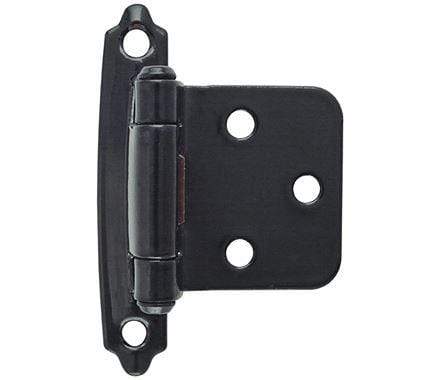
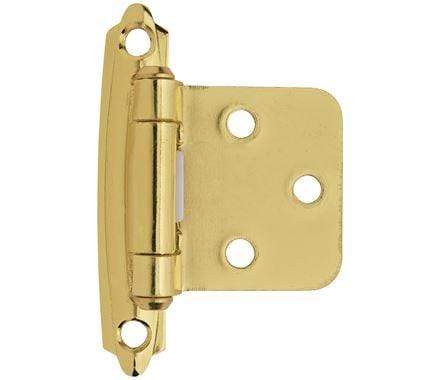
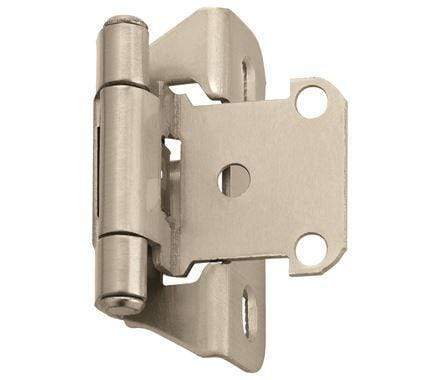
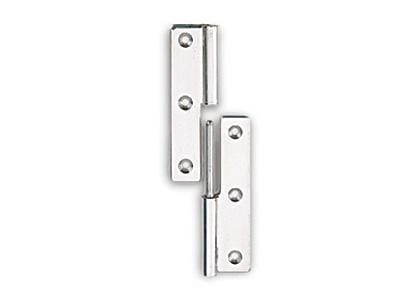
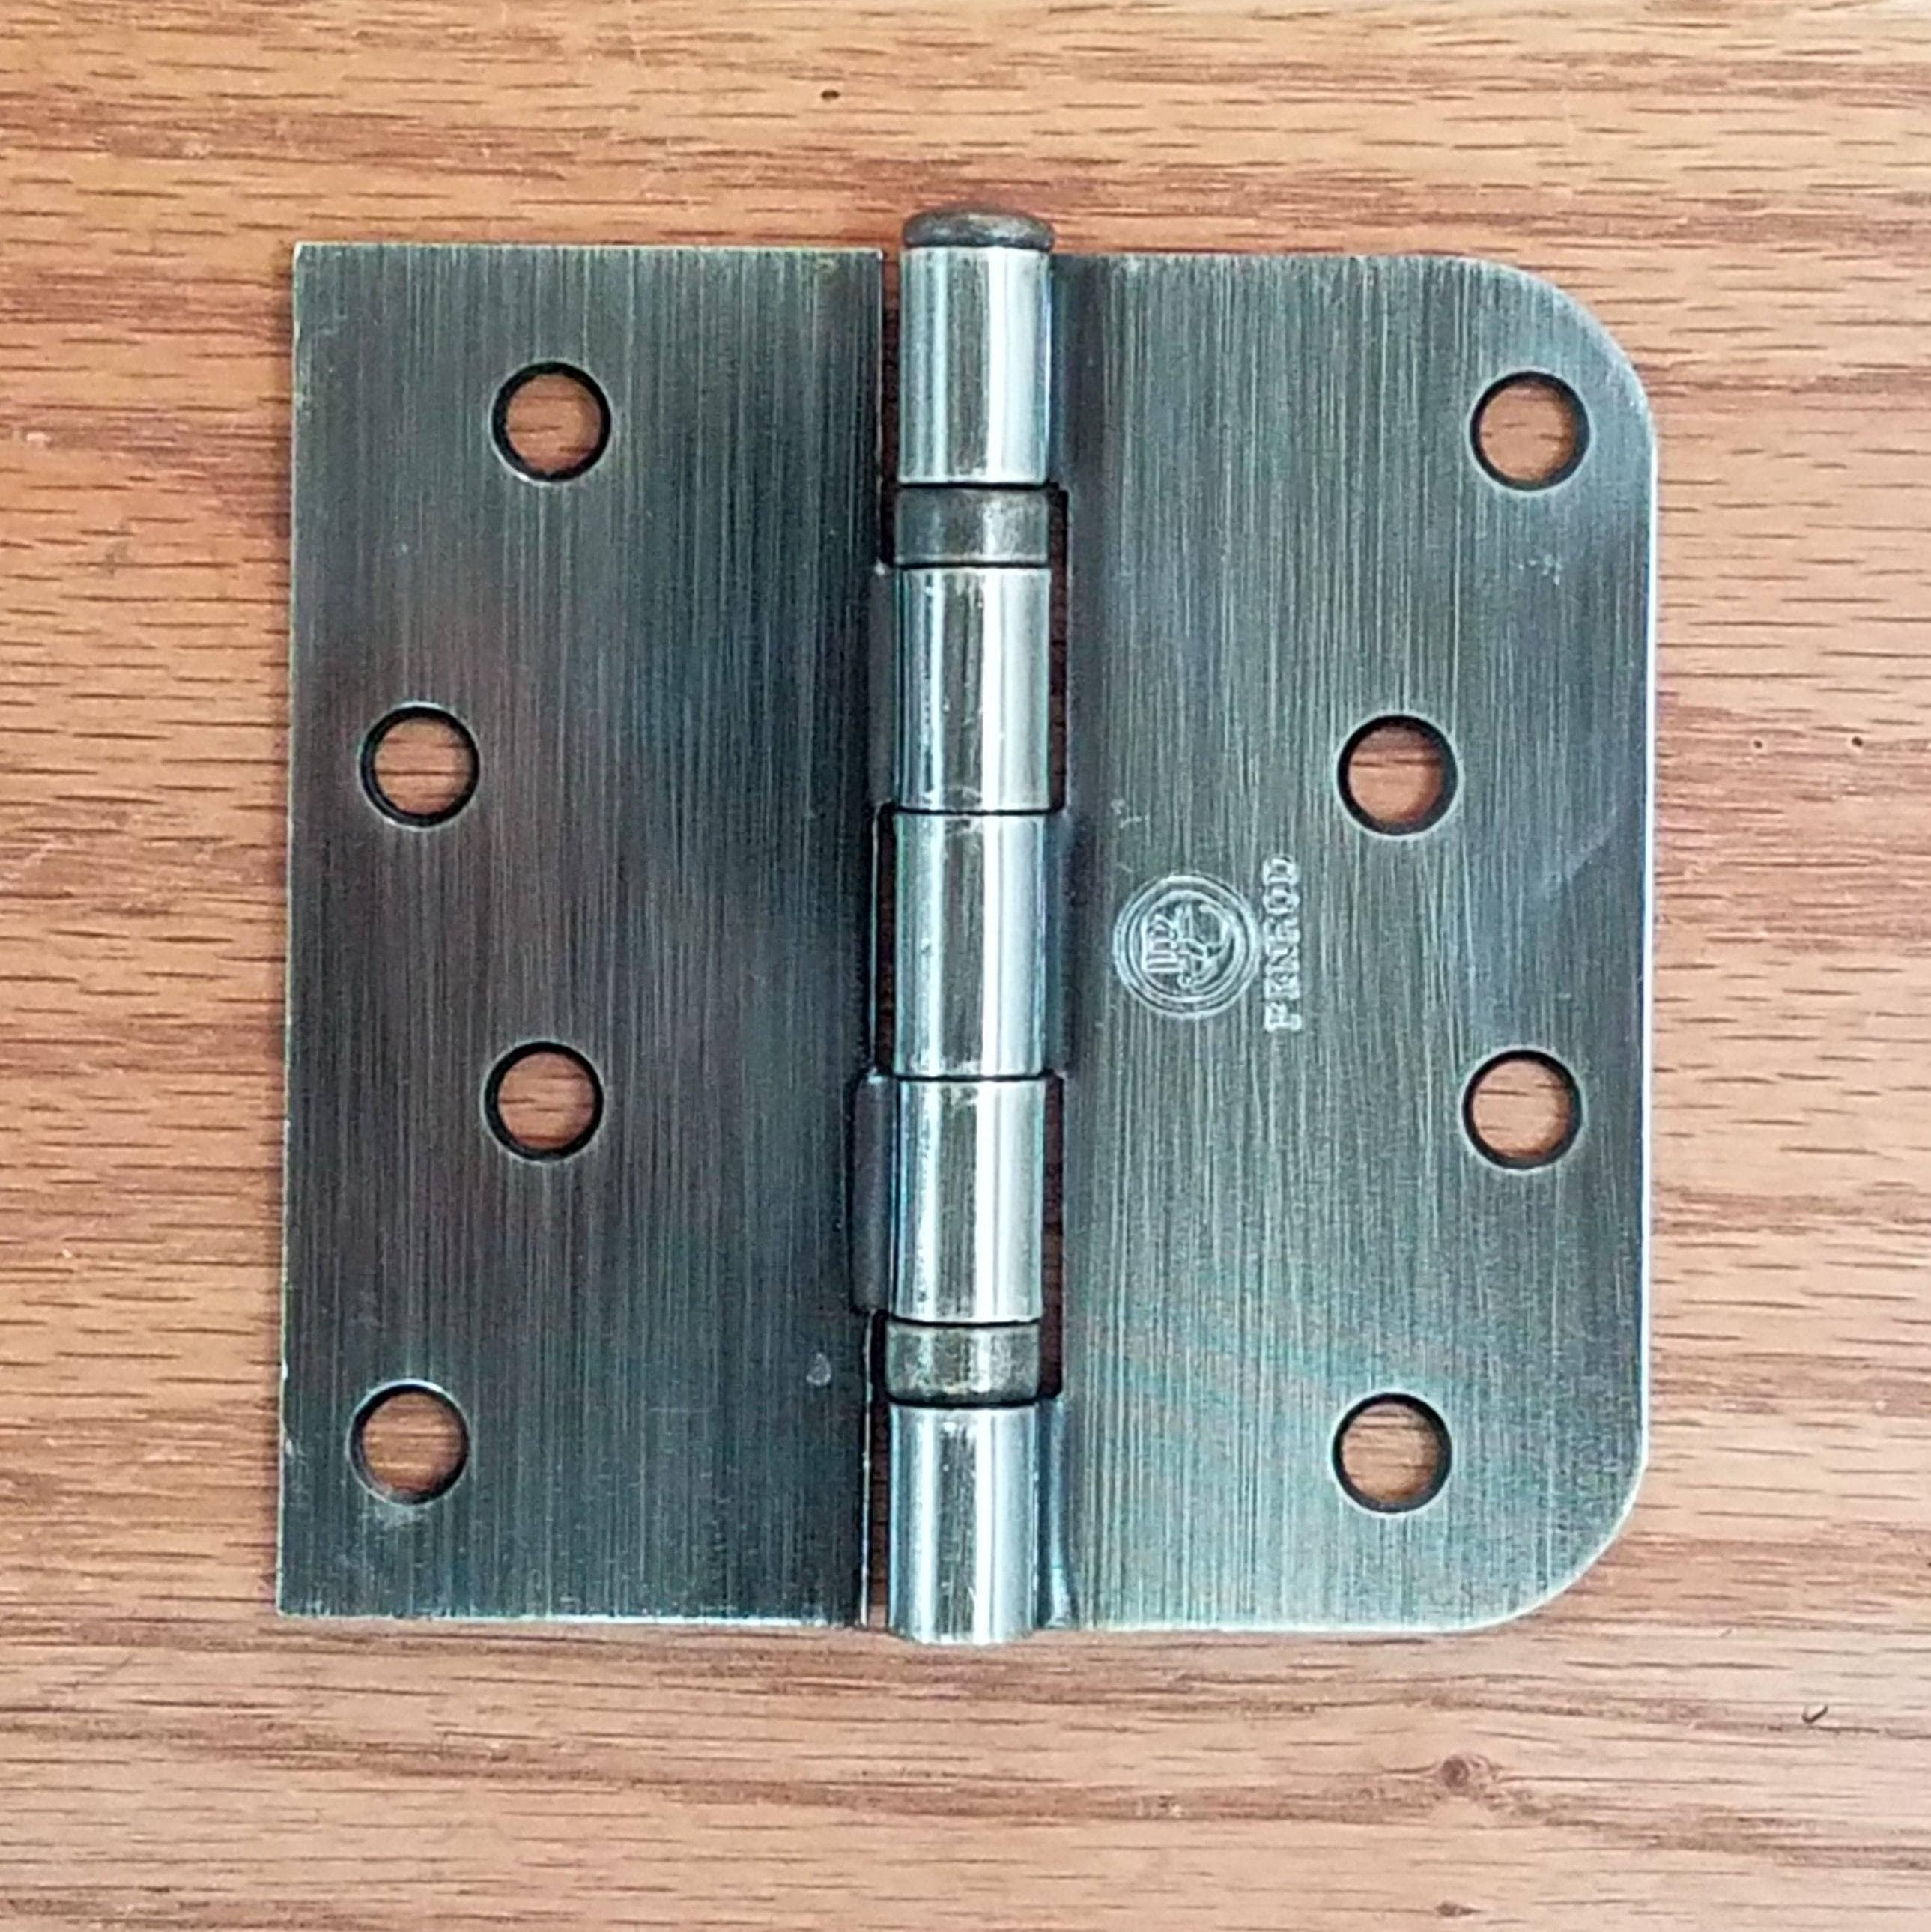
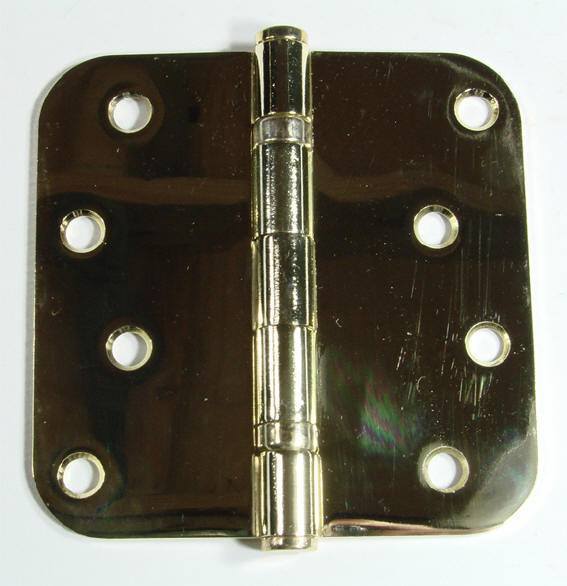
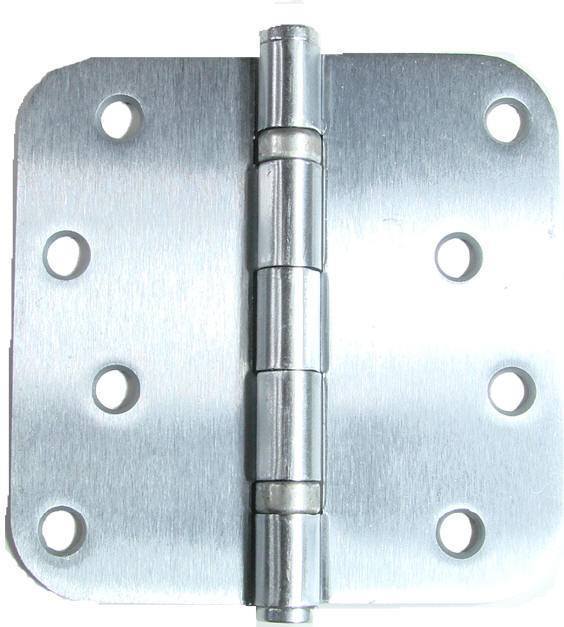
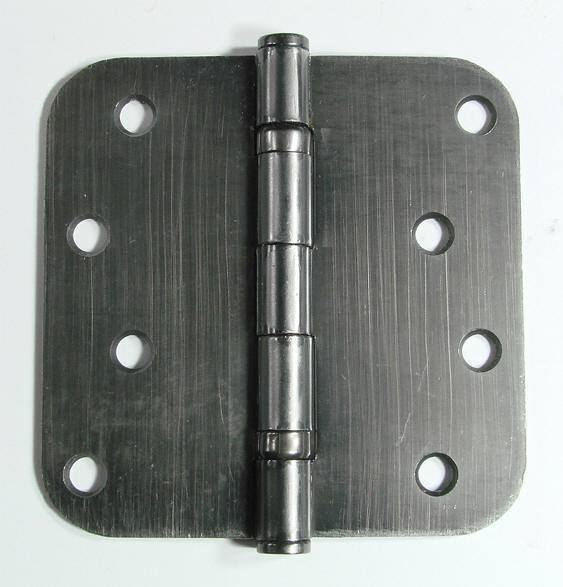
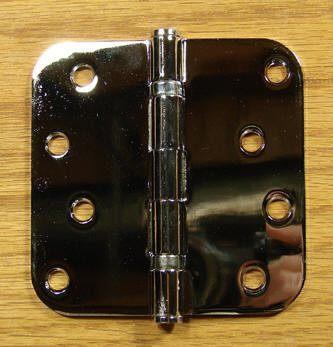
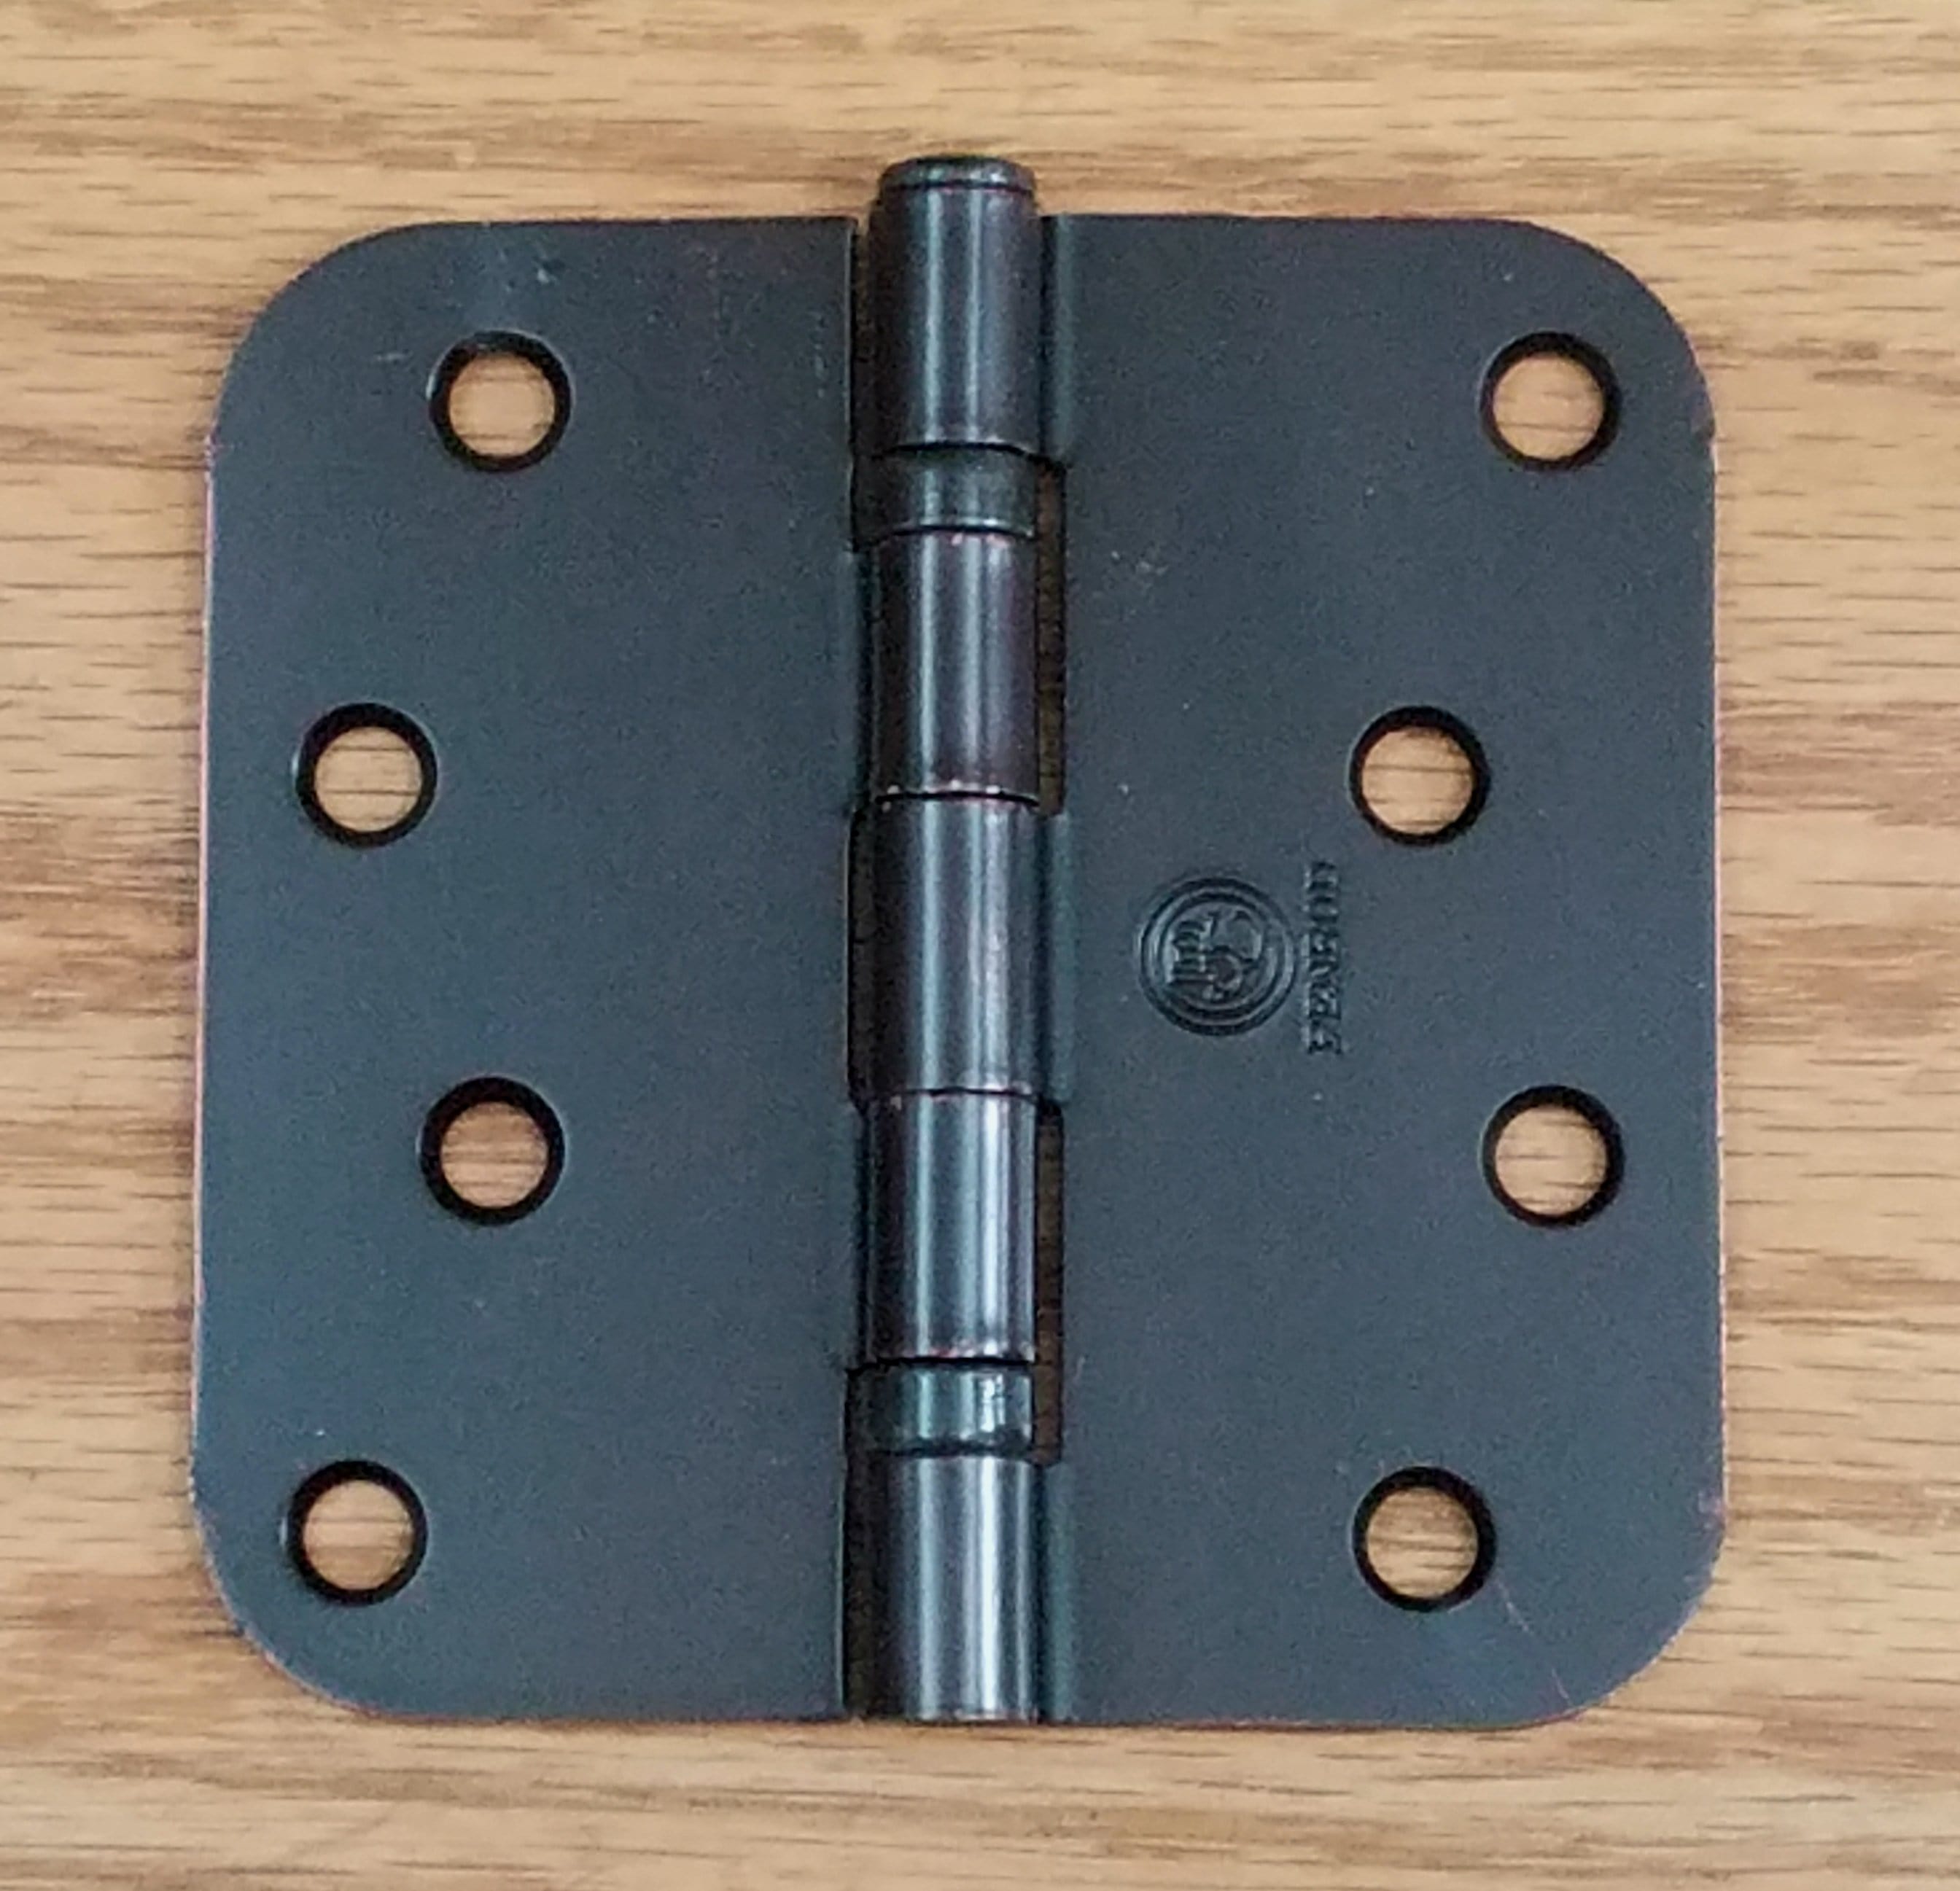
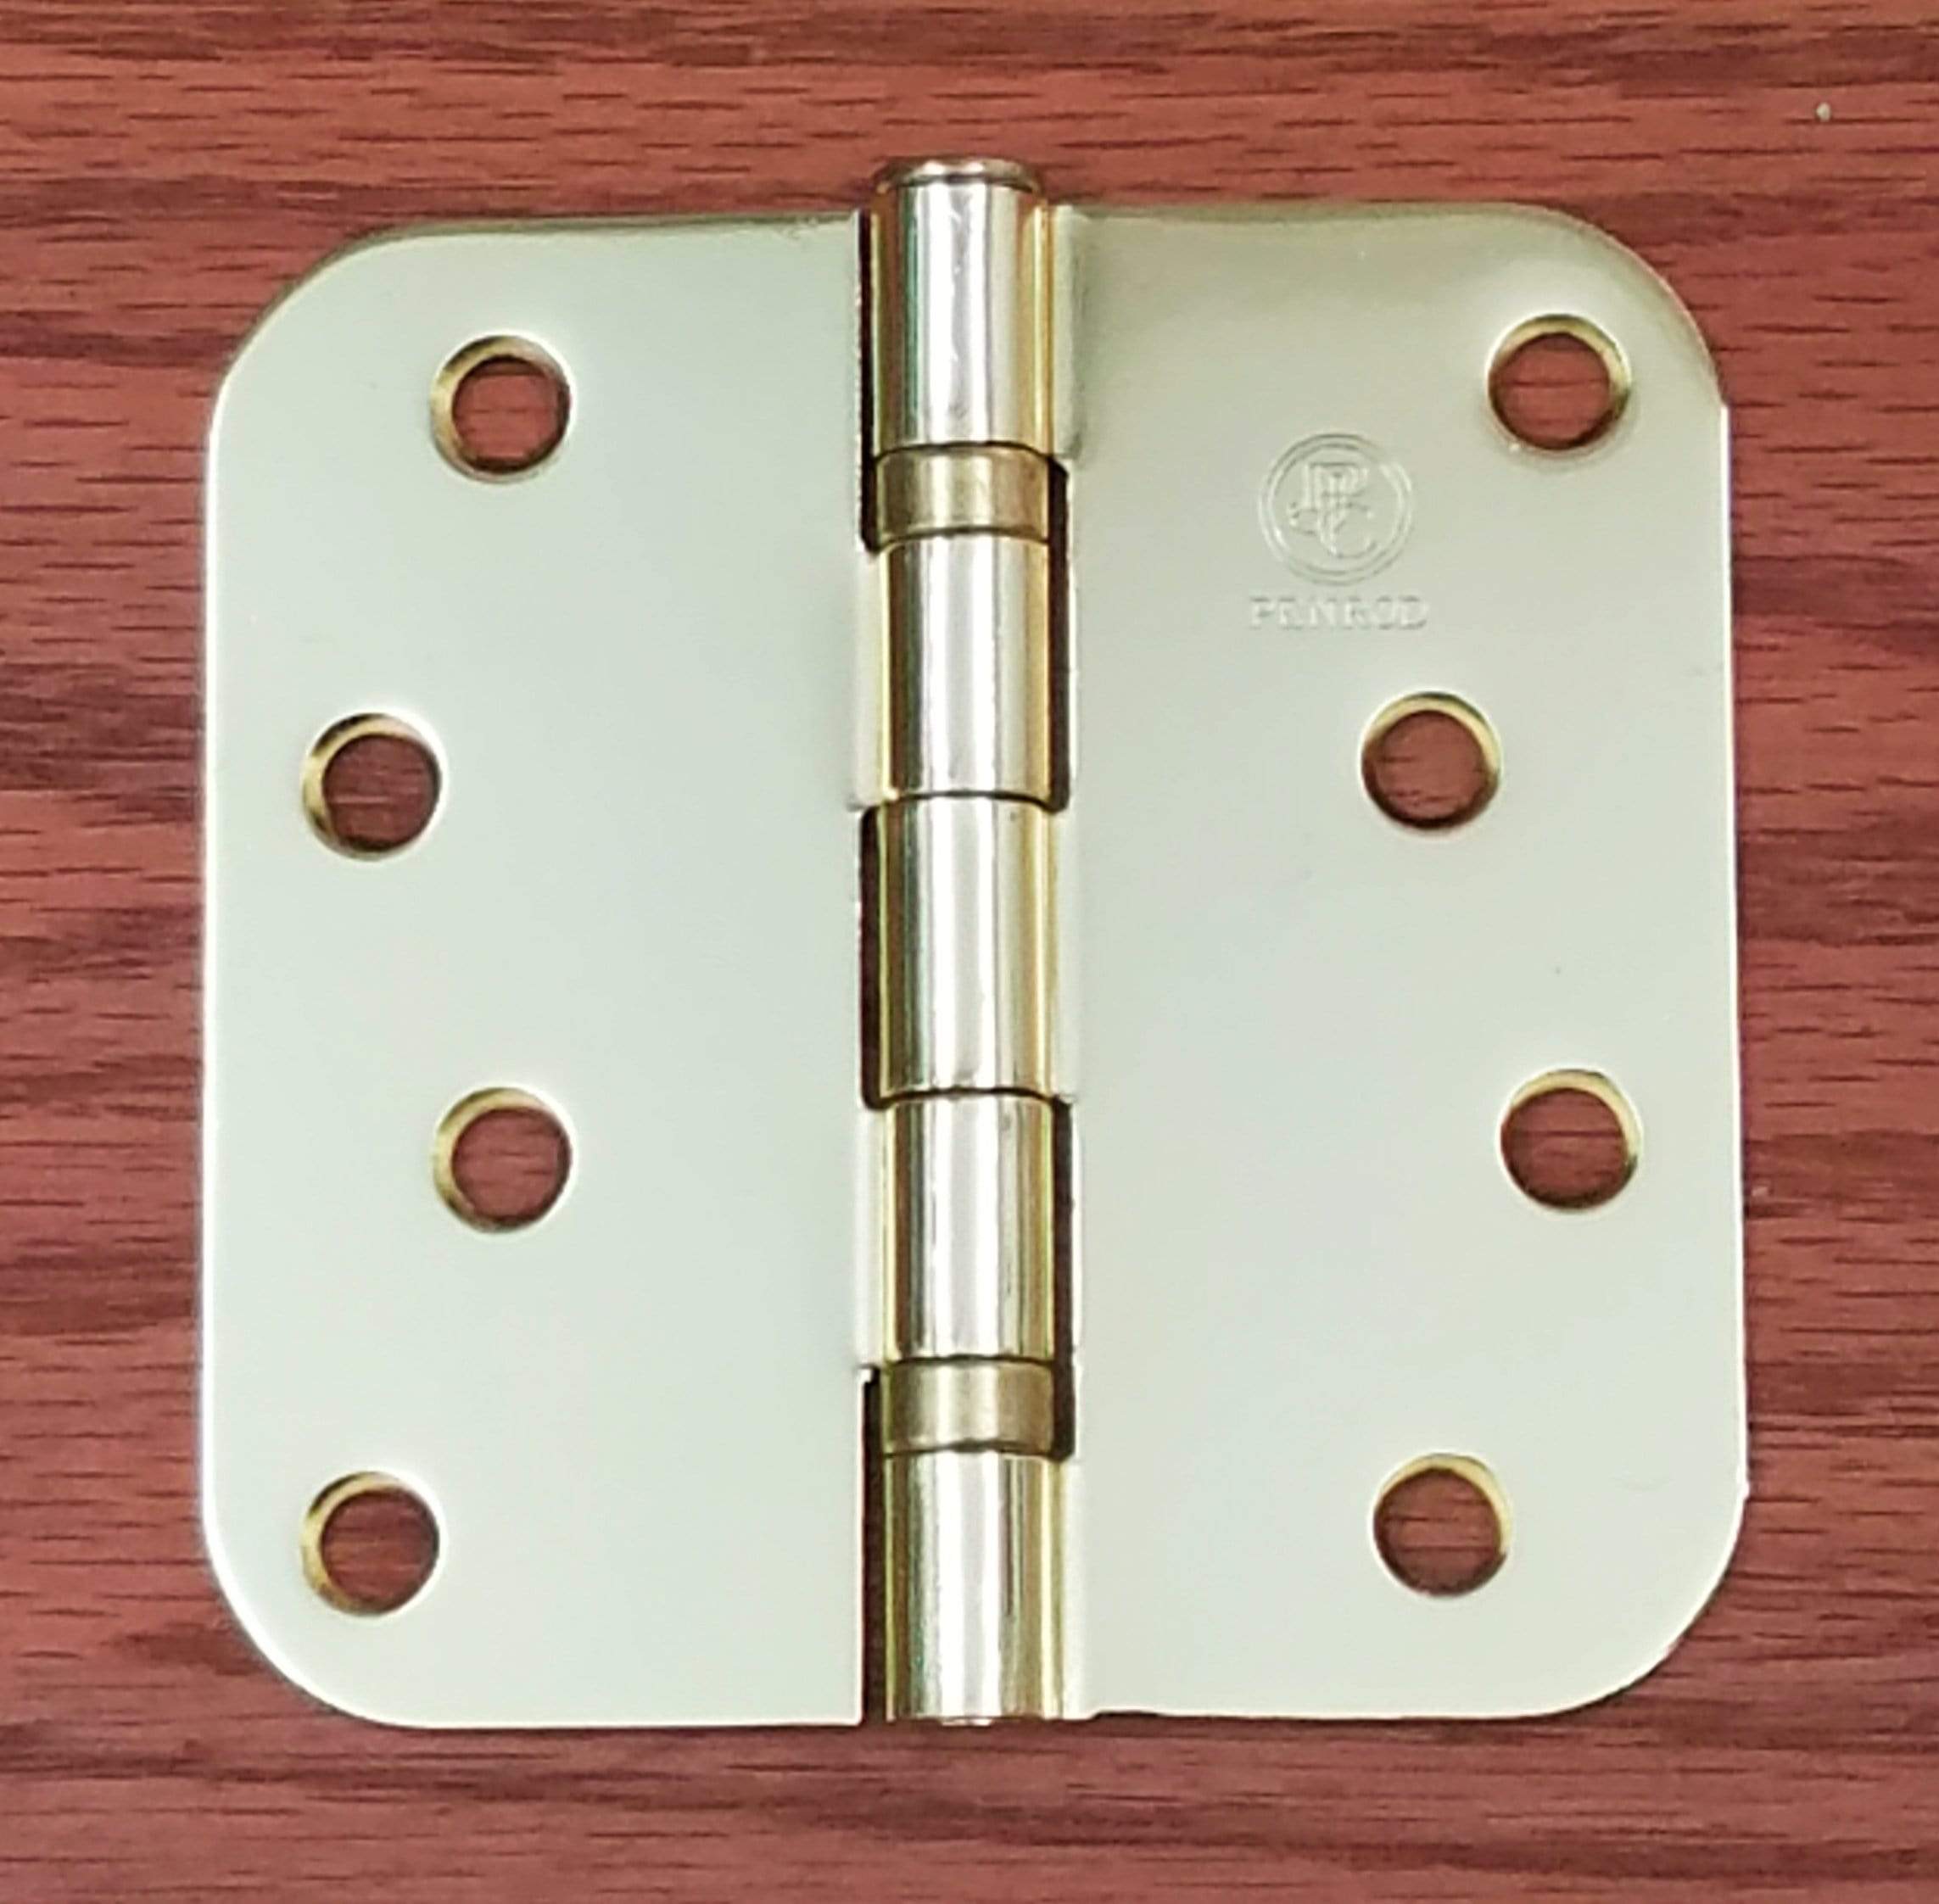
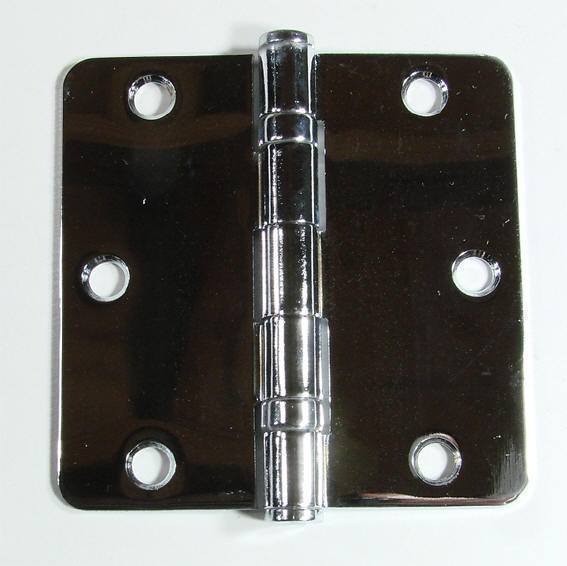
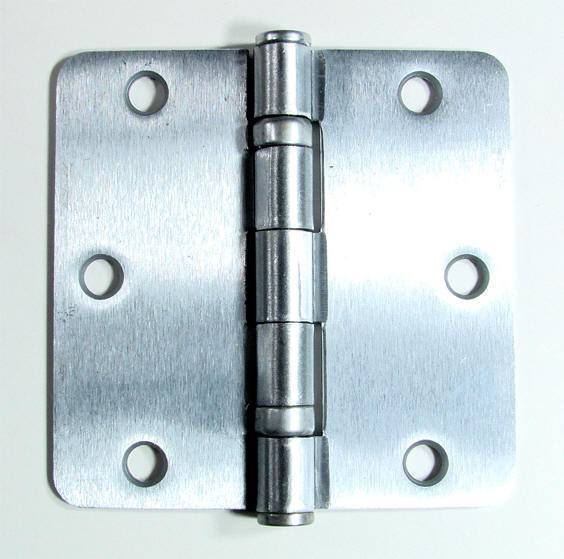
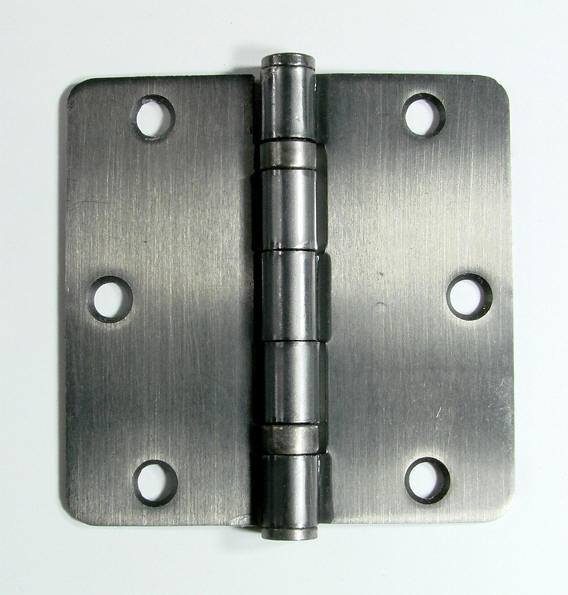
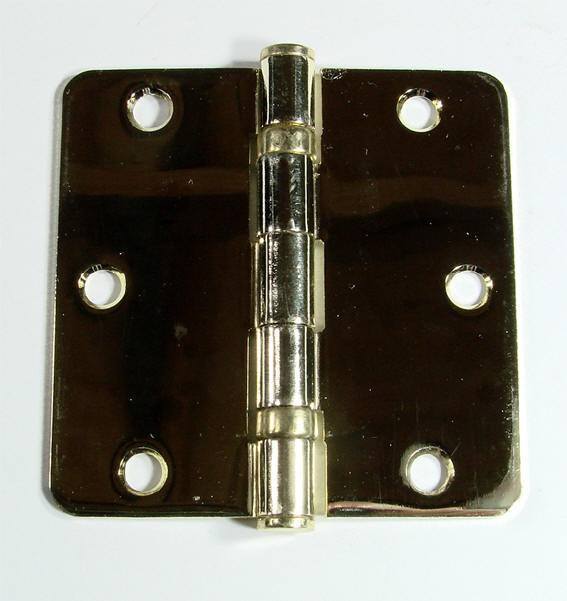
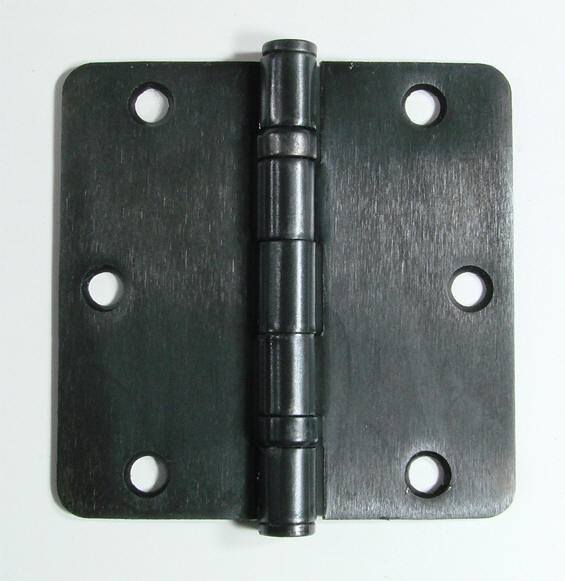
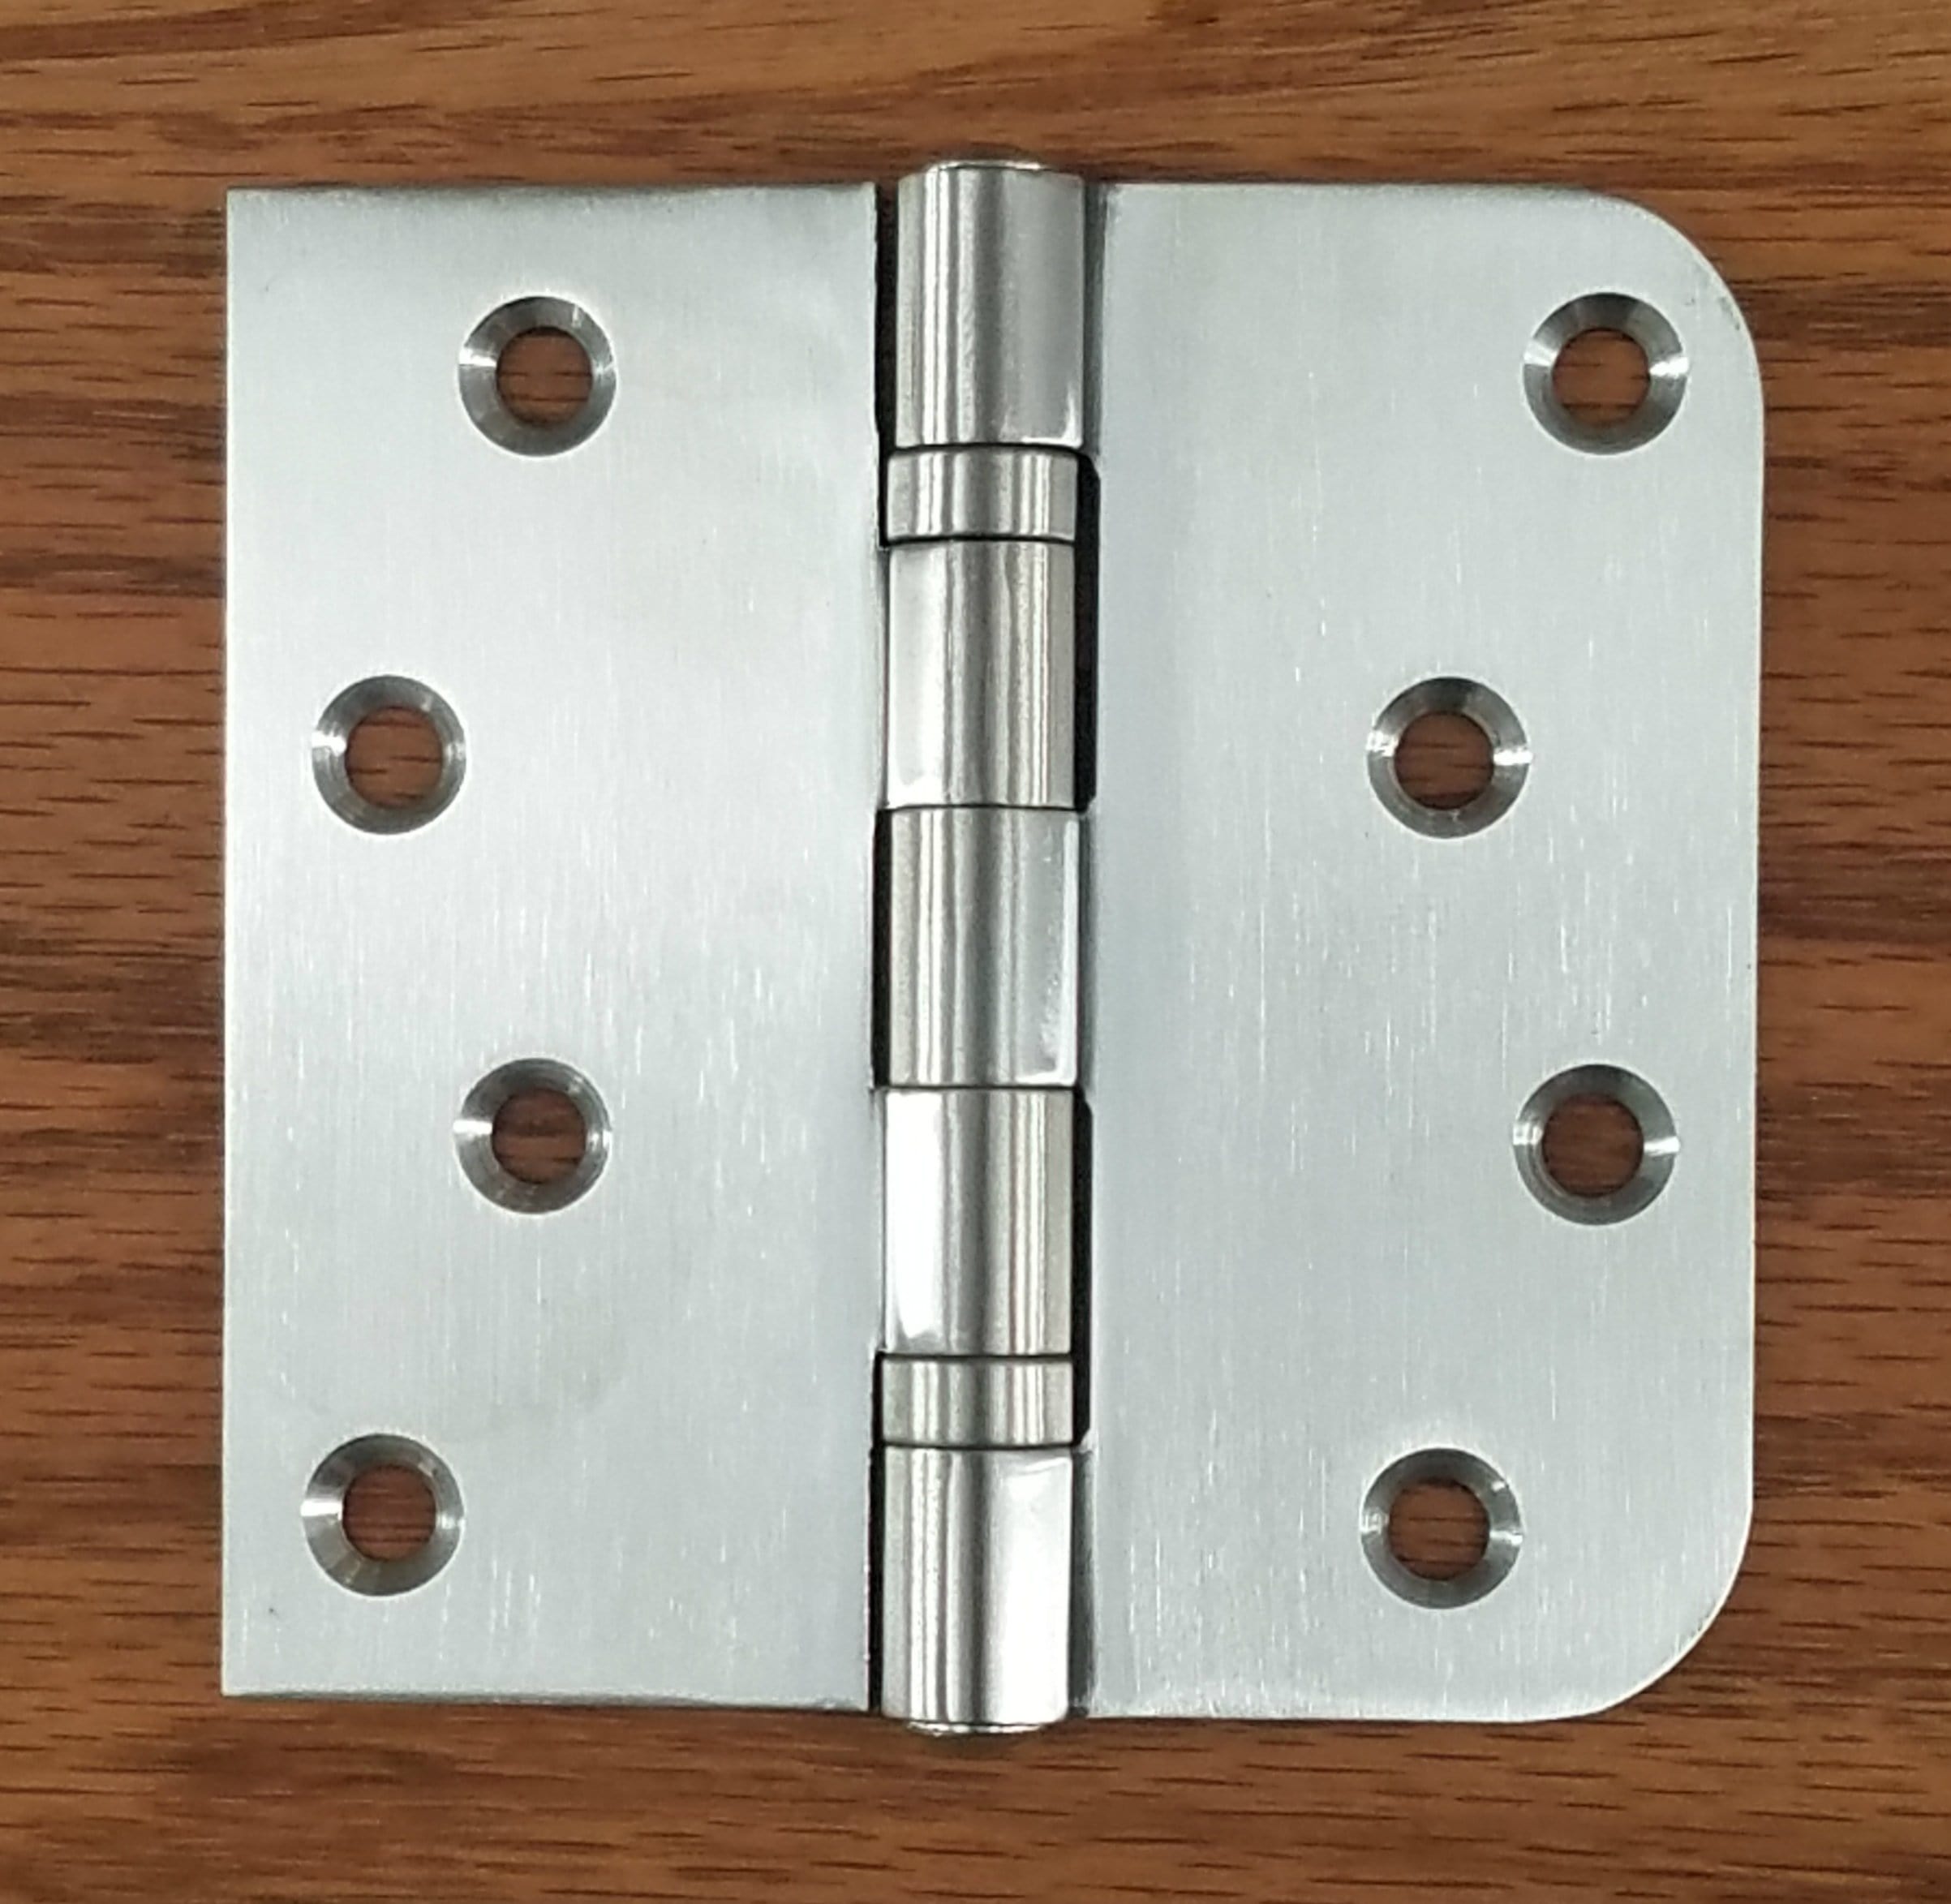
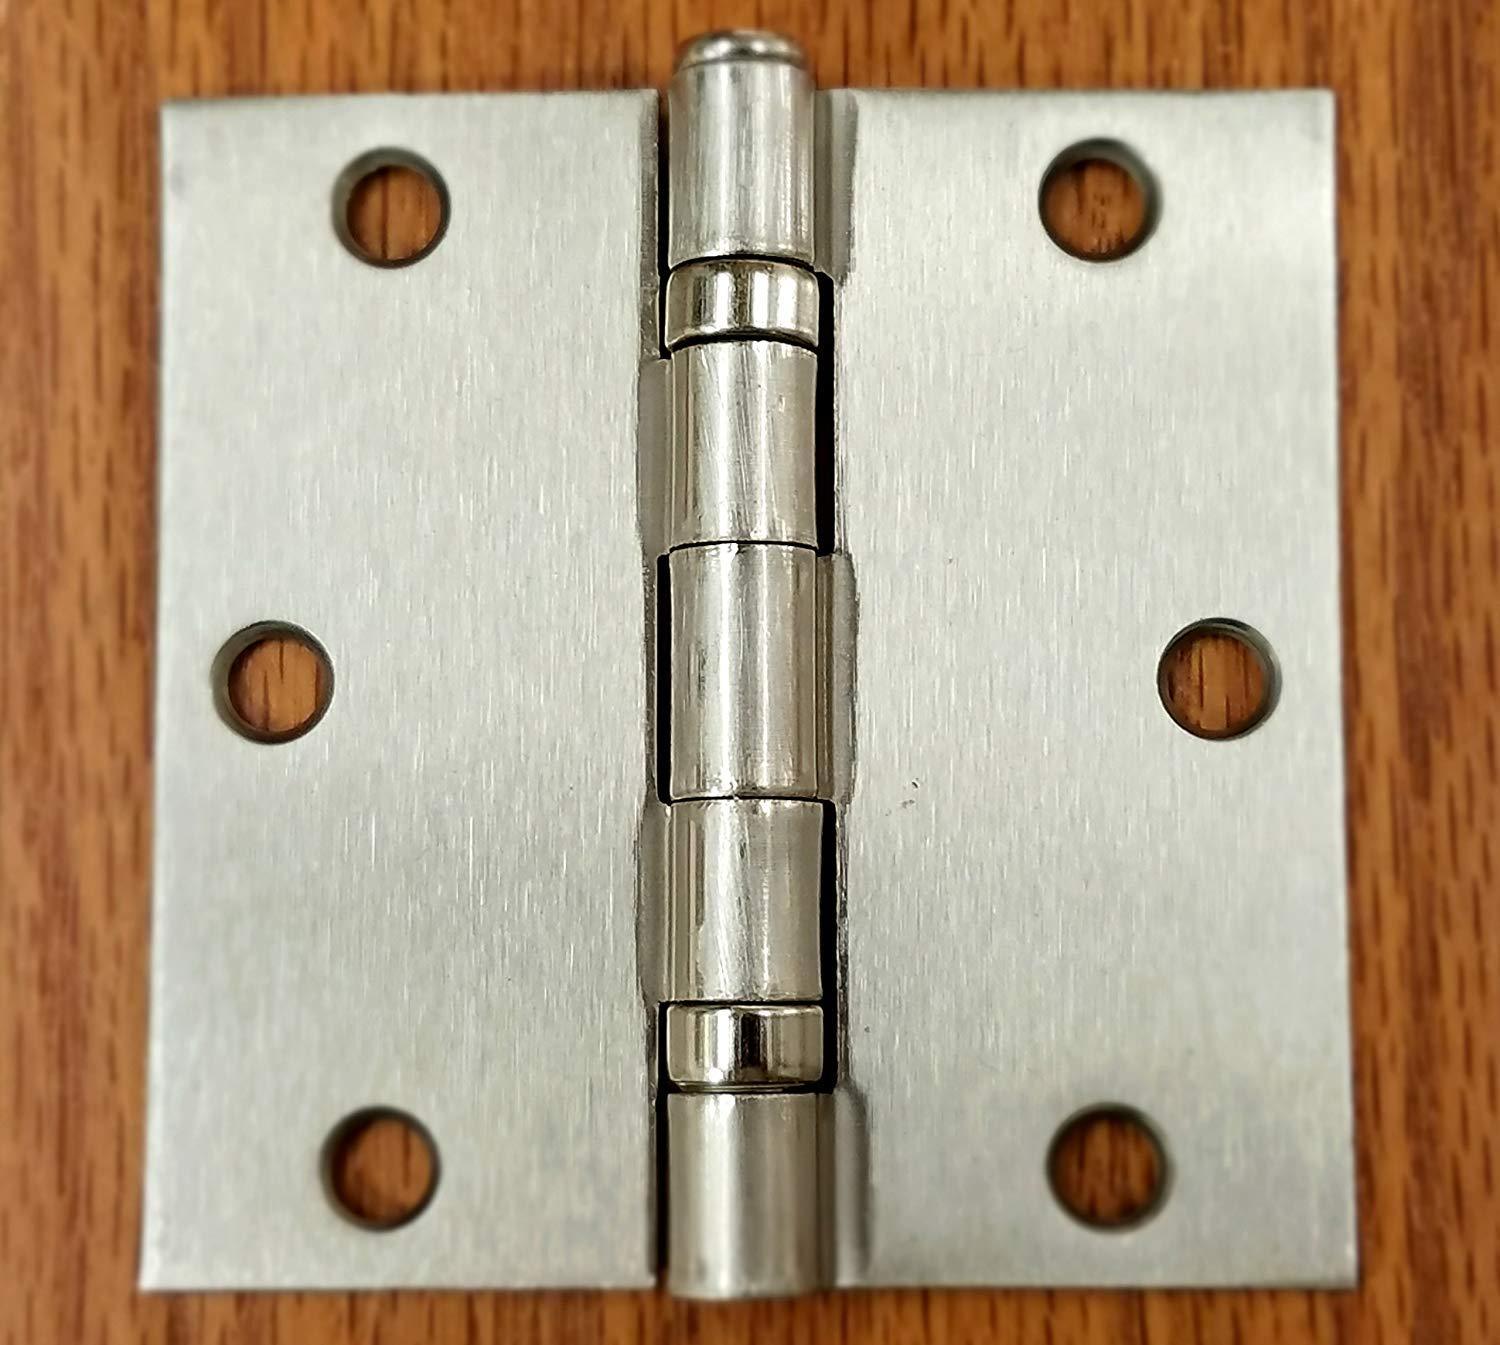
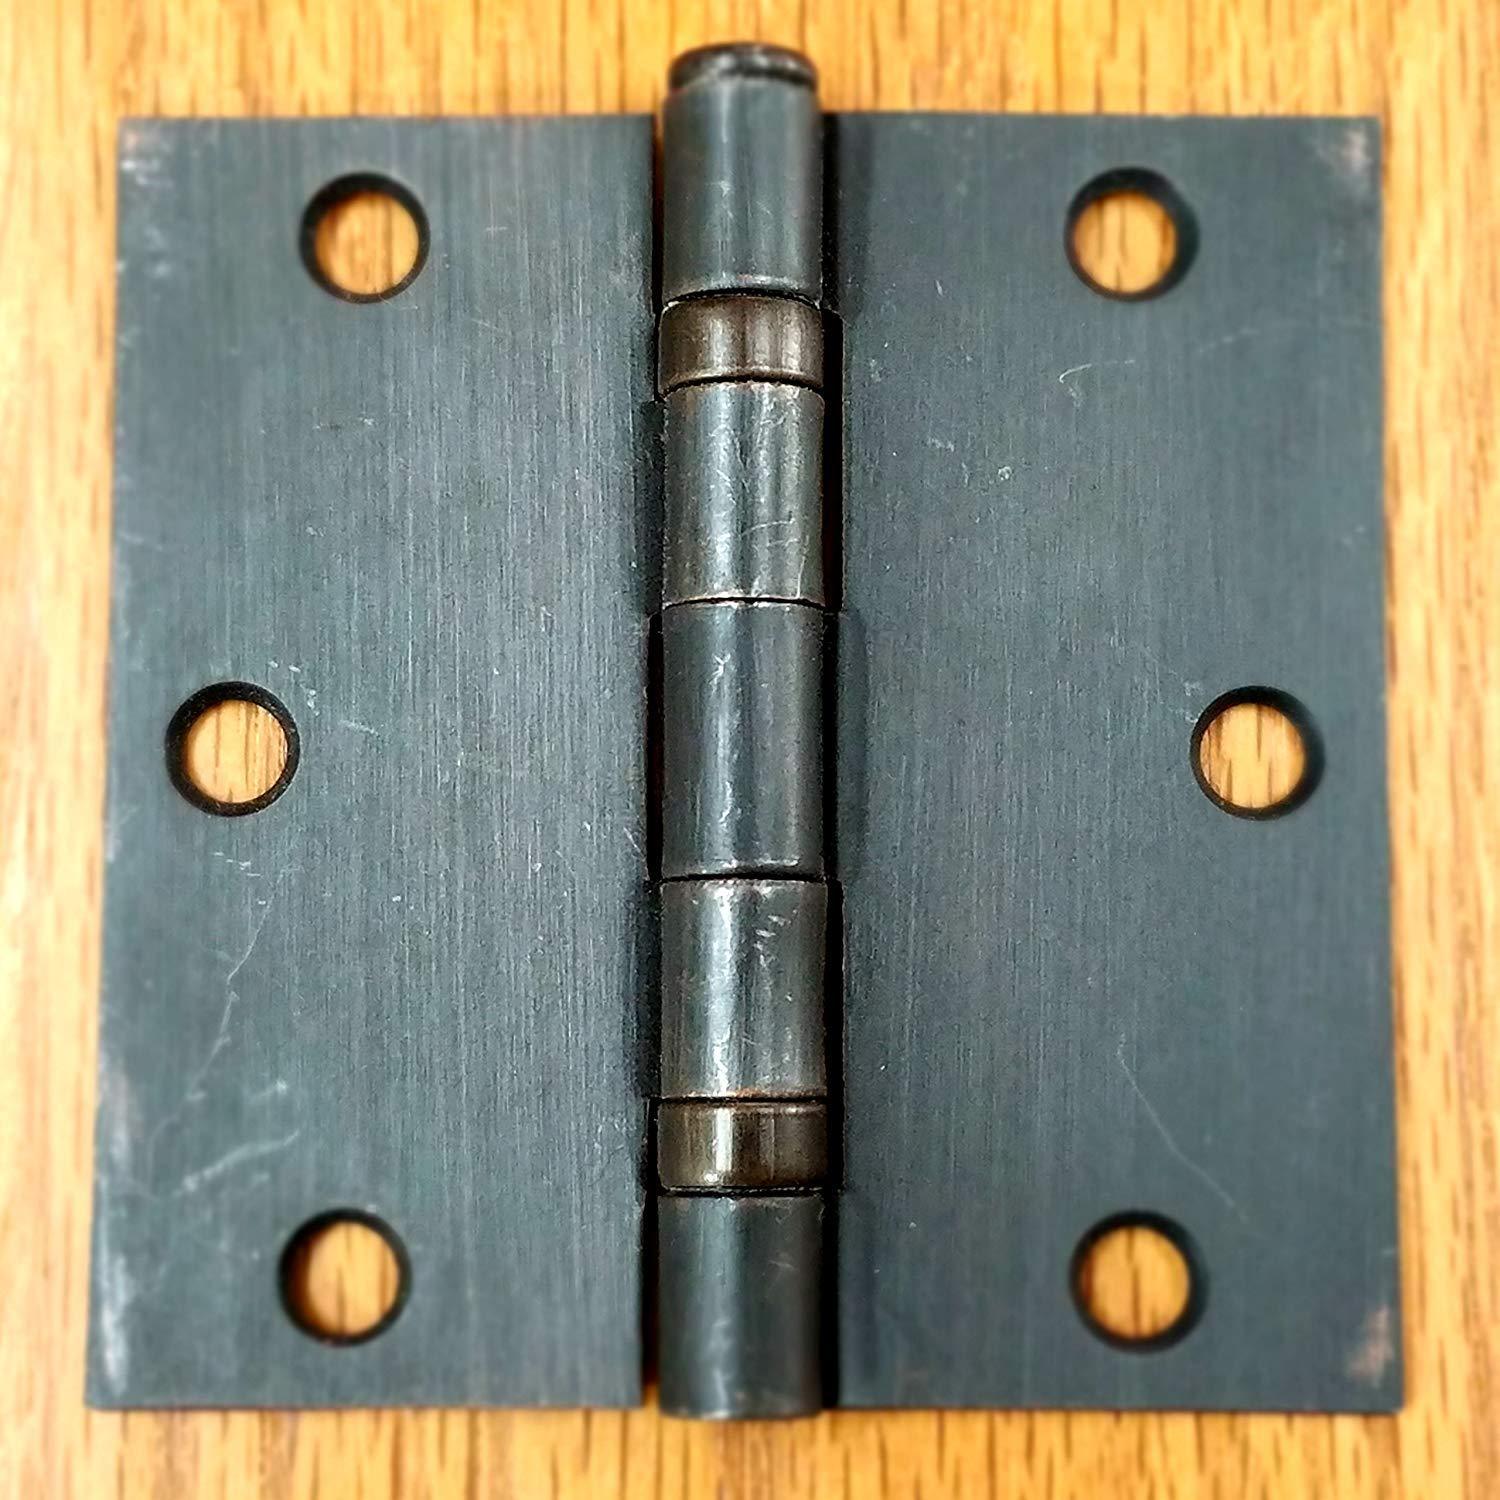
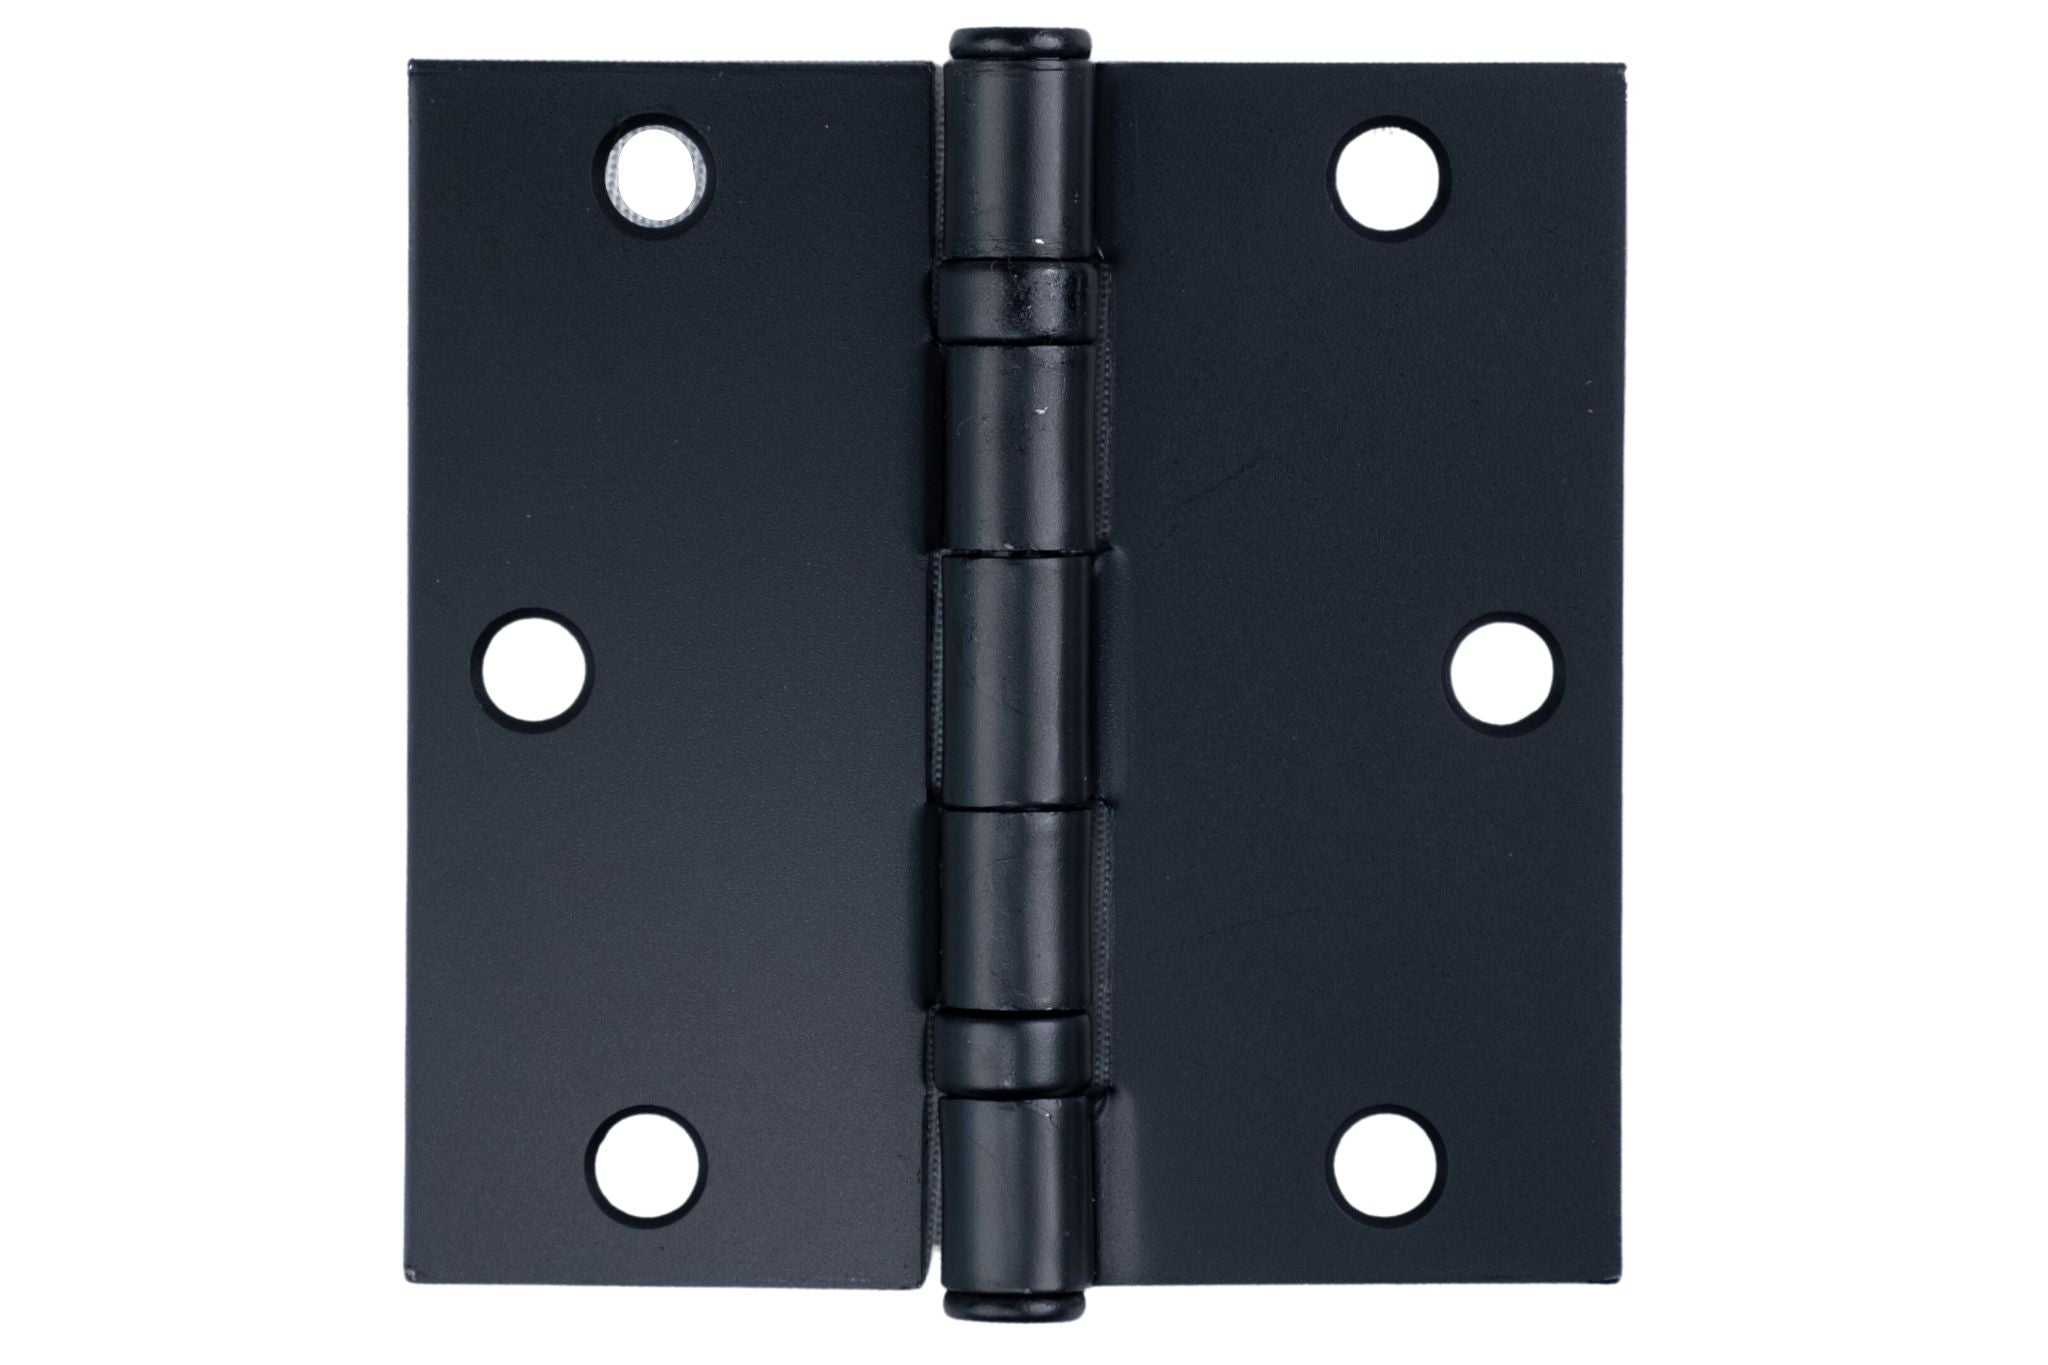
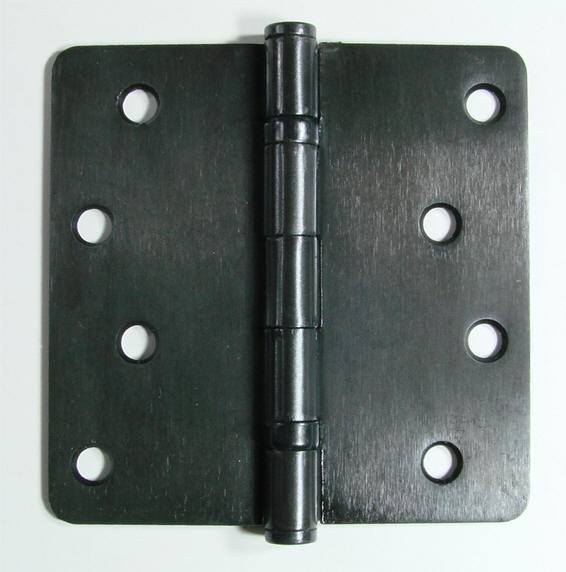
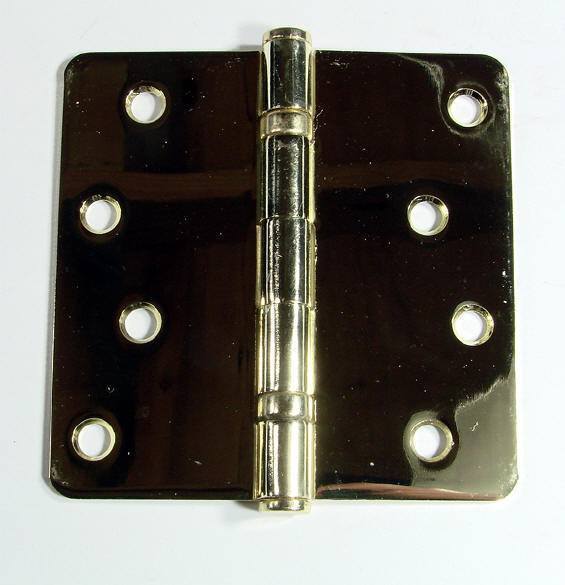
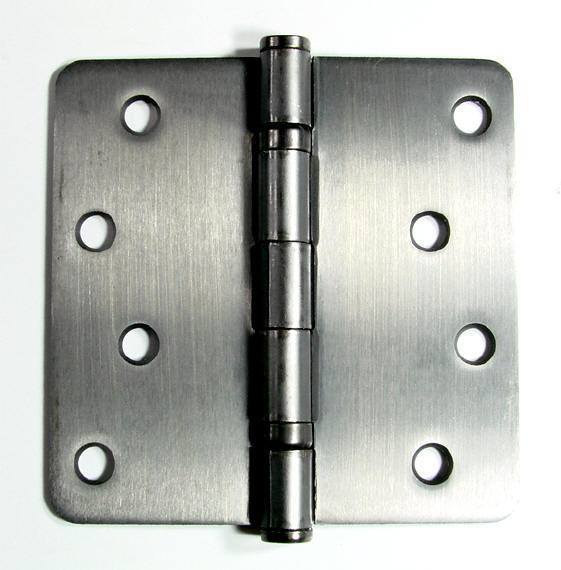
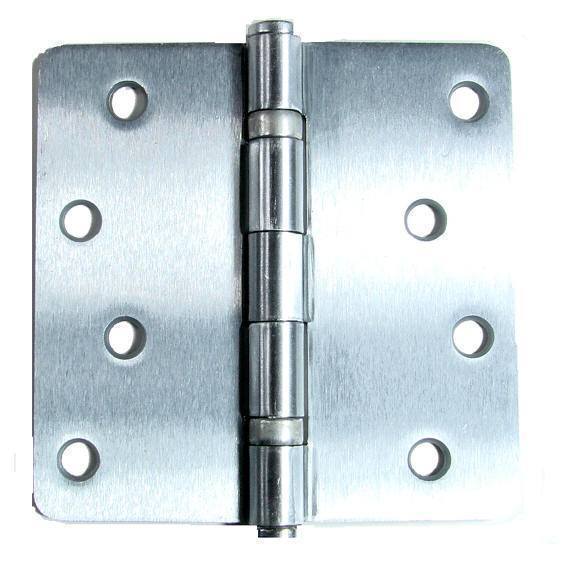
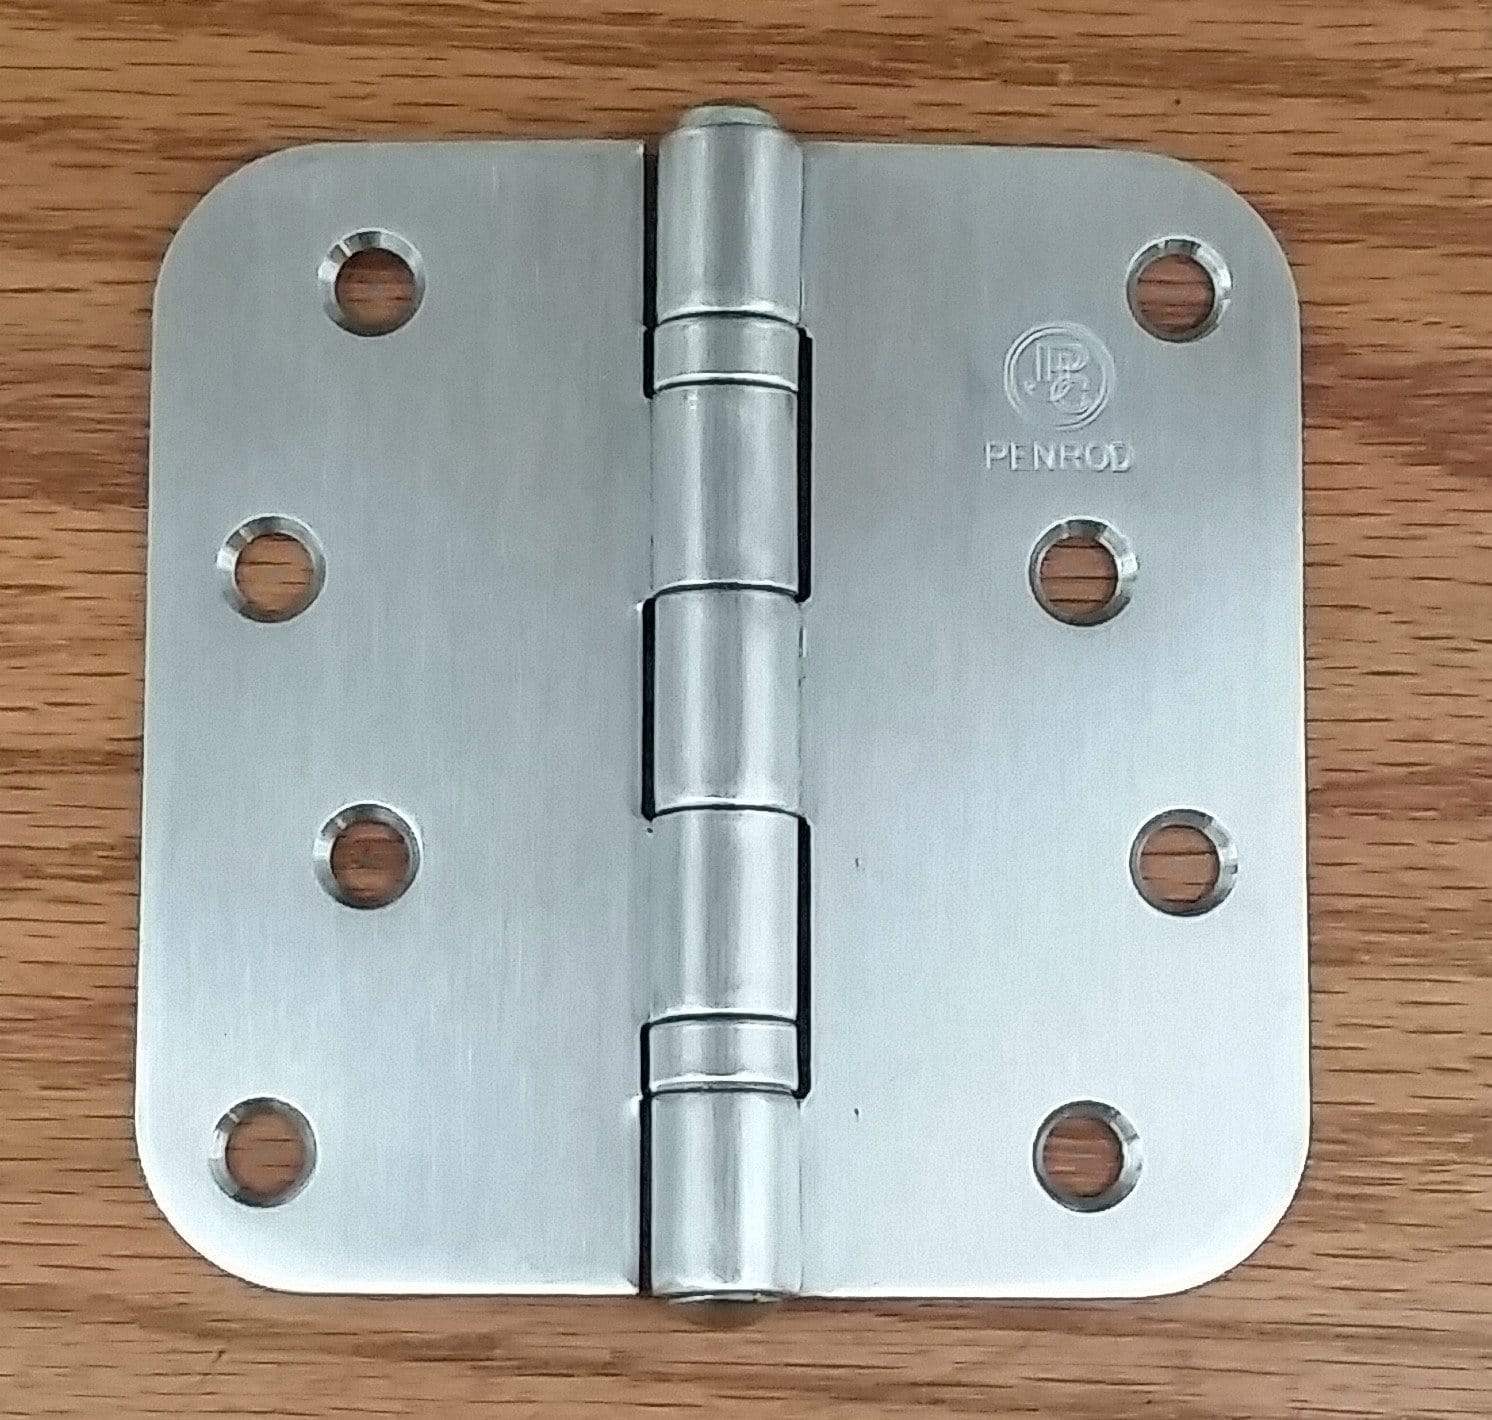
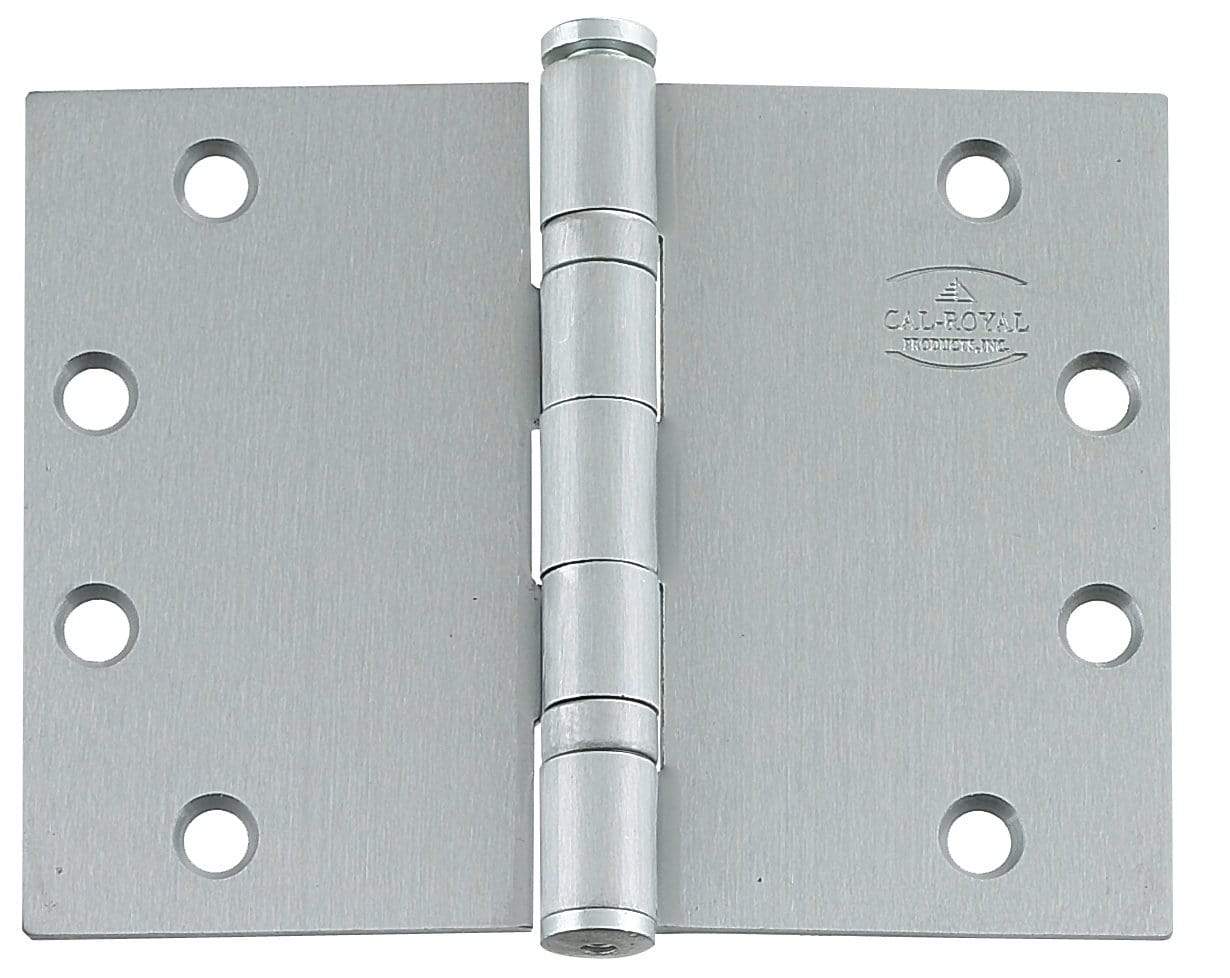
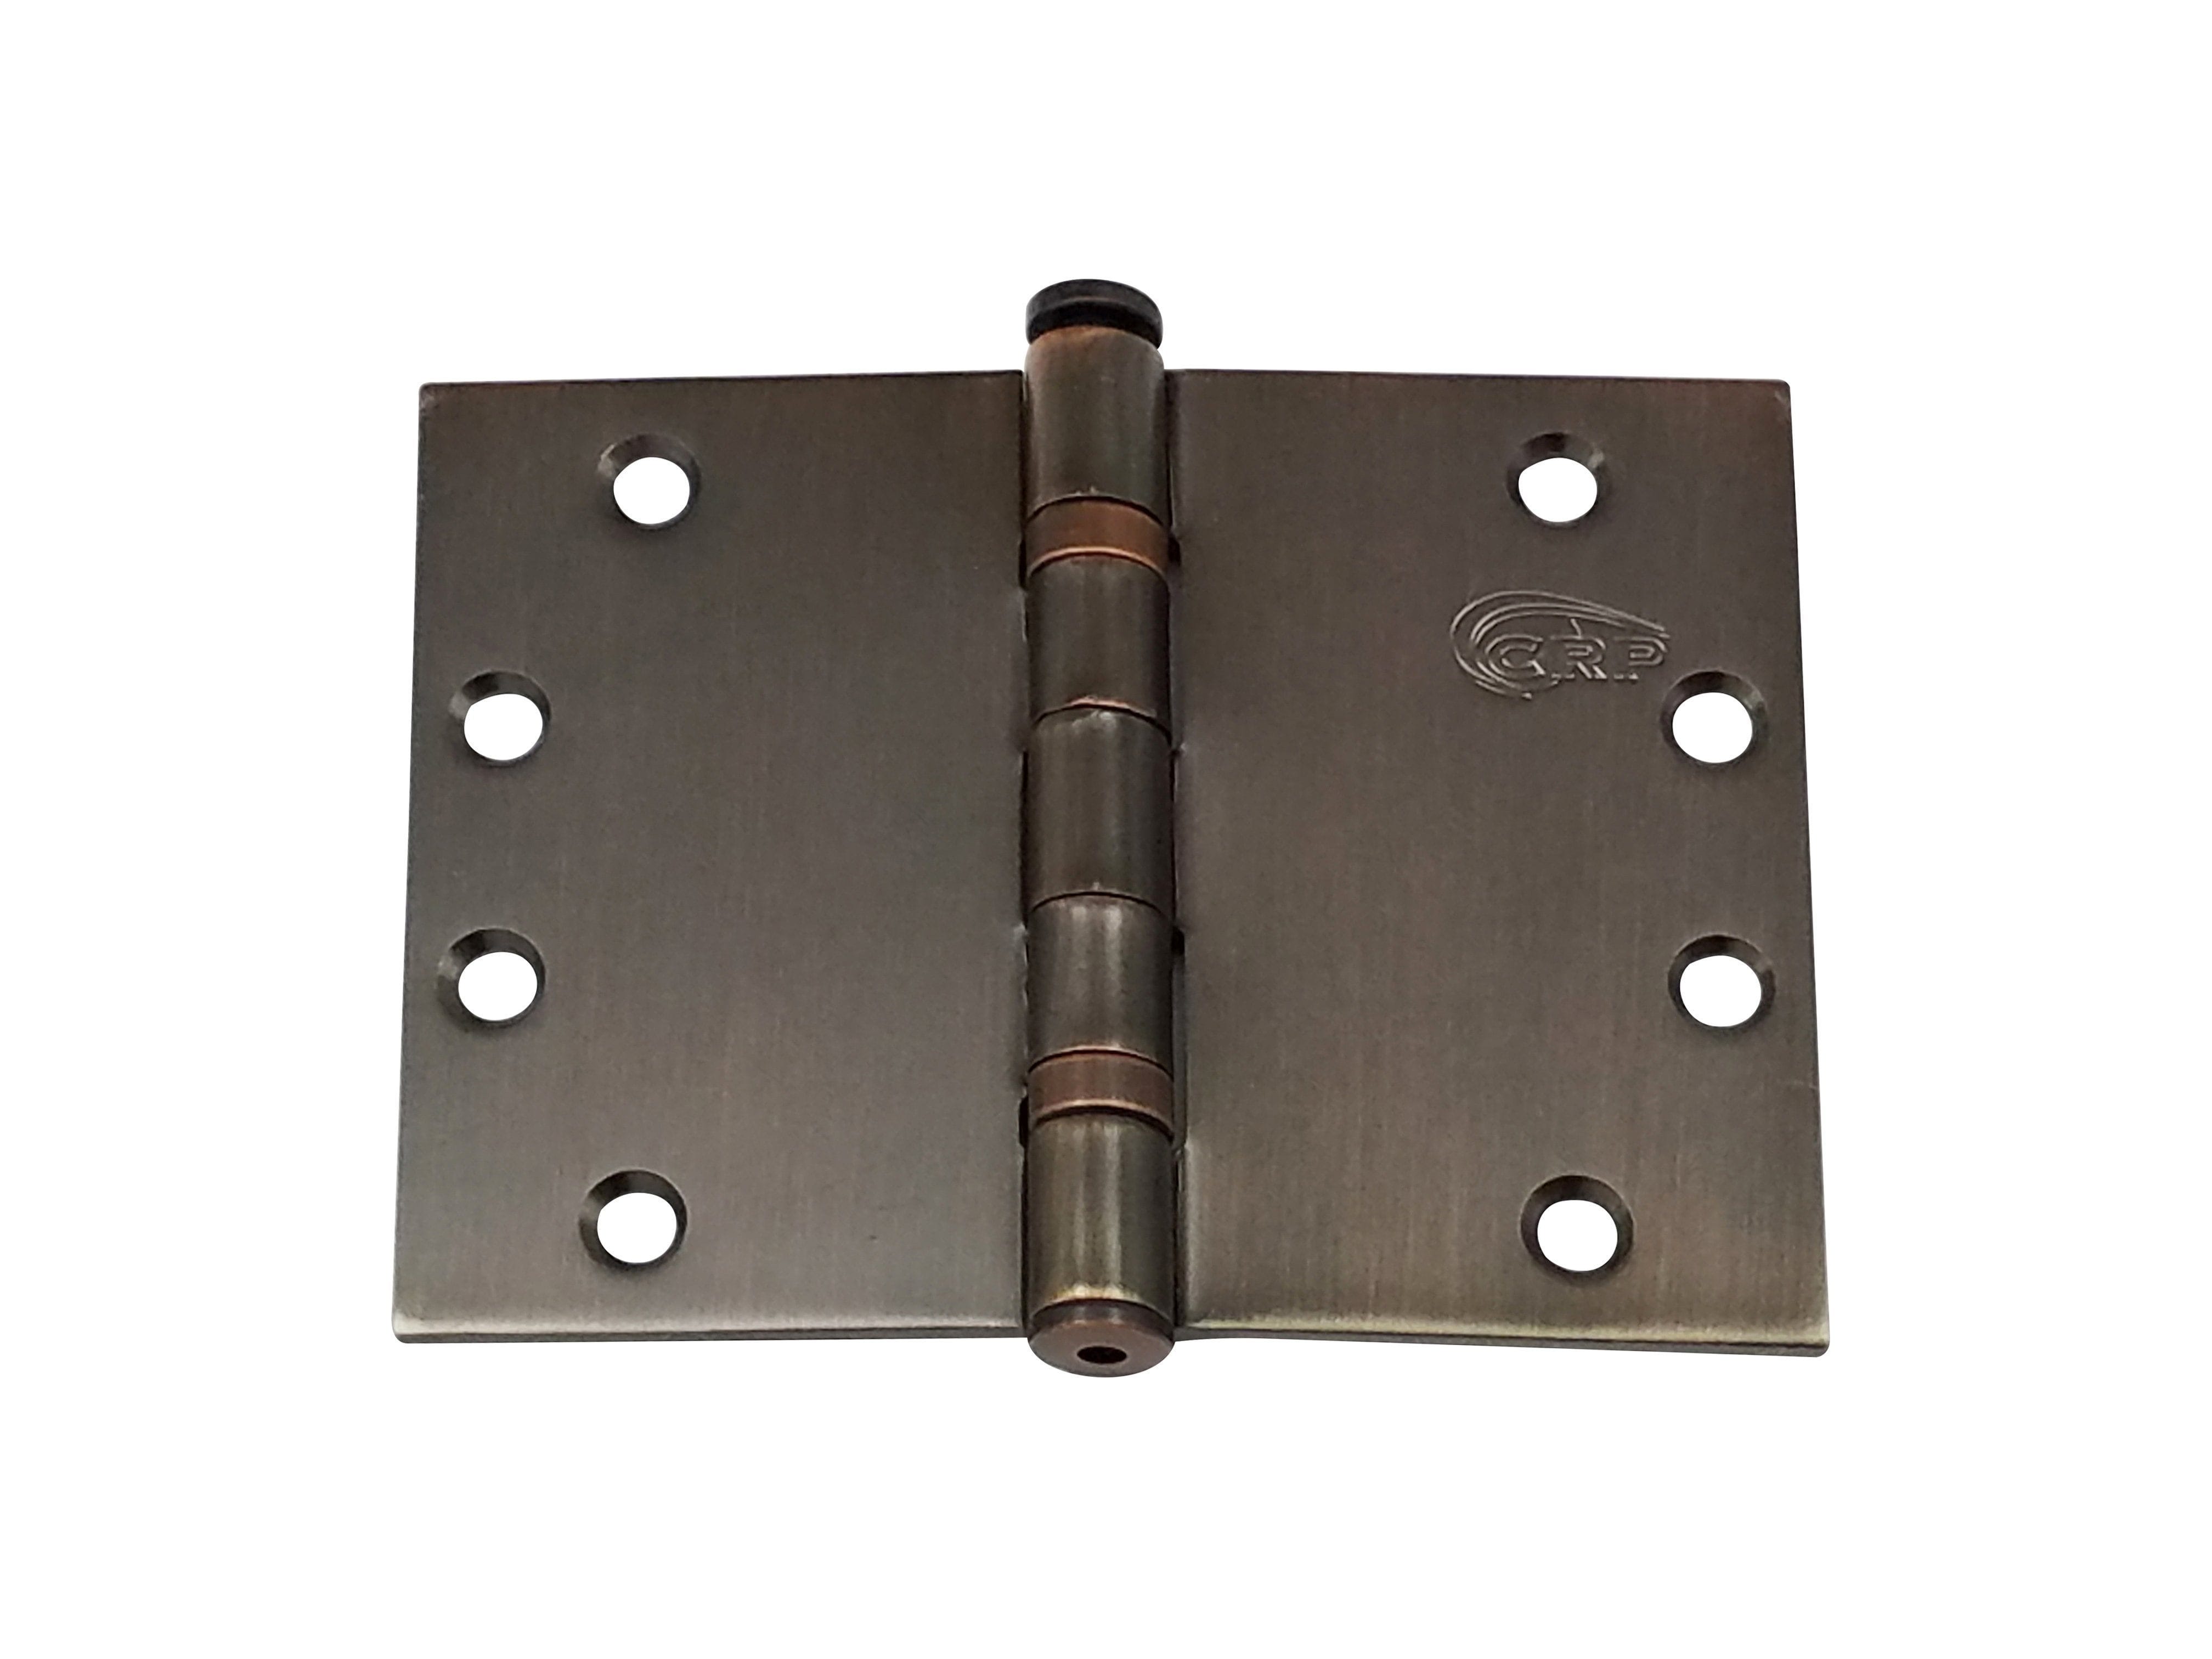
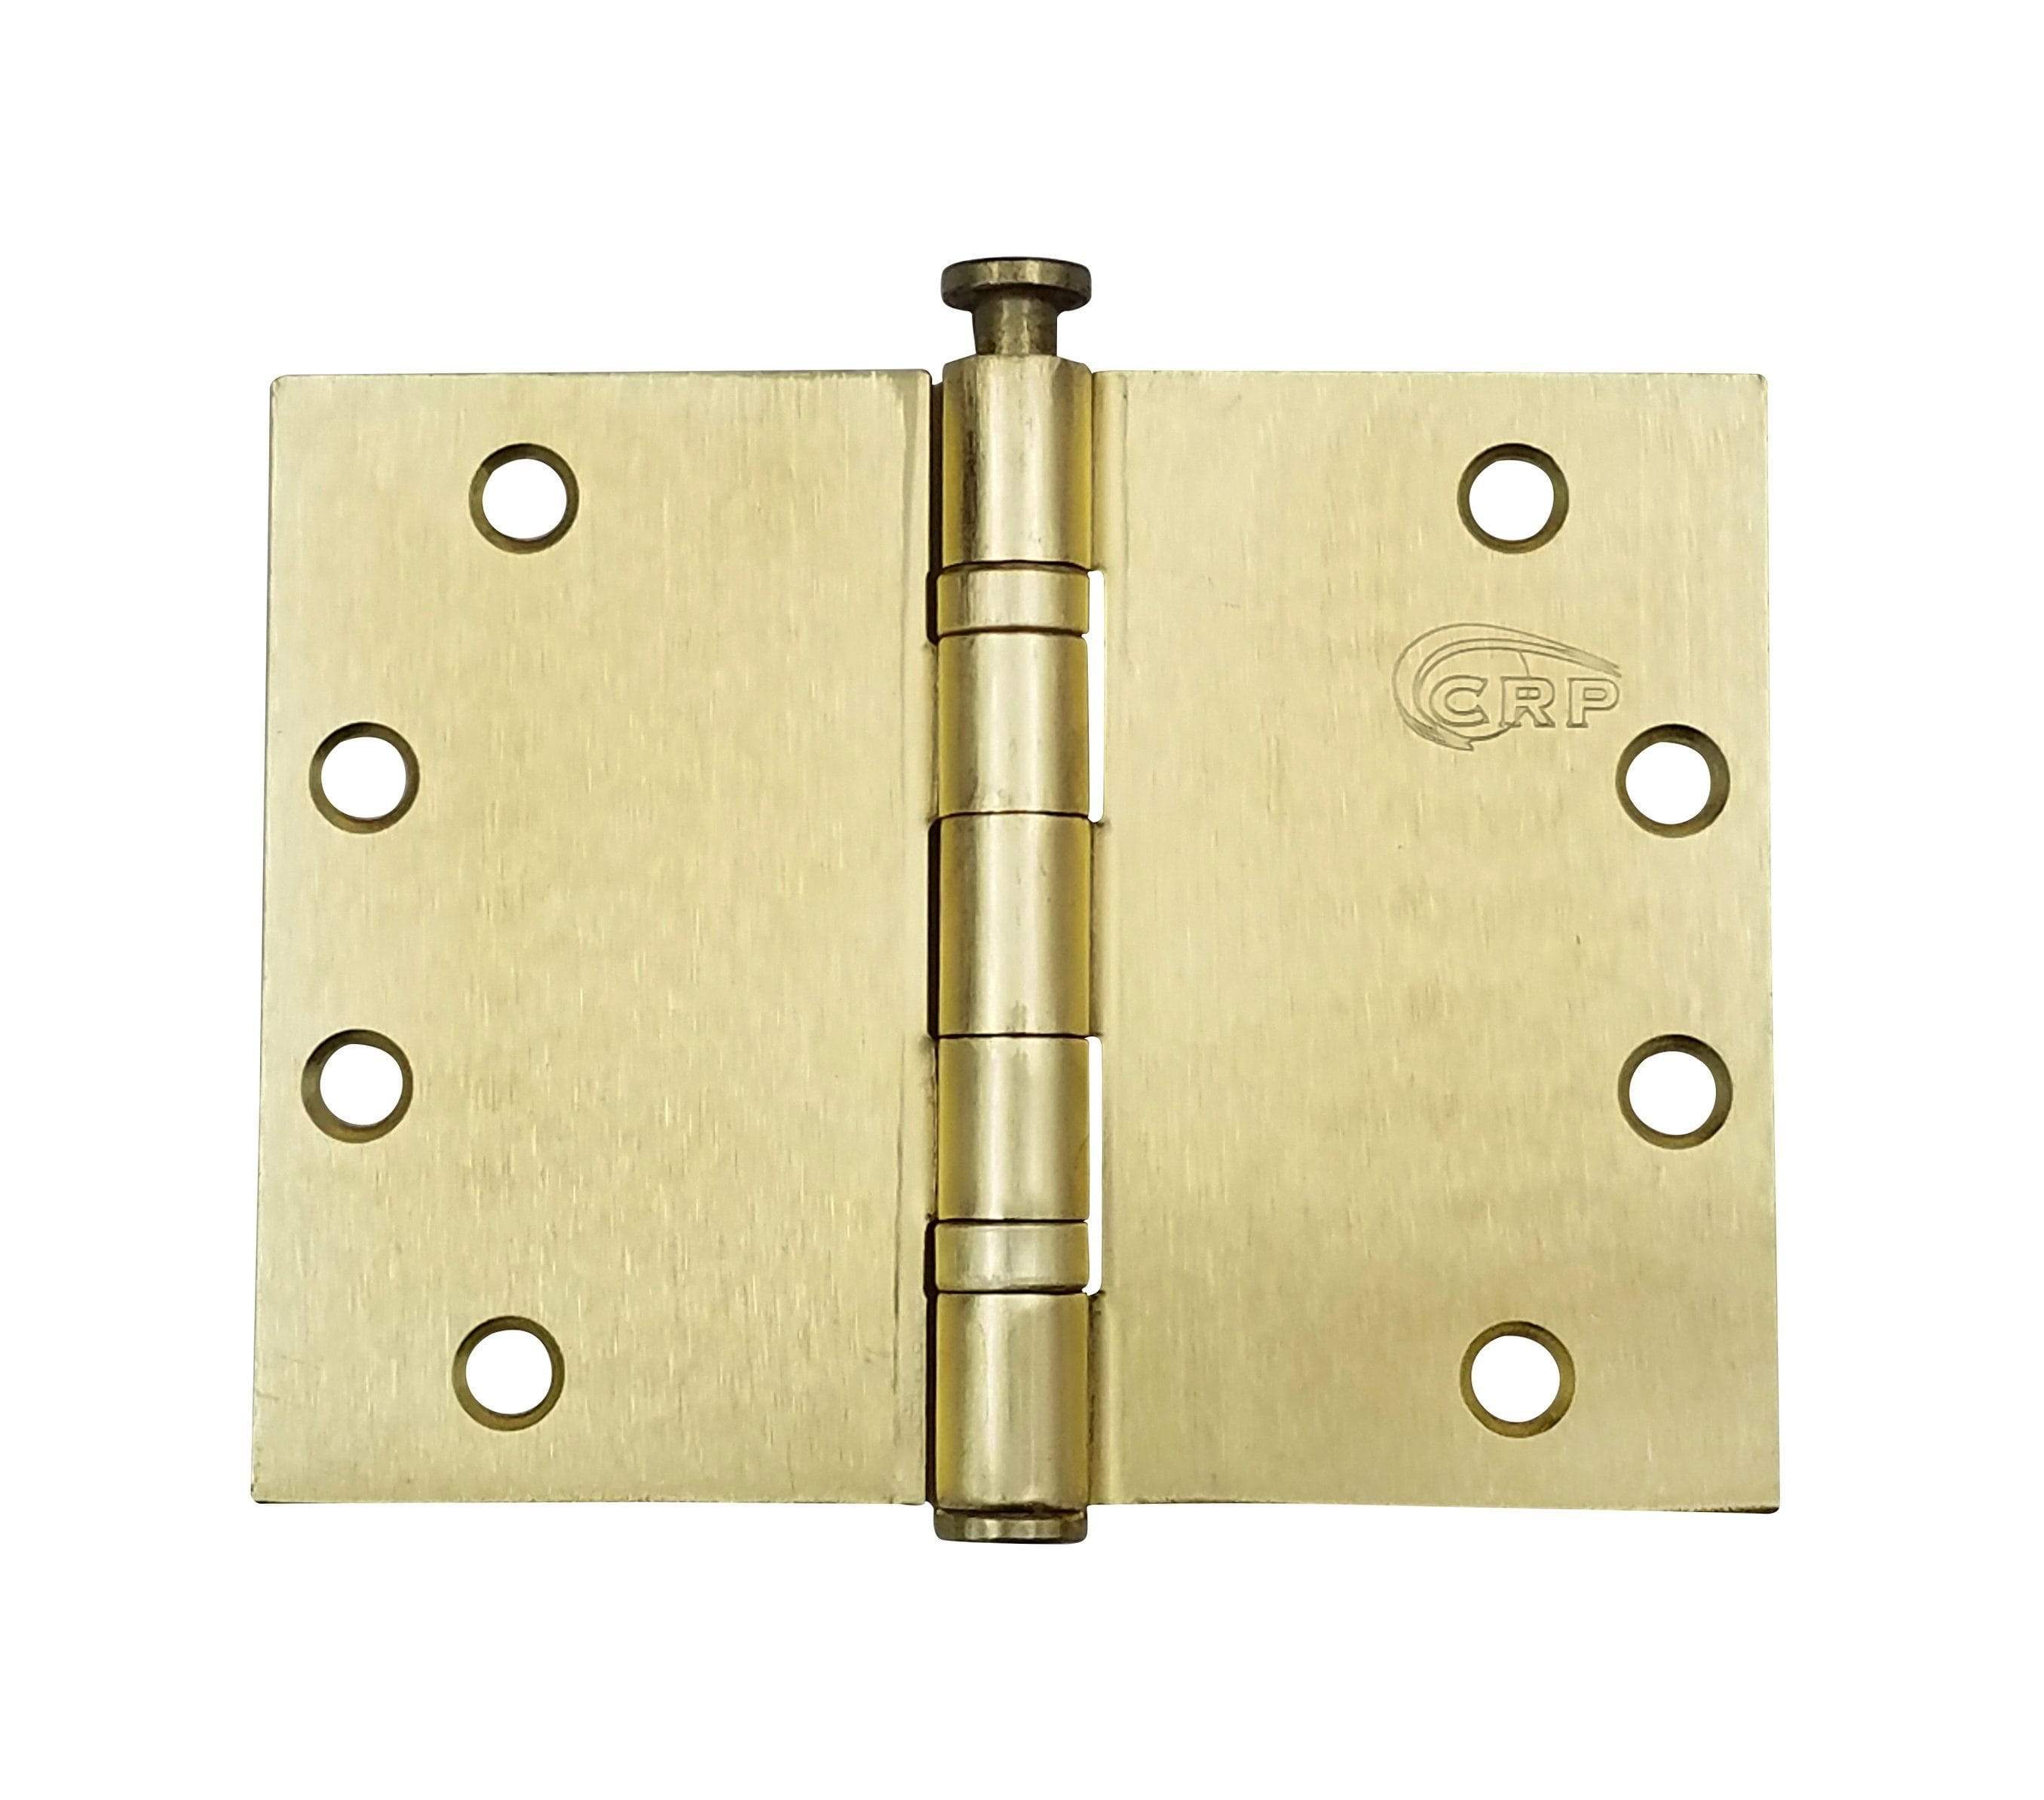
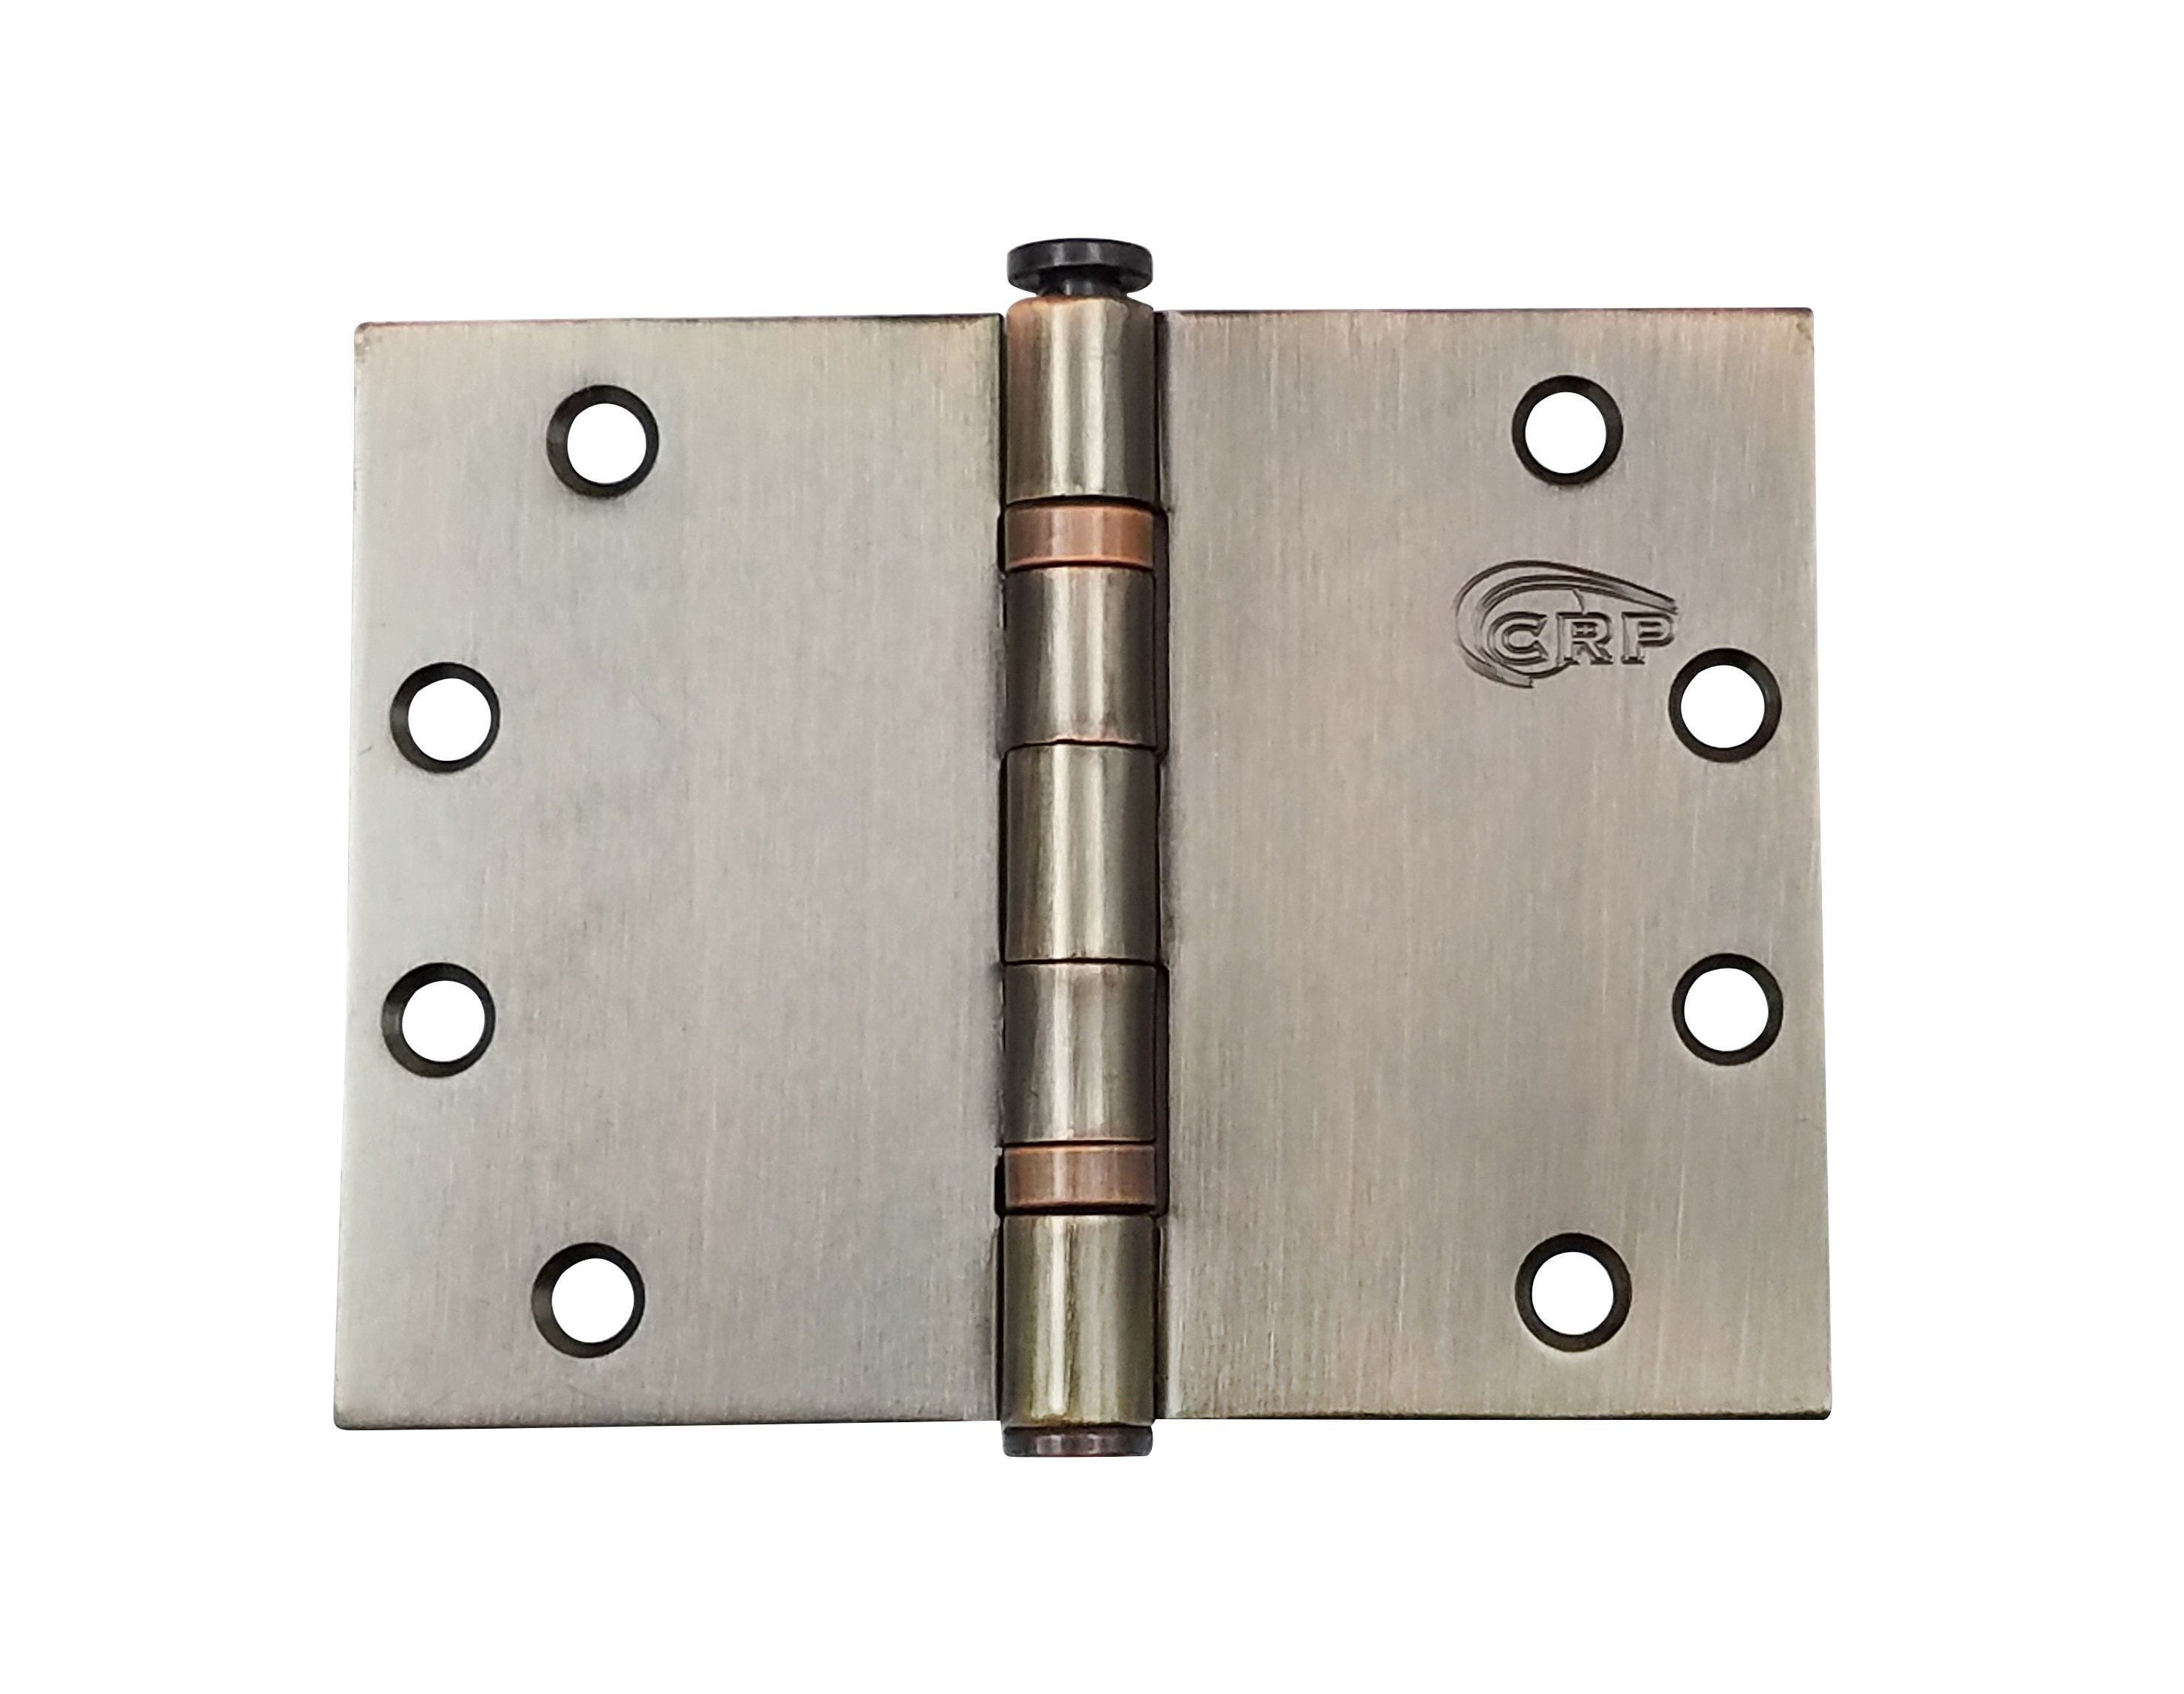
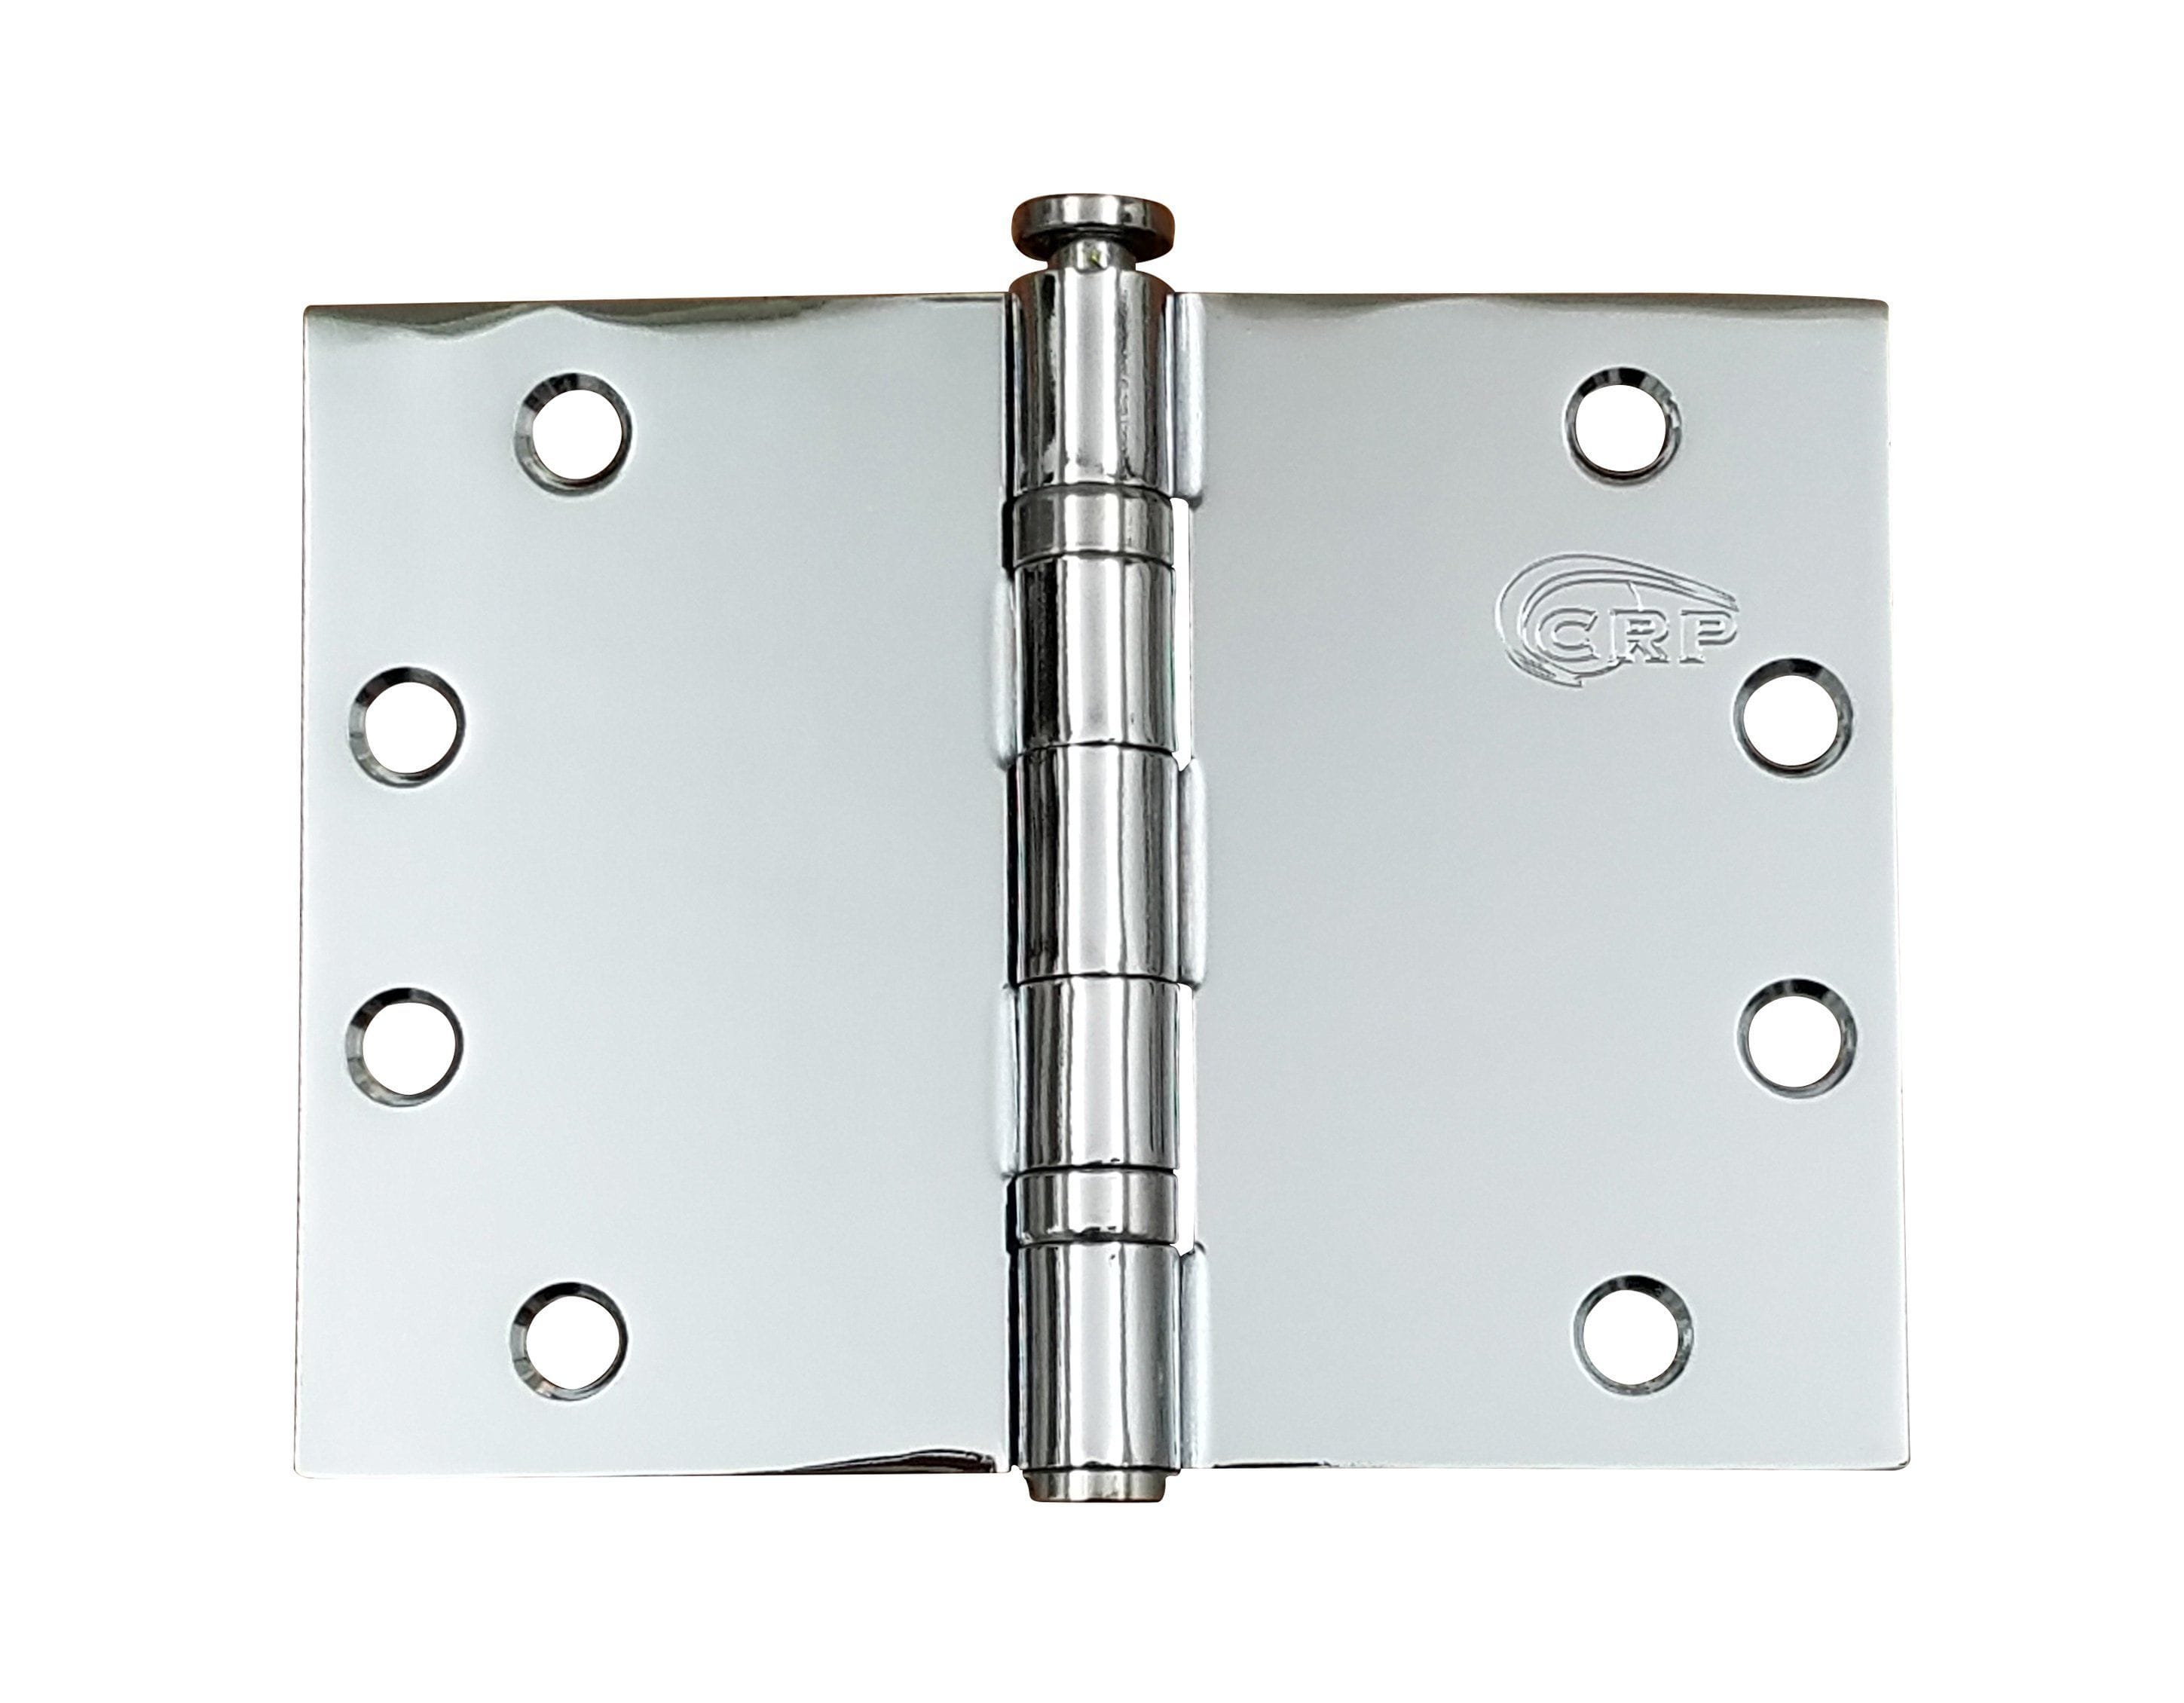
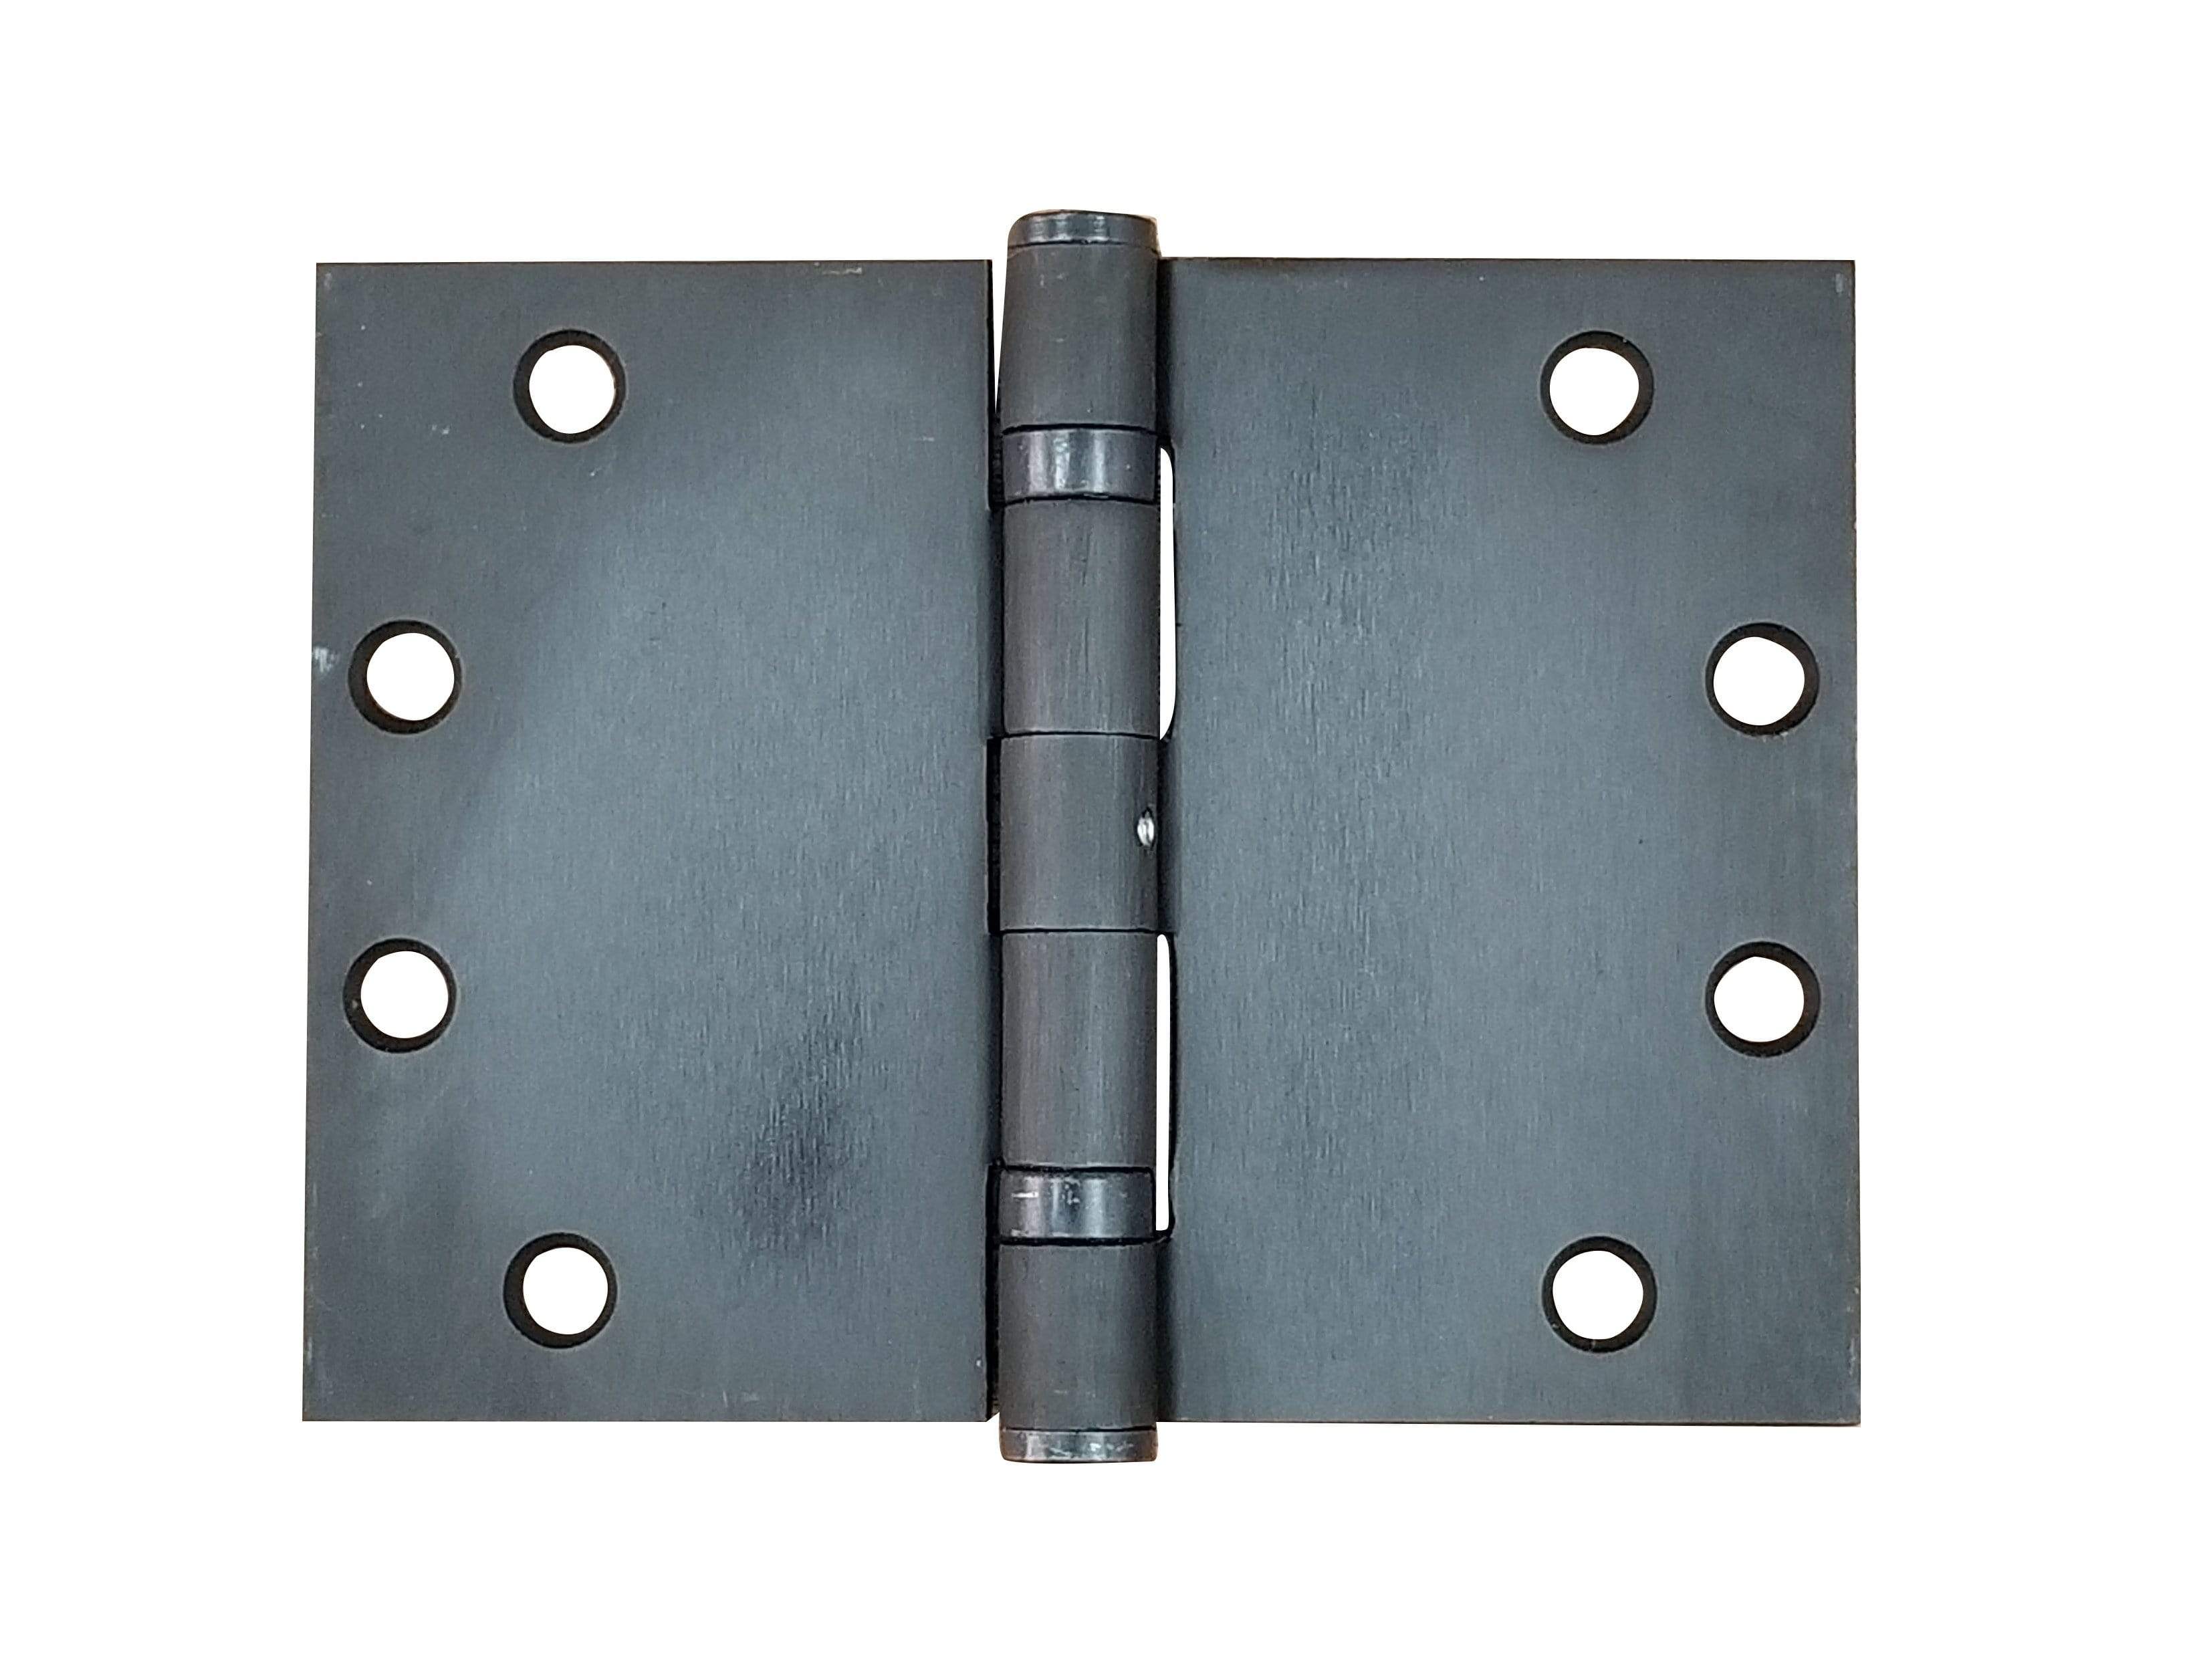
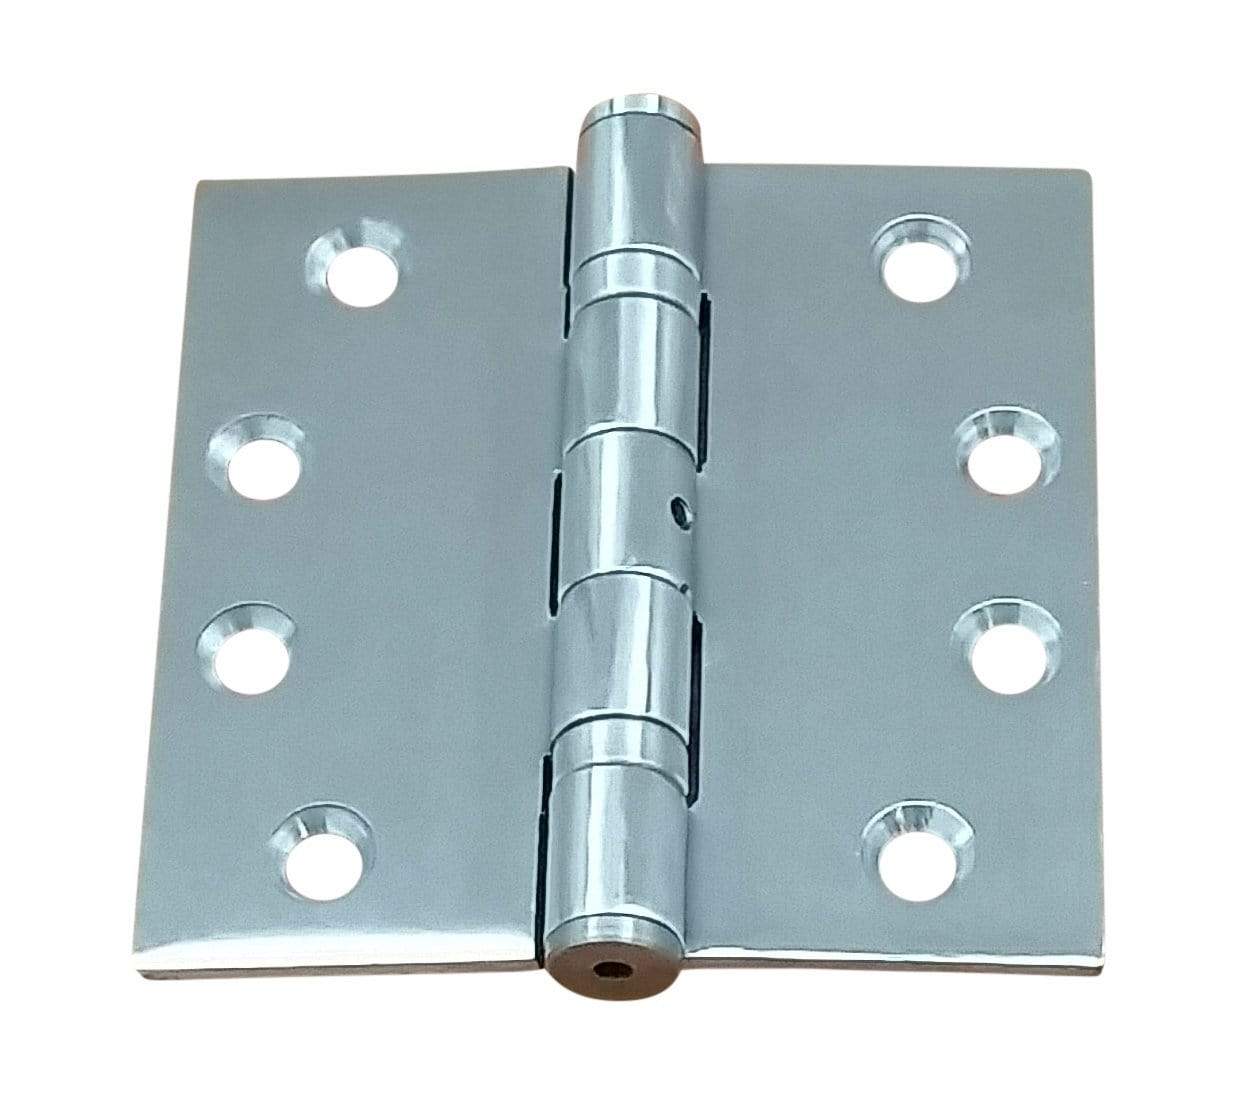
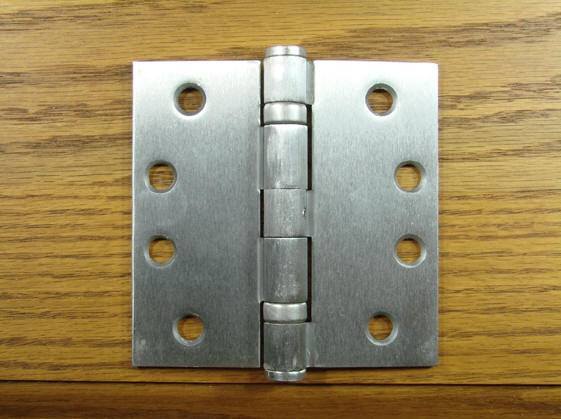
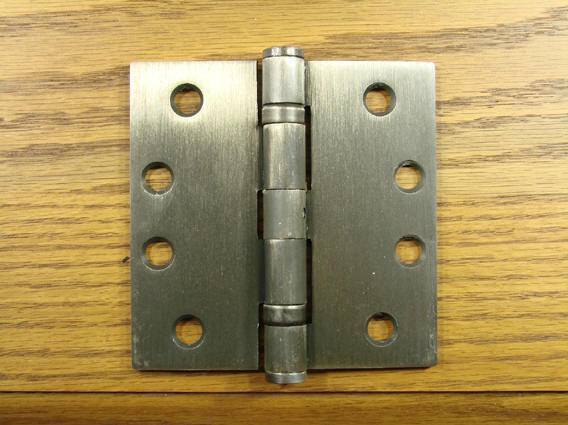
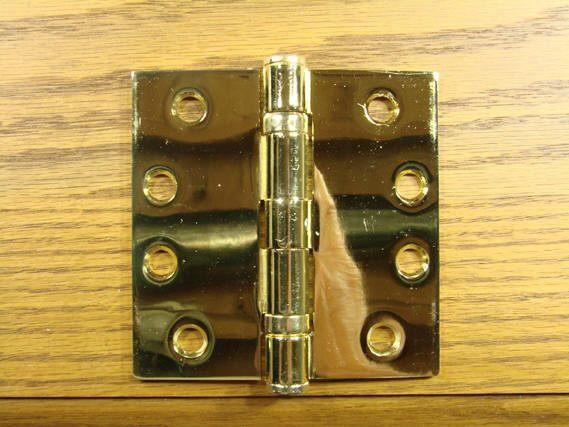
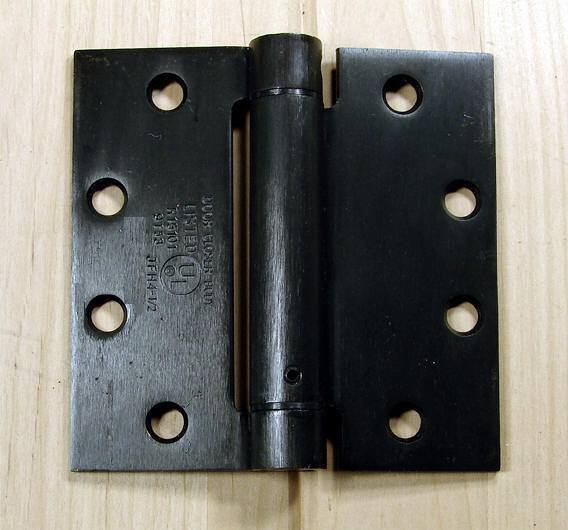
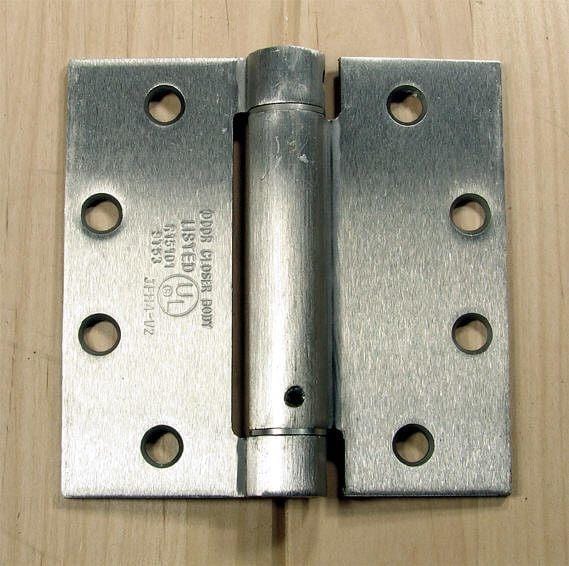
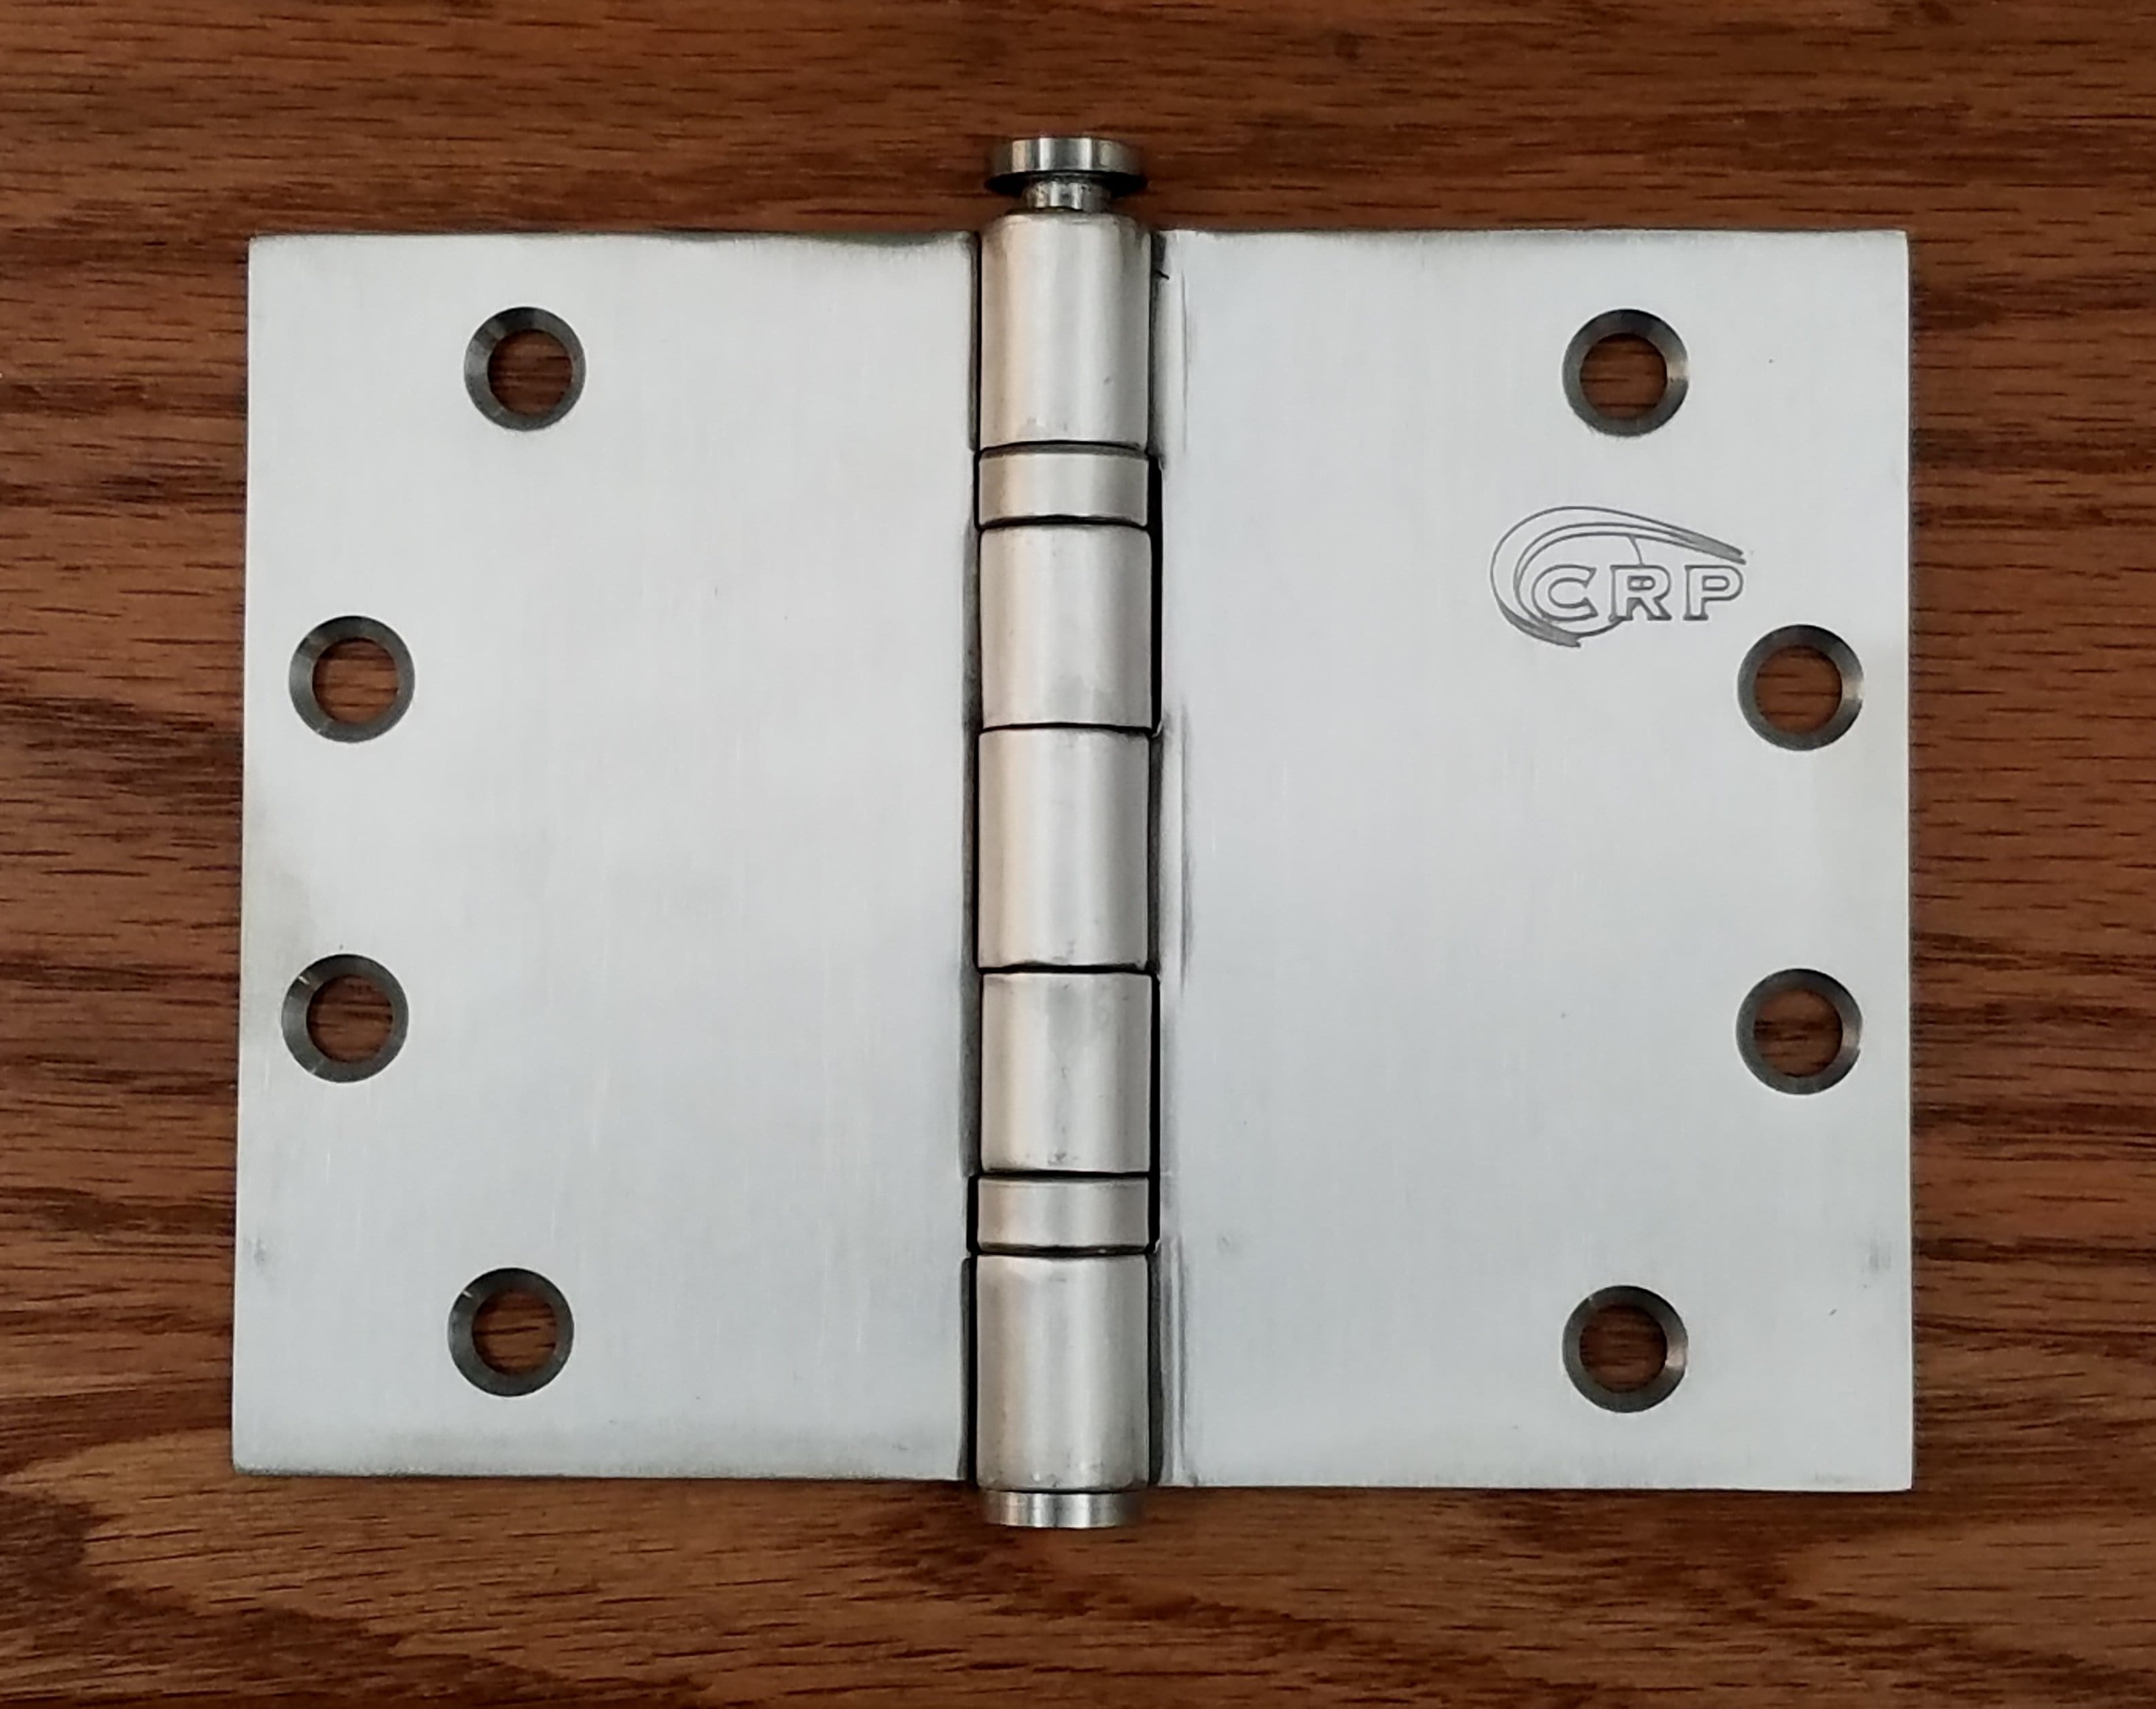
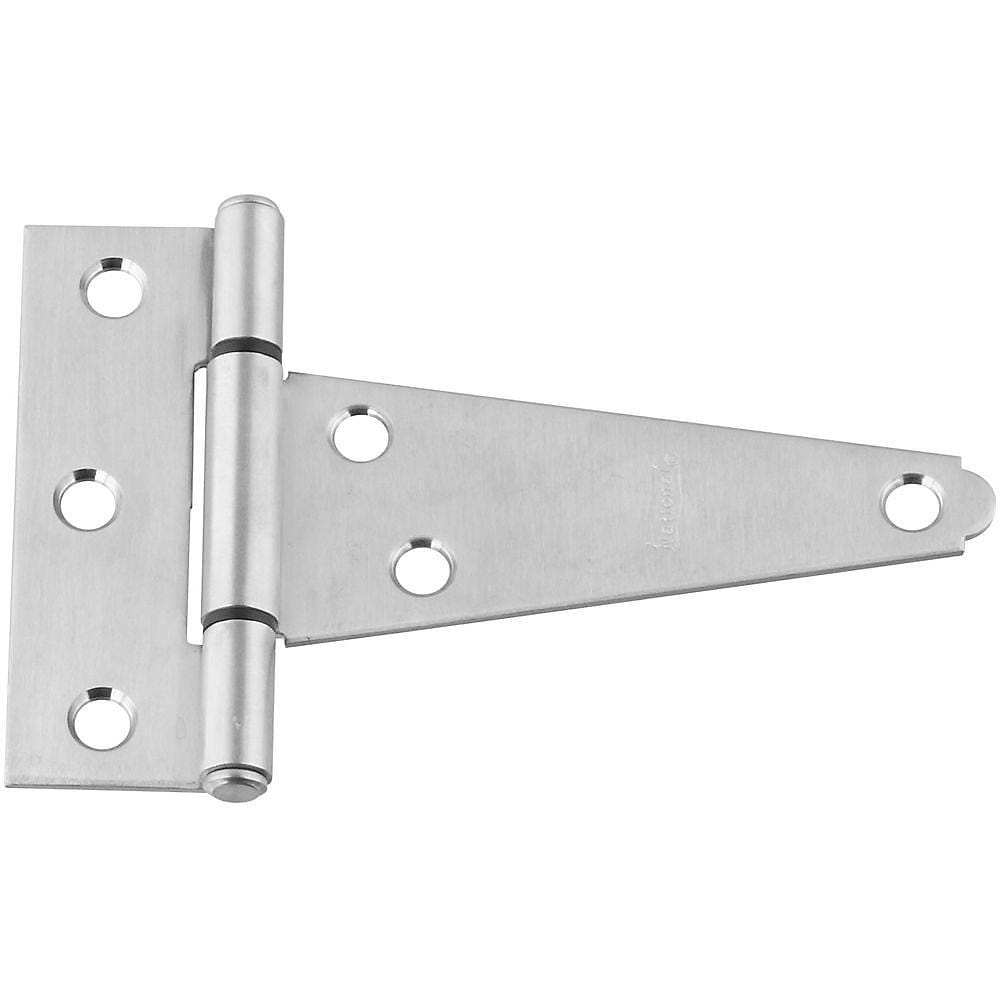
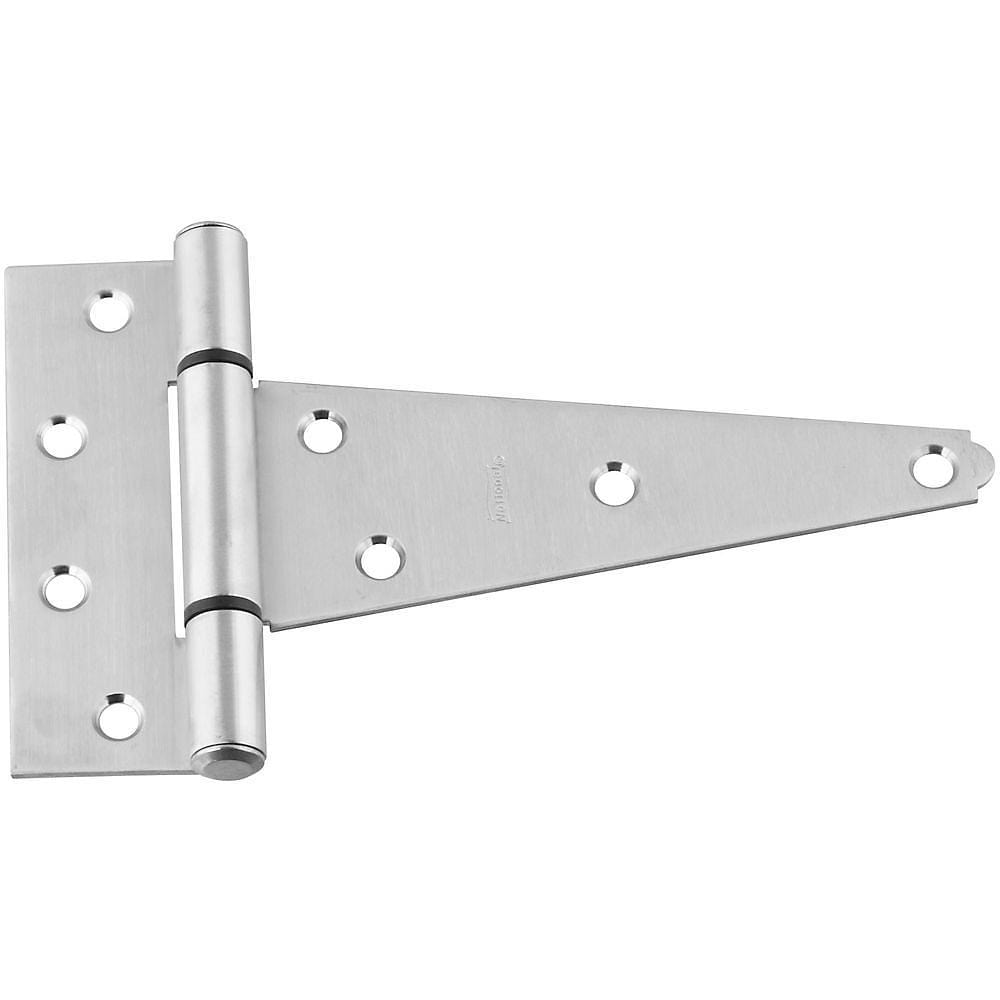
Waterson hinges are appealing for their durability, ease of installation, and self-closing features, making them a popular choice for residential and commercial applications. In this guide, we will walk you through the necessary tools, steps, and important considerations for installing Waterson hinges.
Tools Needed to Install Waterson Hinges

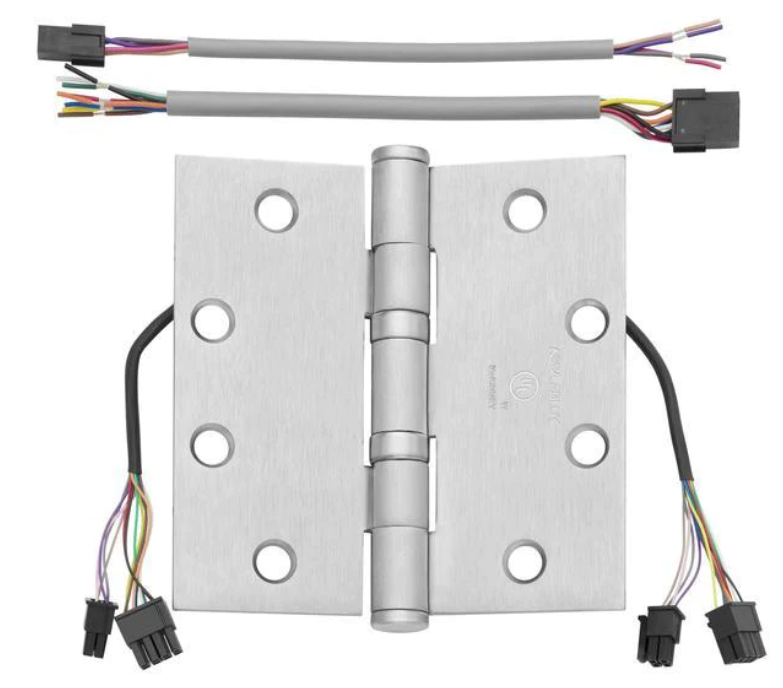
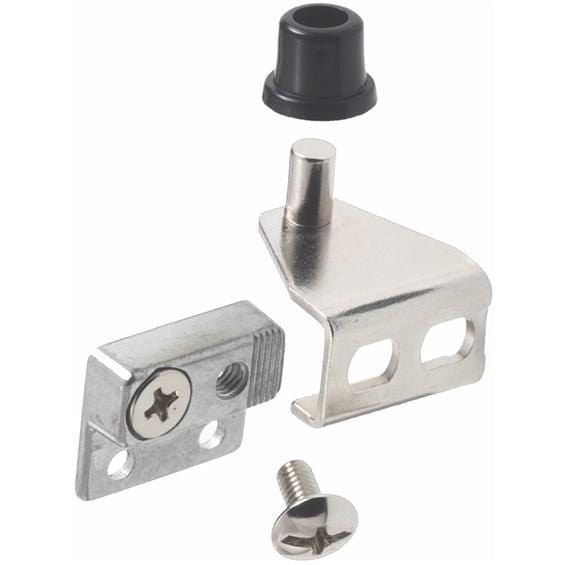
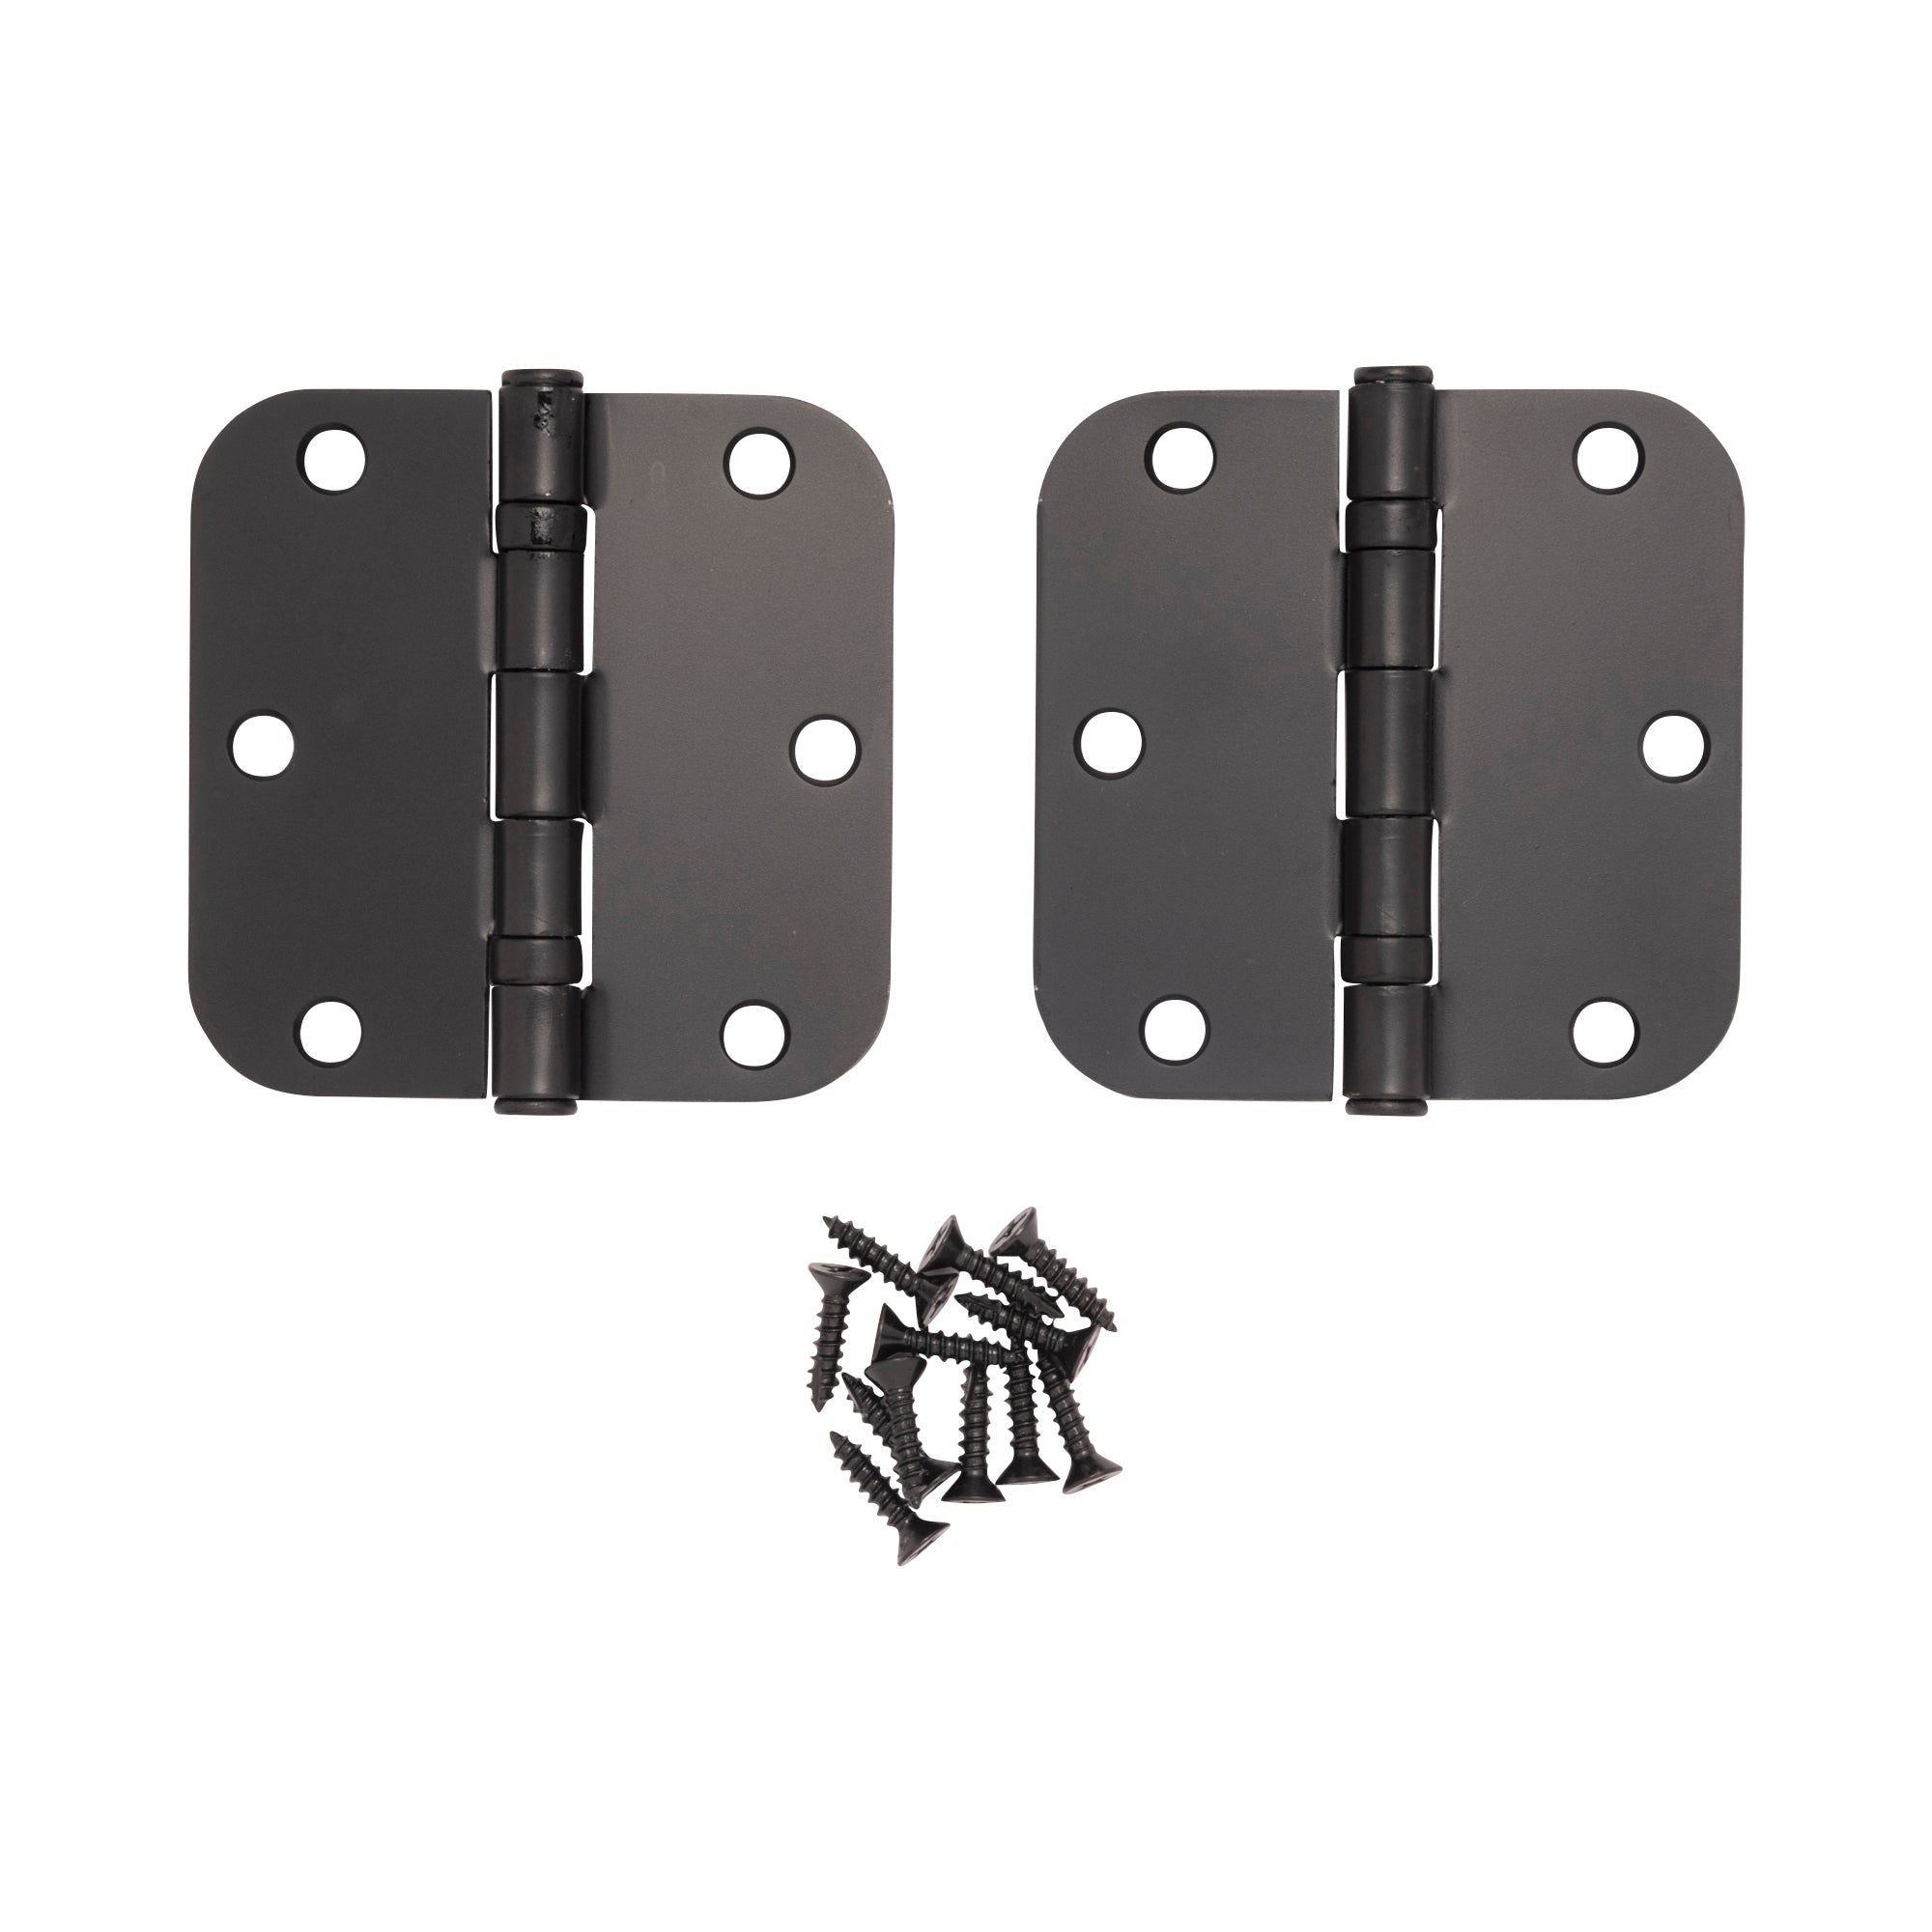
Installation Kits
The following tools are included with a purchased set of Waterson hinges:
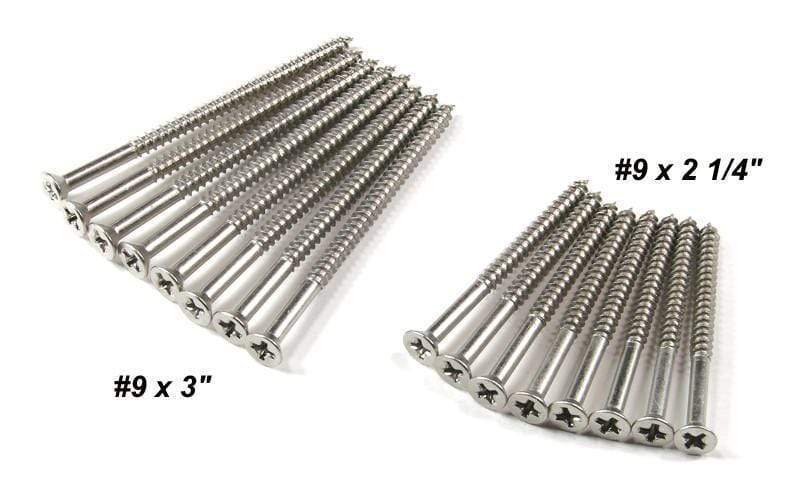
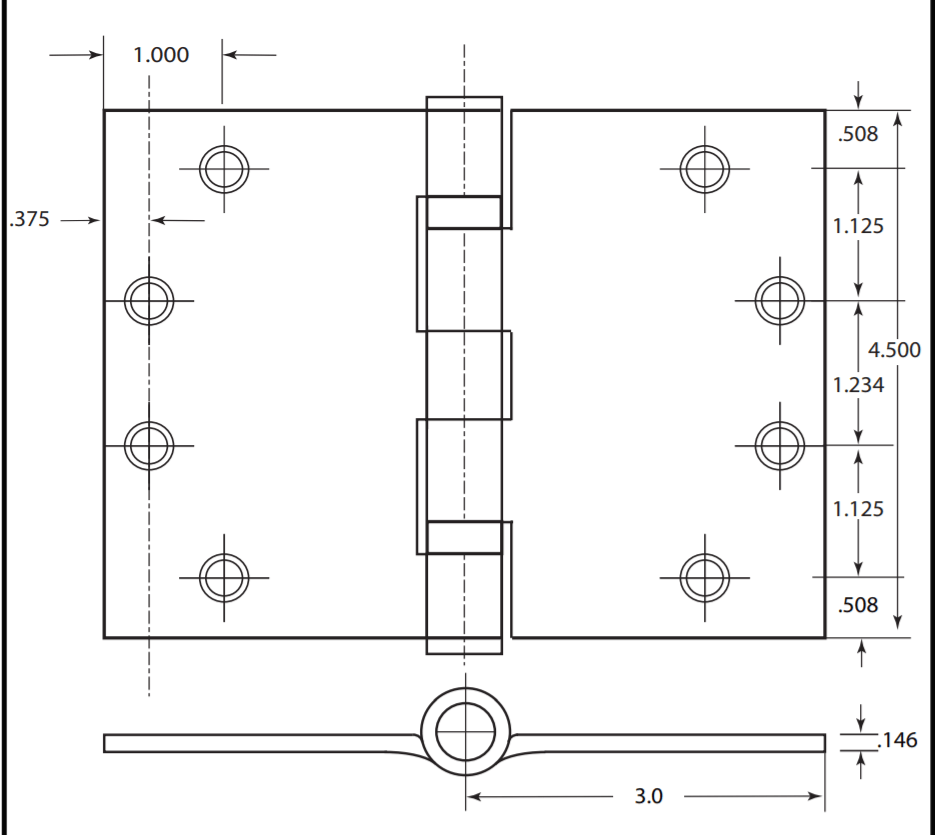
- Machined screws: #12-24 UNC ½” L (8 per hinge)
- Wooden tapping screws: #12 x 1 ¼” (8 per hinge)
- 5 spare screws
- 3 steel adhesive shims for gap adjustment between door and frame as needed
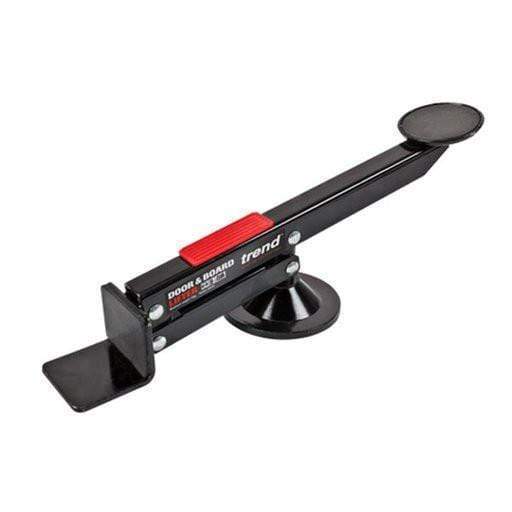
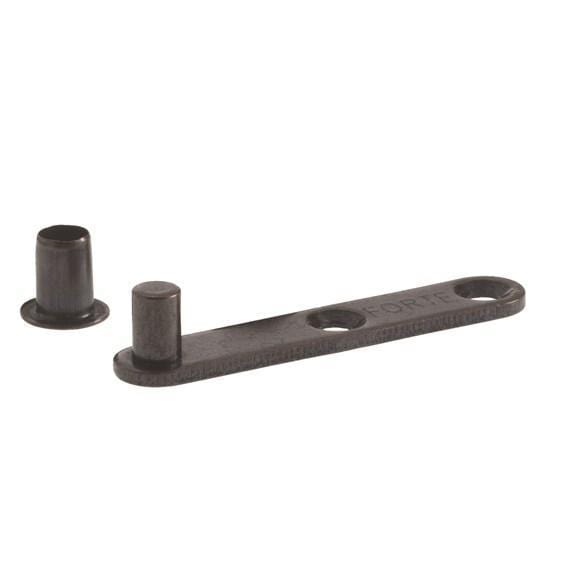
- Tension Crook
- 3mm hex wrench
- 5mm hex wrench
Additional Tools
You will also need these tools for a successful installation:
- Phillips head screwdriver
- Tape measure
- Level
How Many Waterson Hinges Do I Need?

Consider the following factors when determining how many Waterson hinges you need to install:
Door Height
- 2 hinges: 60” or less
- 3 hinges: 61” to 90”
- 4 hinges: 91” to 120”
Door Weight

Three Waterson hinges can support 260 lbs.

Four Waterson hinges can support up to 330 lbs., depending on the type of hinge model:
- 330 lbs: Models A4 and B4
- 260 lbs: Models C4 and D4
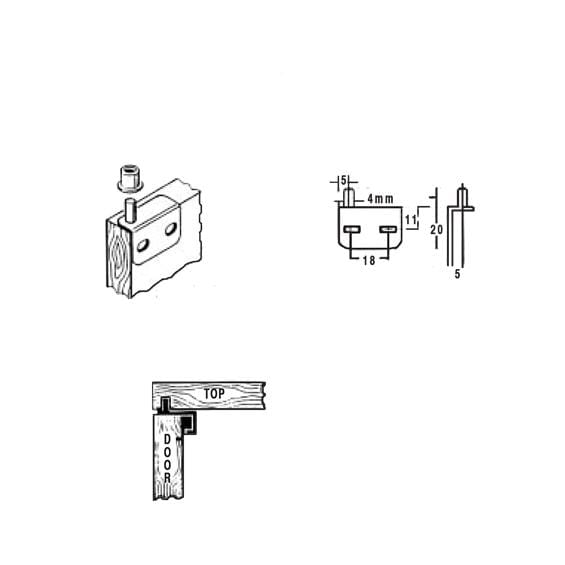
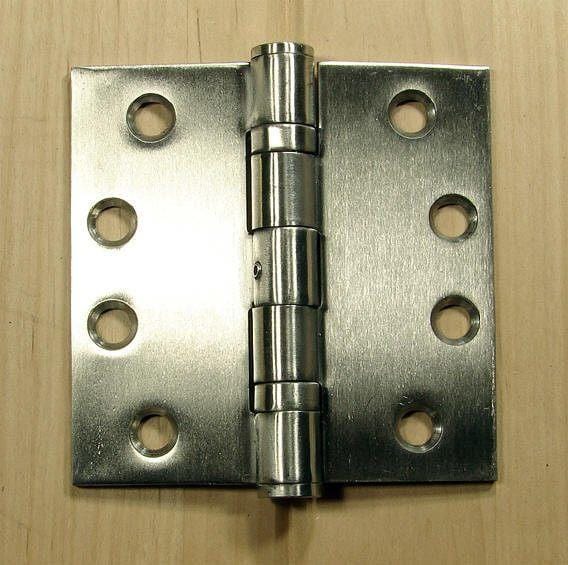
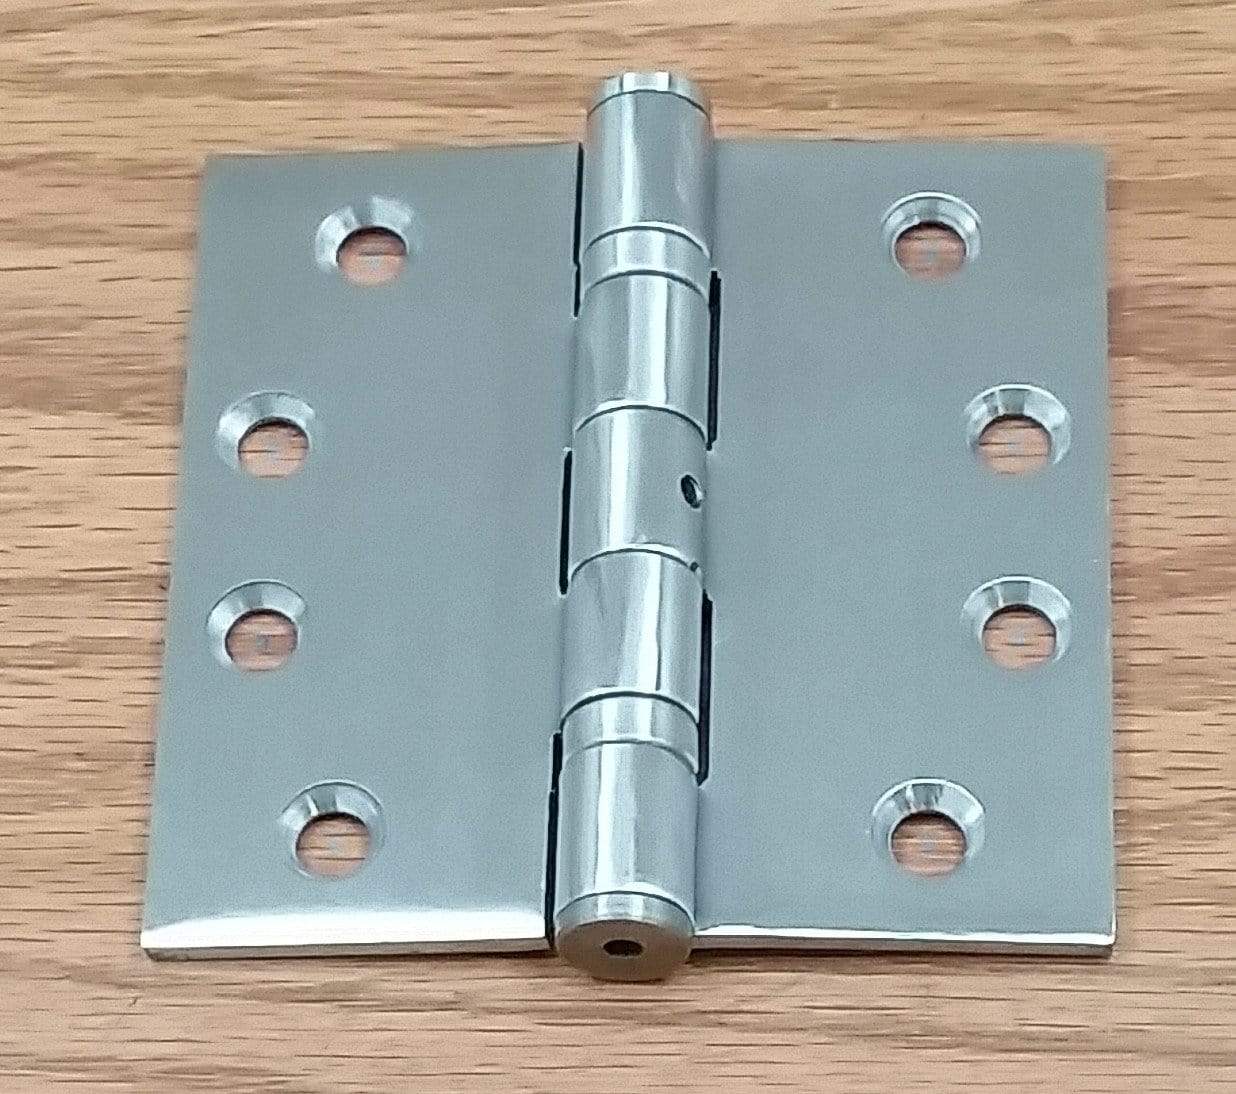
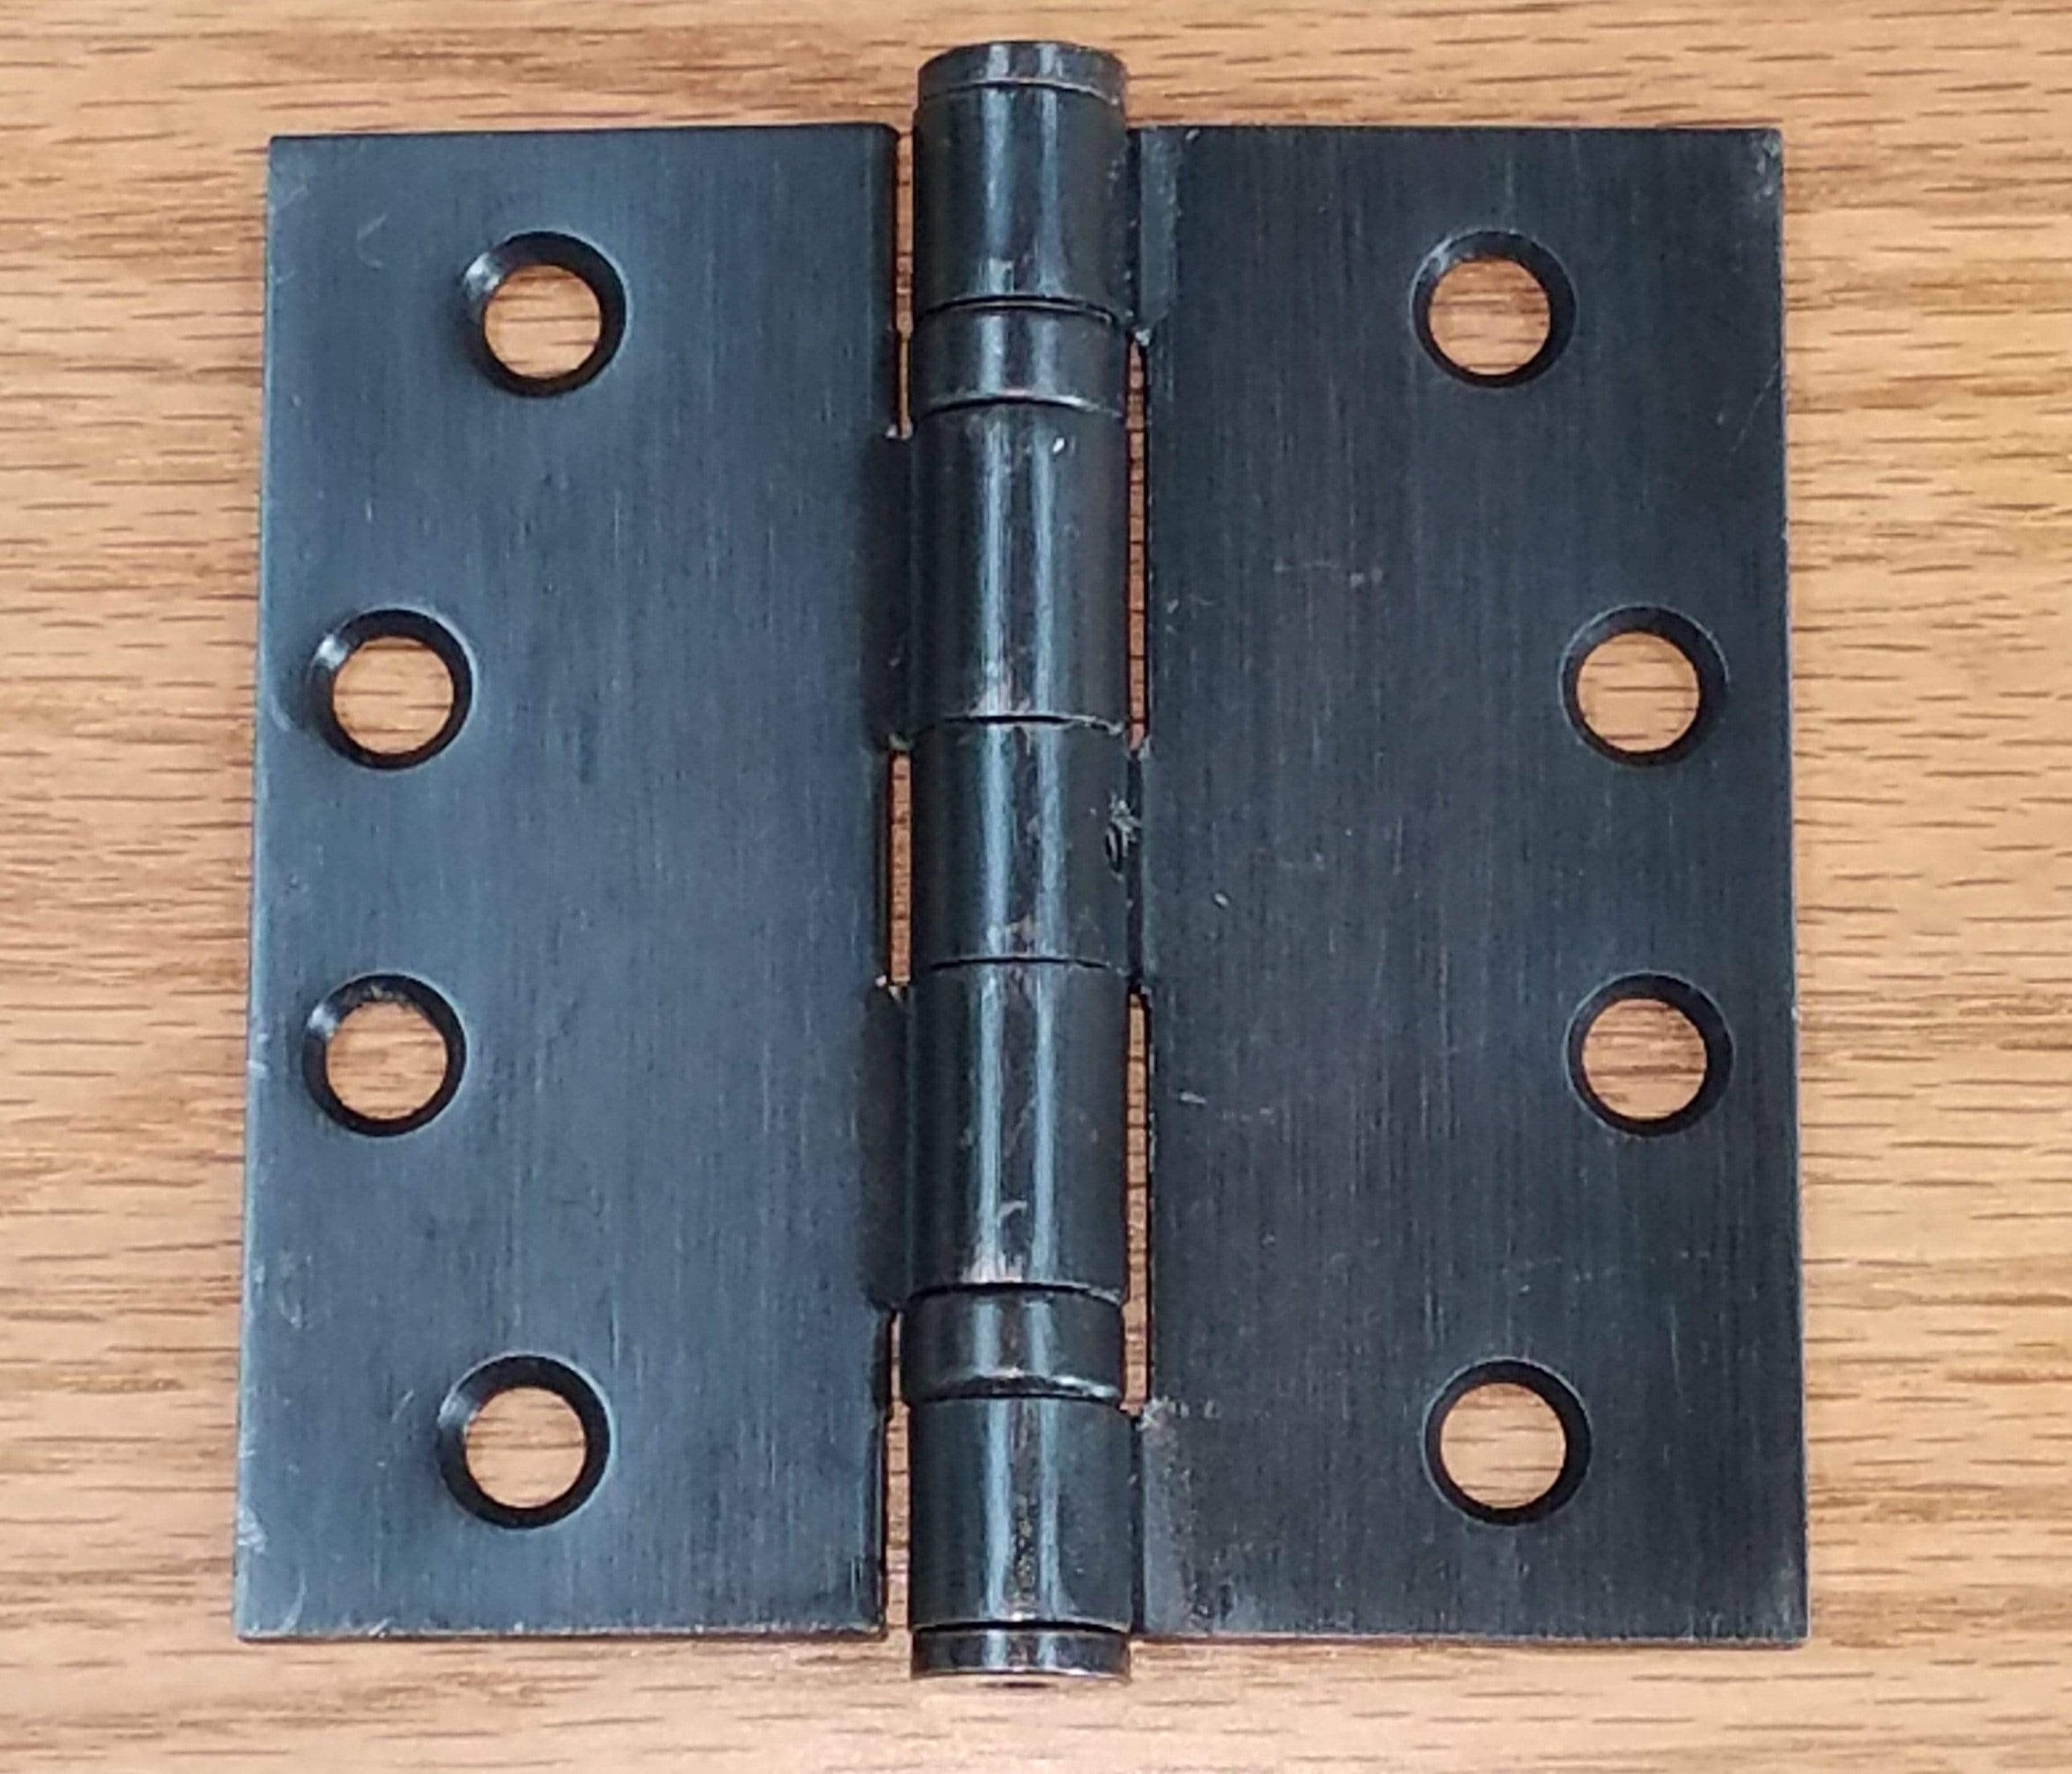
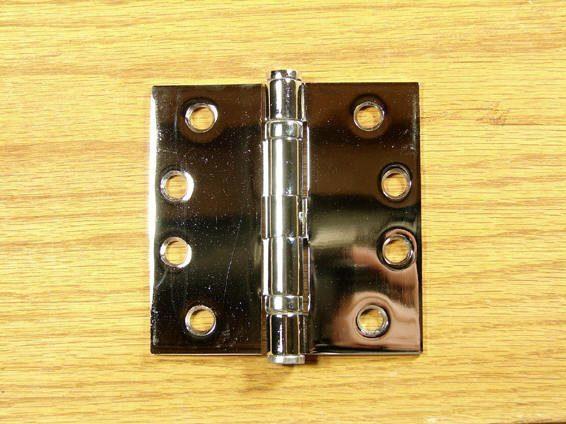
How to Install Waterson Hinges

1. Prepare the Door and Door Frame
Measure and Mark: Use a tape measure to determine the proper placement for your hinges. Mark the spots on the door and the door frame where the hinges will be attached.
Check Alignment: Use a level to confirm your marks are properly aligned.
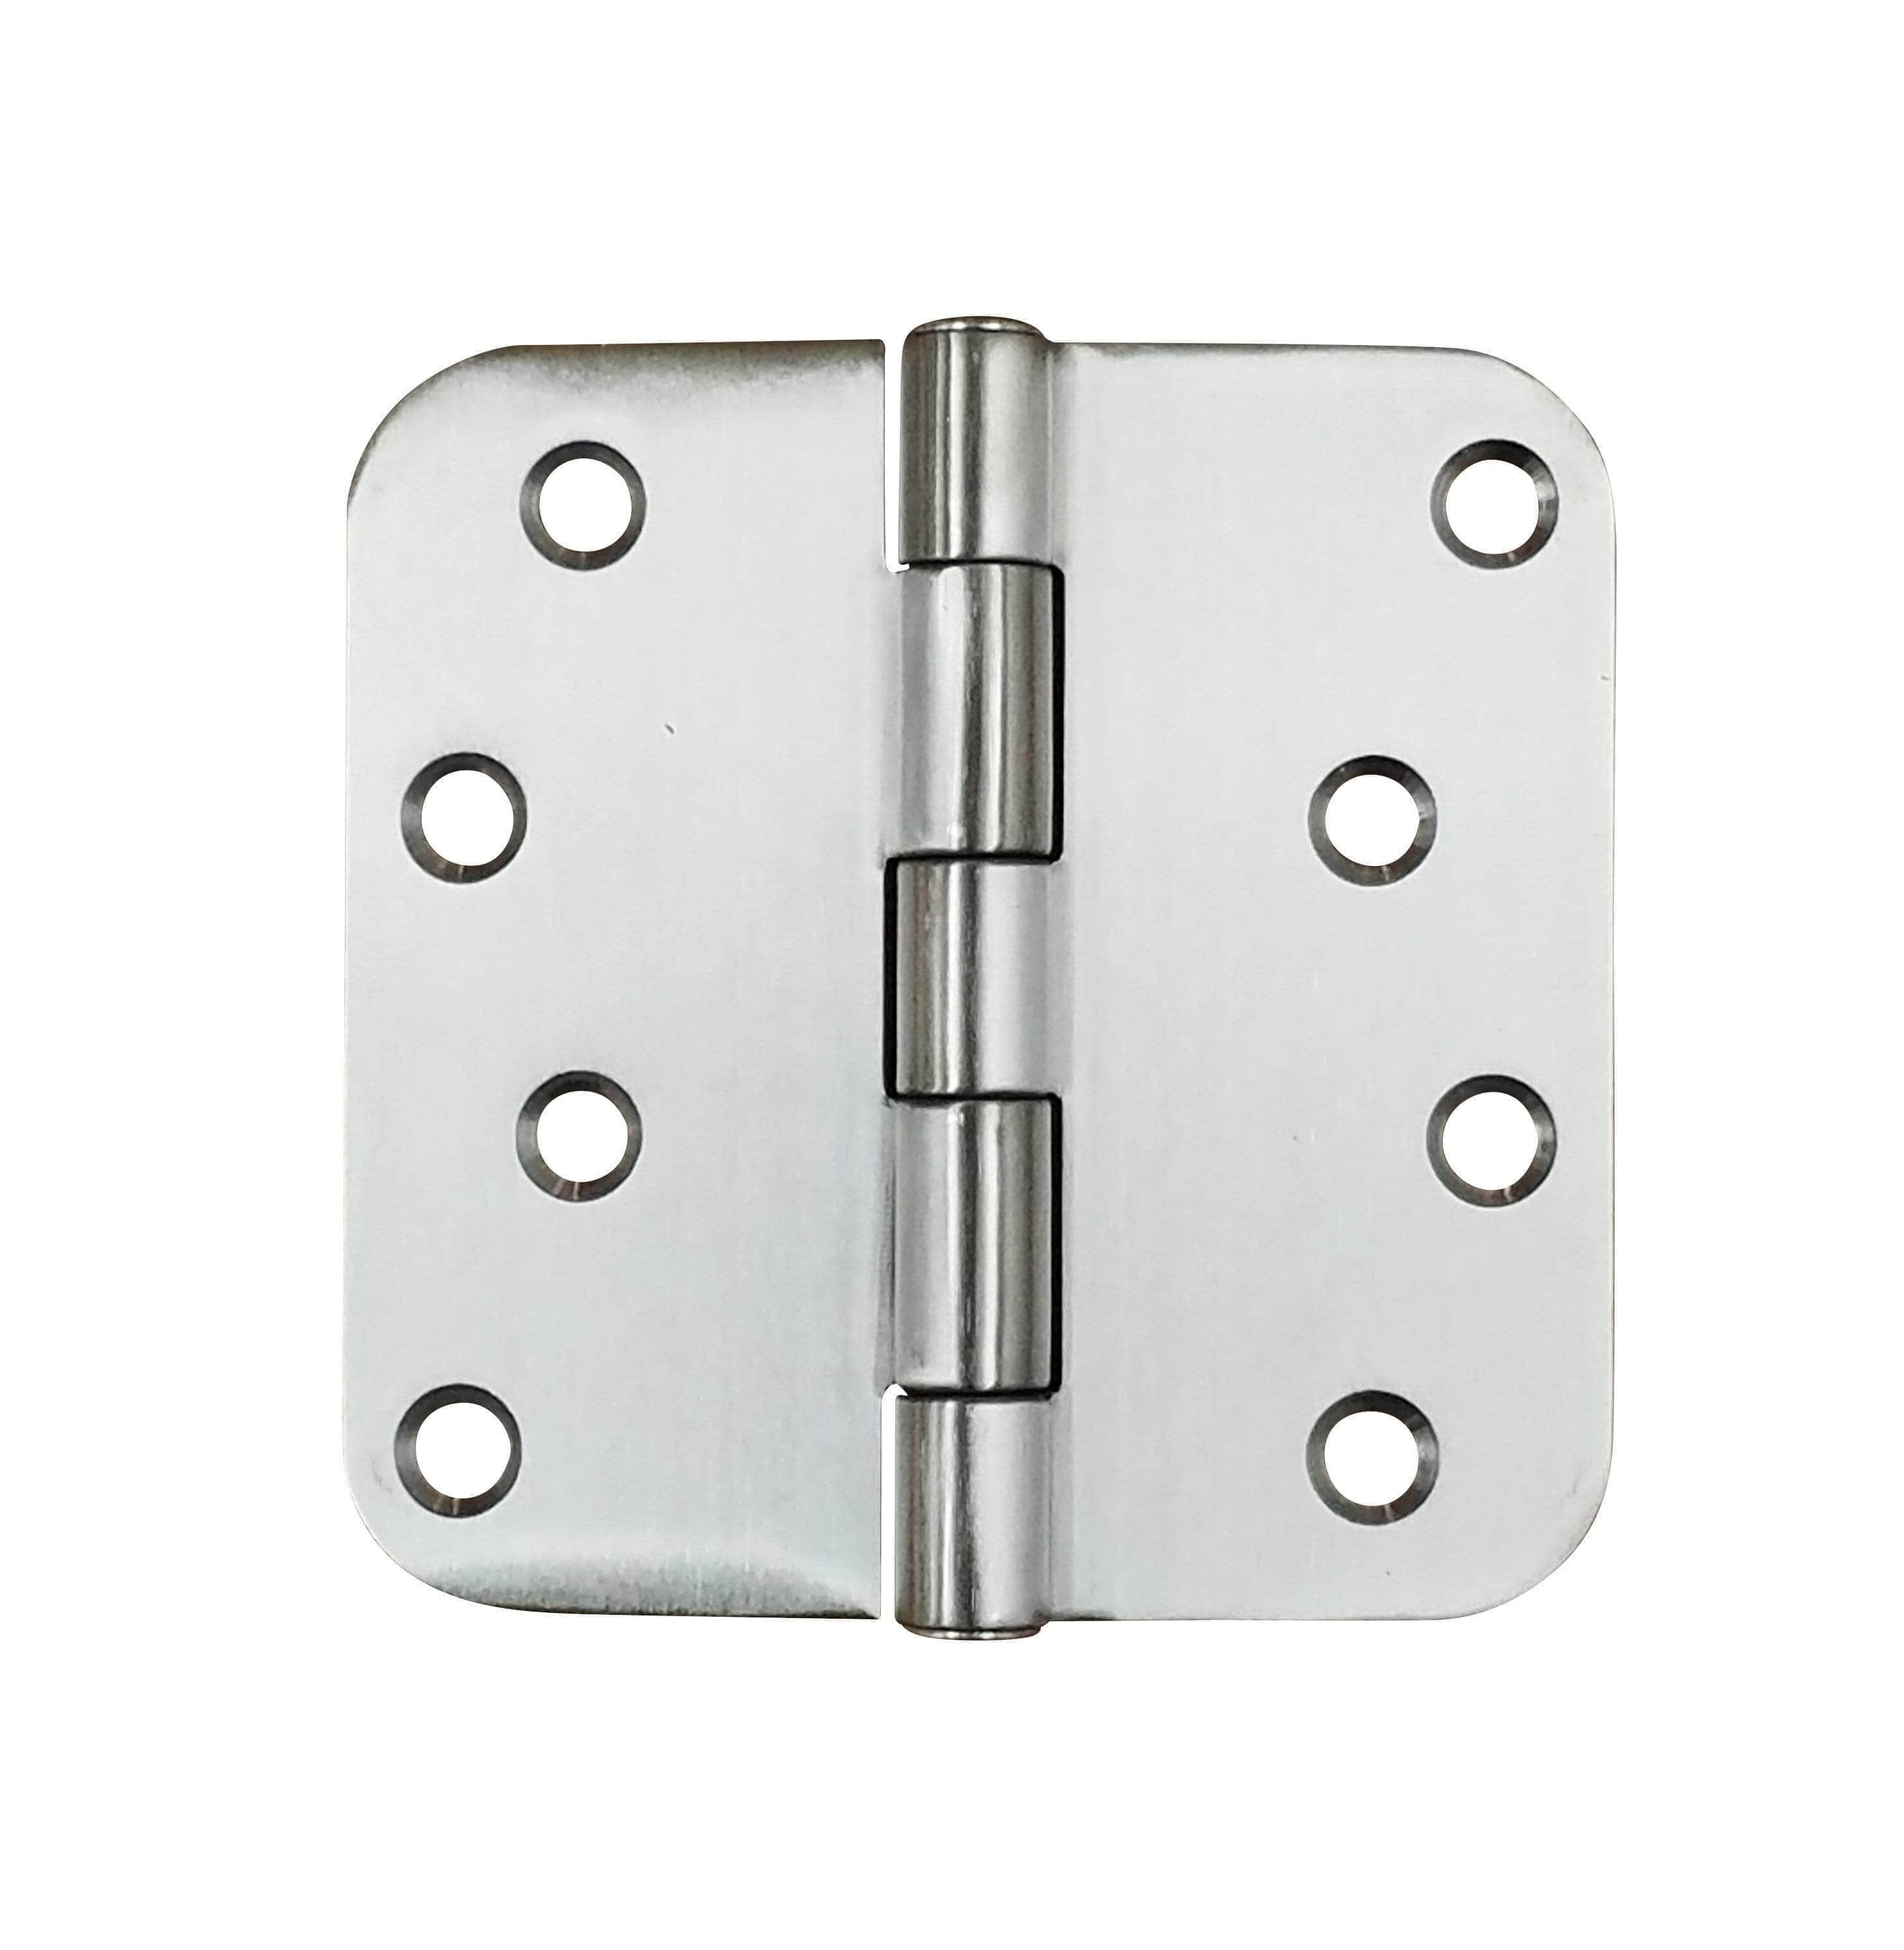
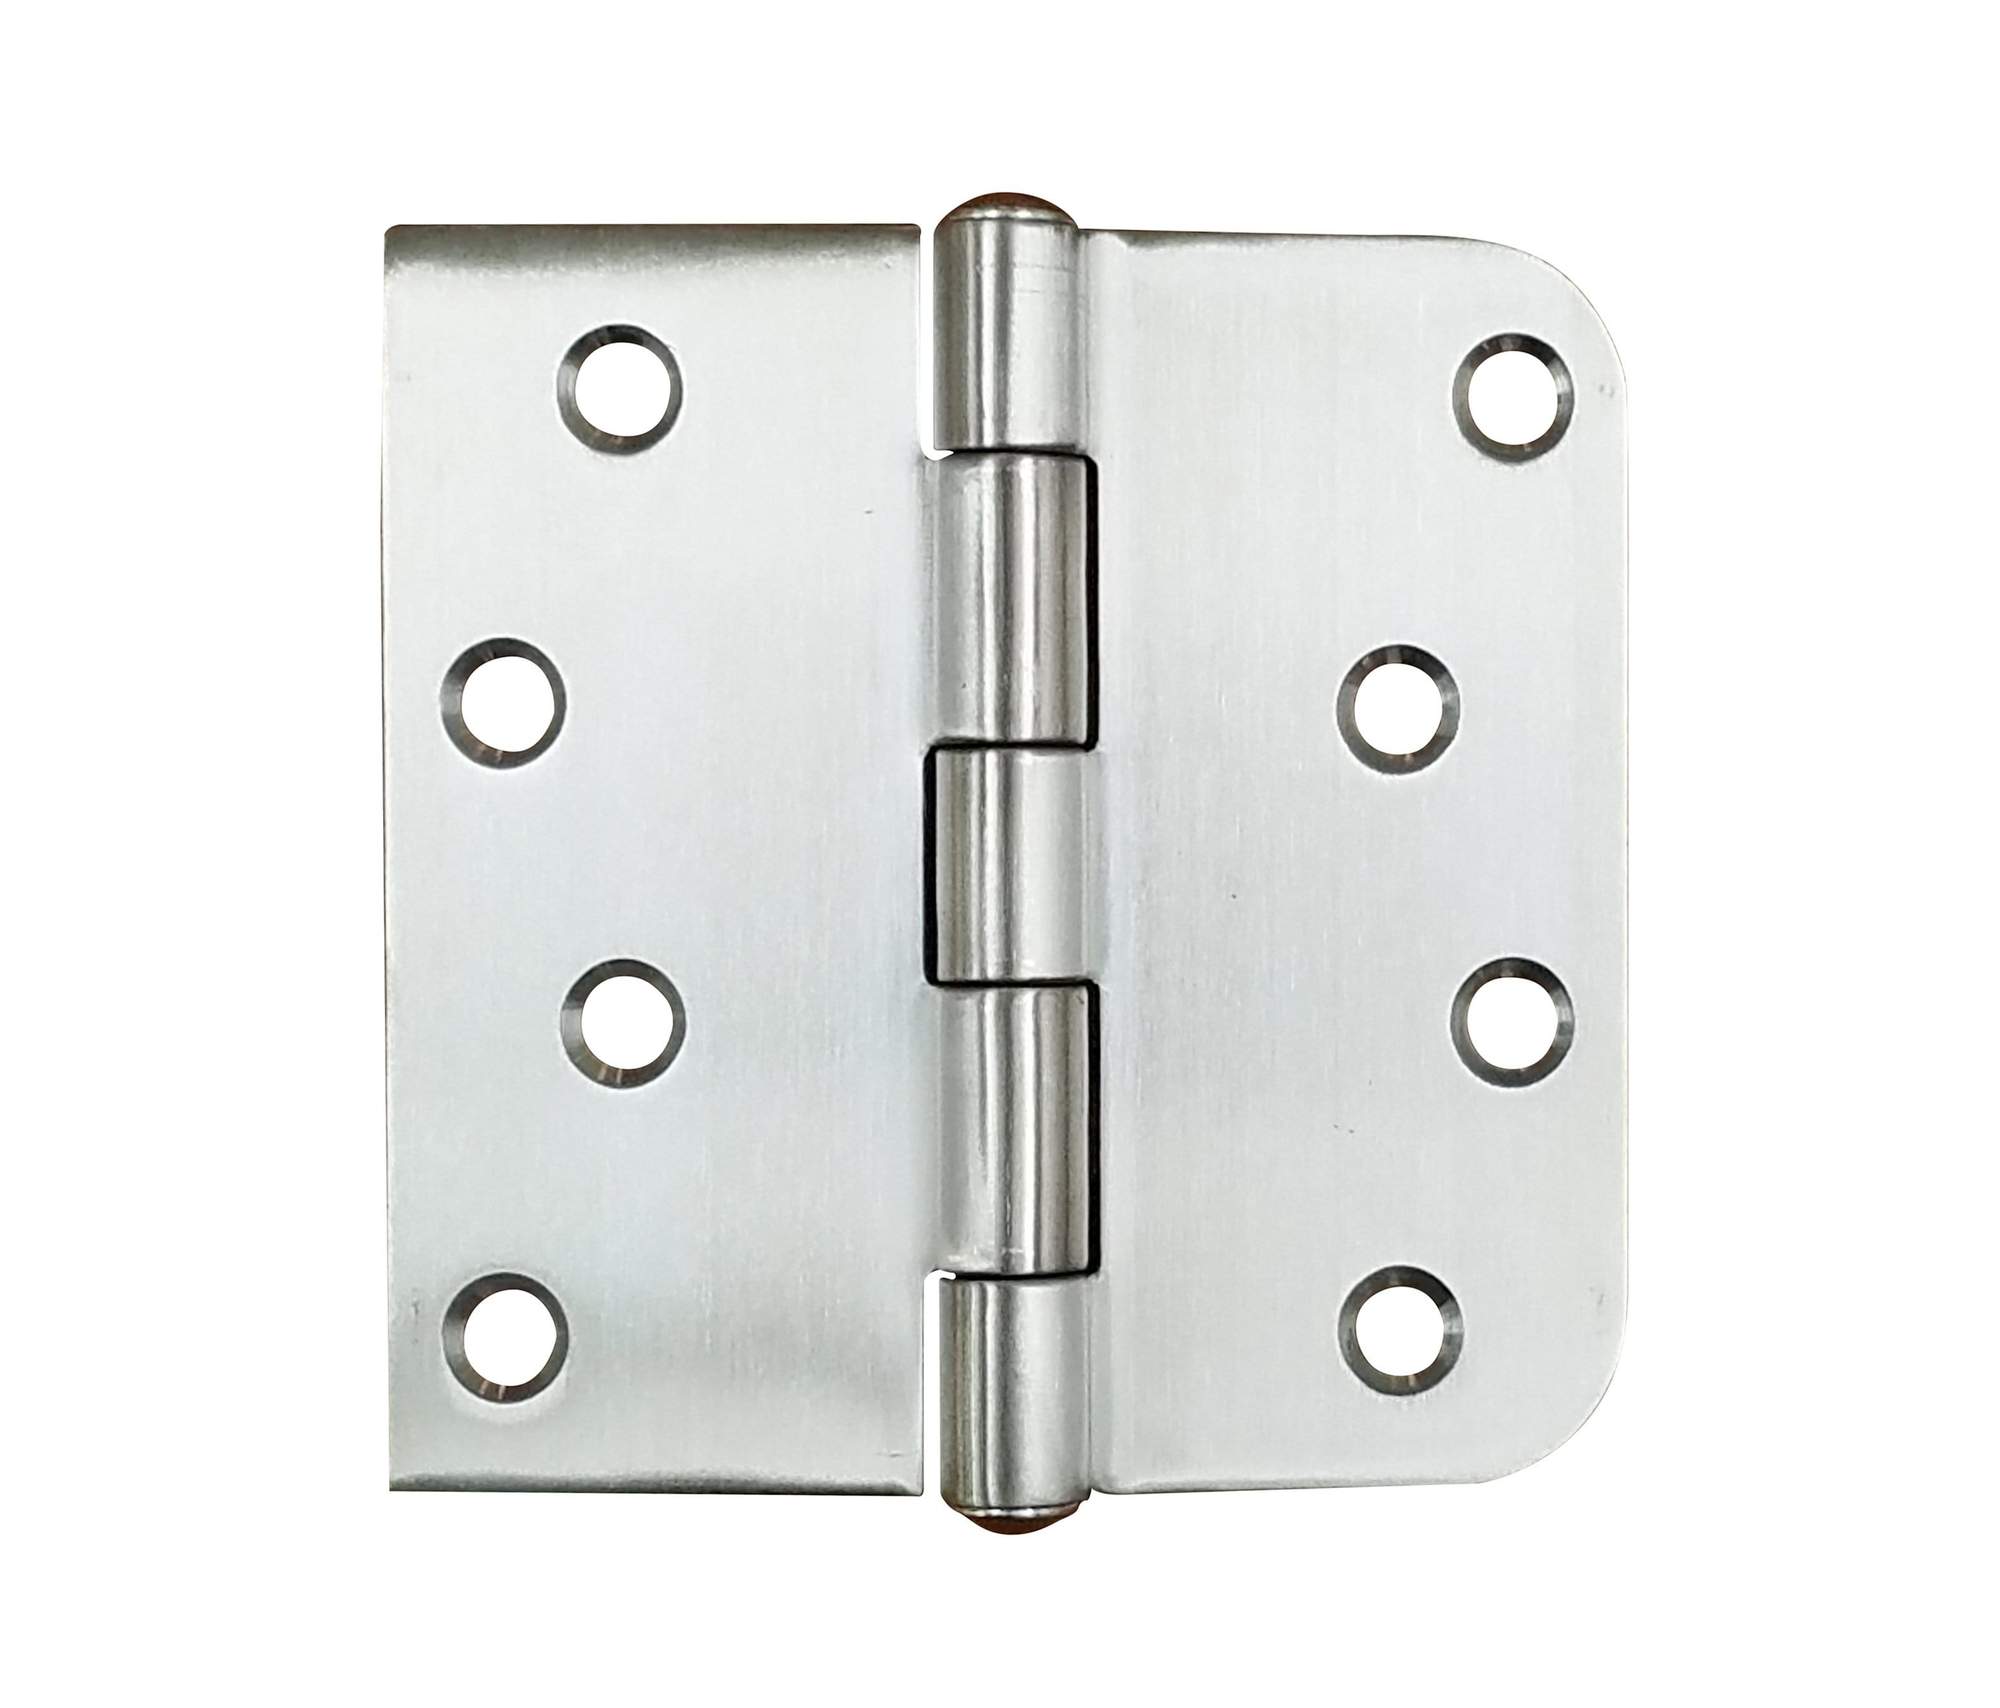
2. Attach the Hinges to the Door
Position the Hinge: Place the hinge on the door, aligning it with the marks you made earlier.
Secure with Screws: Use your Phillips head screwdriver to attach the hinge to the door with screws. Make sure the screws are tight, but be careful not to strip them.
3. Attach the Door to the Frame
Align the Door: With the hinges attached to the door, lift the door into position, aligning the hinges with the marks on the door frame.
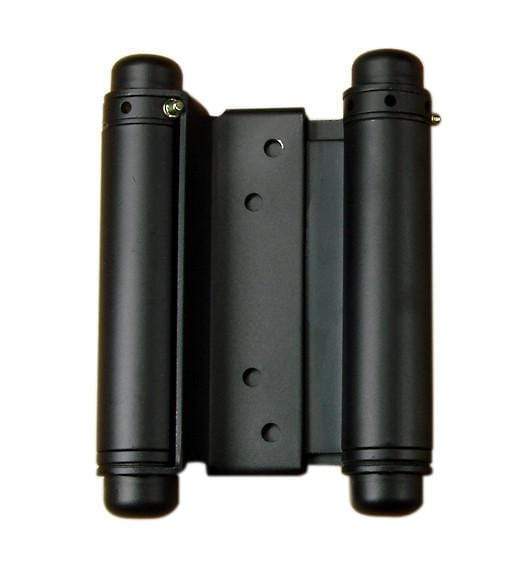
Use the Tension Crook: Insert the Tension Crook into the hinge to keep it open, ensuring a smoother process as you align the door with the frame.
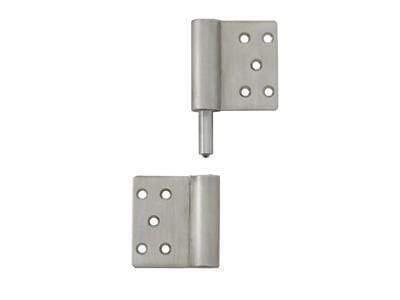
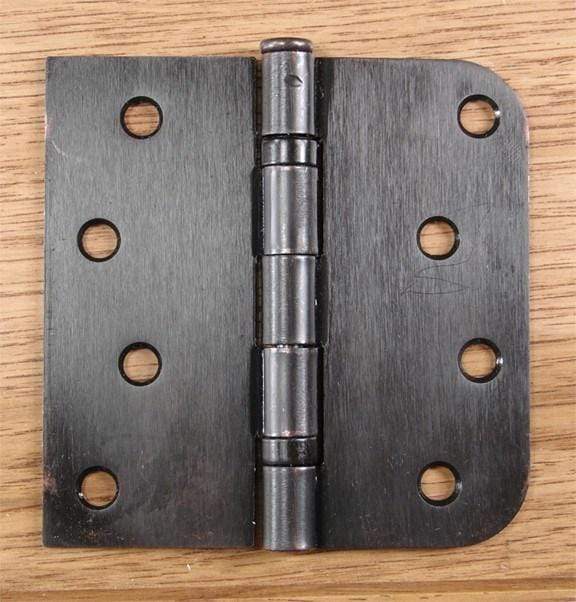
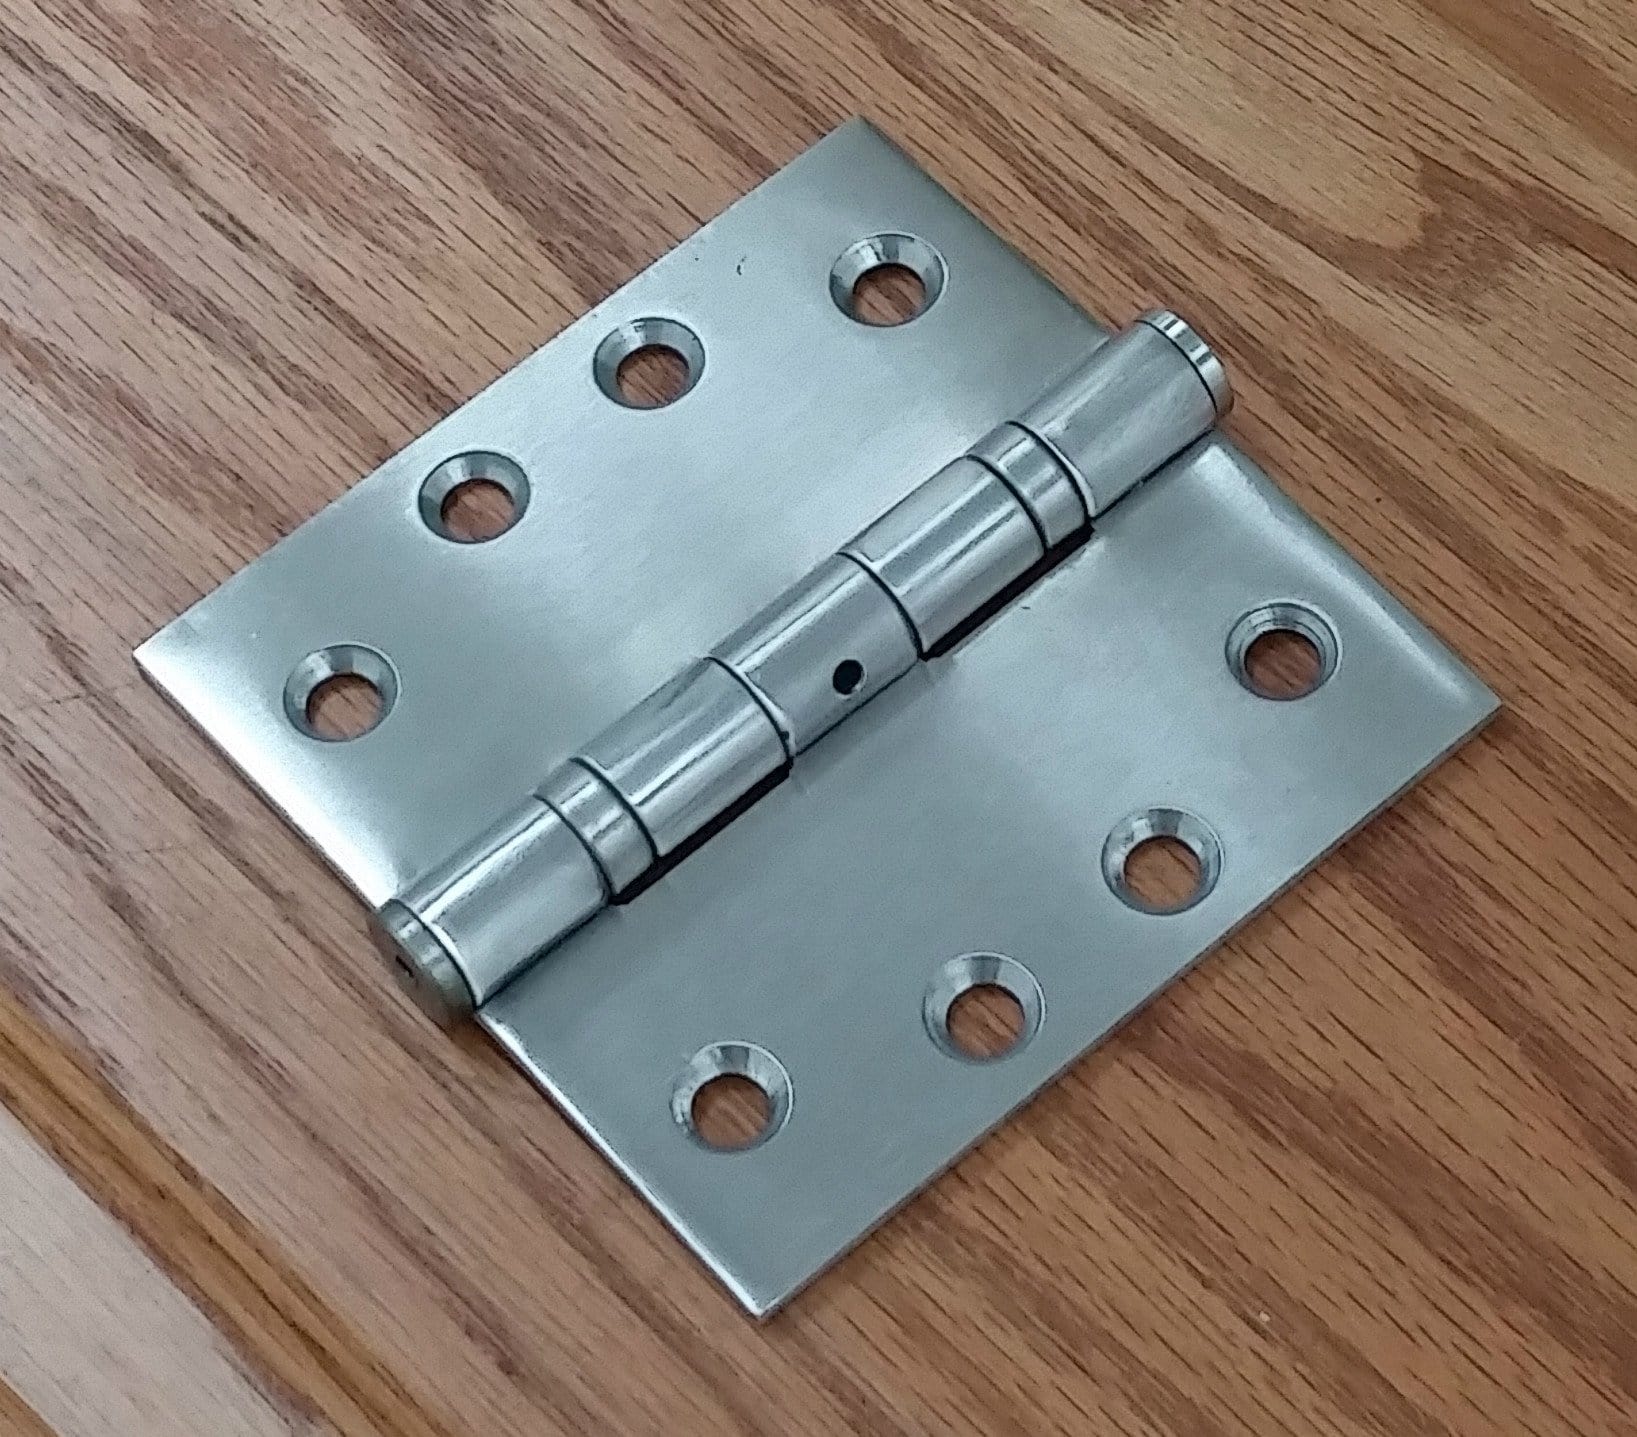
Insert the Pin: Waterson hinges have a pin that needs to be inserted to connect the two halves of the hinge. Make sure the pin is securely in place.
Secure the Hinges: Use your Phillips head screwdriver to secure the hinges to the door frame with screws.
Remove the Tension Crook: Once the hinges are securely attached, carefully remove the Tension Crook.
4. Adjust the Tension (if Necessary)

Insert the Tension Rod: Use the tension crook or a small hex wrench to insert the tension rod into the adjustment hole on the hinge.
Rotate to Adjust: Rotate the tension rod to adjust the tension. You may need to experiment with this to get the tension right.
Secure the Adjustment: Once the tension is adjusted to your liking, secure the adjustment by tightening the set screw with a 3mm or 5mm hex wrench, depending on the size of the screw.
5. Test the Door

Open and close the door several times to ensure it swings smoothly and latches securely. Pay attention to any signs of misalignment or uneven gaps around the door, as these could indicate that further adjustments are needed.
Final Thoughts
Whether you’re a pro or taking on a DIY project, our guide on how to install Waterson hinges simplifies the installation process and ensures your doors function at their best.
Check out our detailed guide on Waterson hinges for more information.