Door thresholds are some of the most misused pieces especially in commercial spaces. They are stepped on, scraped, scuffed and soaked in moisture from time to time. With the passage of time, these elements eventually cause extensive wear and tear. Therefore, sooner or later, door threshold repair becomes imperative. Moreover, since they are frequently used, their installation is also necessary and owners of residential or commercial spaces have to bear this in mind.
When it comes to door threshold installation, it is mostly recommended to have a professional handle the task. However, if you have the relevant experience of working on household projects, you can do it on your own. Installing or replacing the door threshold can be due to various reasons, for instance if the previous ones have caught termites in case they were wood or if they are metal, they can bend or crack sometimes due to excessive load.
If you are looking to replace your old door threshold or install a new one, here’s how you can do it easily and in a few simple steps.
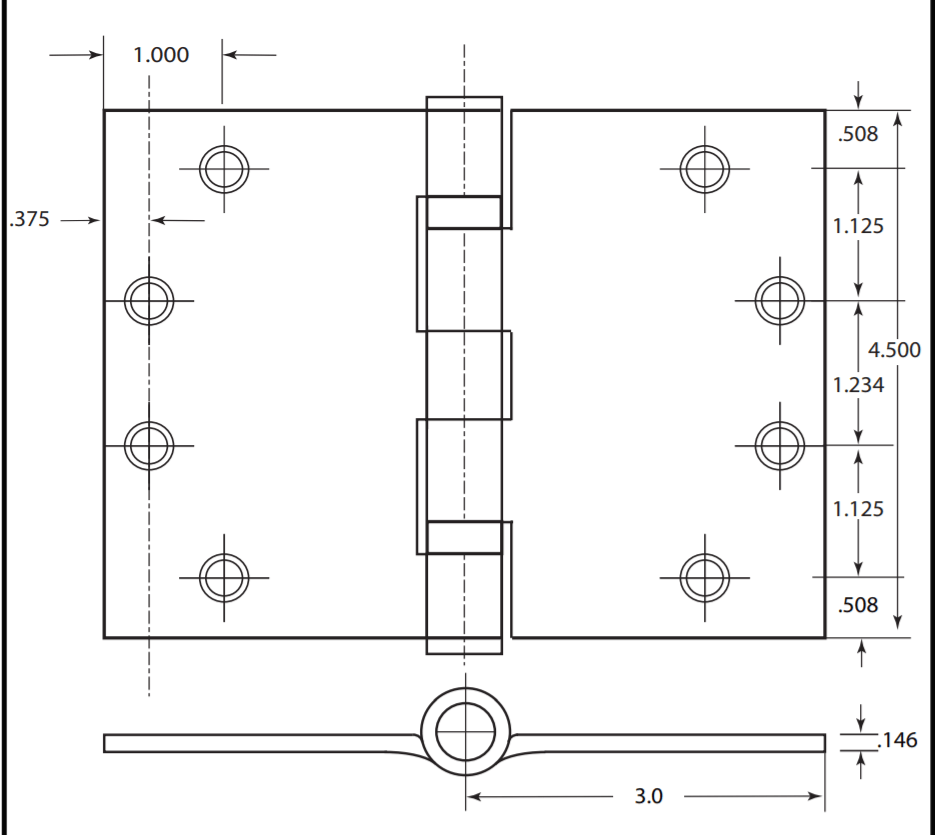
1. Knowing the parts of a door threshold
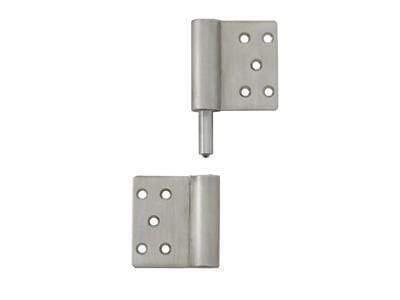
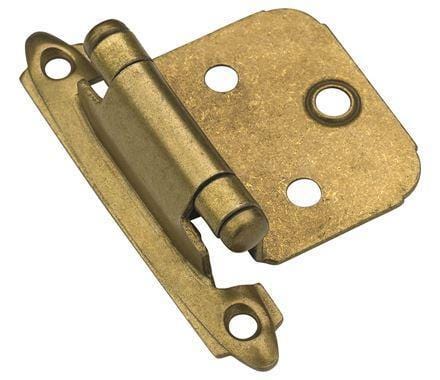
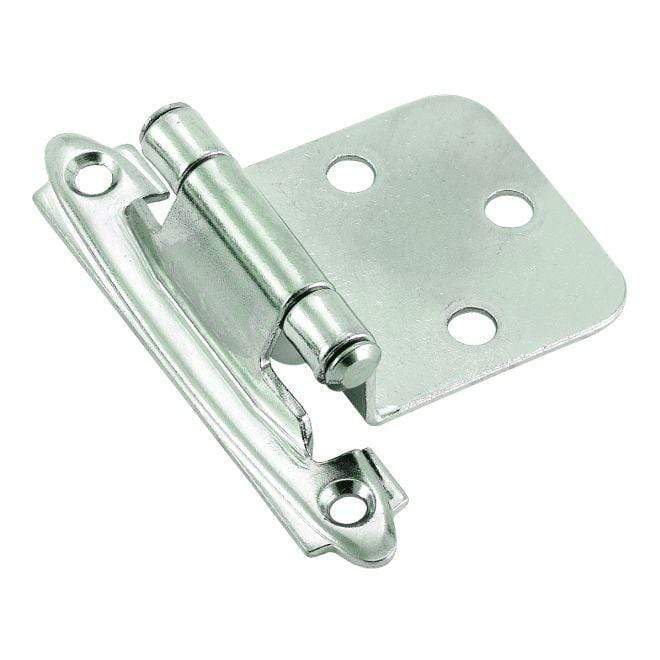
The door threshold is the part that is installed on the bottom. It goes over the subsill and toe kick providing the benefits that it does for a home. Whether the door threshold installation needs to be on the exterior or interior, these are the parts that you will need to consider. You’ll have to study and know about all the other parts as well like the jamb, casing, stop, subfloor and horn but the presence of these components can vary from door to door.

Understanding and knowing which part goes where is important because it serves as the first step towards proper door threshold installation. Without adequate knowledge, you won’t be able to find the appropriate footing and placement for the part that you are trying to put in place or repair. Since door thresholds play an important role in numerous purposes like weatherproofing, it is vital to pay attention when installing them, especially when doing it yourself.
2. Start by taking the appropriate measurements and ready the materials
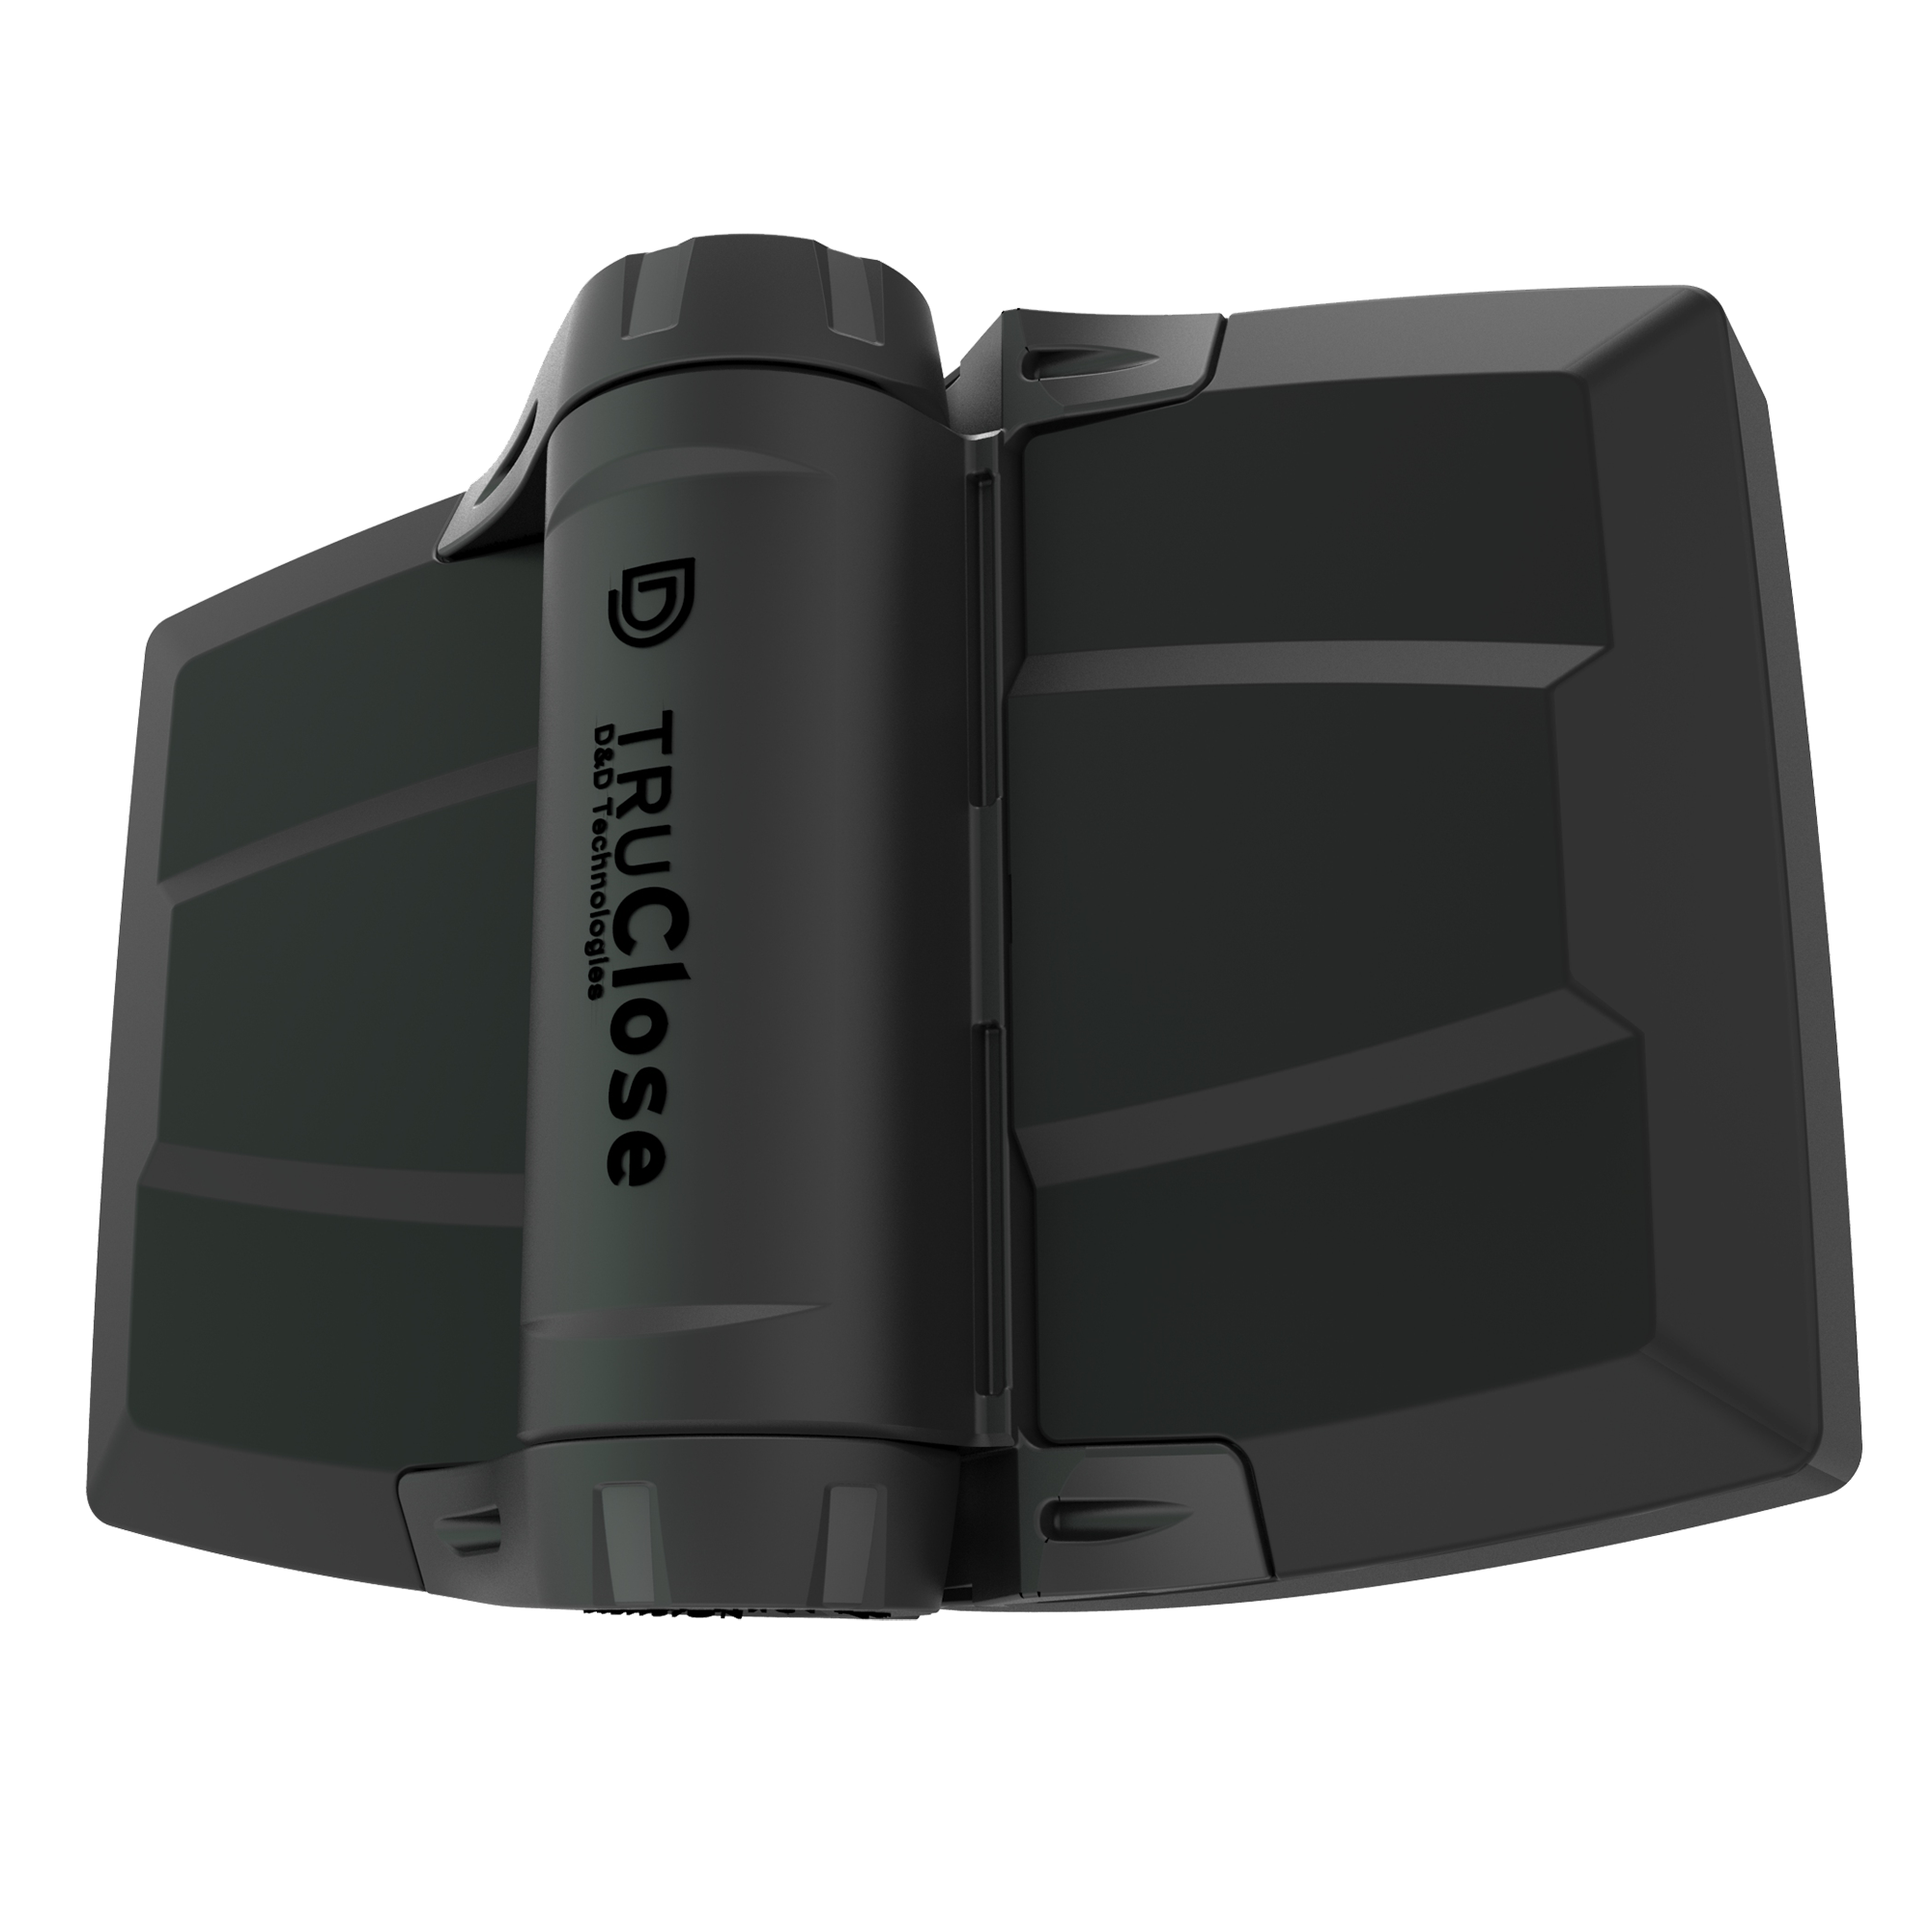
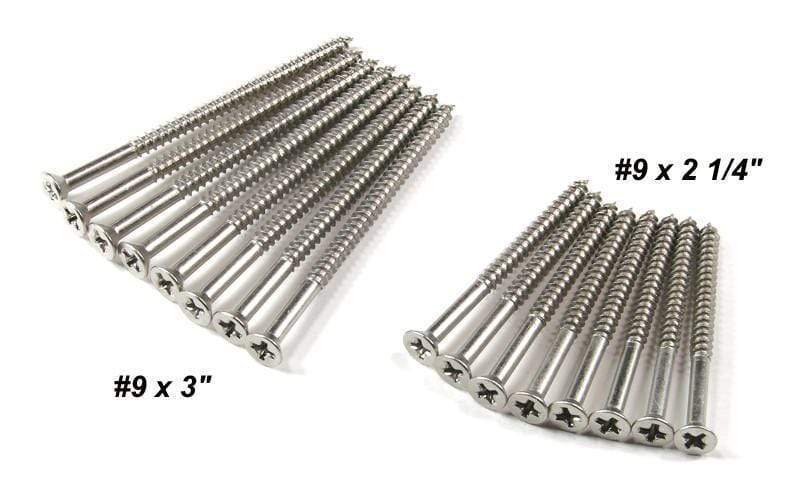
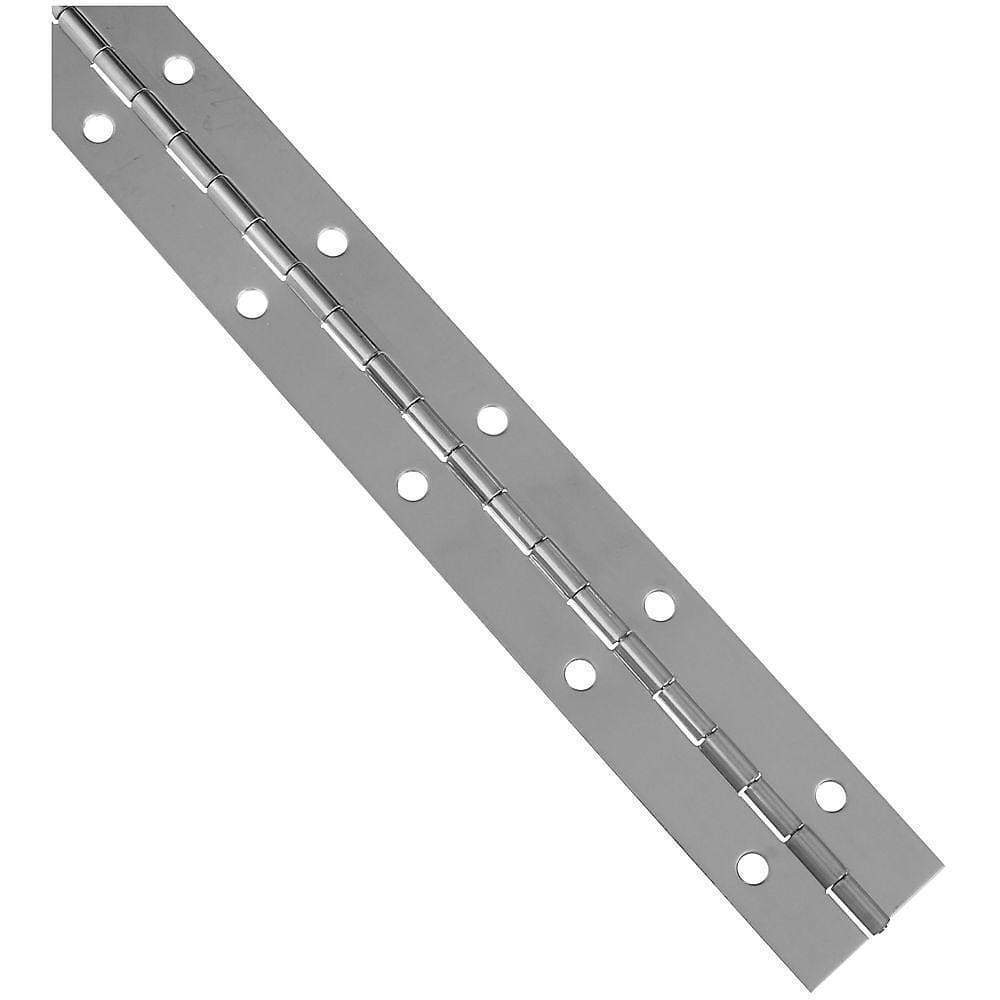
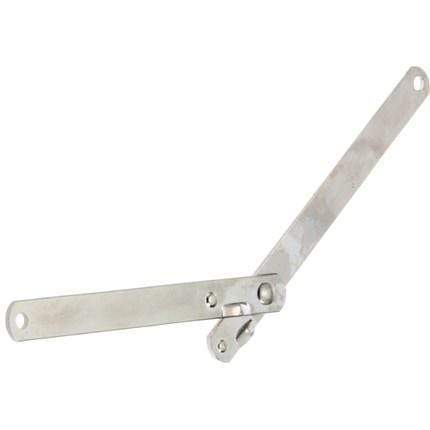
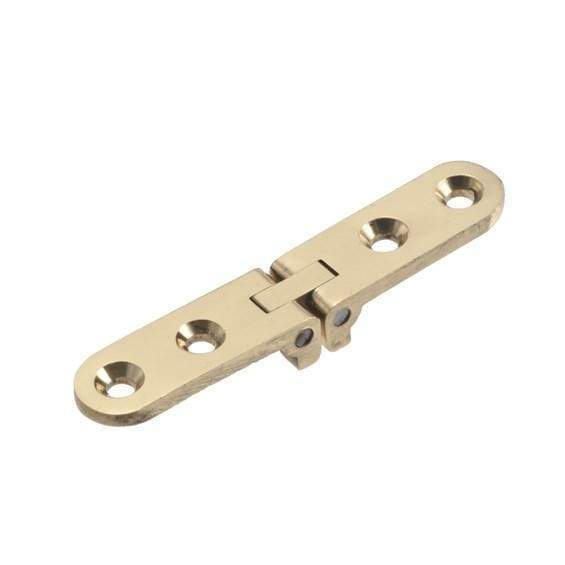
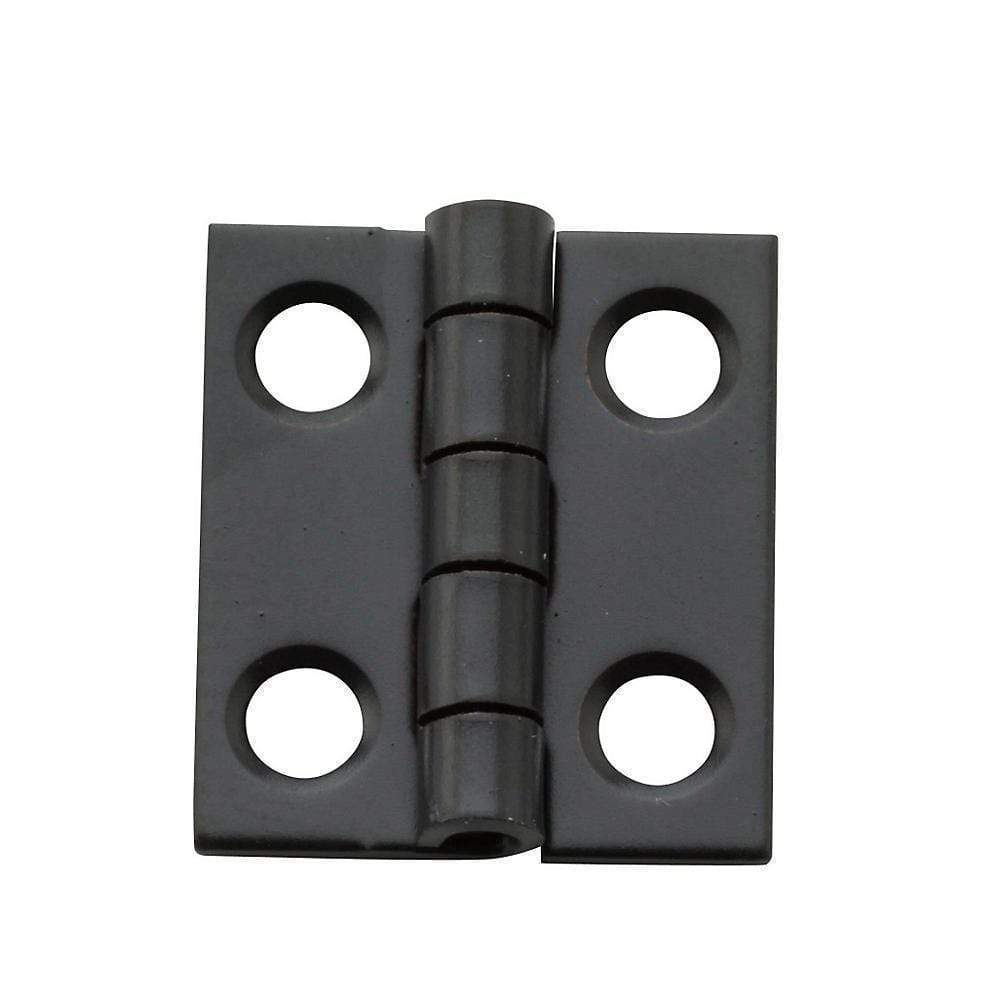
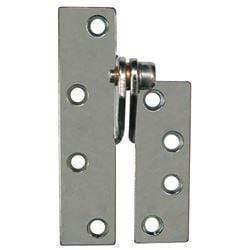
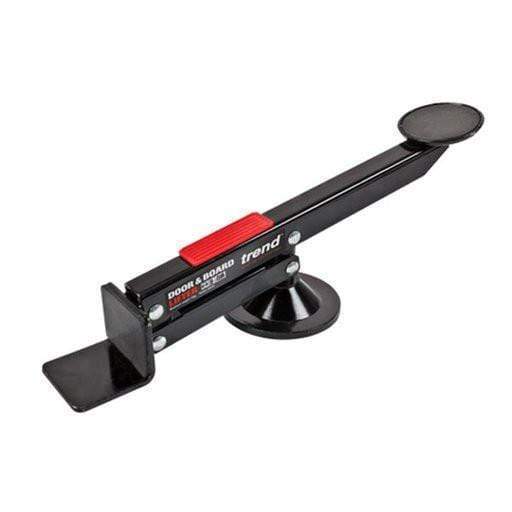
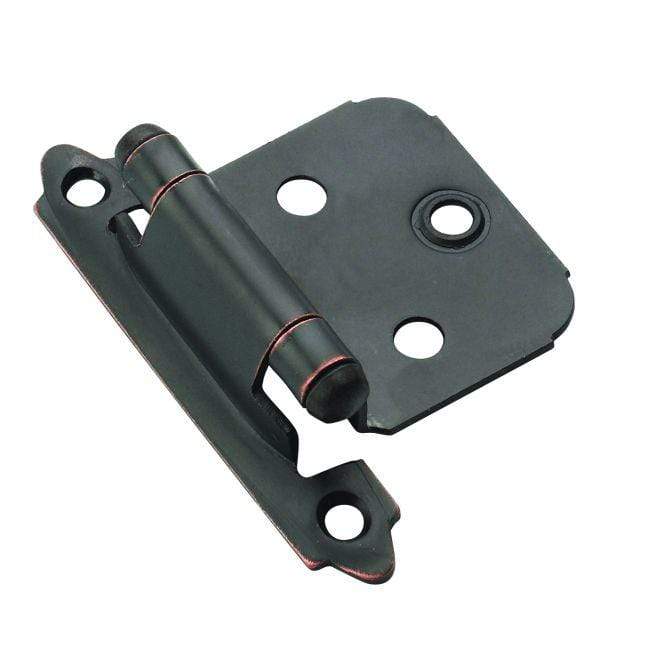
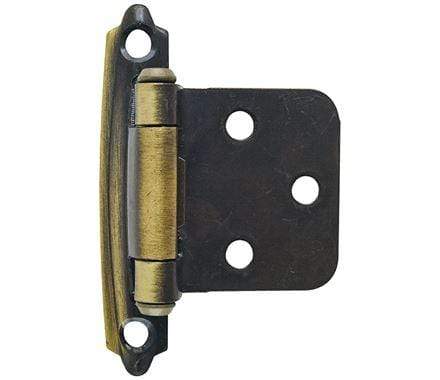
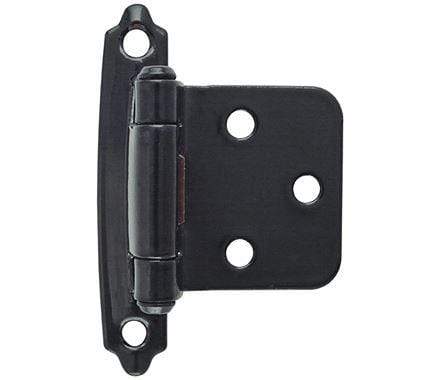
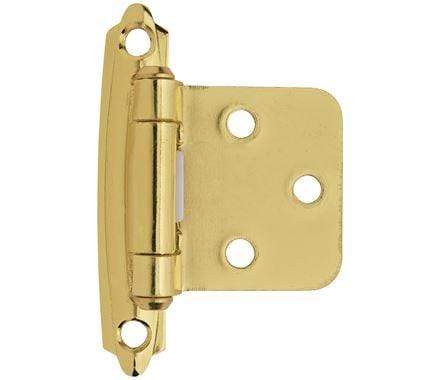
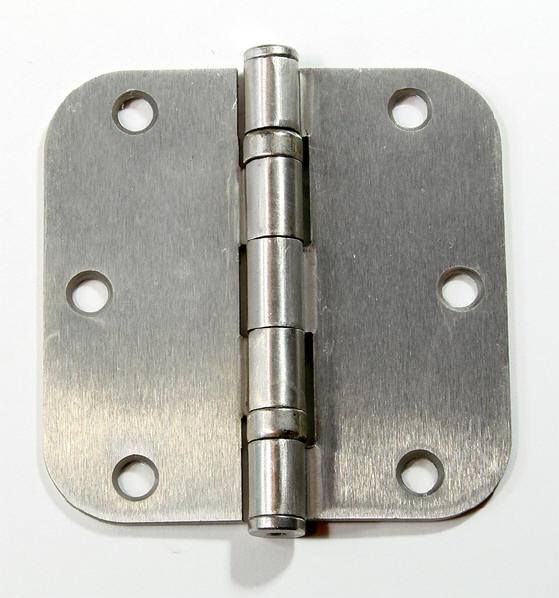
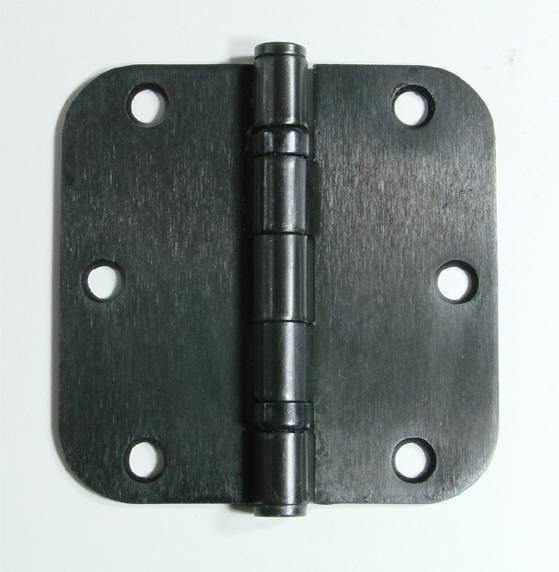
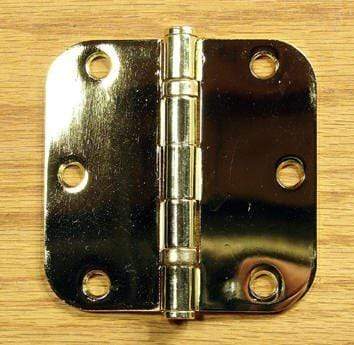
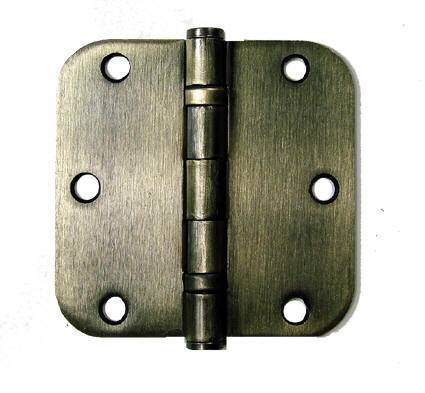
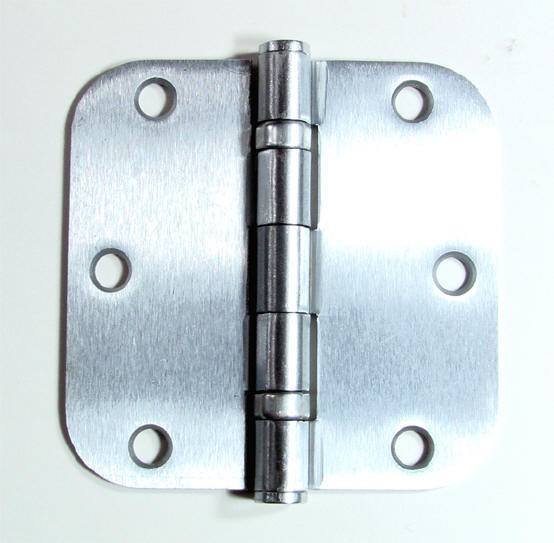
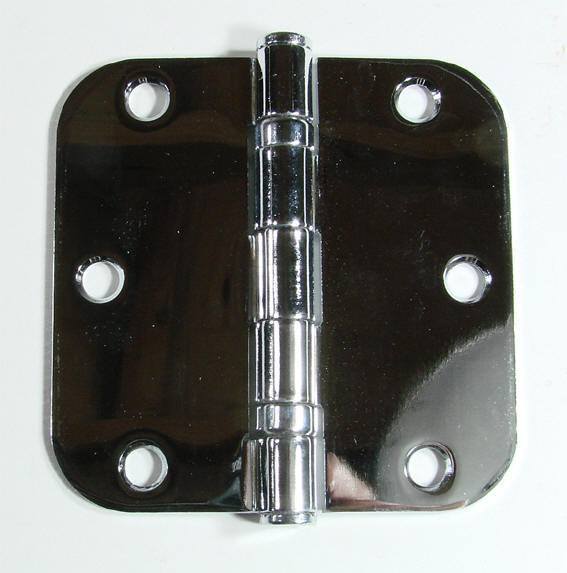
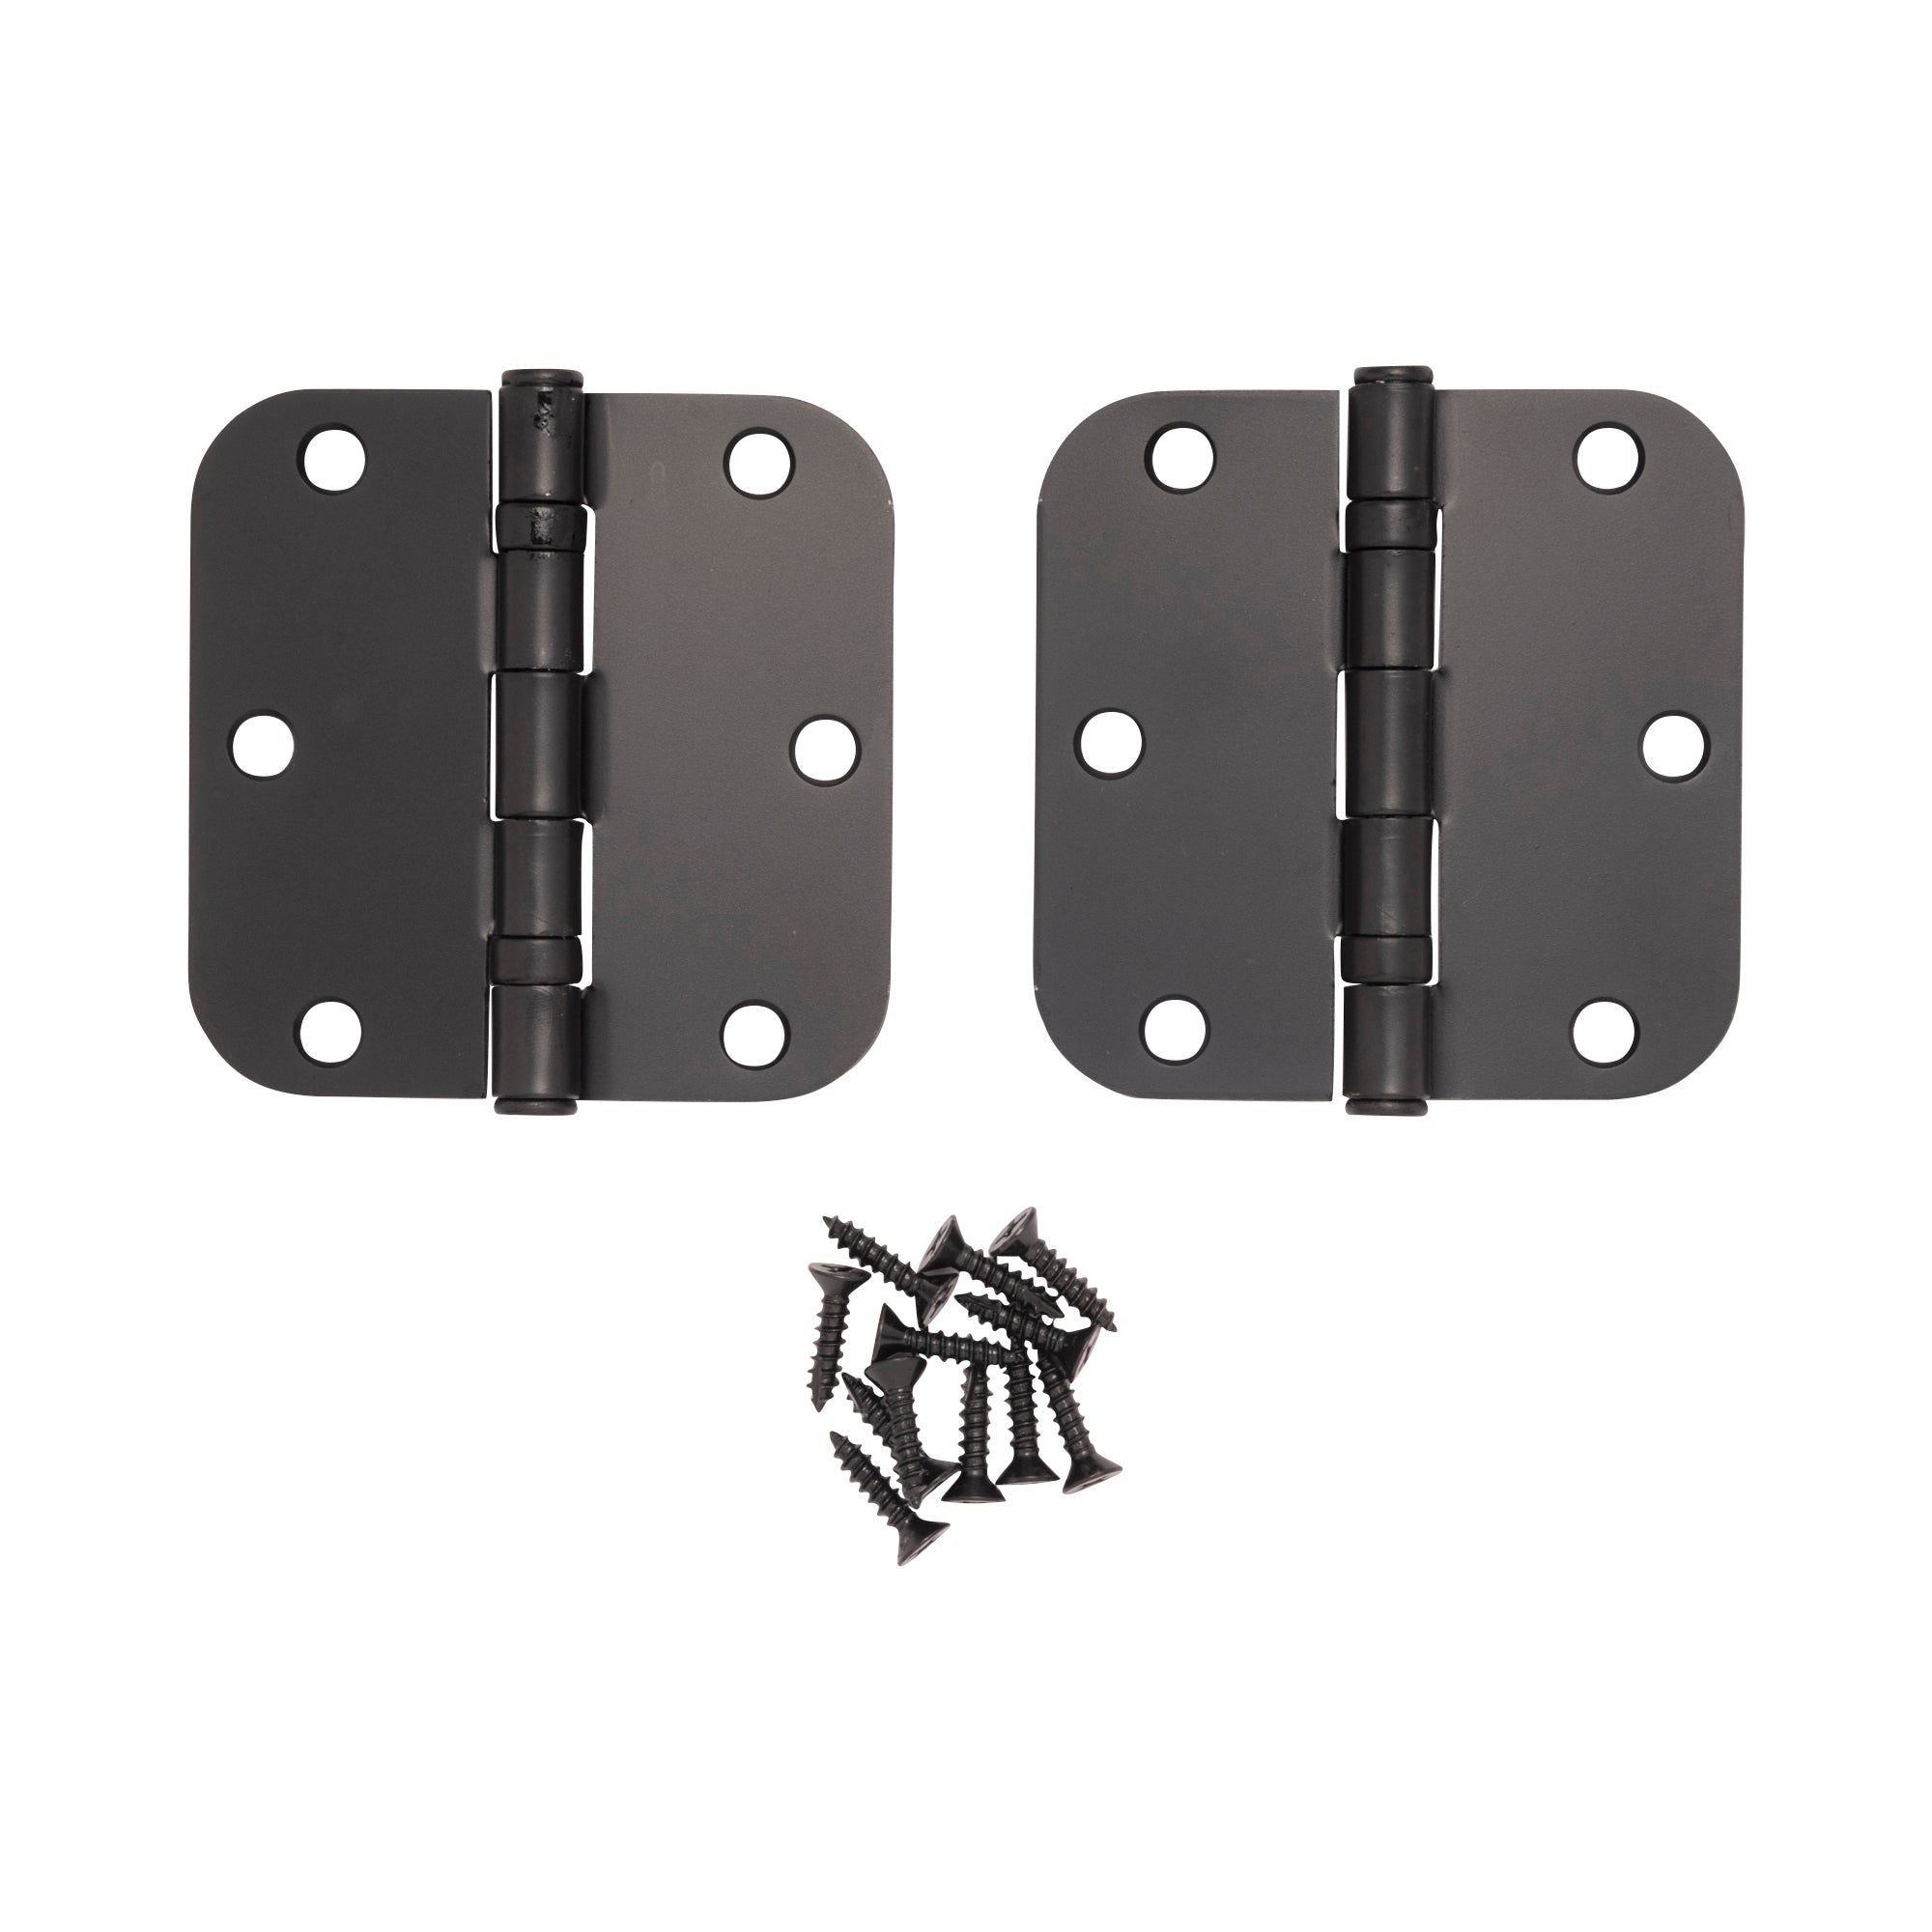
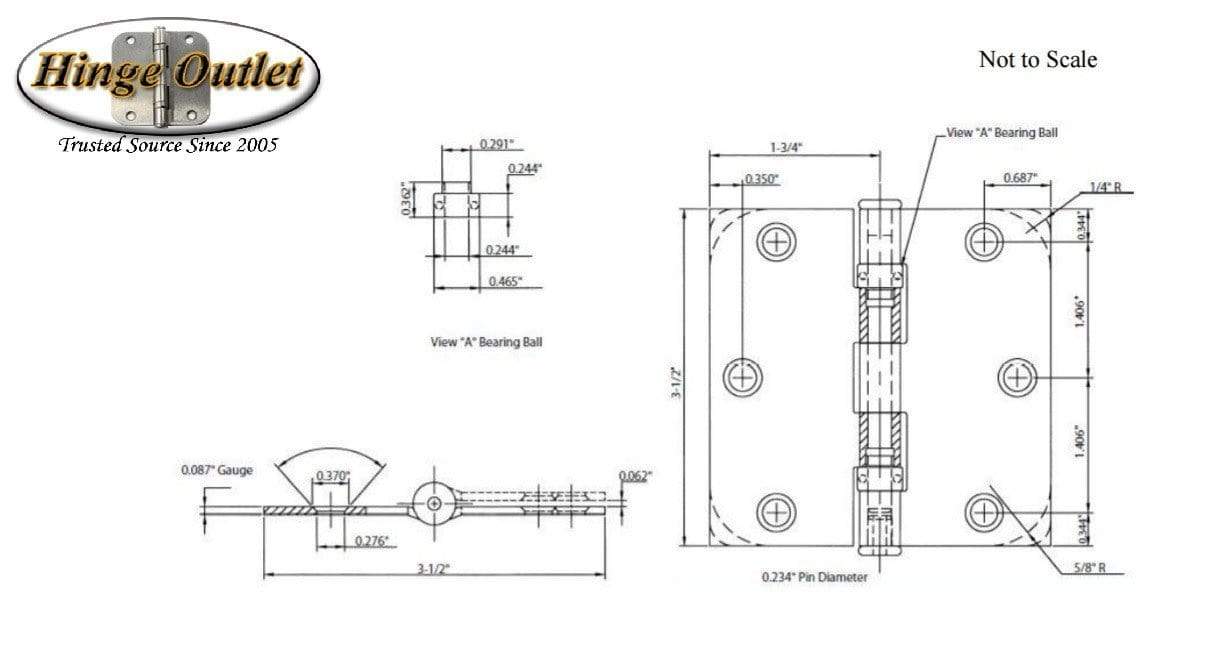
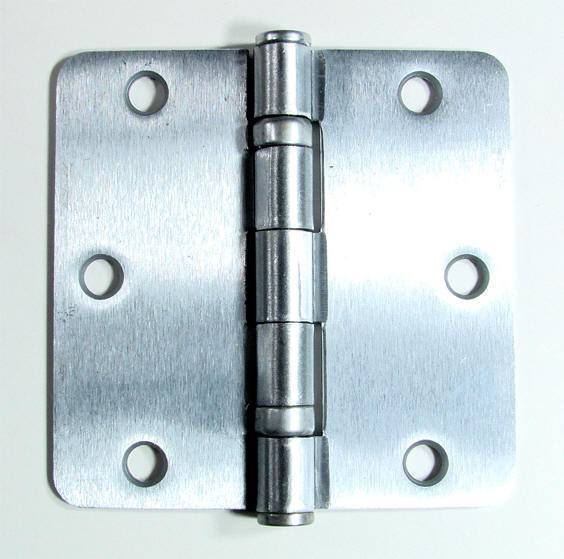
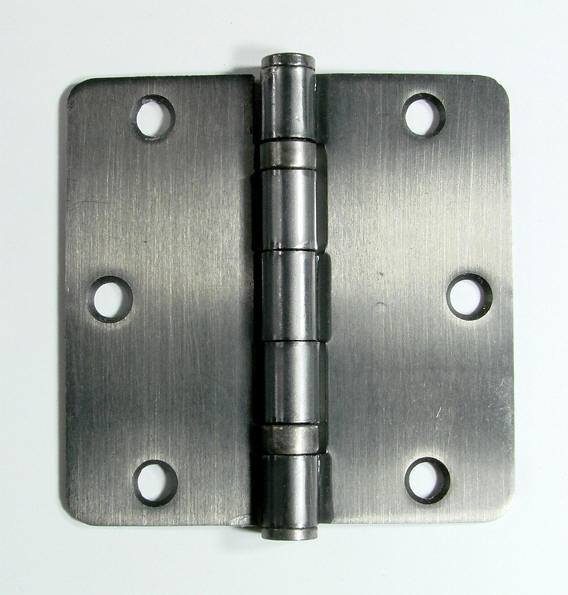
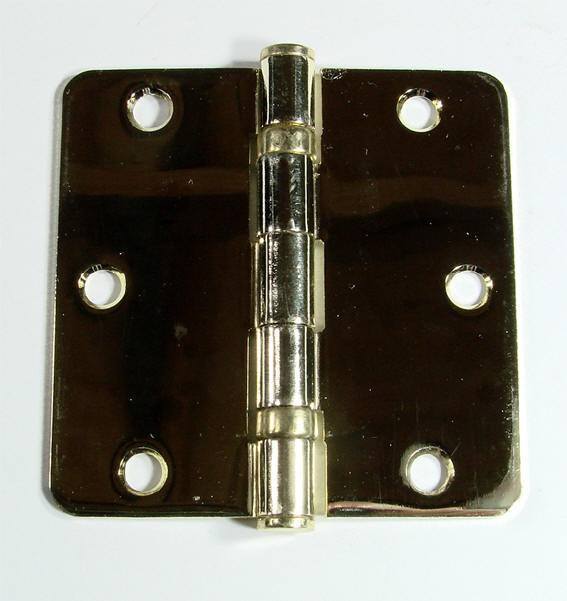
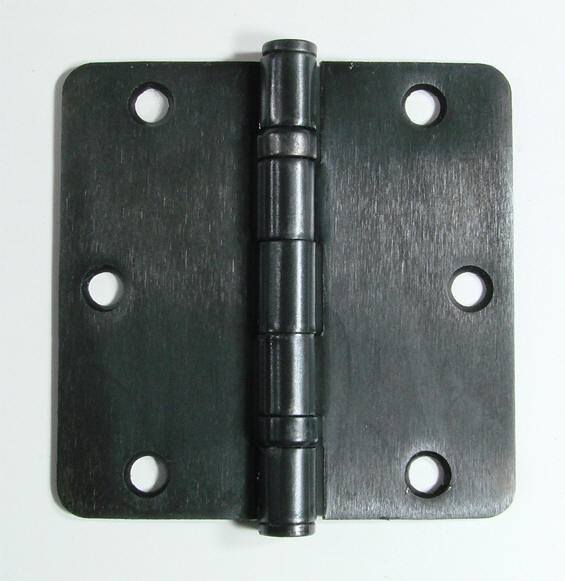
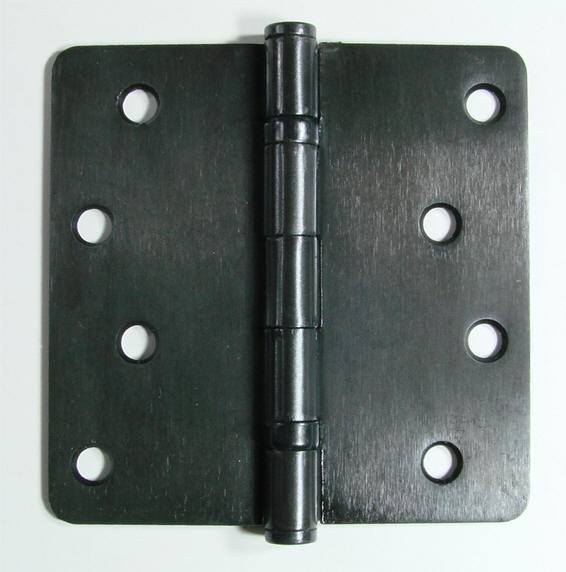
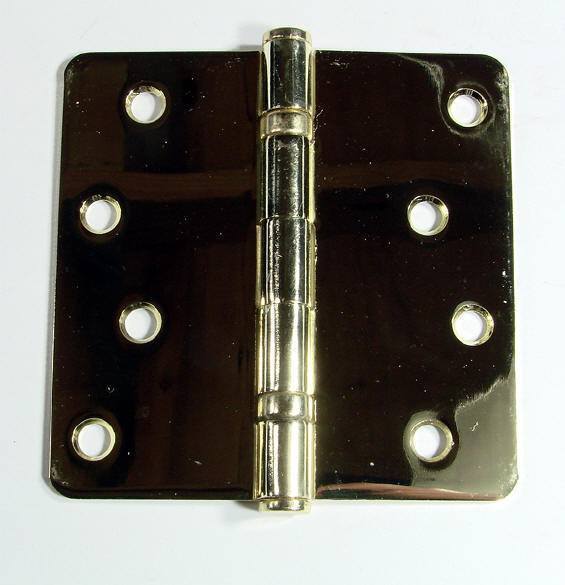
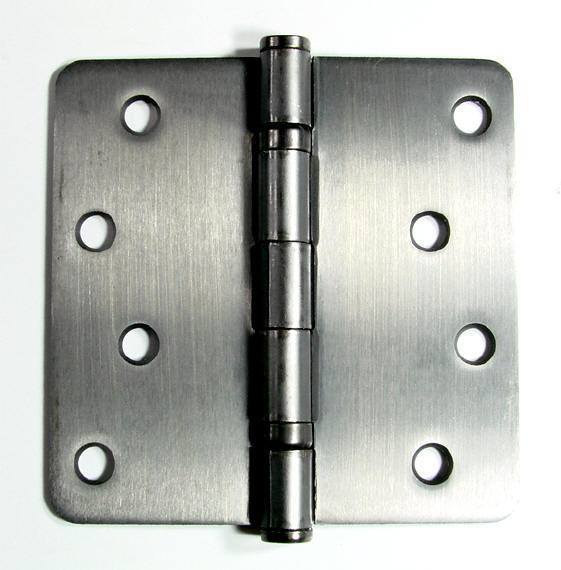
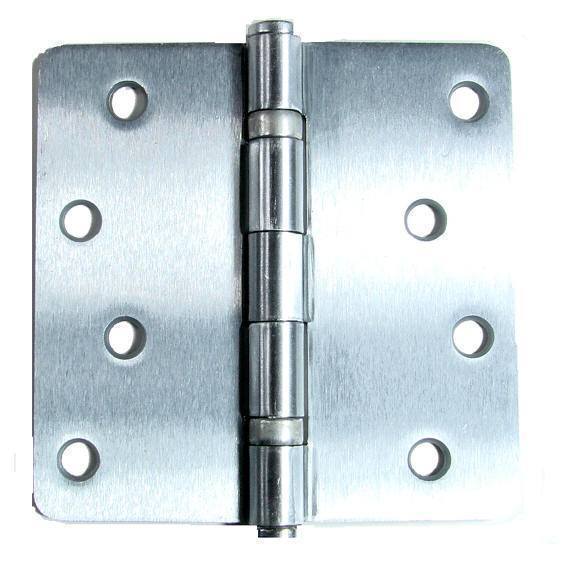
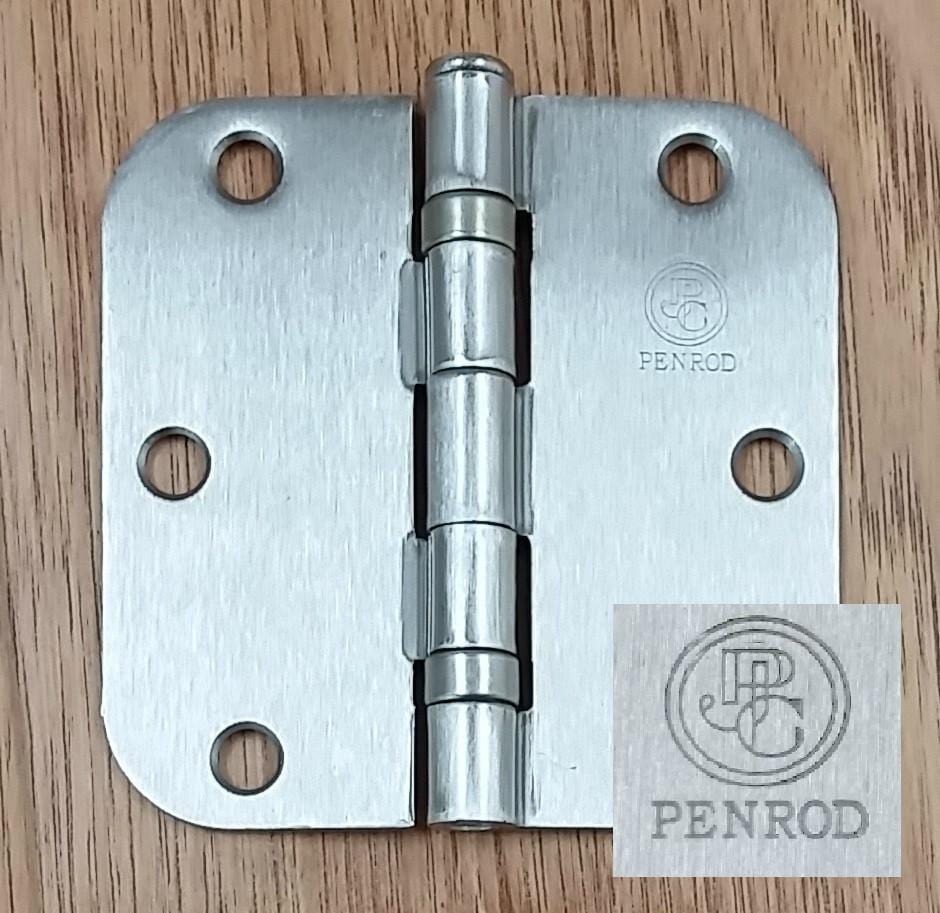
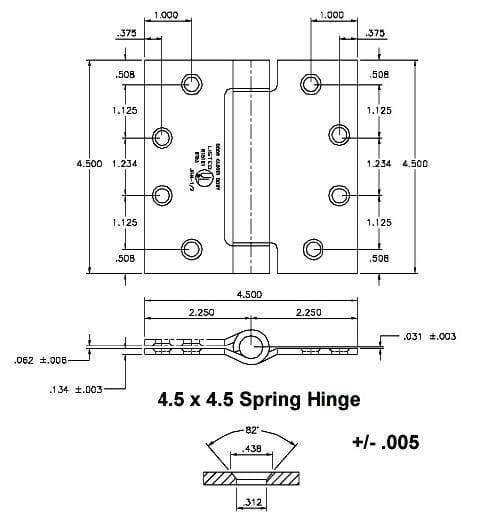
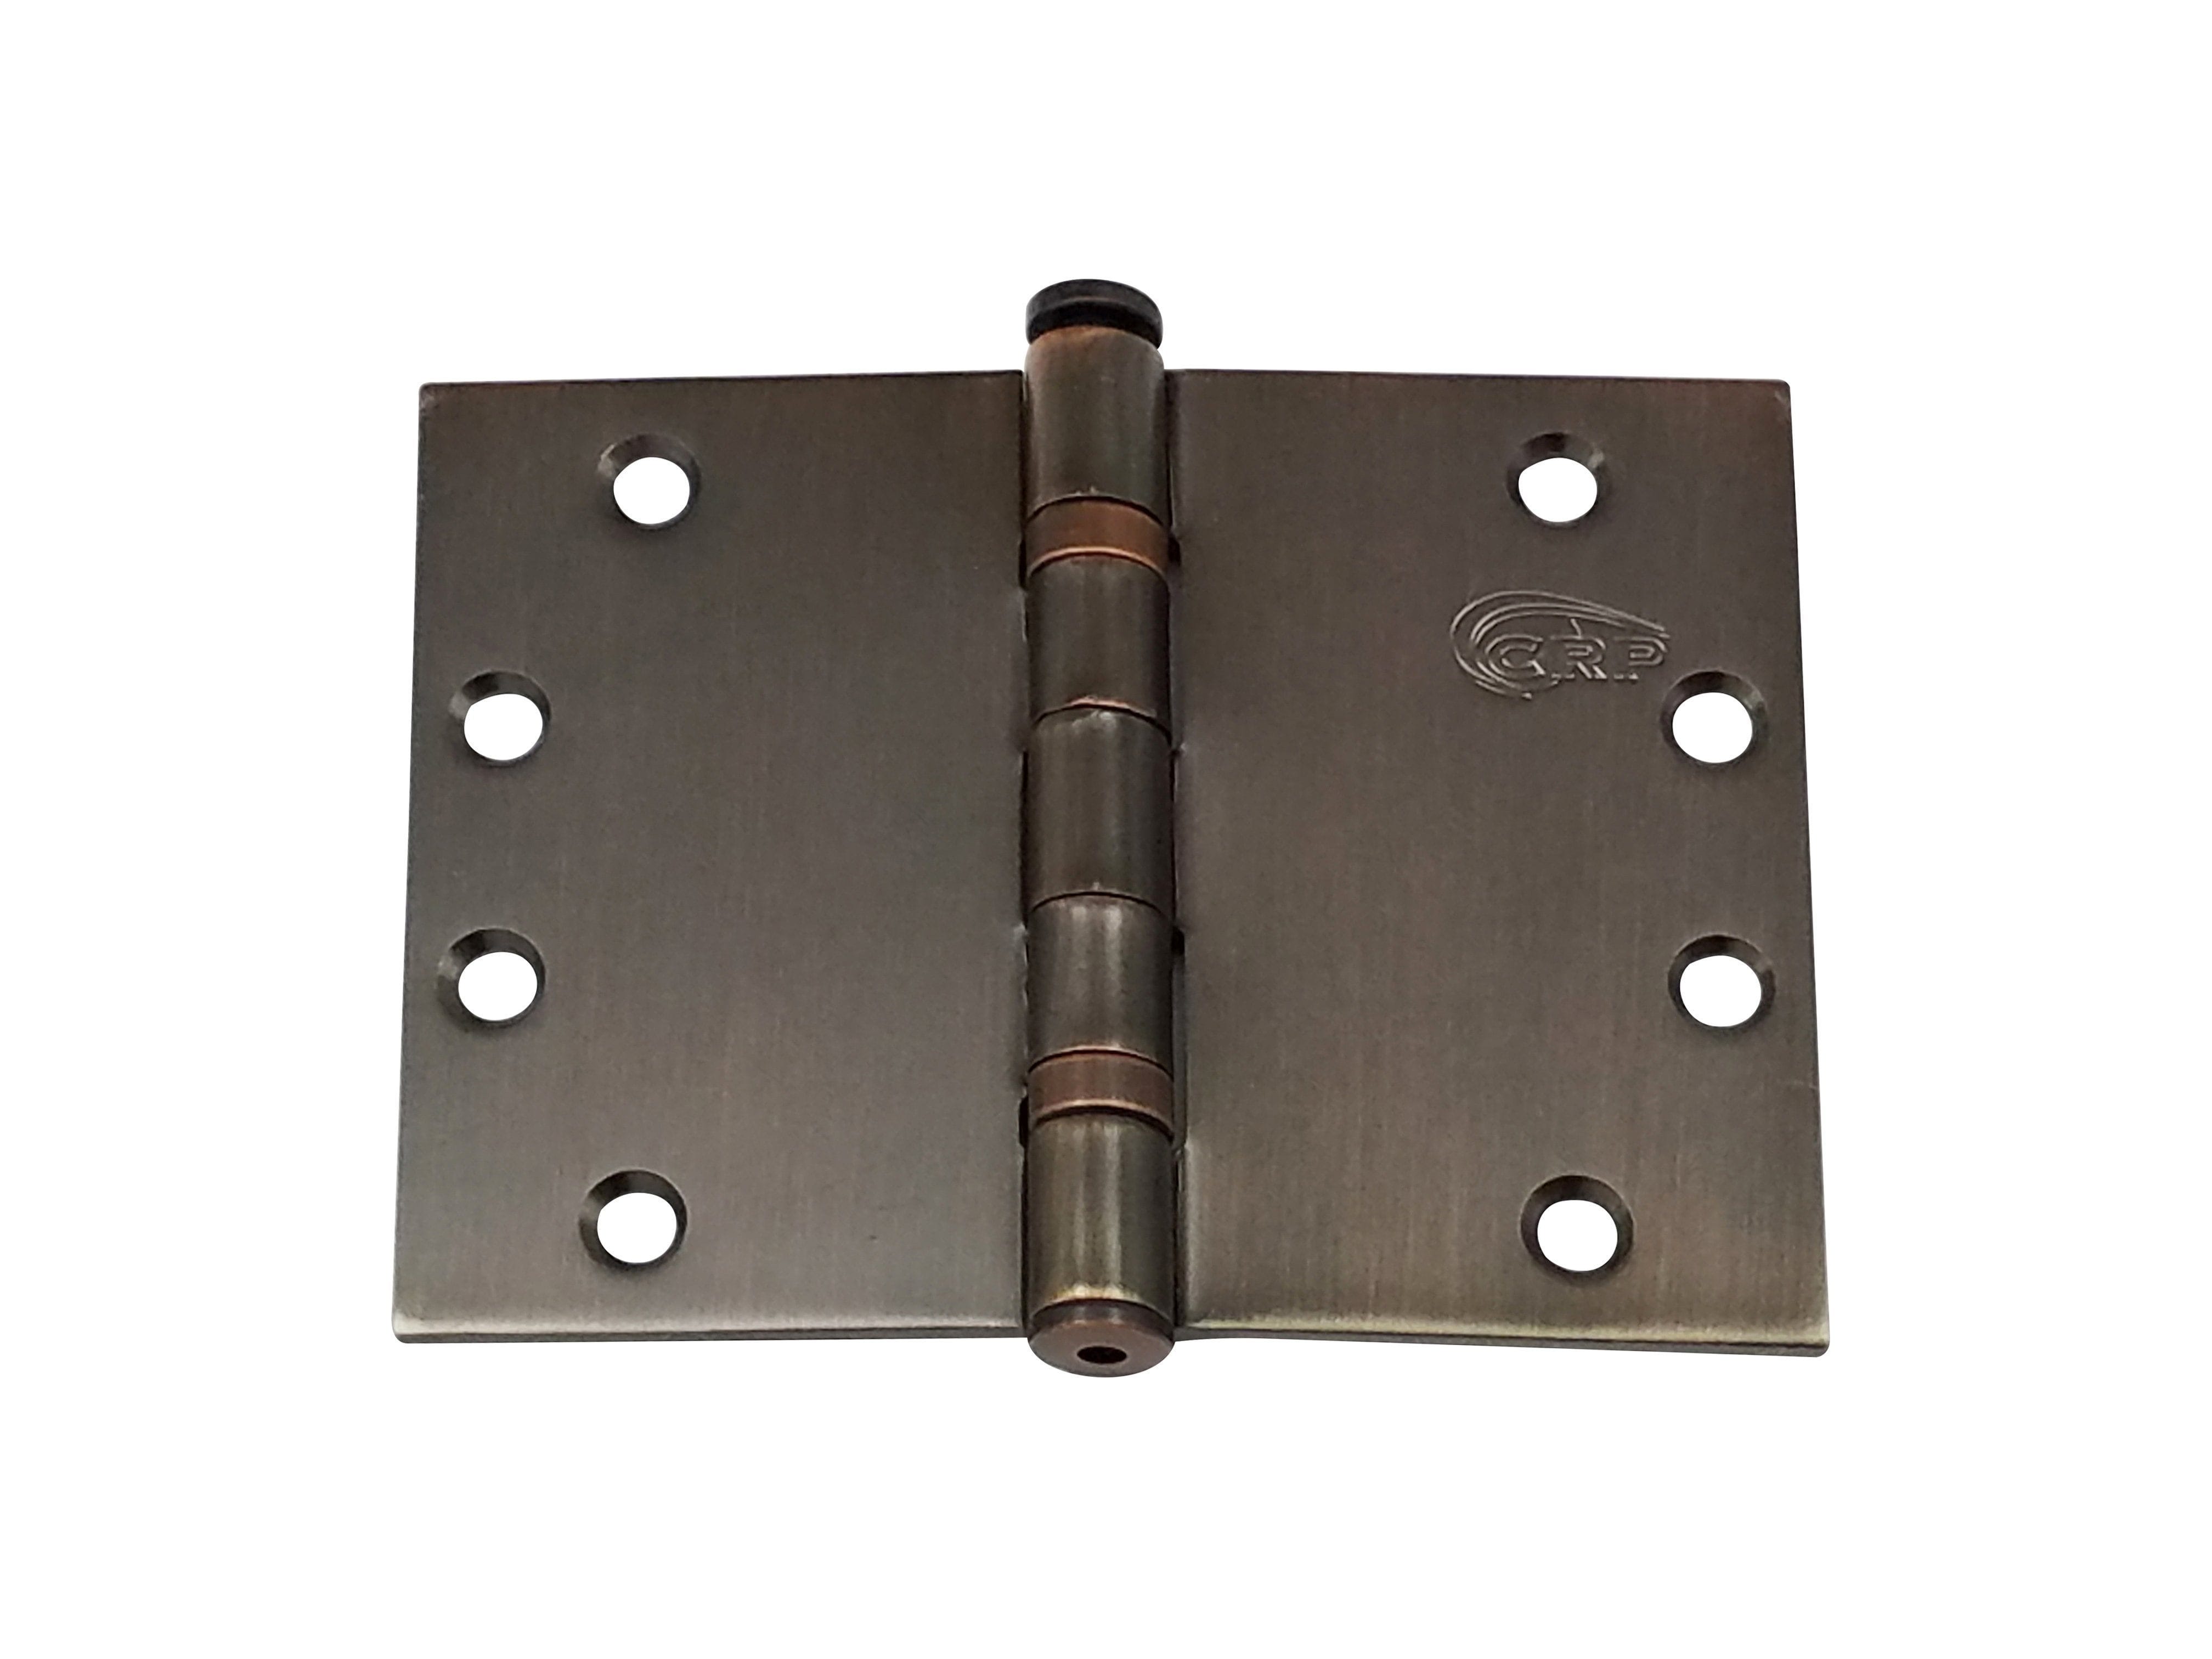
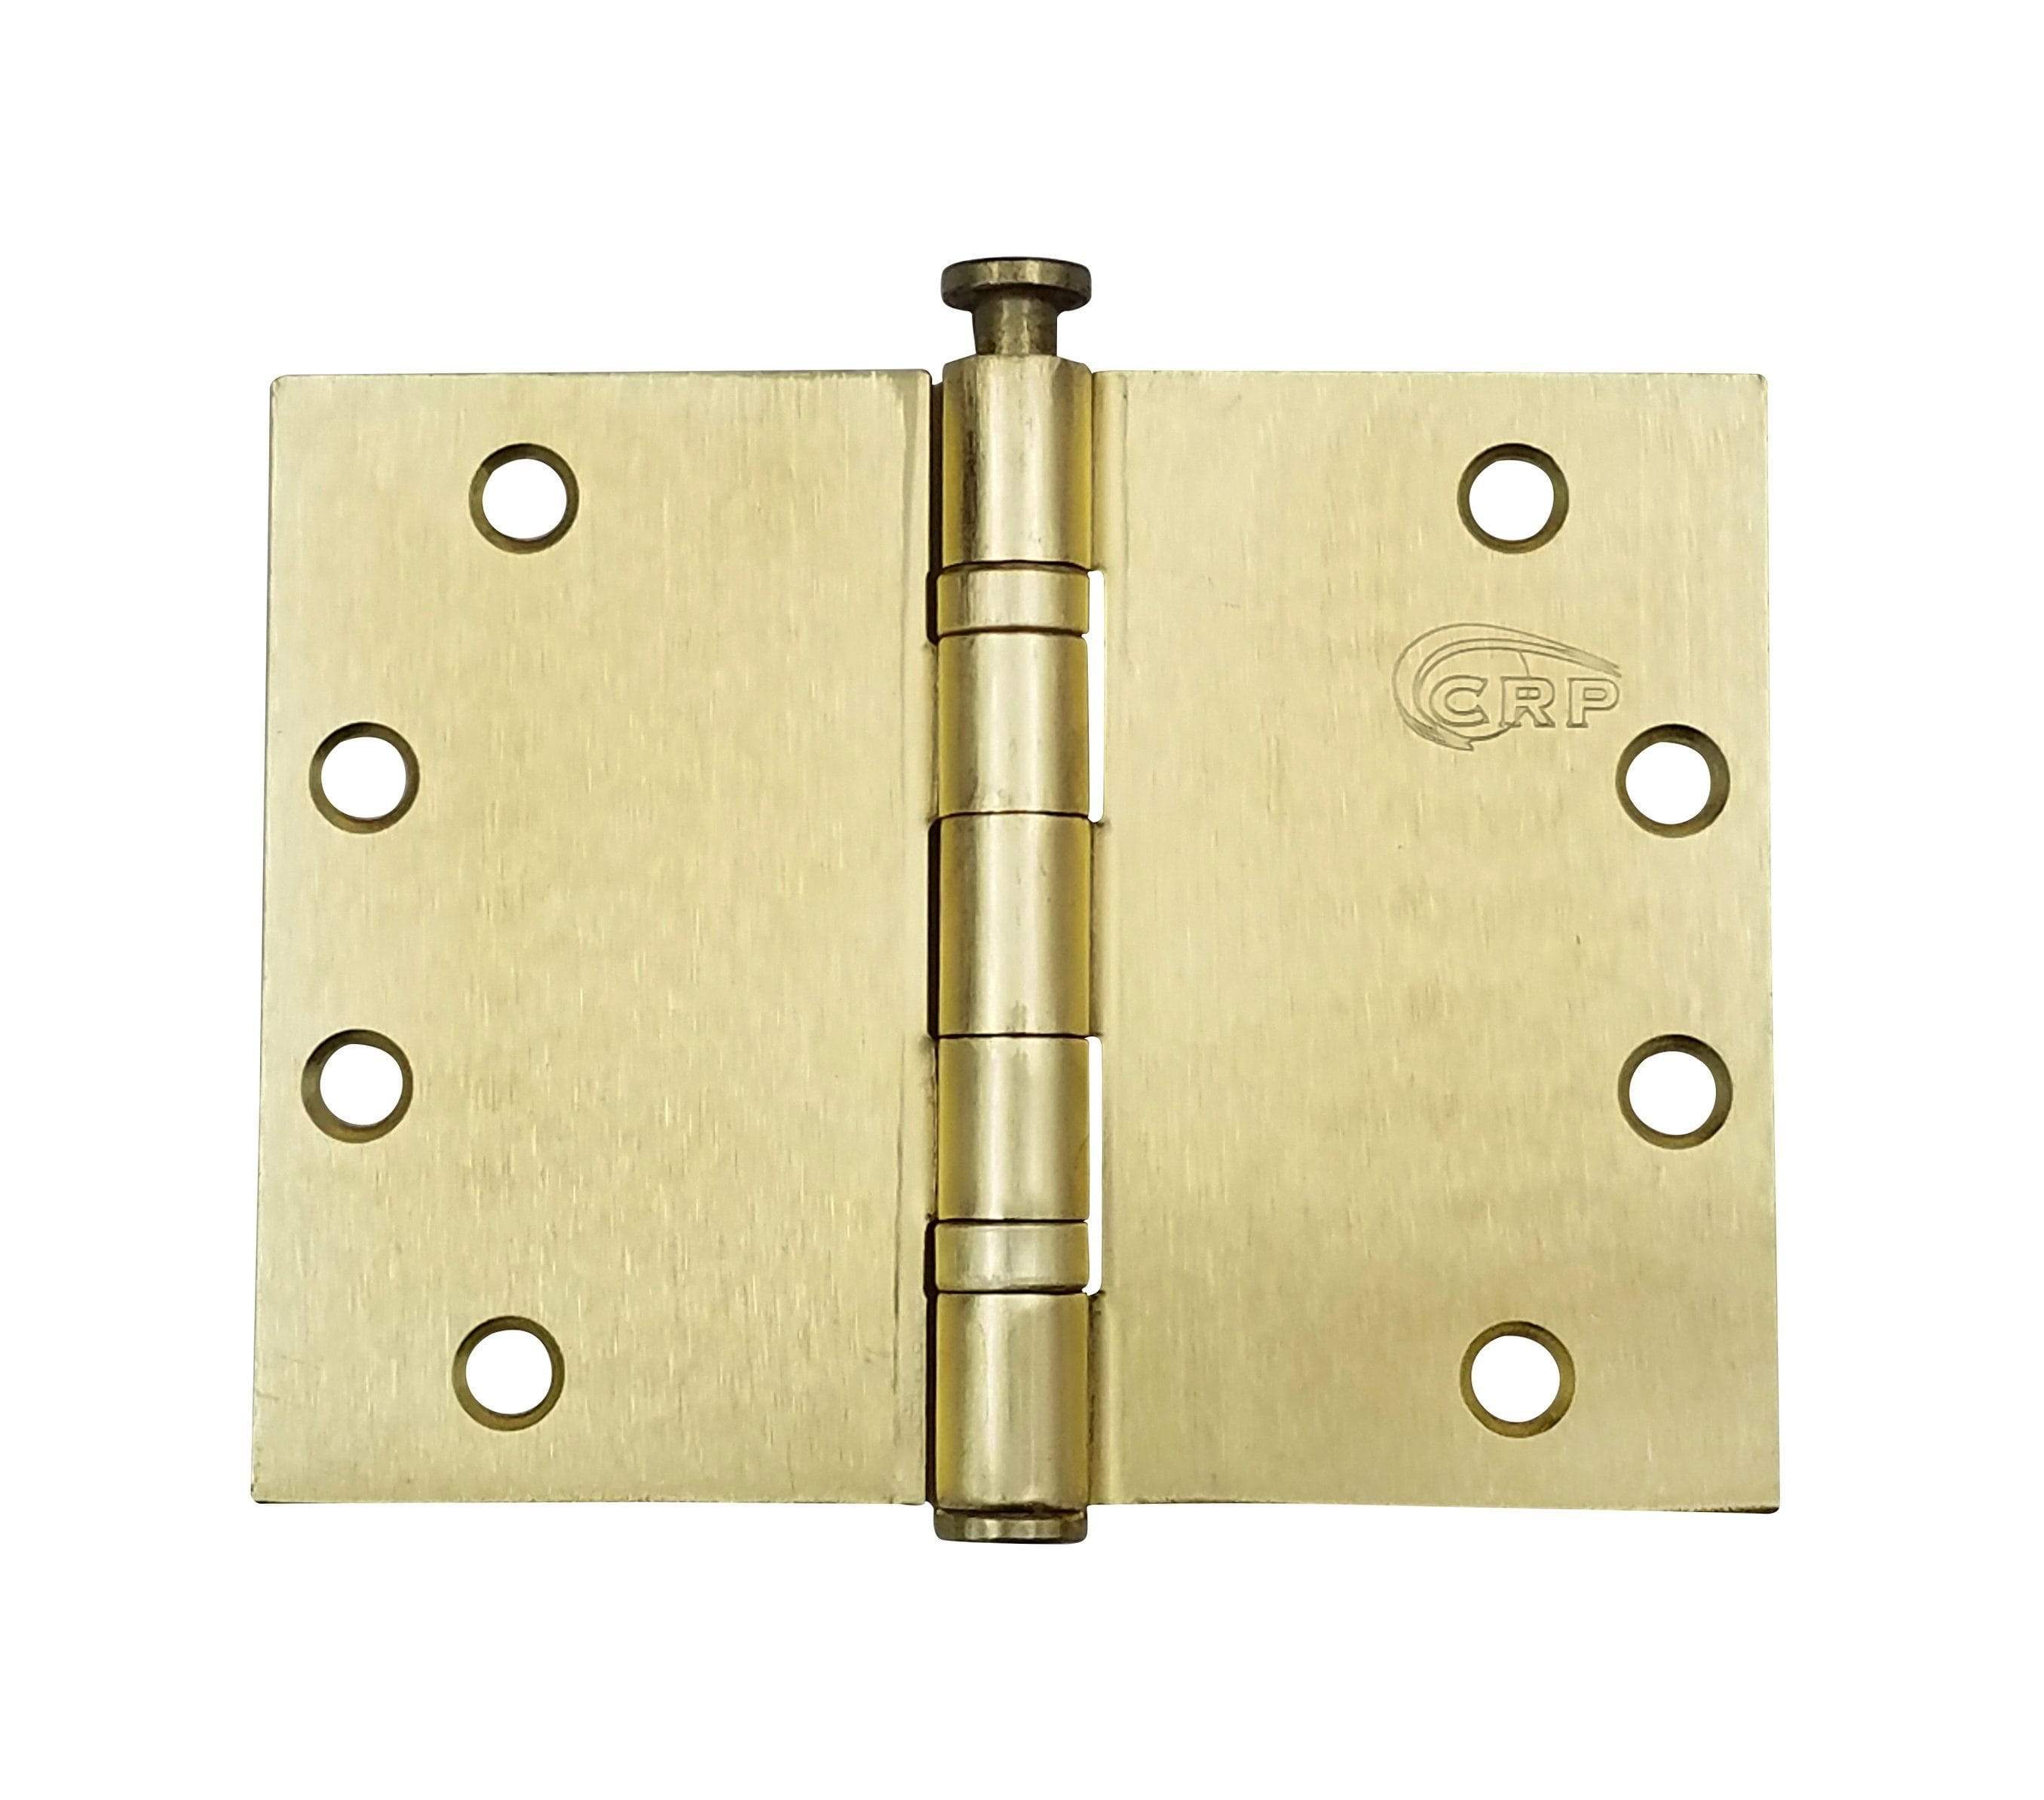
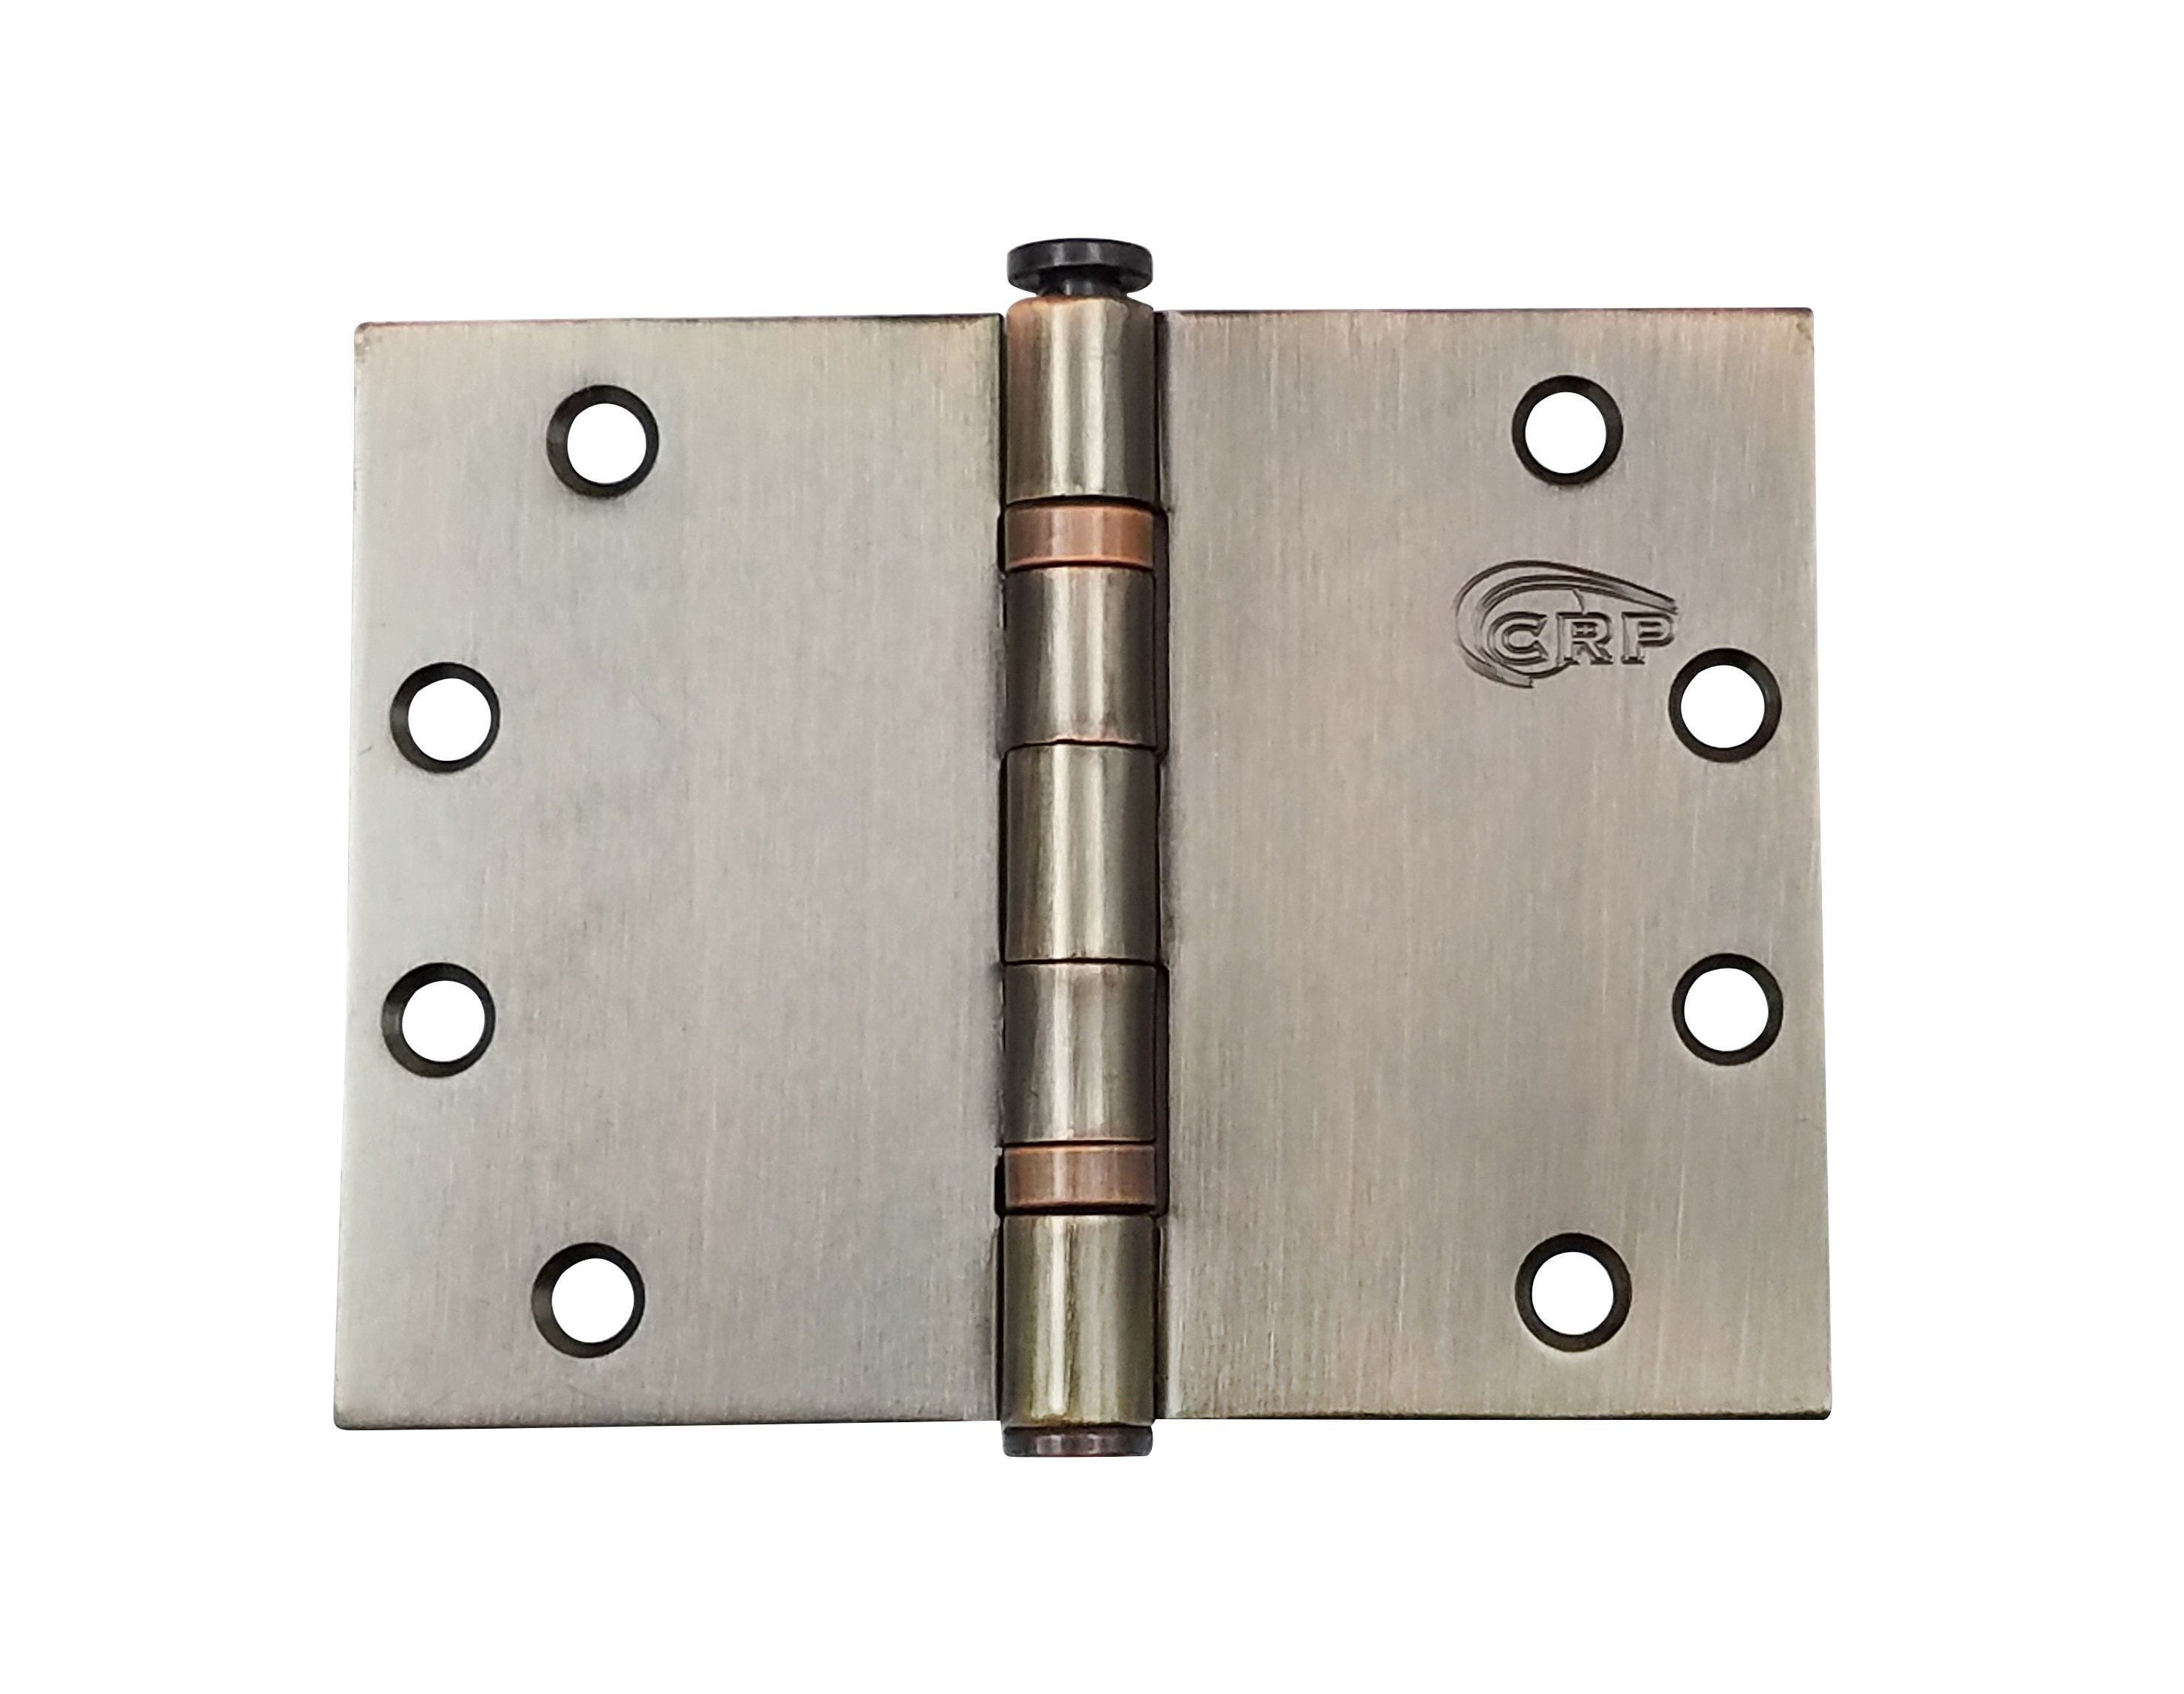
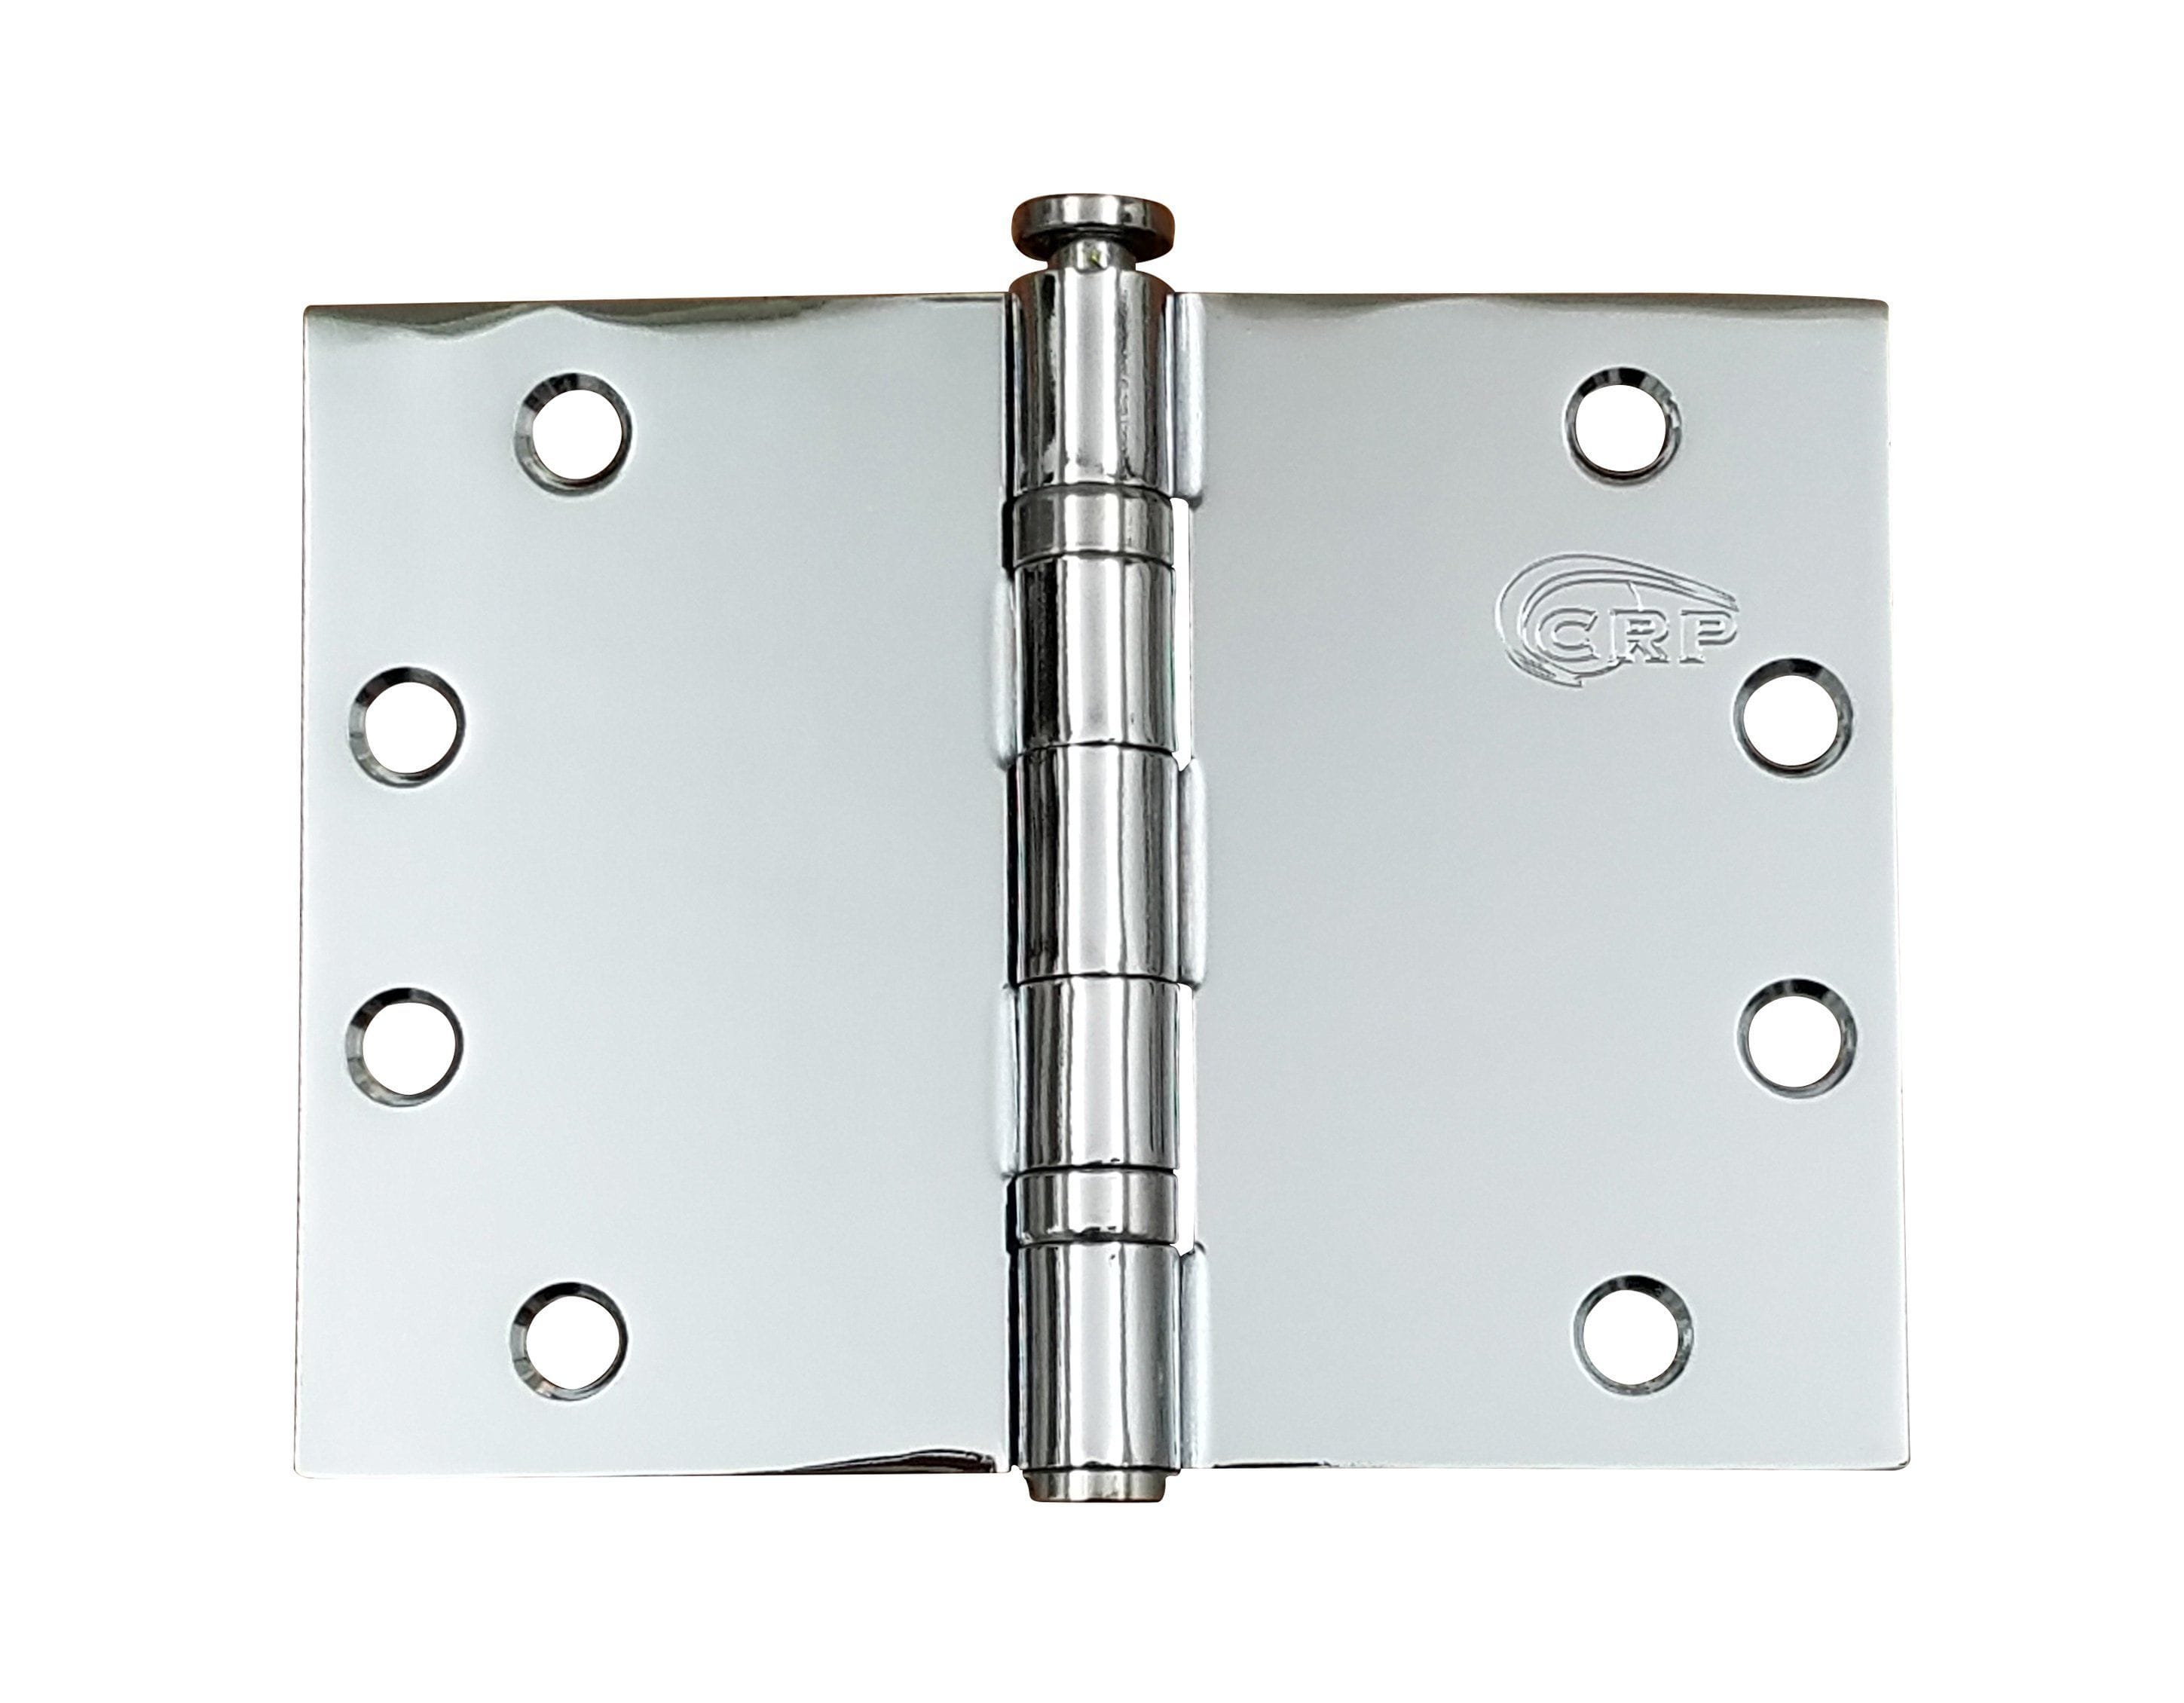
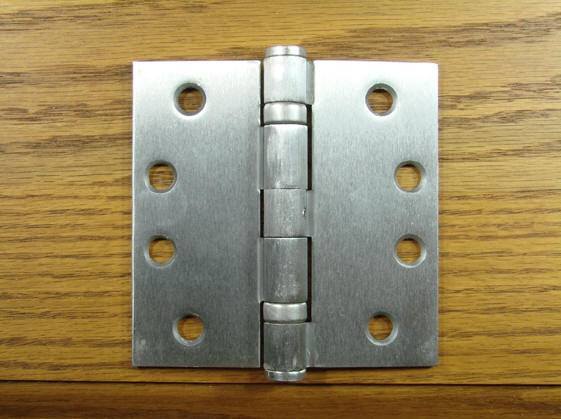
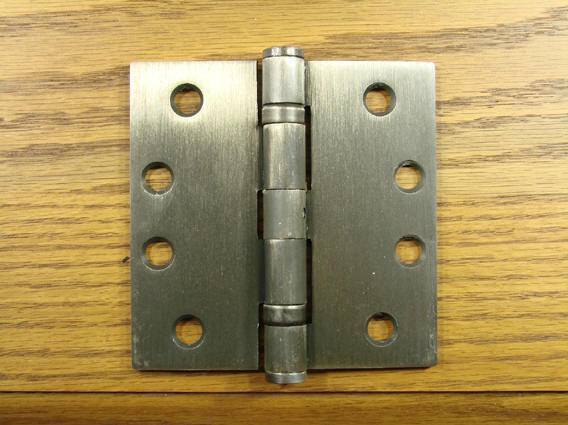
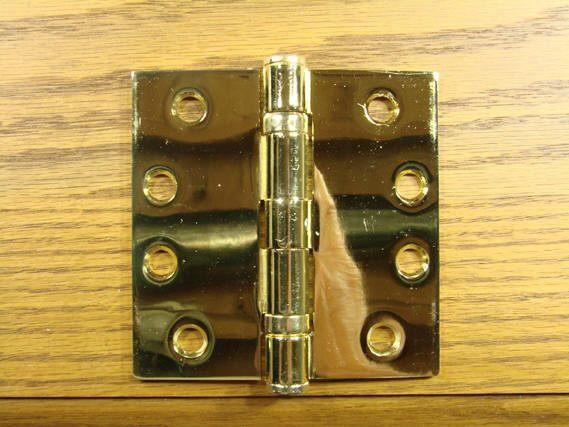
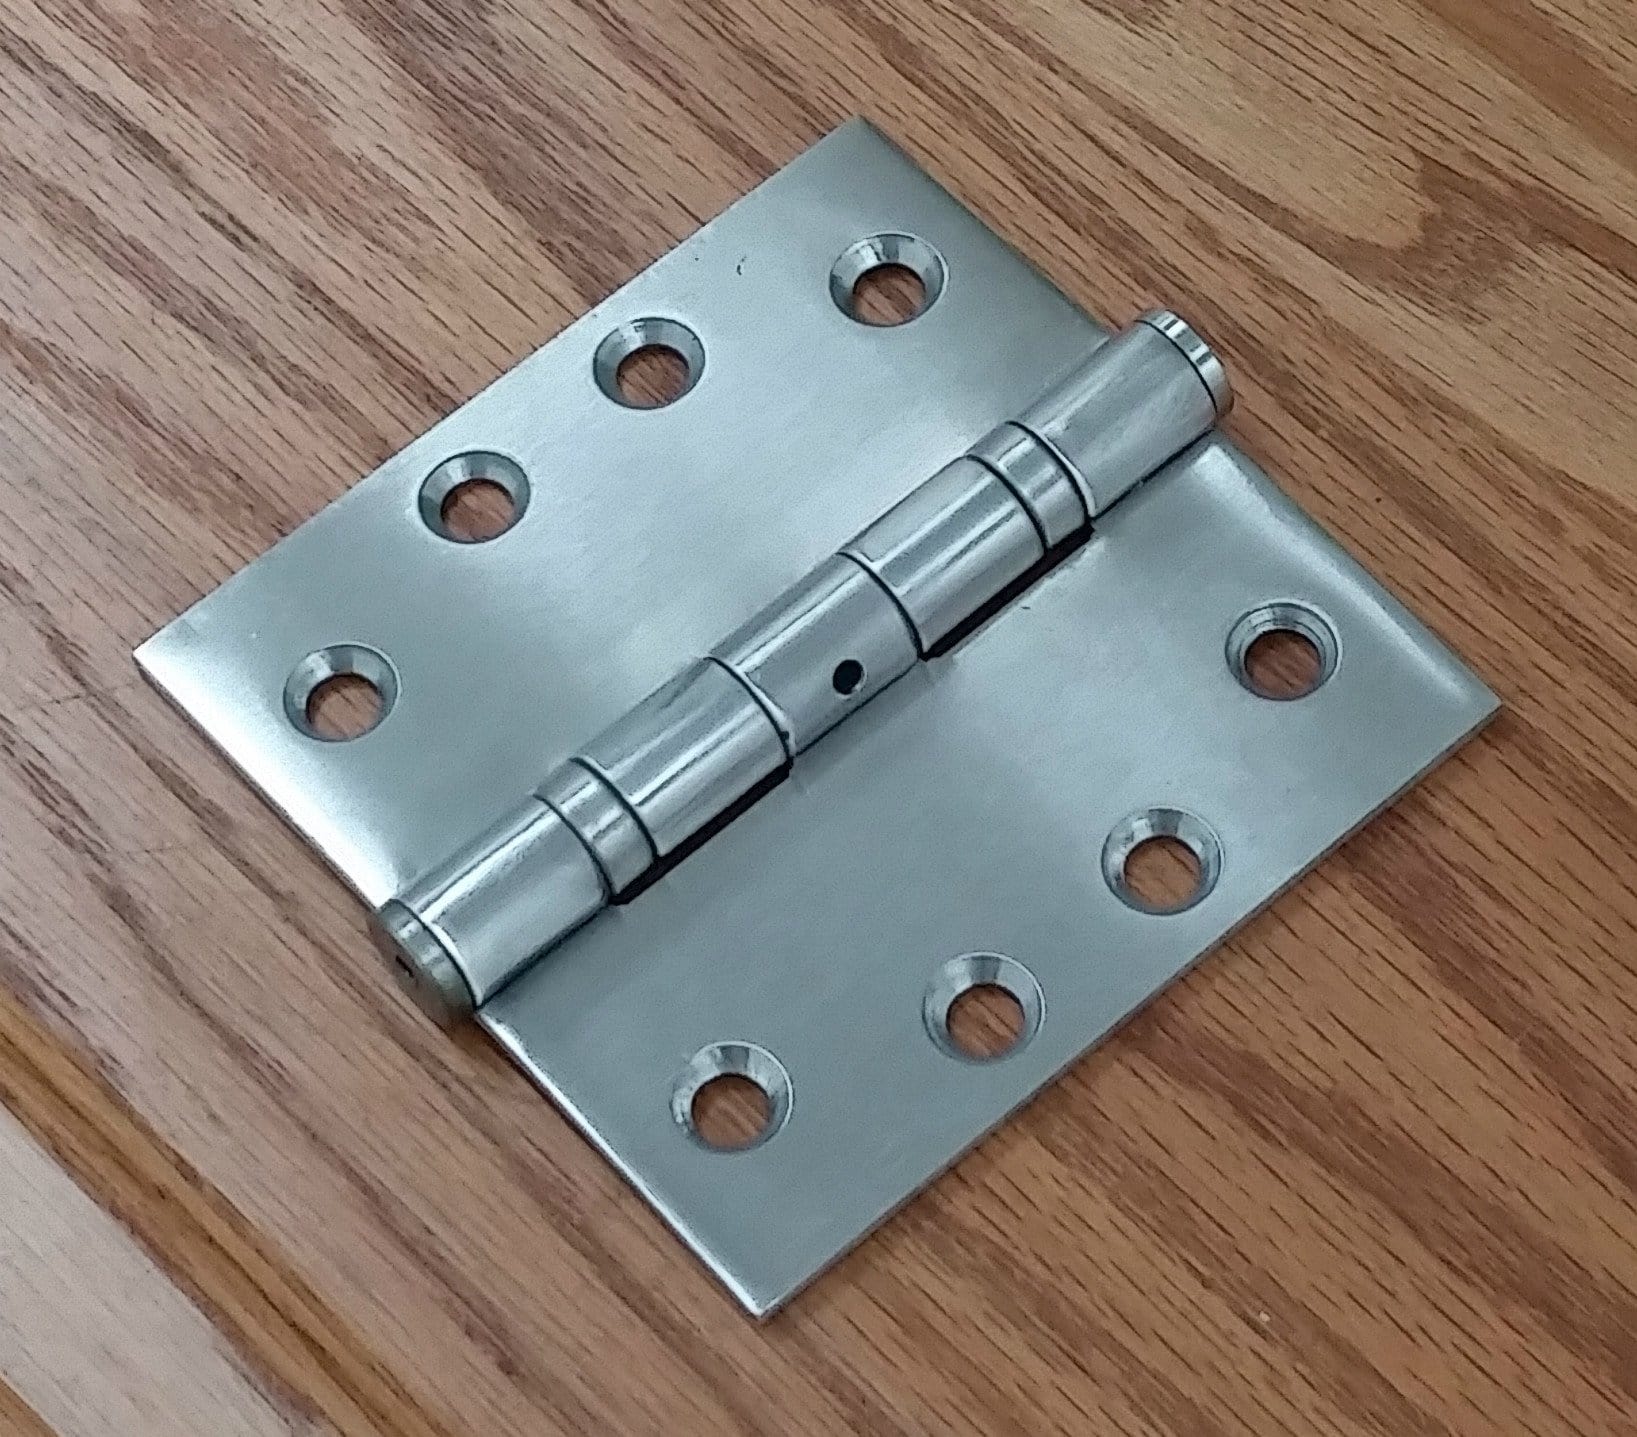
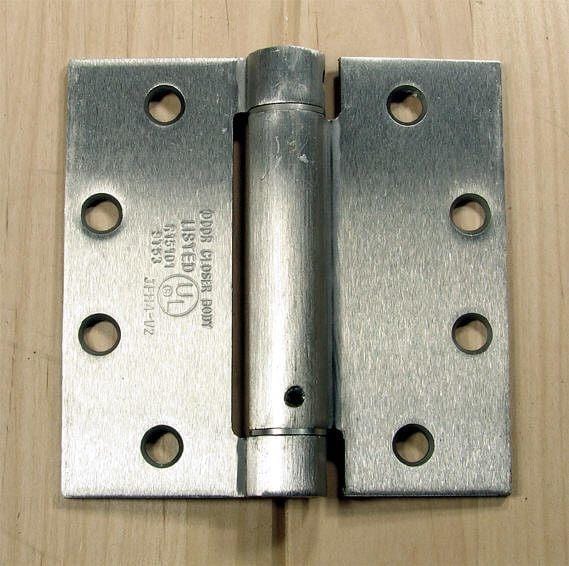
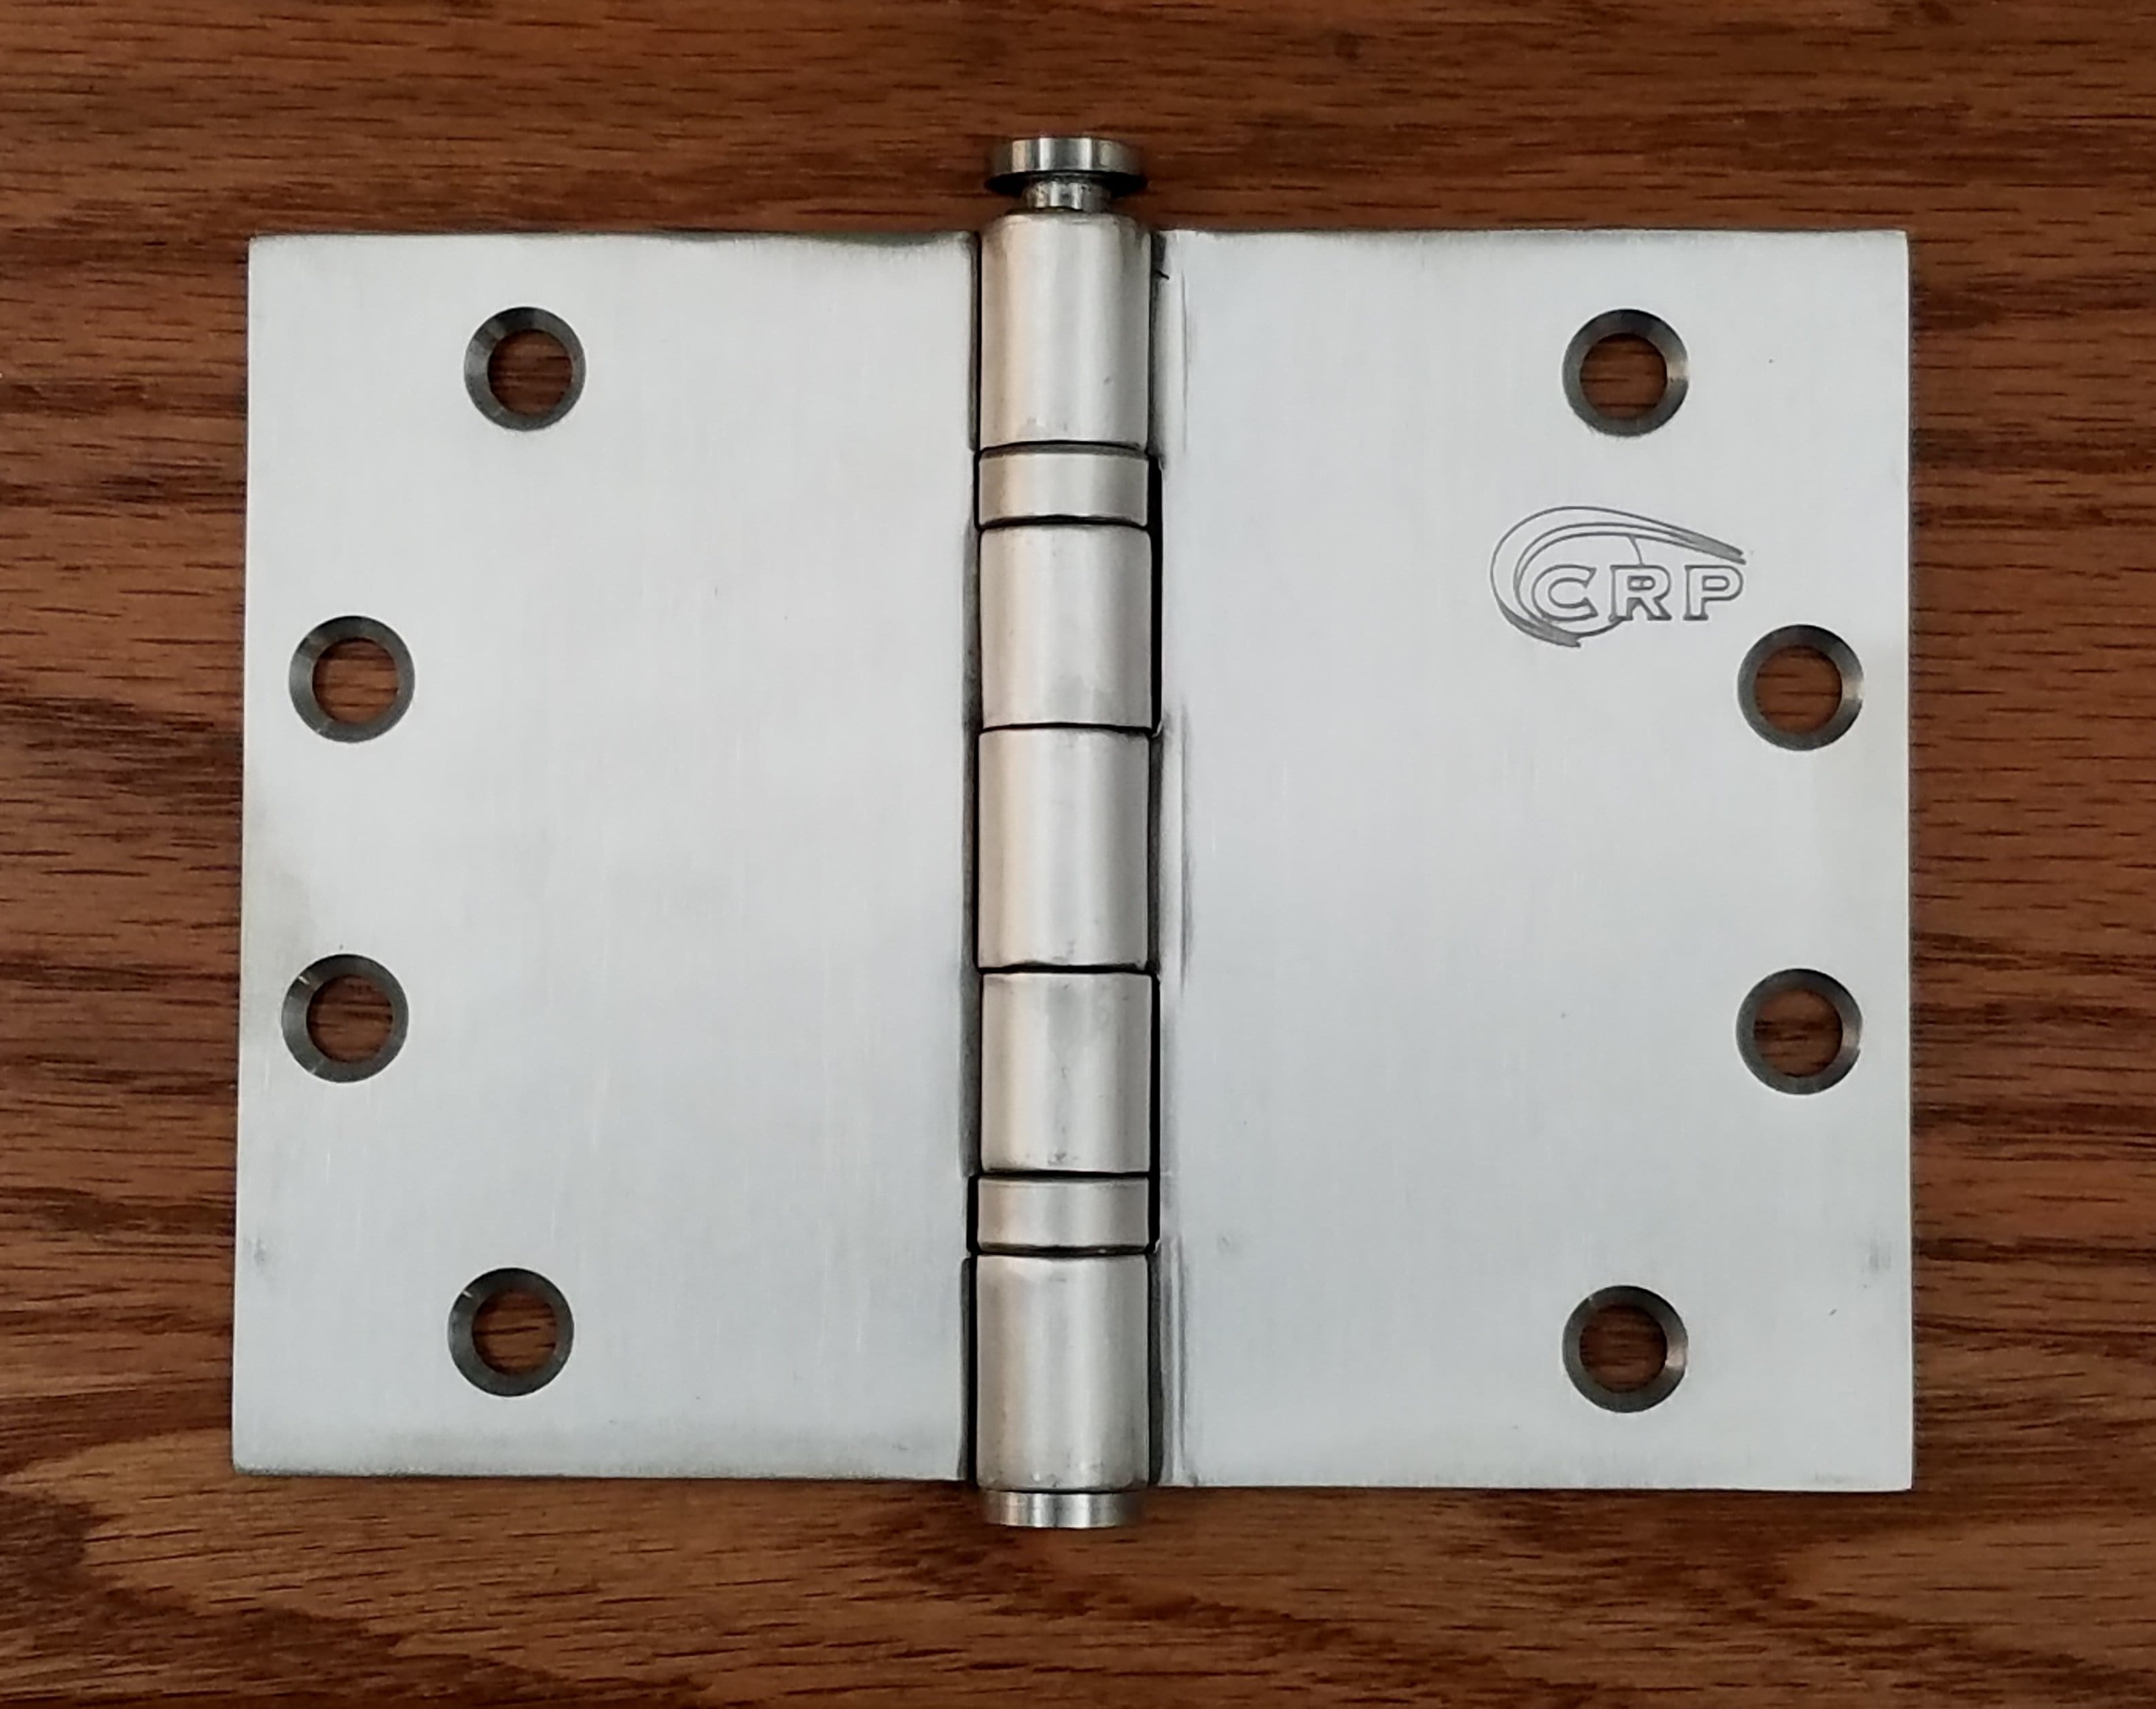
The first step in the actual door threshold repair or installation process is to take the necessary measurements and have the required materials at the ready. This will include not just your tools but the replacement or new threshold as well. You can browse for a variety of door thresholds at Hinge Outlet and pick the one that best suits your needs. The ProCarpenter Flexible Tape Measure works great for this purpose. Once you know which one you need to install, you can order it and initiate the process.

When measuring out the relevant door for door threshold installation, make sure that you take a few extra inches on either side which can be trimmed later. Take your tape measure from one side of the door case to the other and then add an extra inch or two. Be mindful that a larger piece can be cut smaller but a smaller piece cannot be made bigger which is why having a bigger threshold piece is a safer bet generally.
3. Remove the old threshold if there is one
In case of door threshold repair, you will have to remove the old, worn-out part first. Use a wood-cutting blade with a reciprocating saw as it is the ideal tool for the job. Make sure that the blade you are using is as long as the old threshold is deep. Slice the old installed piece into smaller pieces and watch that the blade doesn’t damage the floor. In case you feel like the blade is hitting the floor, stop immediately but don’t halt too soon or else you won’t be able to get the threshold out properly.
4. Install rubber seals
Once the old threshold is out, you can begin prepping the surface for fresh installation. The first step in the process is to brush and clean the debris. Next, install the rubber strips that go underneath the floor. In case you are installing metal thresholds, you can use silicone caulk that acts both as an adhesive and a seal at the same time. Ensure the fact that you have test fitted the door threshold before installation or else you’ll run into trouble with it.
5. Cut out the notches
At the point where the threshold meets the door casing, notches will have to be cut so that the threshold can be placed appropriately. You’ll have to measure and cut these notches accordingly so that the threshold can fit accordingly. Without cutting the notches, thresholds are harder to fit which can cause numerous functional as well as aesthetic inconveniences. Use a pencil, scale and measuring tape to mark the areas and size that you want to cut. Then get a test fit before screwing the threshold in place.
6. Install the Threshold
Whether you have a metal or wooden threshold, make sure that you deliberate properly before the final installation. The metal thresholds are installed through screws while wooden ones are hammered in with nails. Once the notch is cut and you have the test fit right, use the relevant anchoring materials to get the best fit. Door threshold installation process can take a minimum of two hours from start to finish which is another thing that you should bear in mind.

Door threshold repair and installation is only recommended as a DIY project for those who have at least moderate experience in woodworking or metal parts installation on their doors and windows. Experience in this regard is the only precursor for proper execution of this task and if you don’t feel confident enough, it is always best to contact a professional installer.
Conclusion
Door threshold repair or installation can be tricky but if you have the relevant experience you can get it done without any hassle. Just have all the tools and materials ready before you get to work and you should be fine. Make sure that you pick the best door thresholds from Hinge Outlet and then spend appropriate time to get the best in terms of functions and visual appeal.