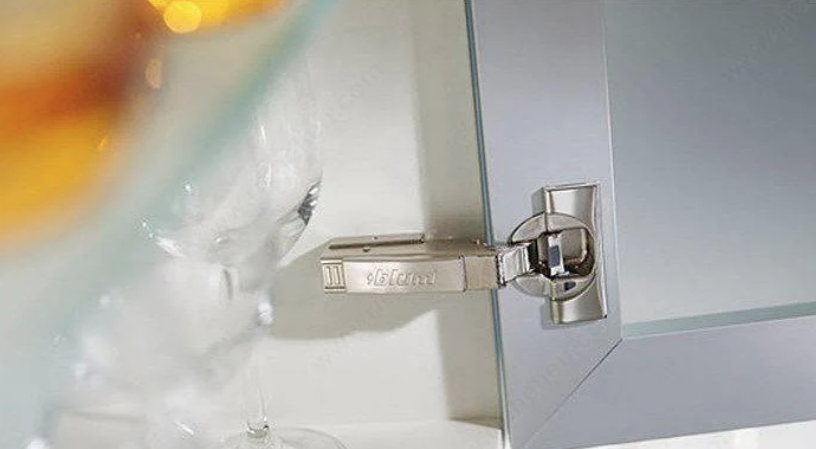
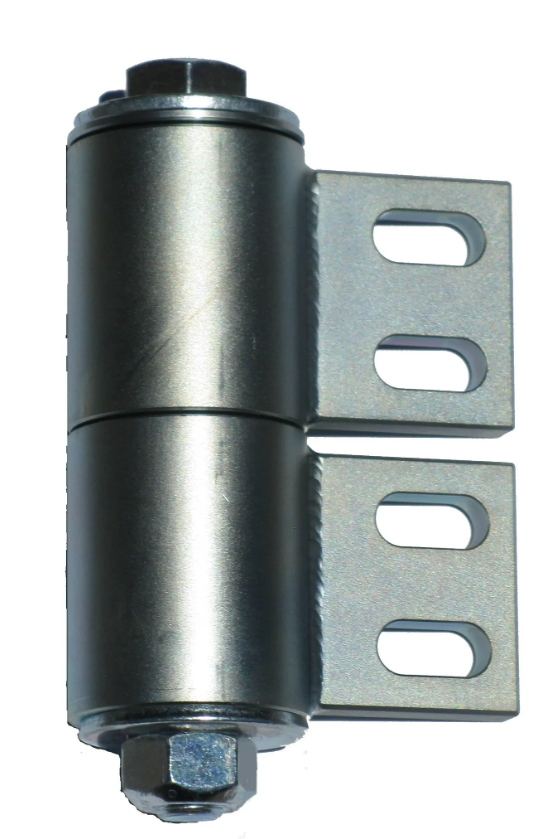
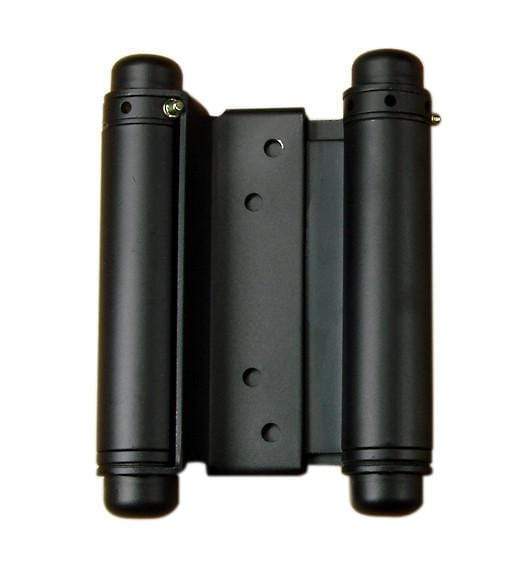
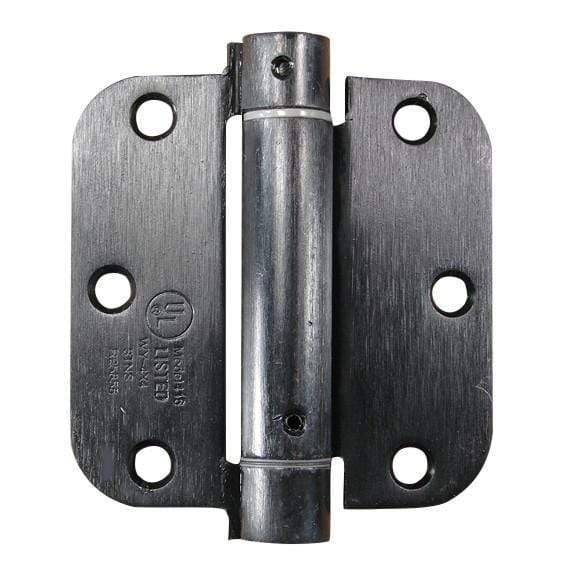
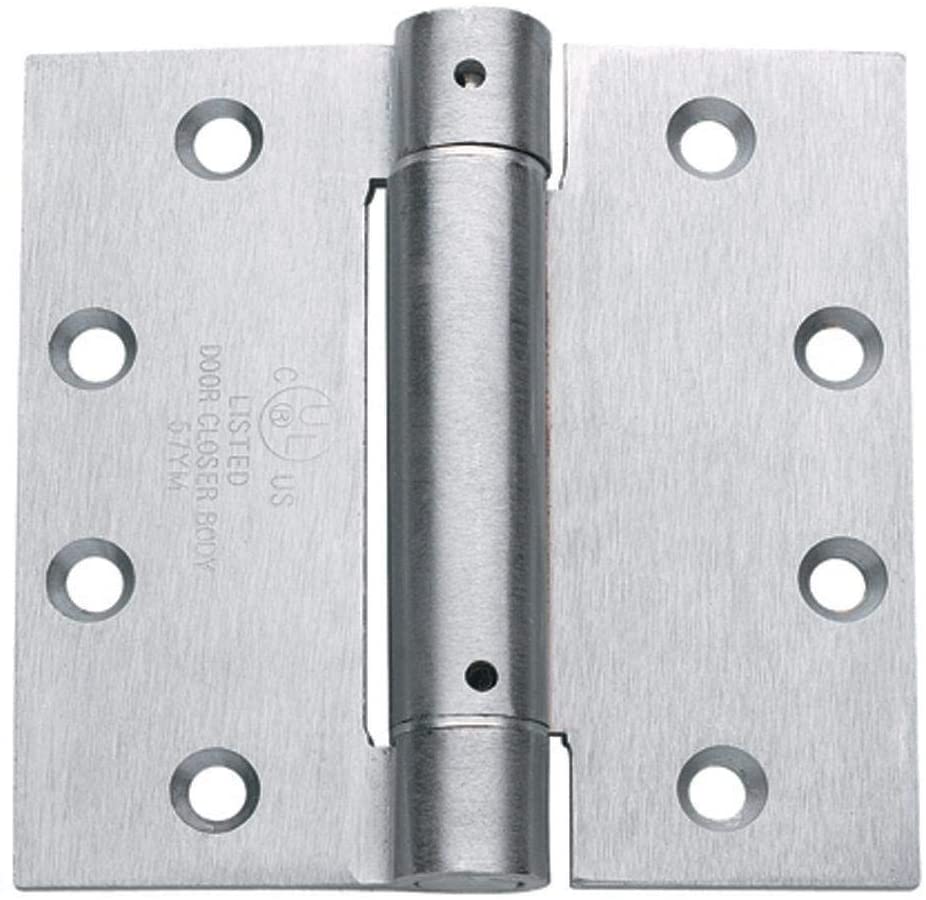
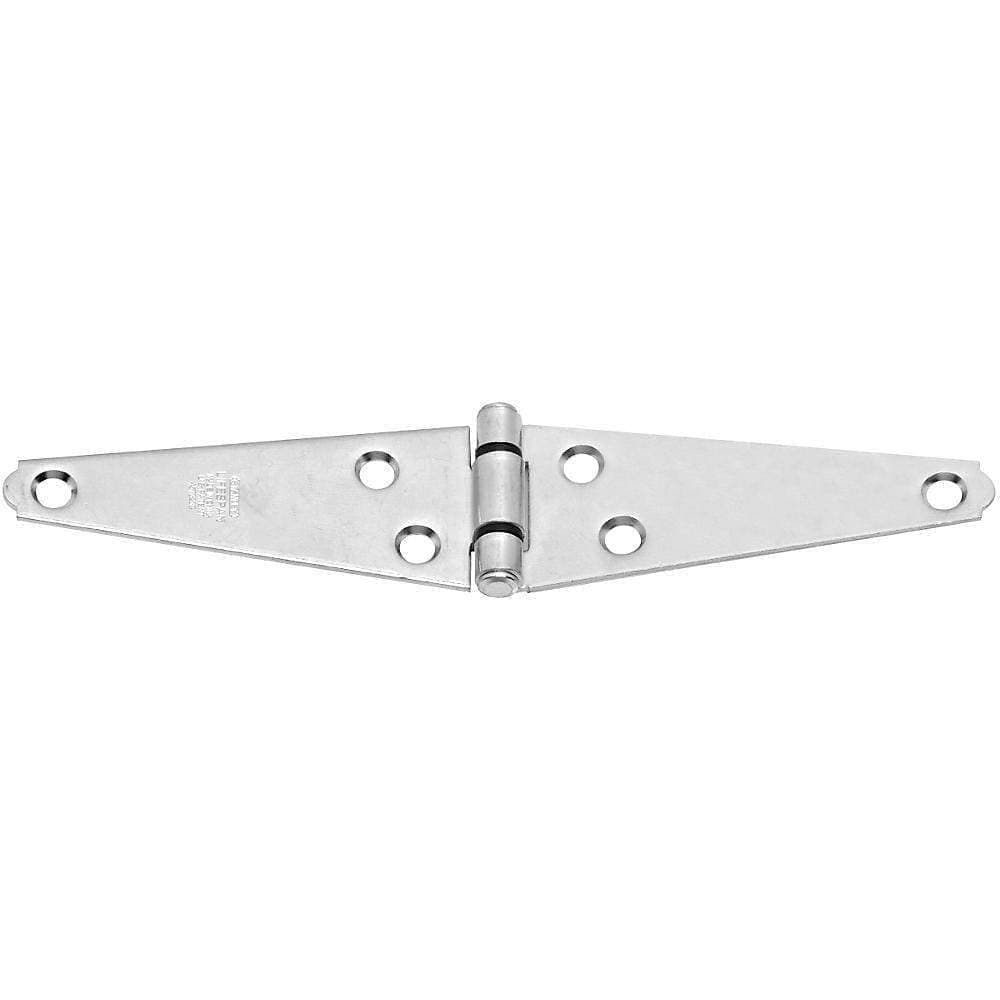
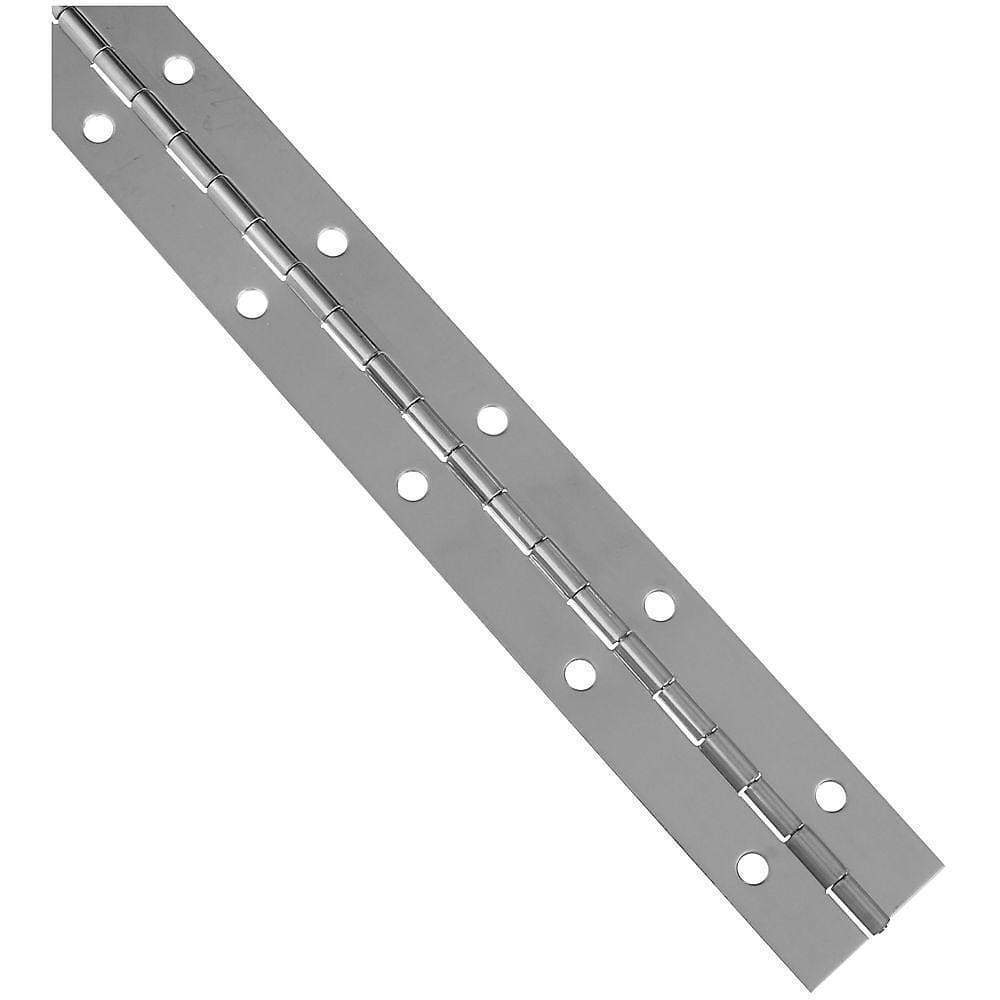
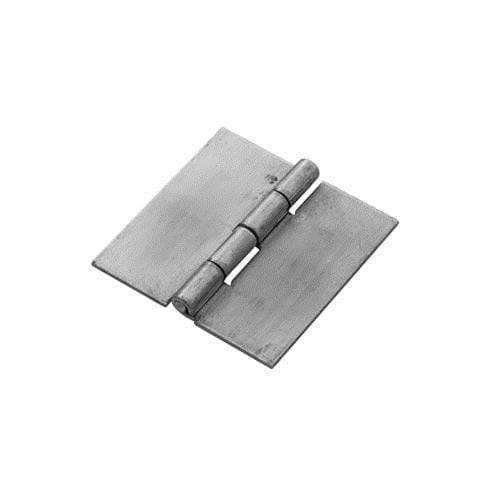
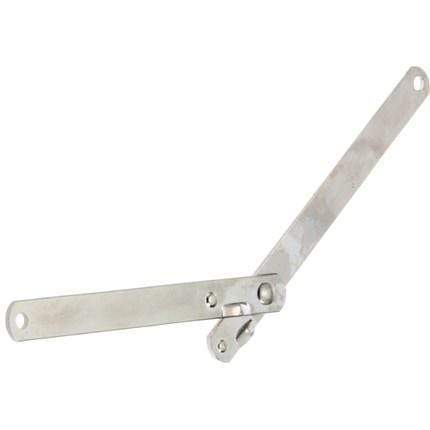
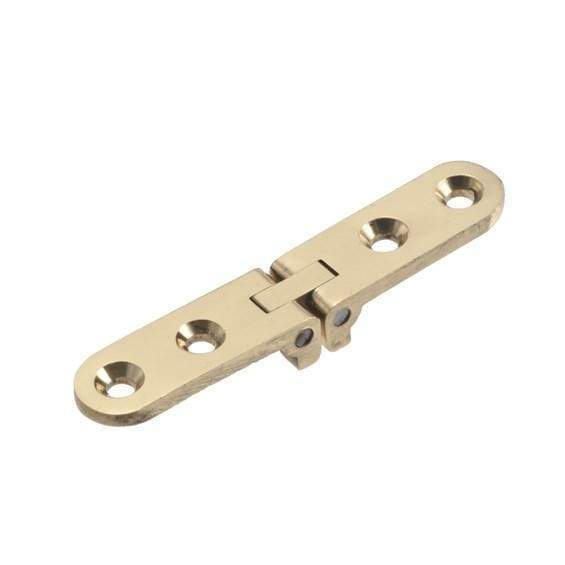
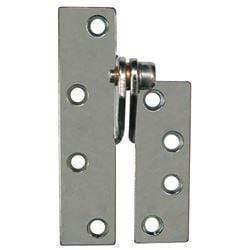
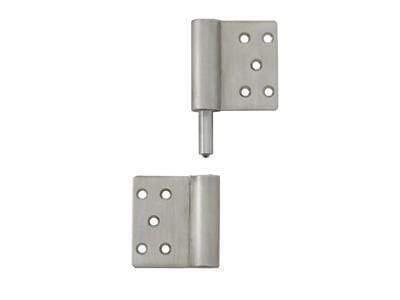
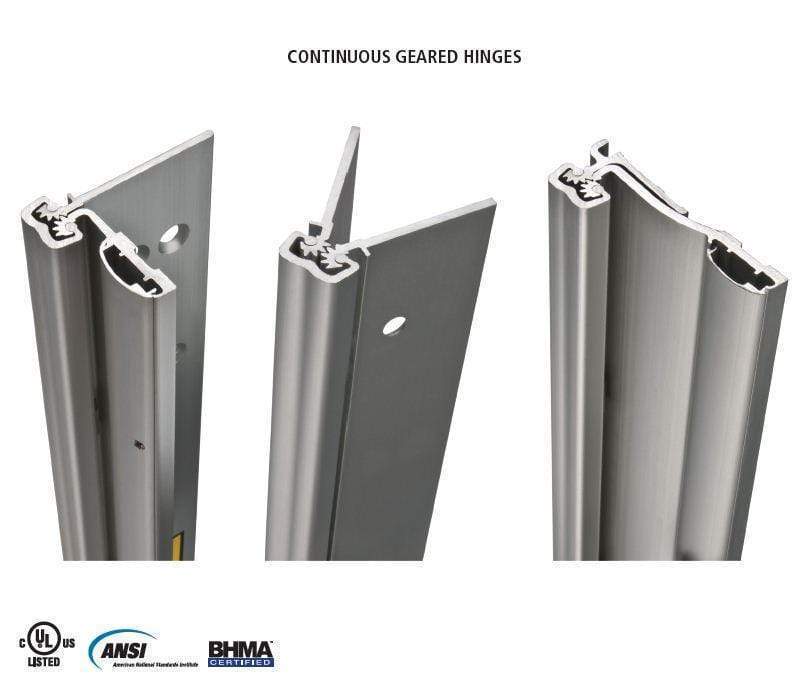
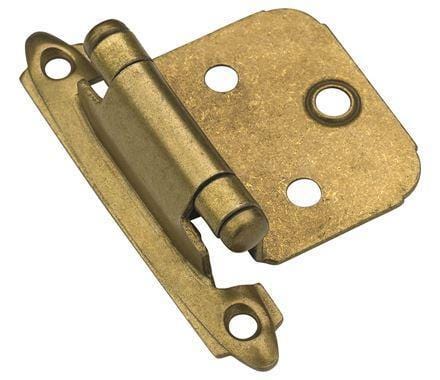
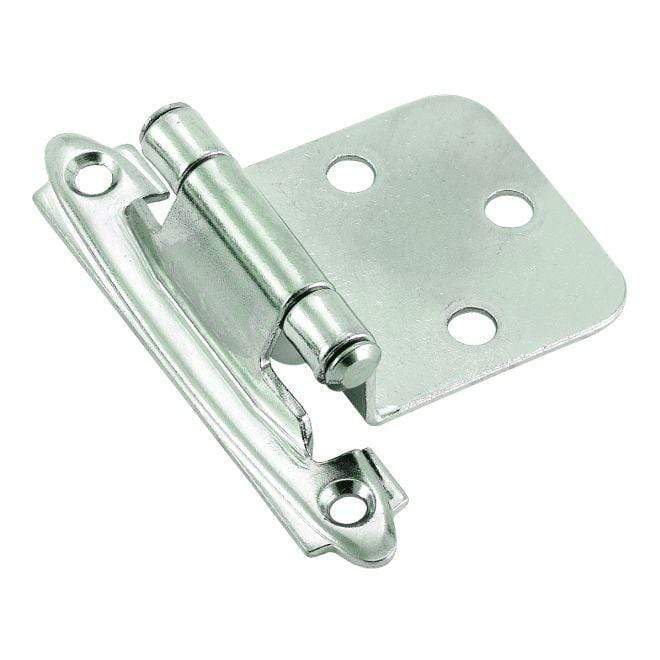
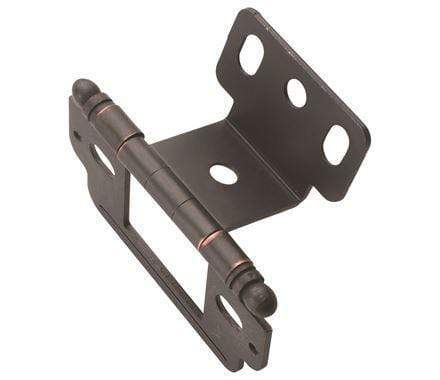
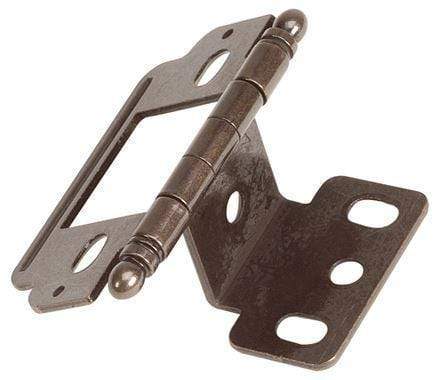
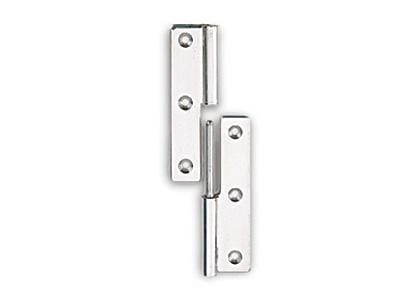
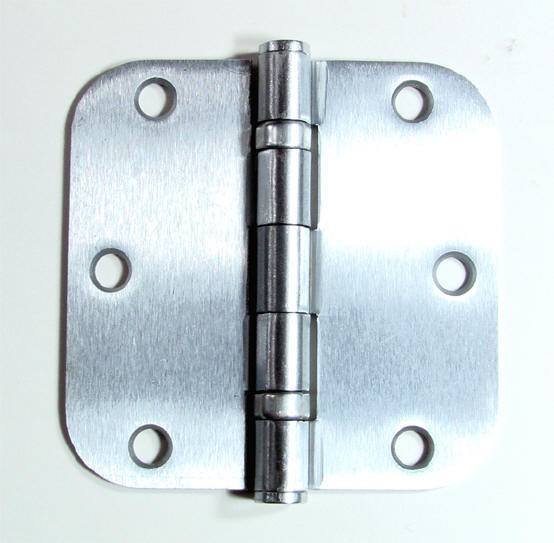
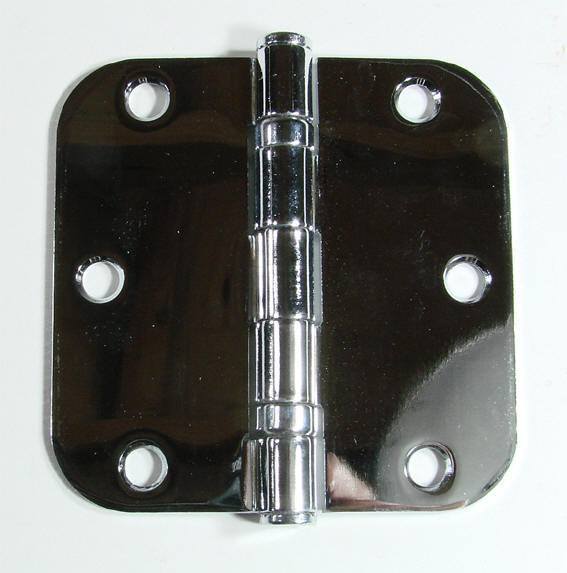
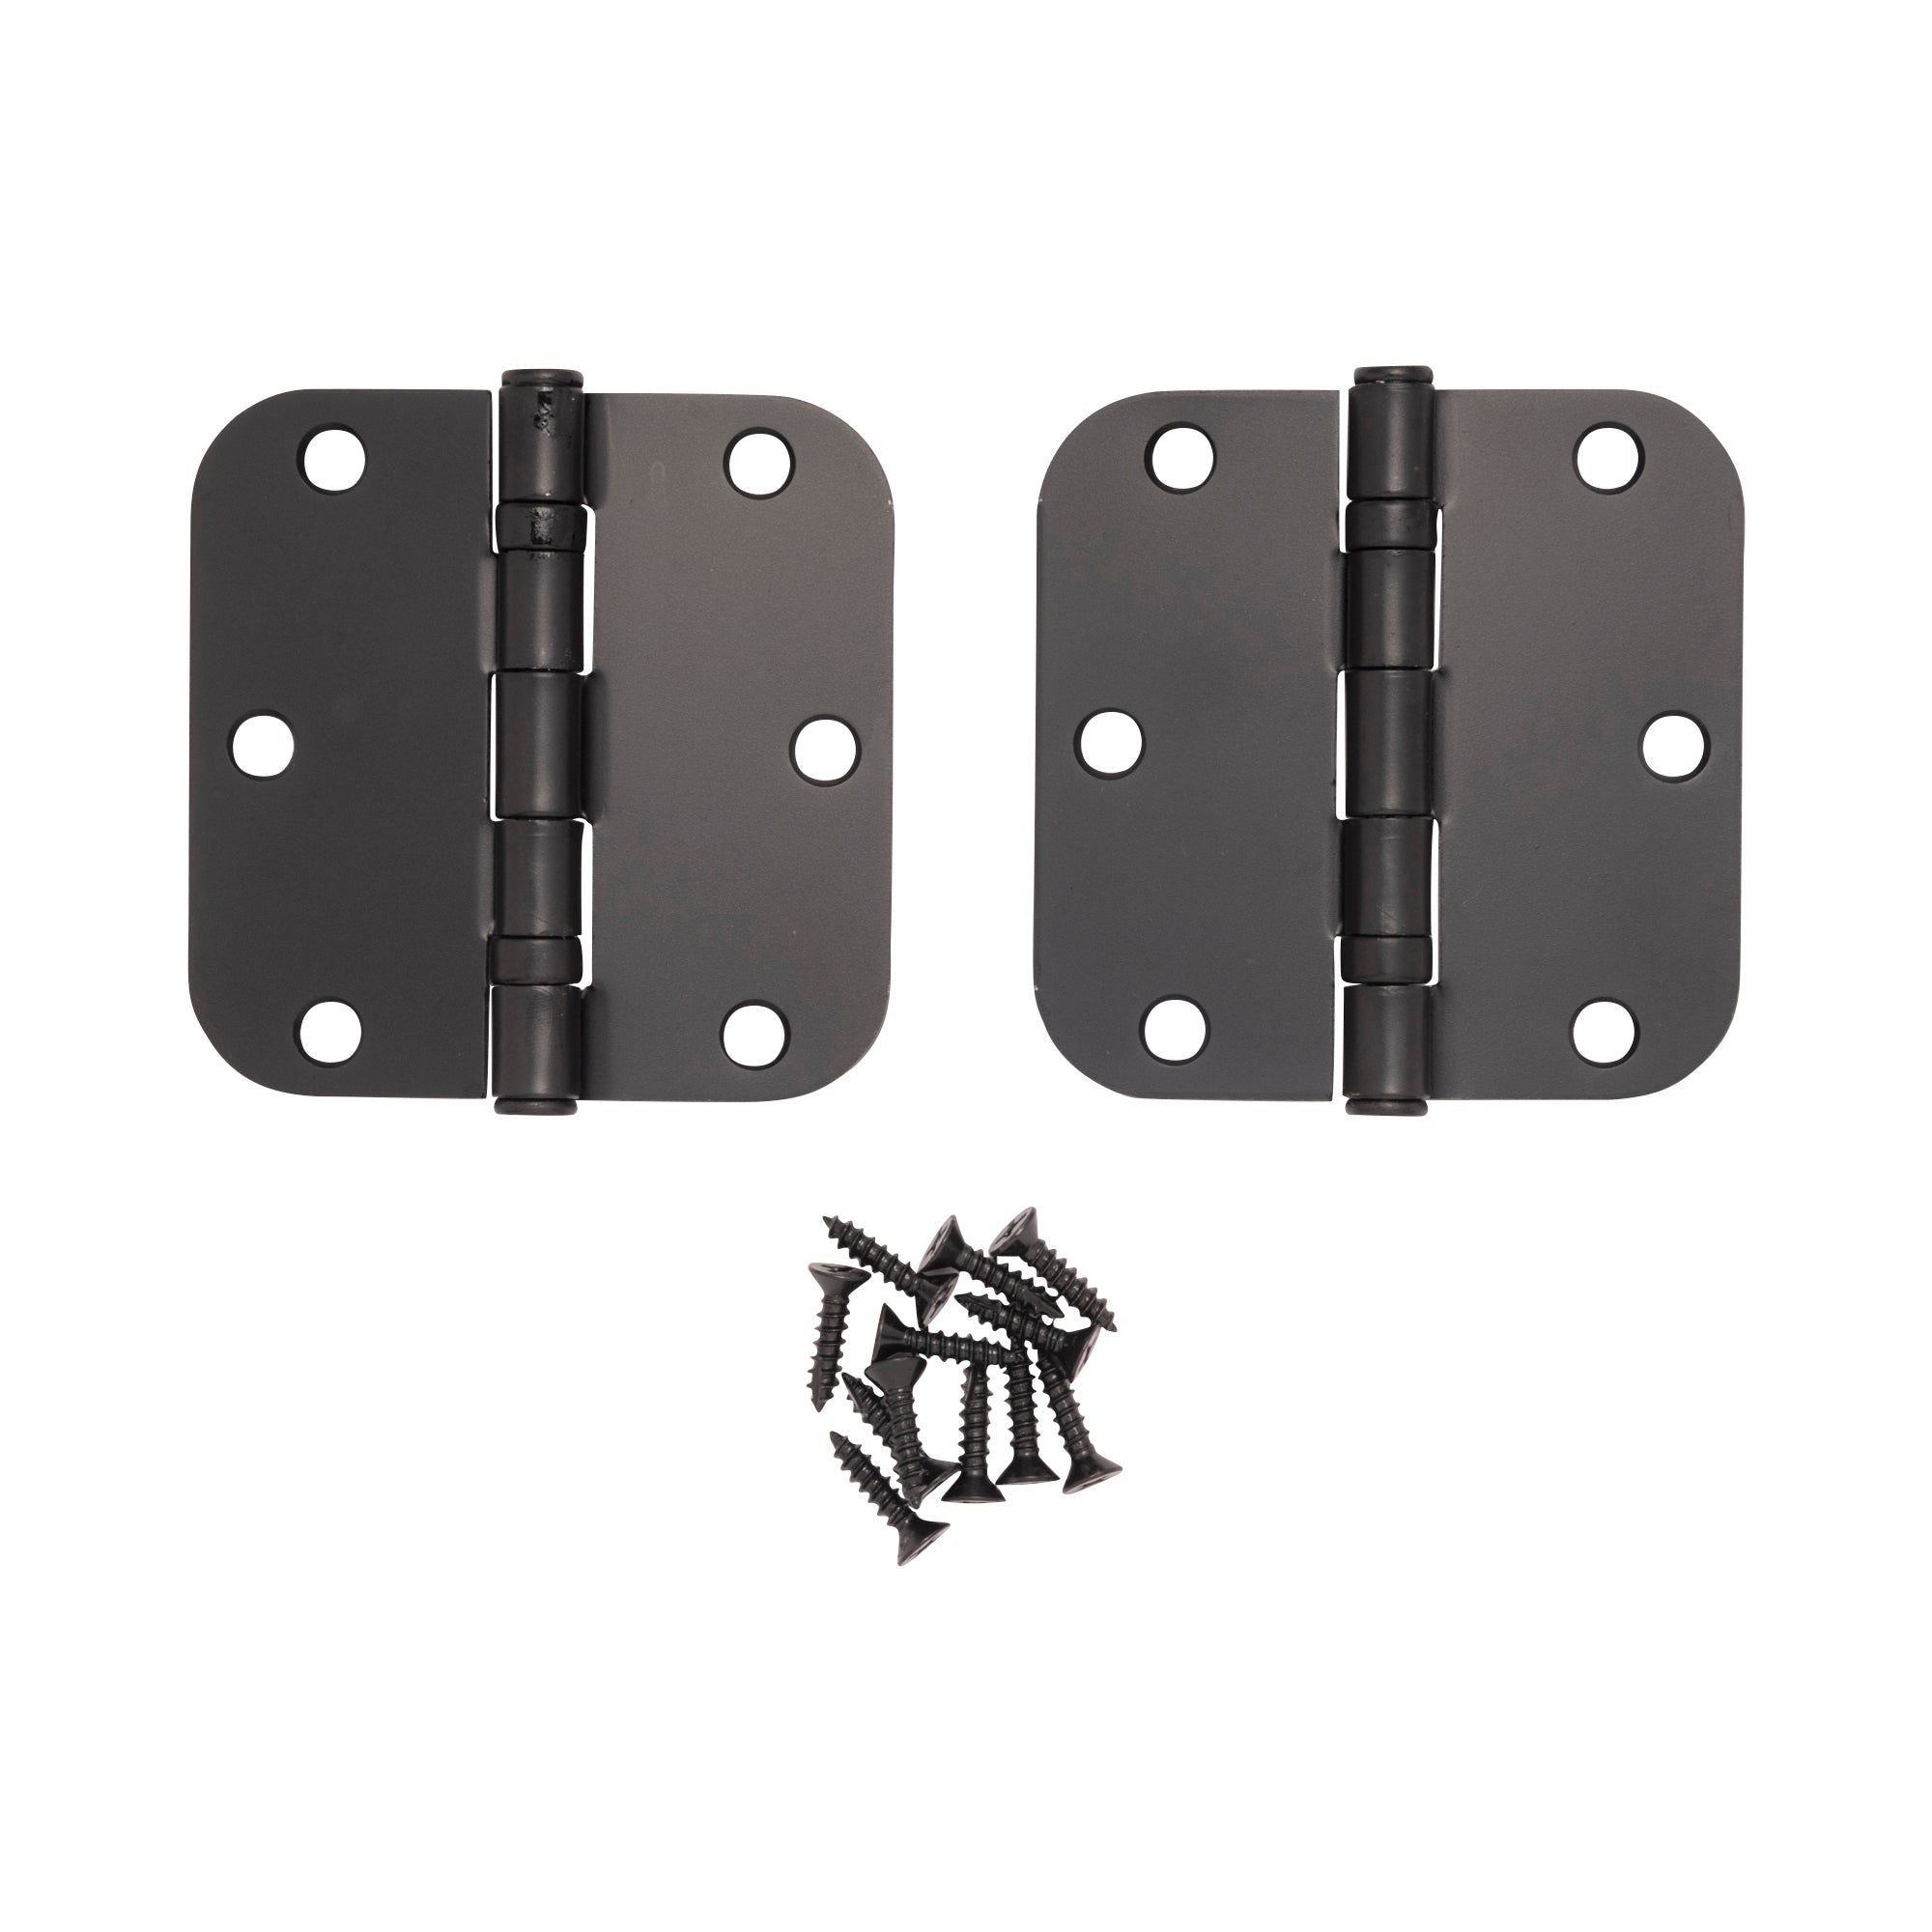
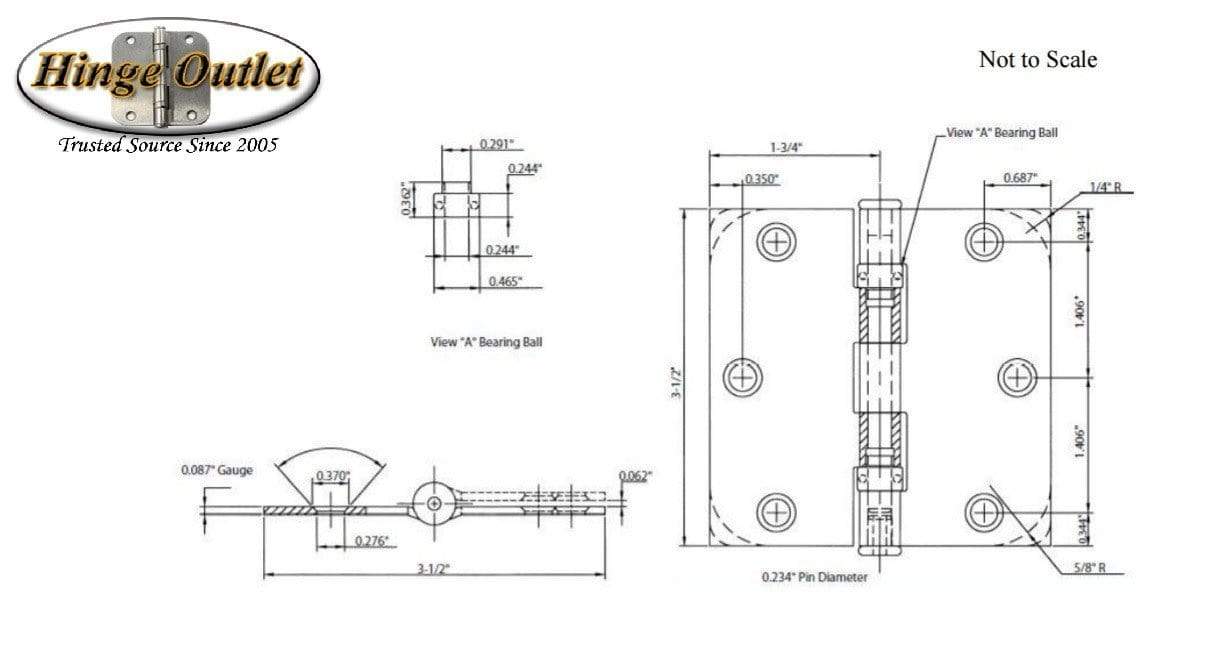
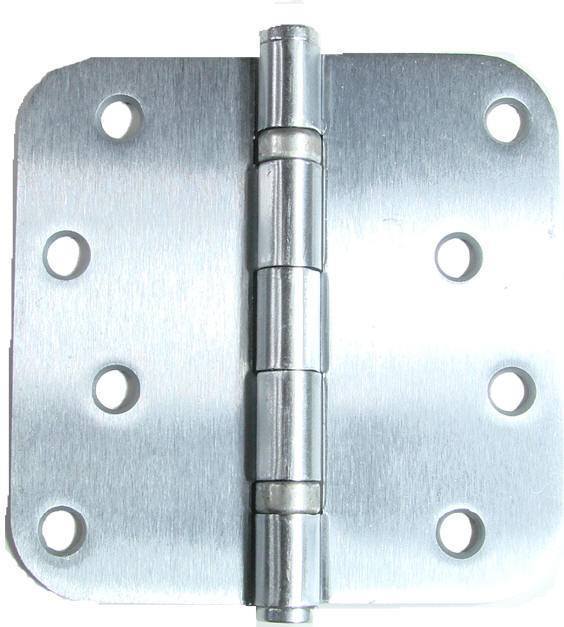
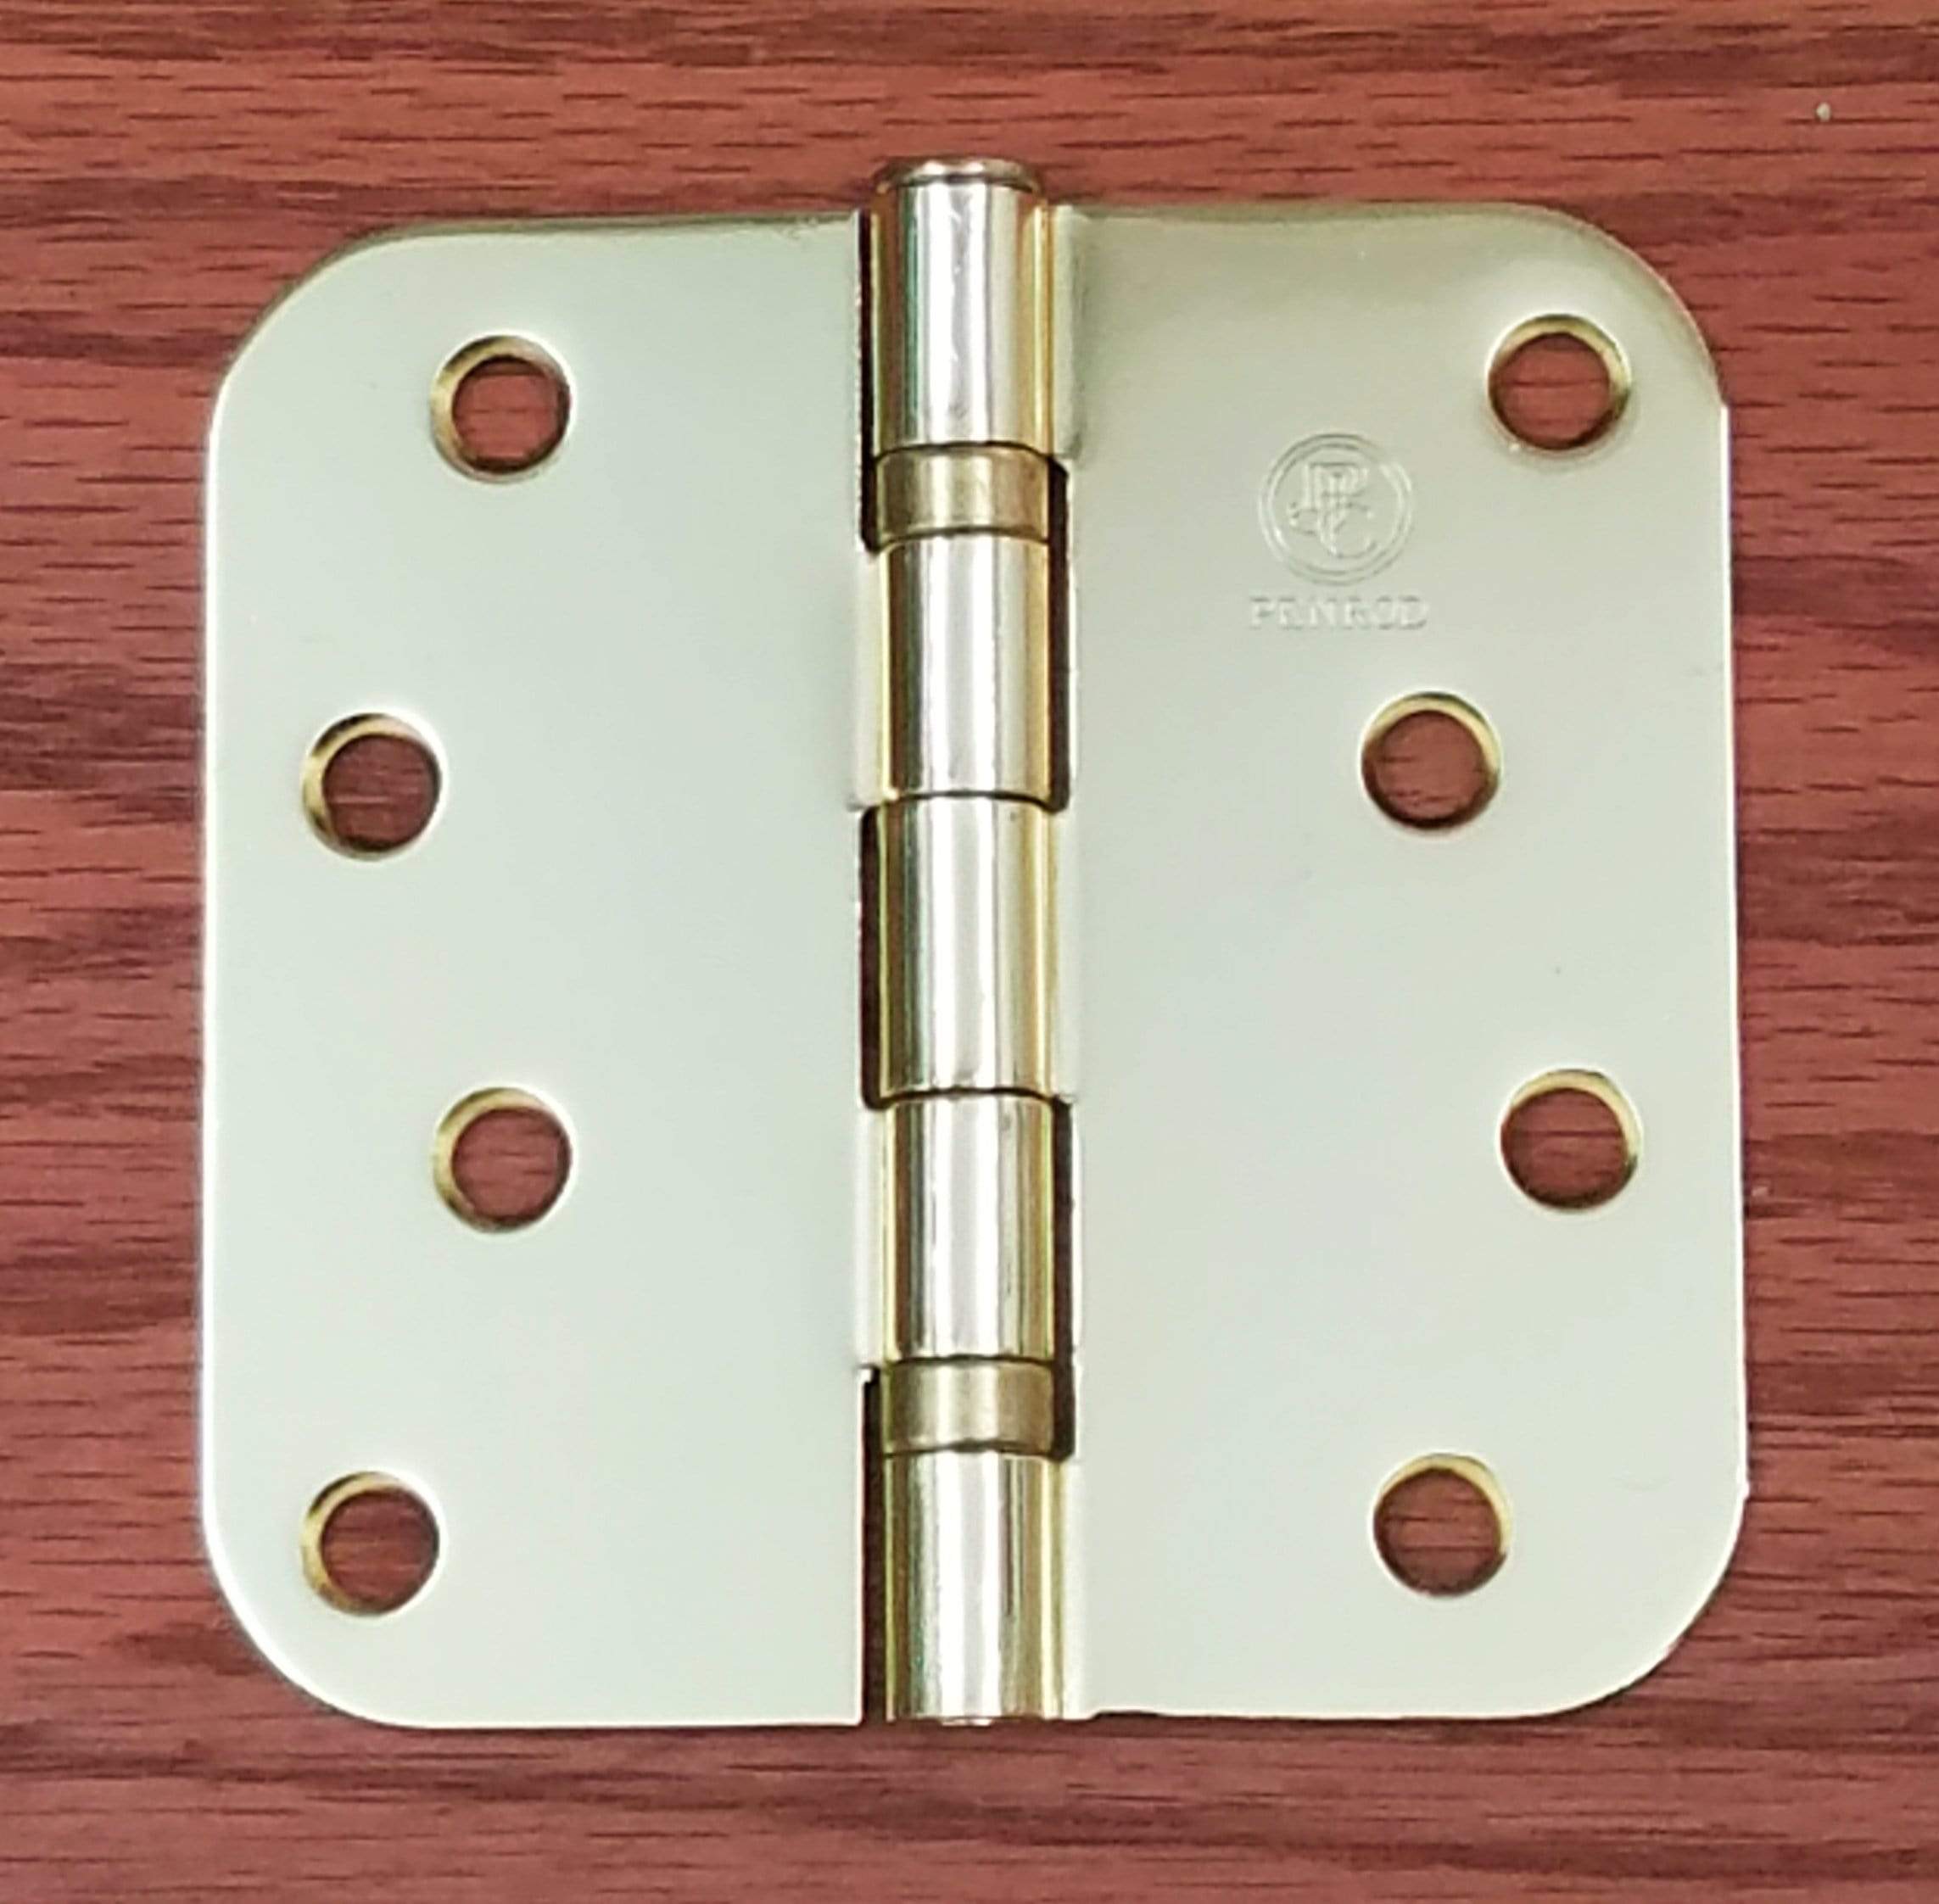
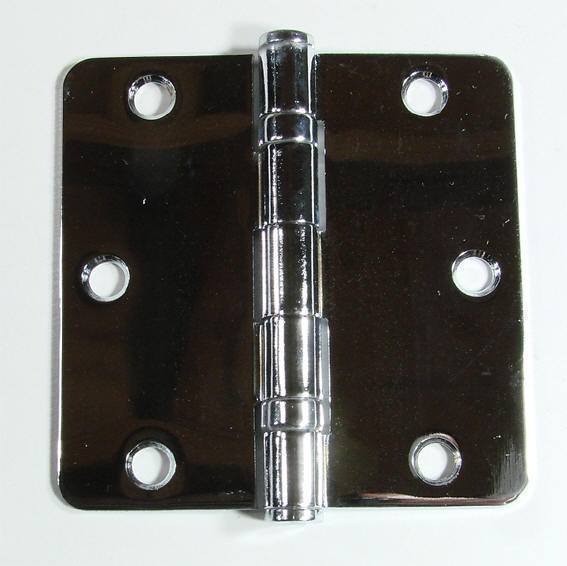
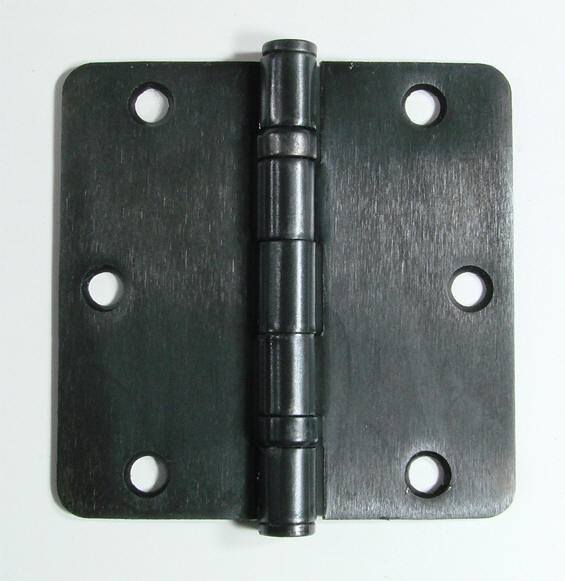
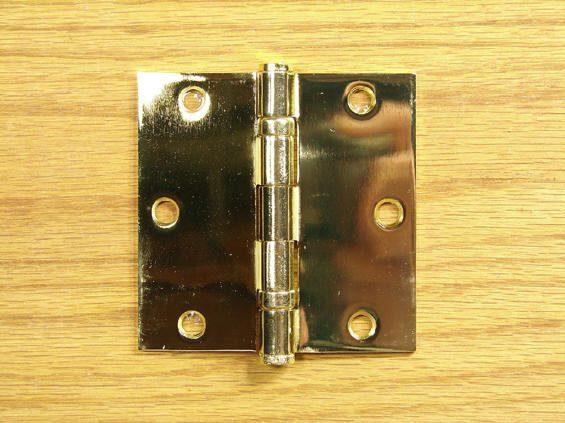
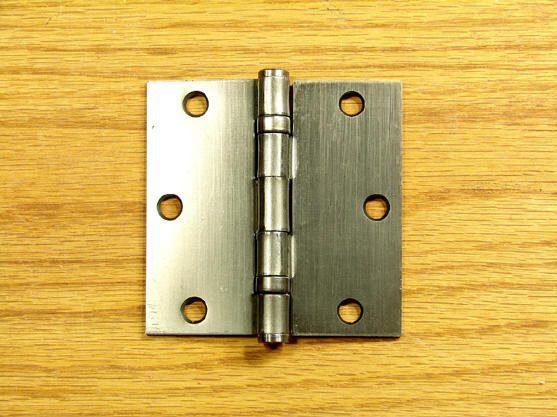
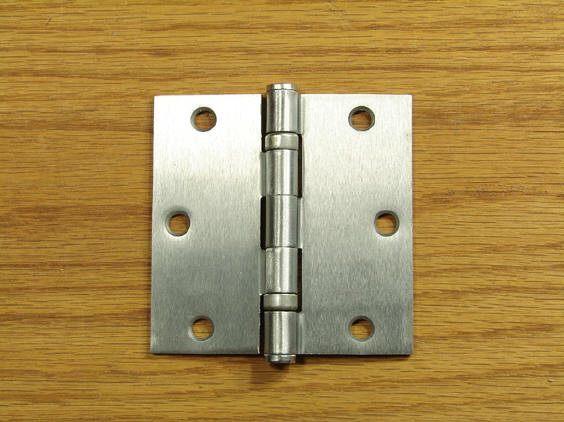
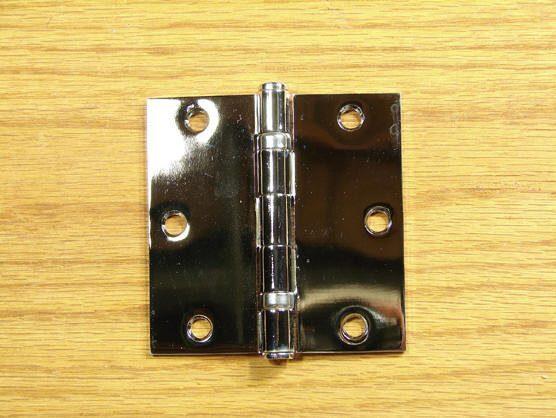
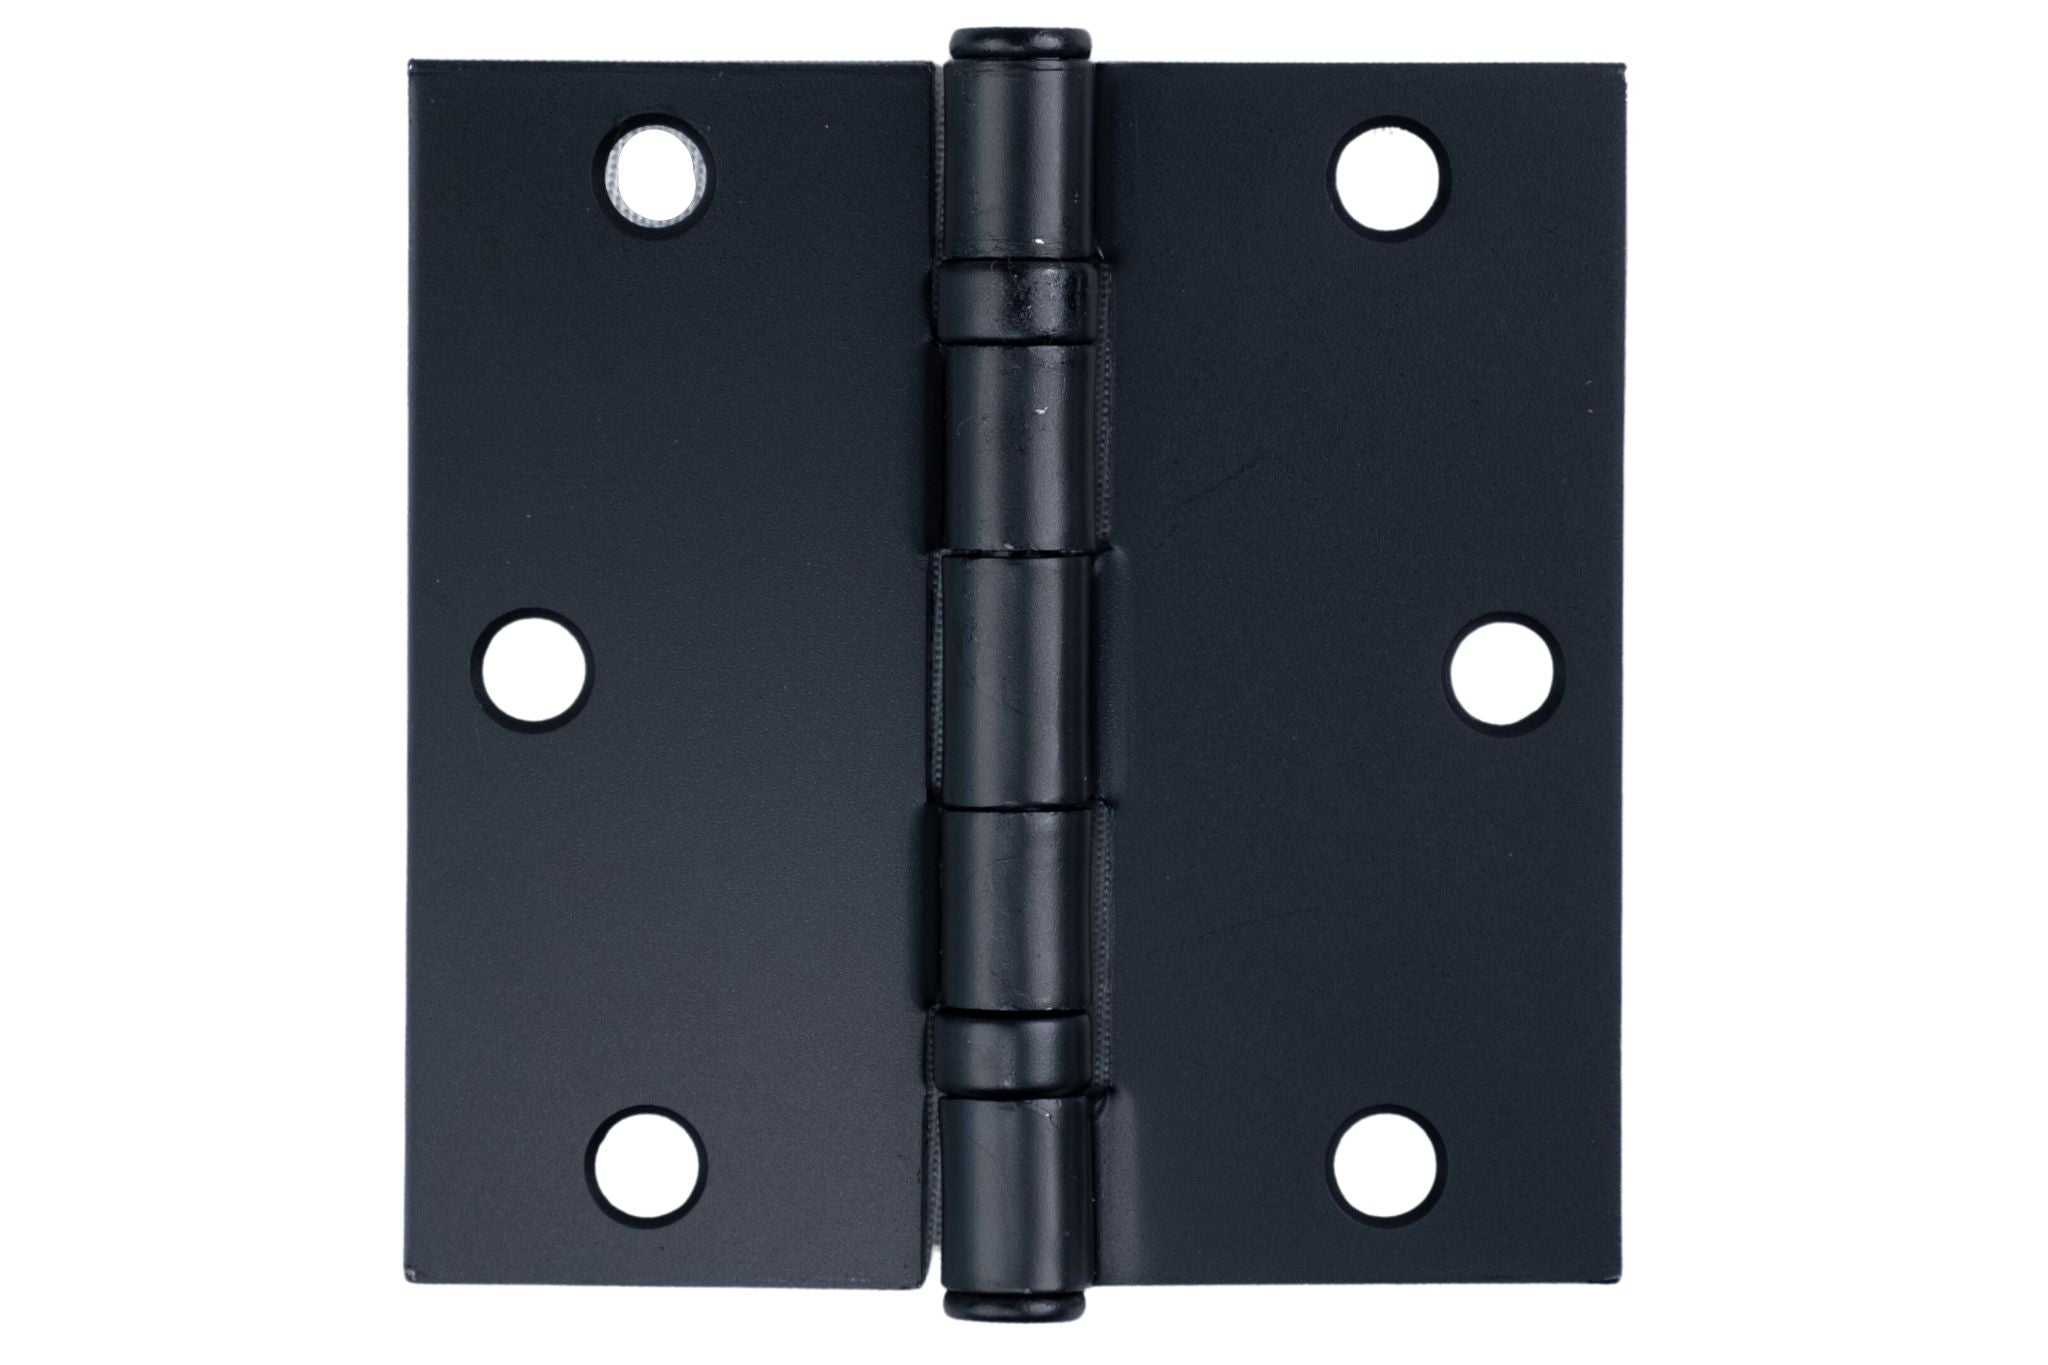
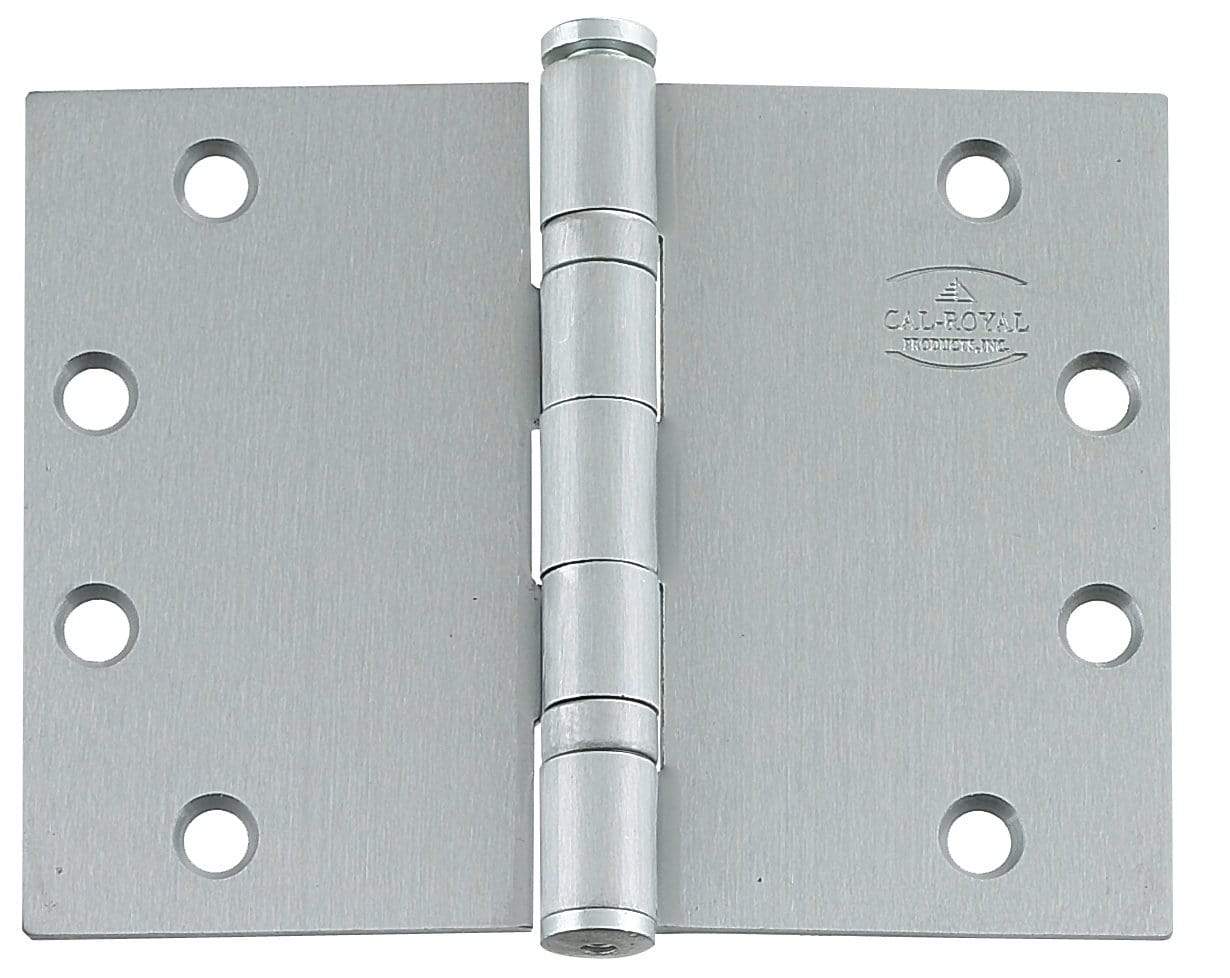
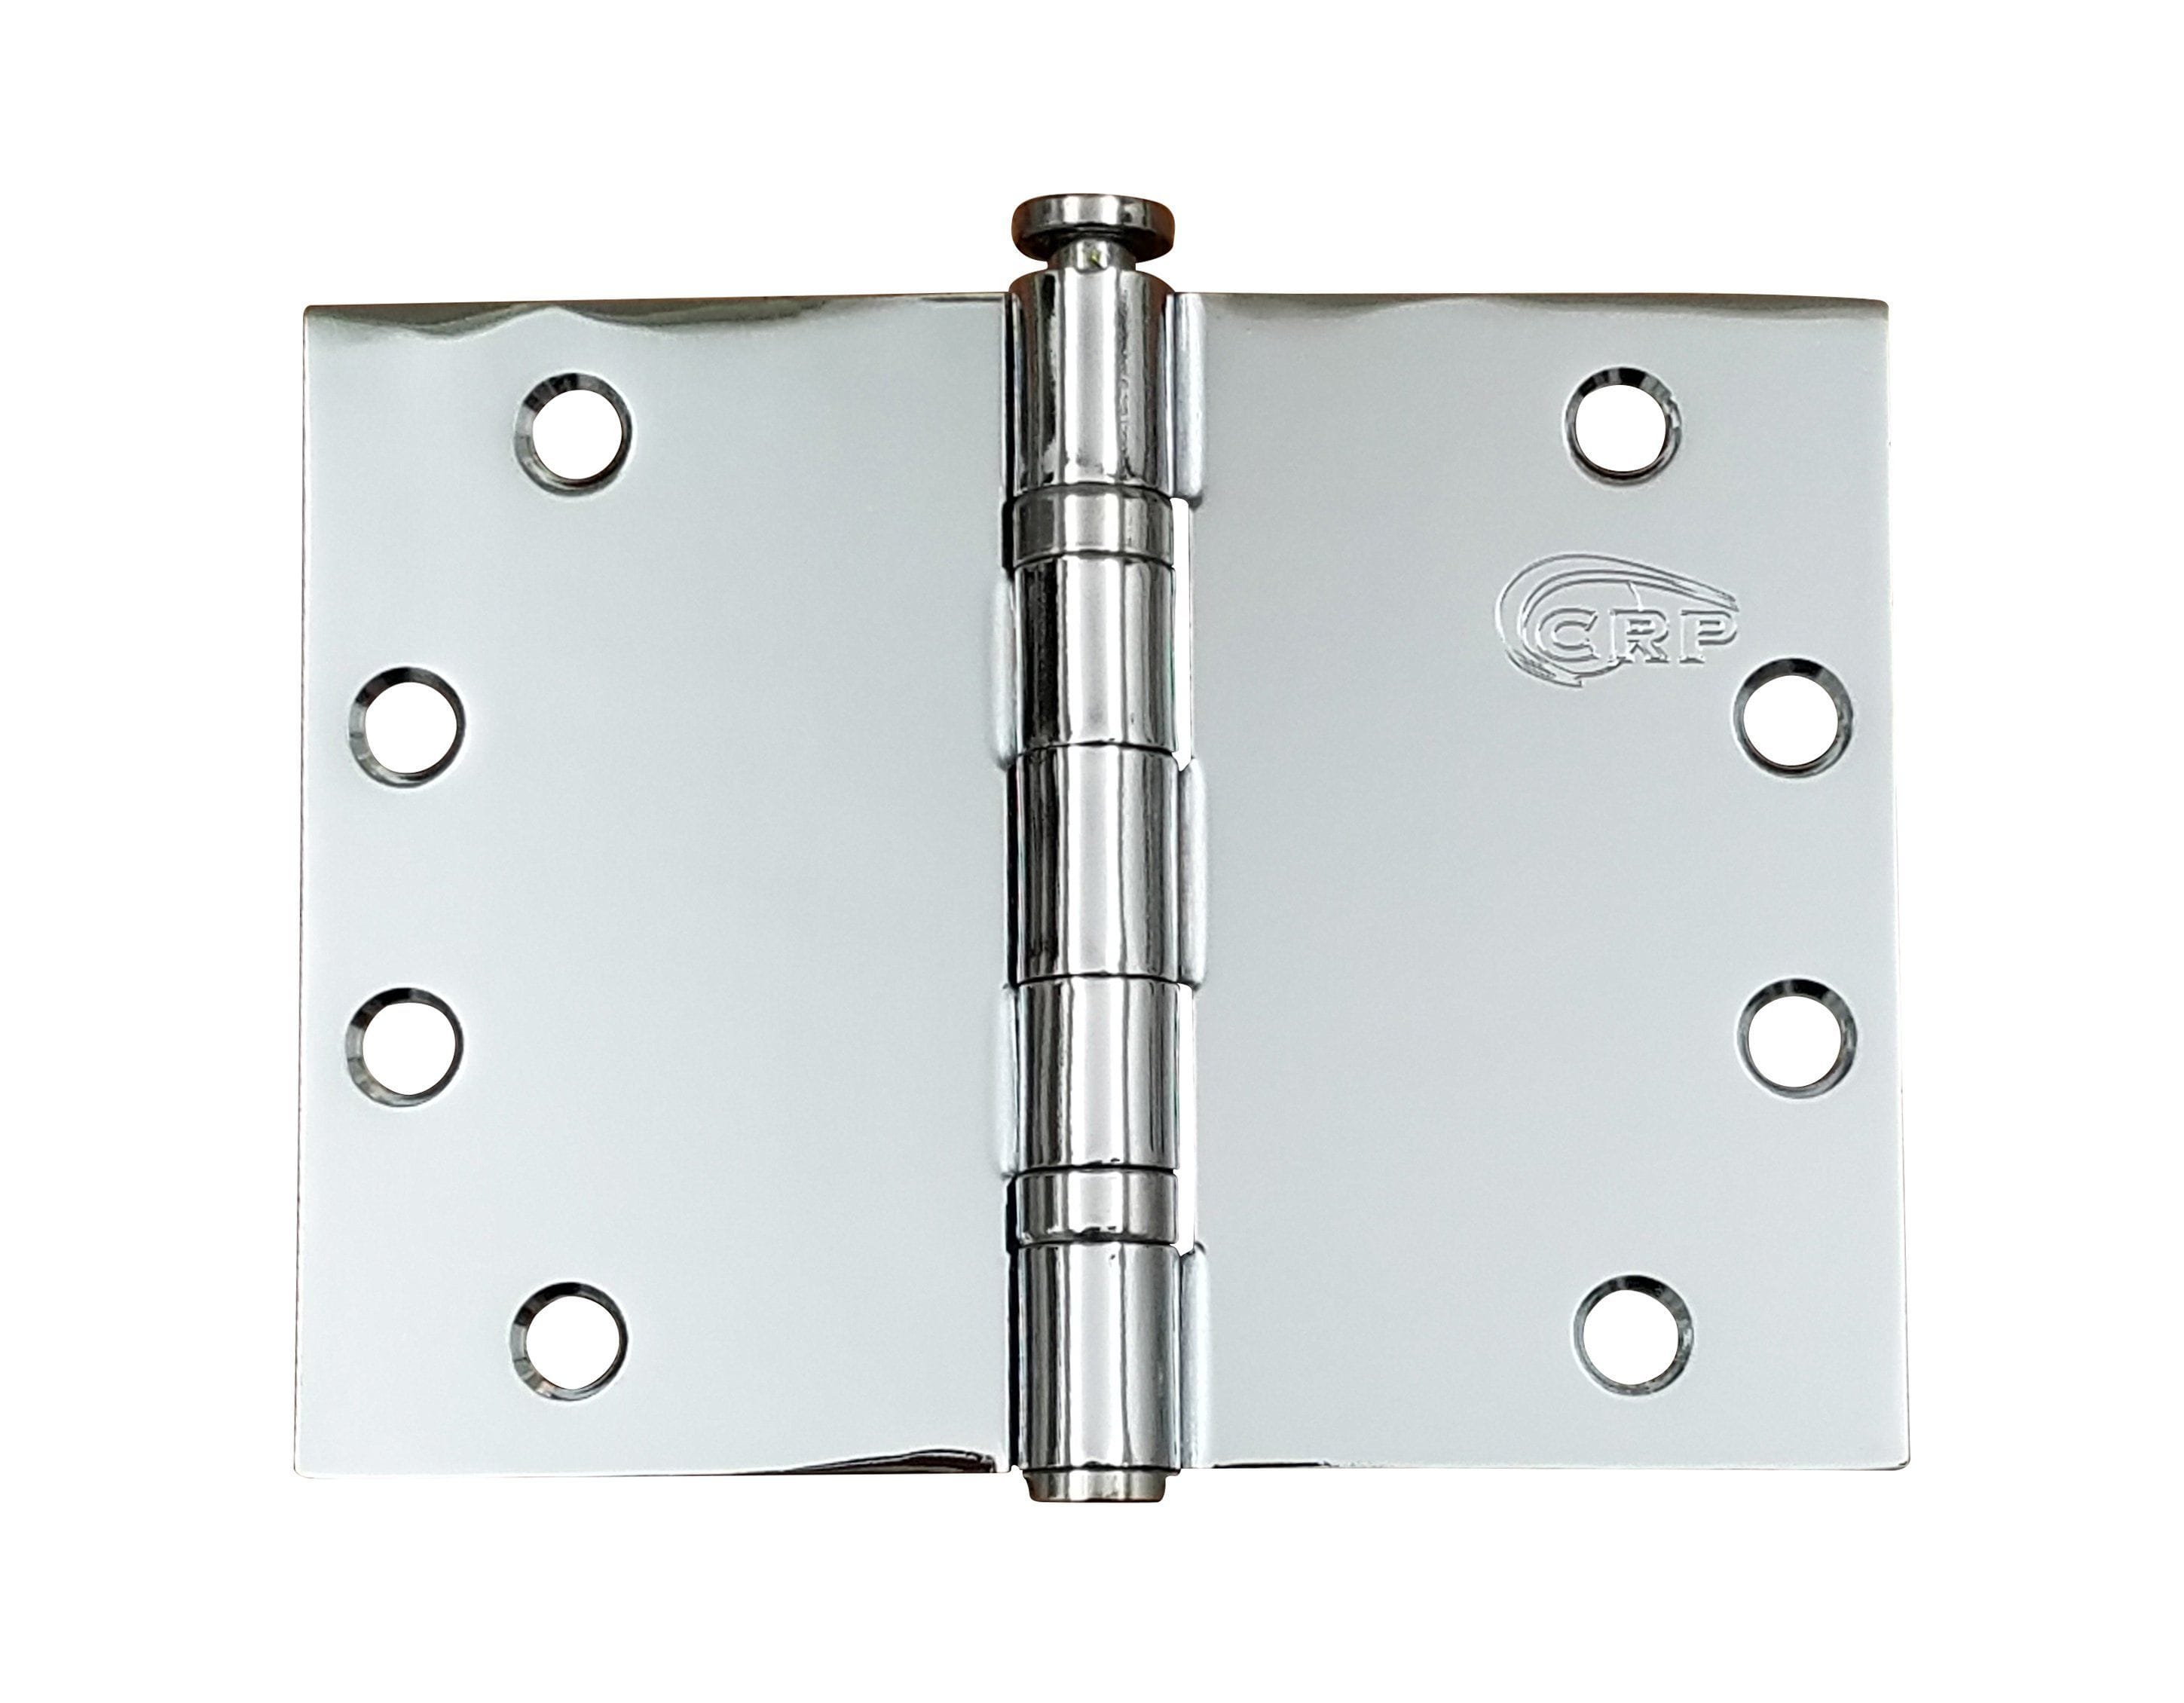
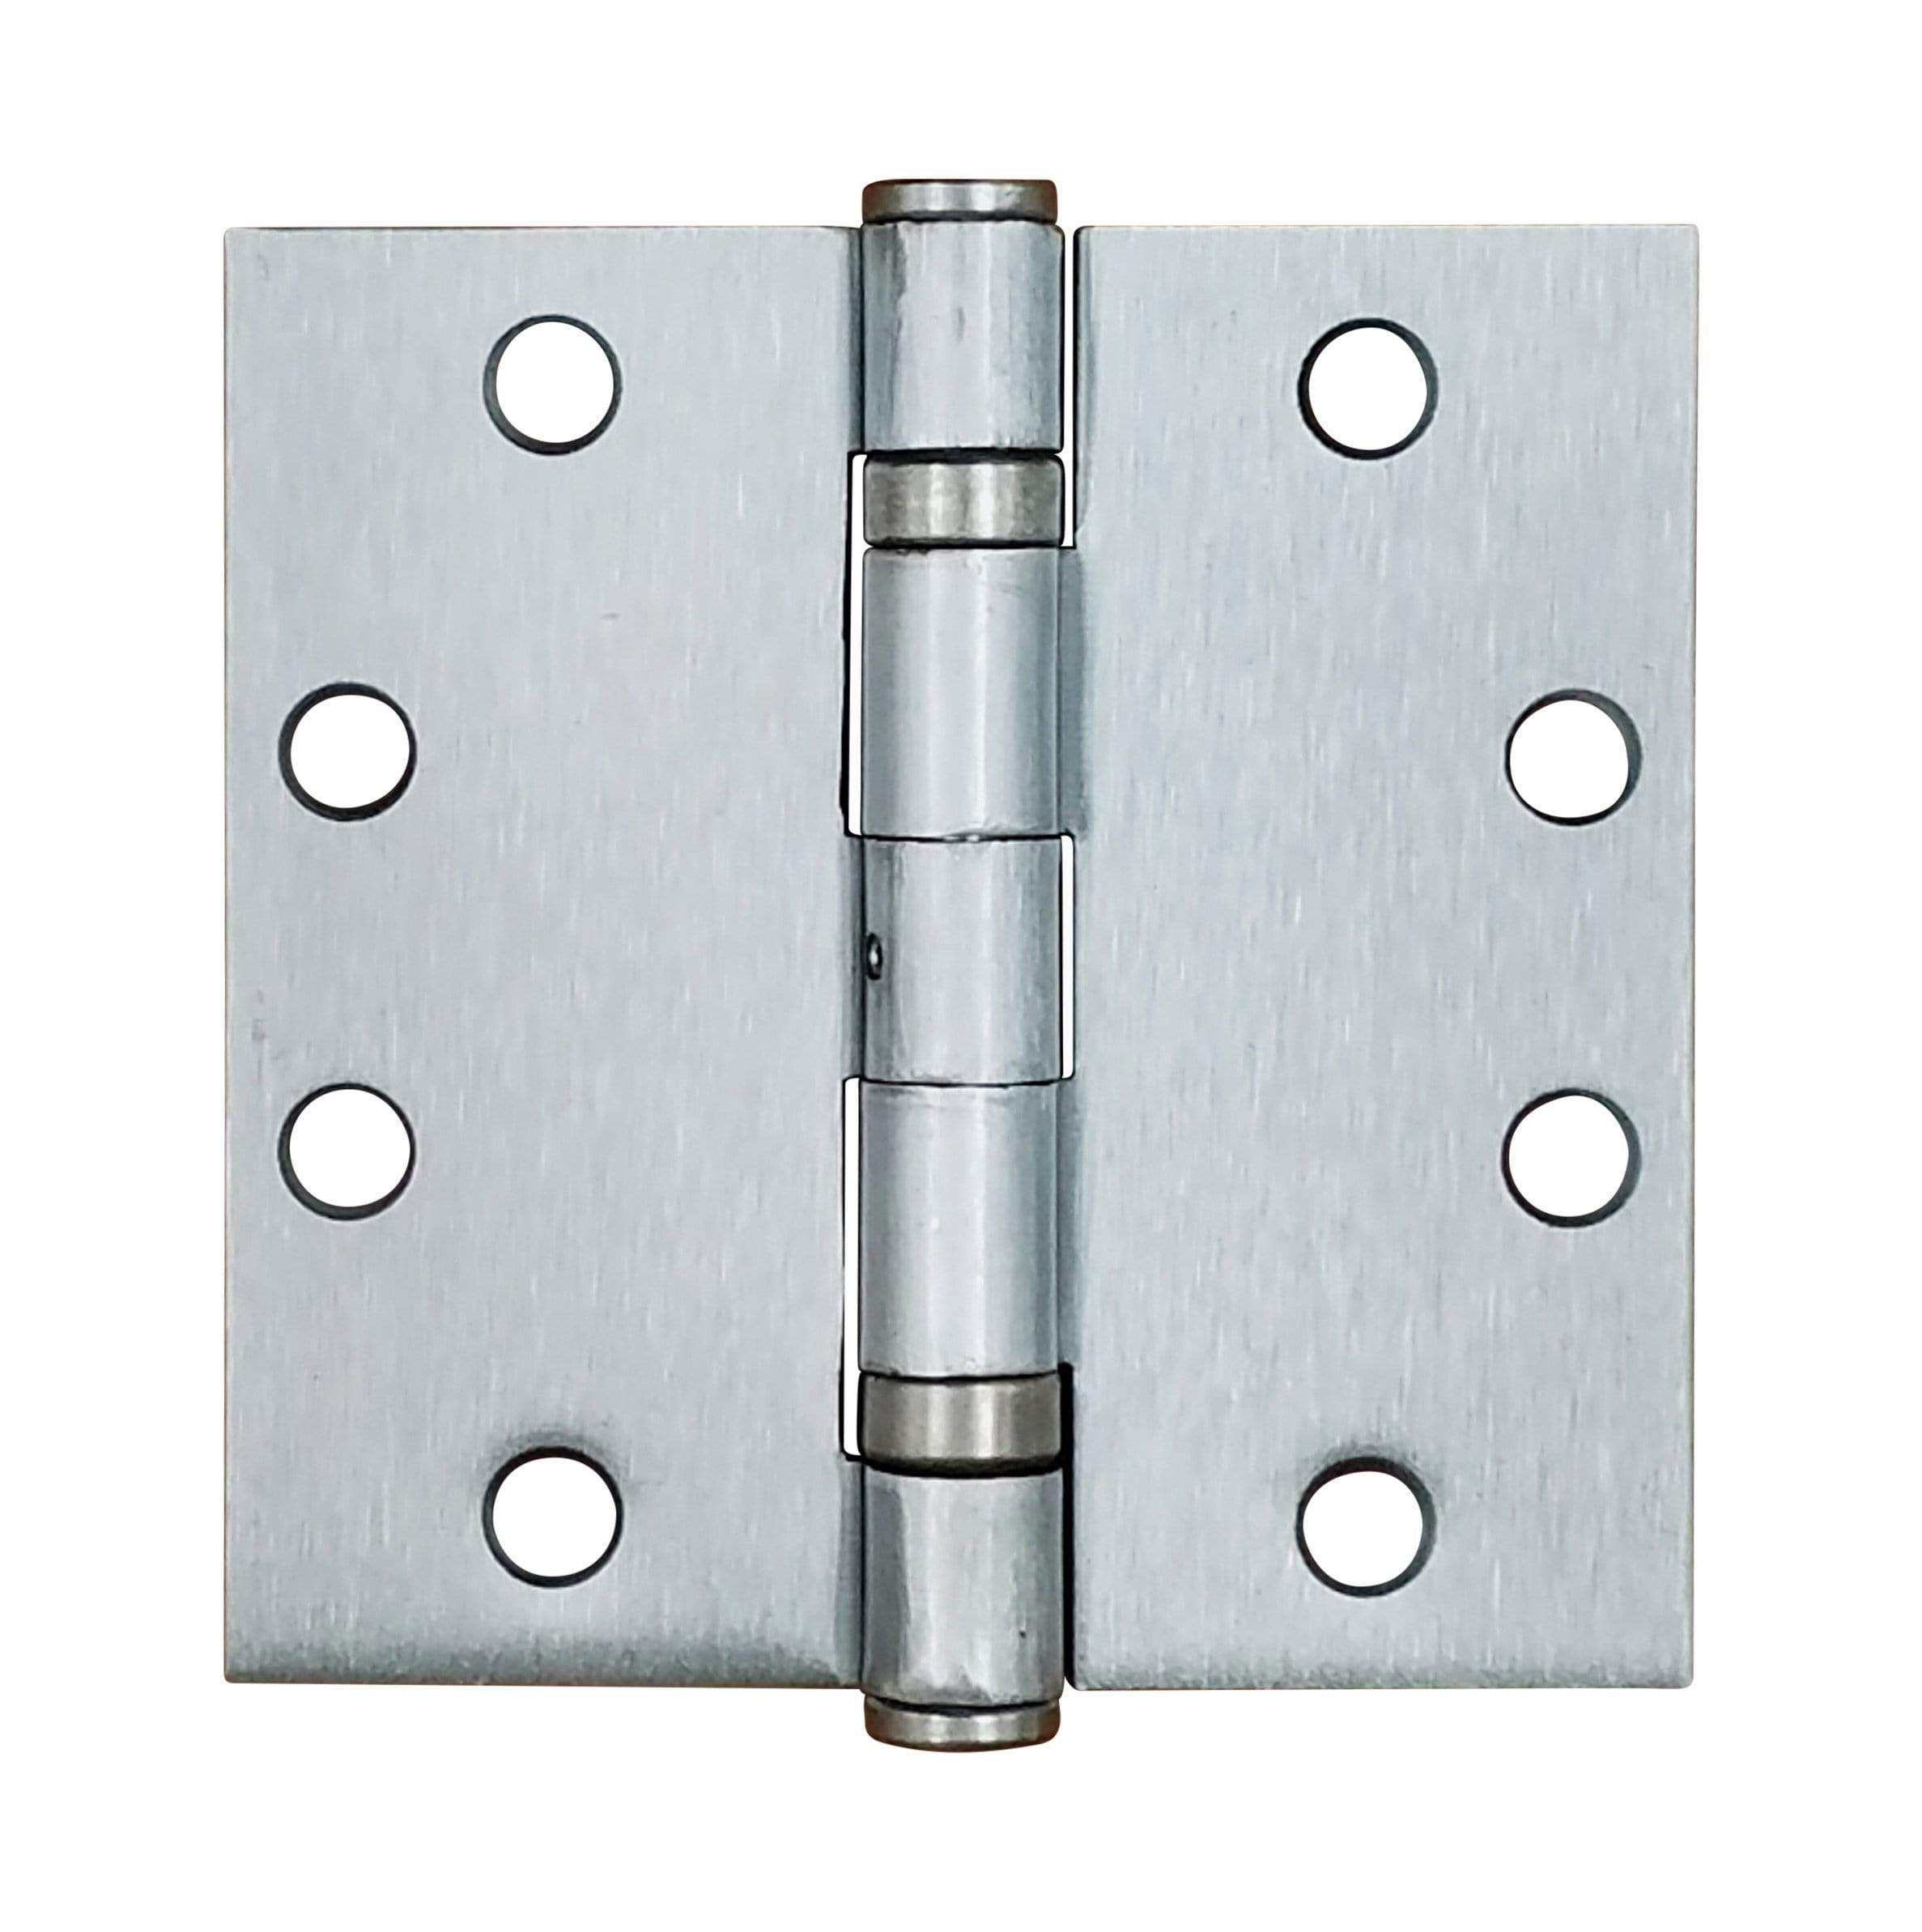
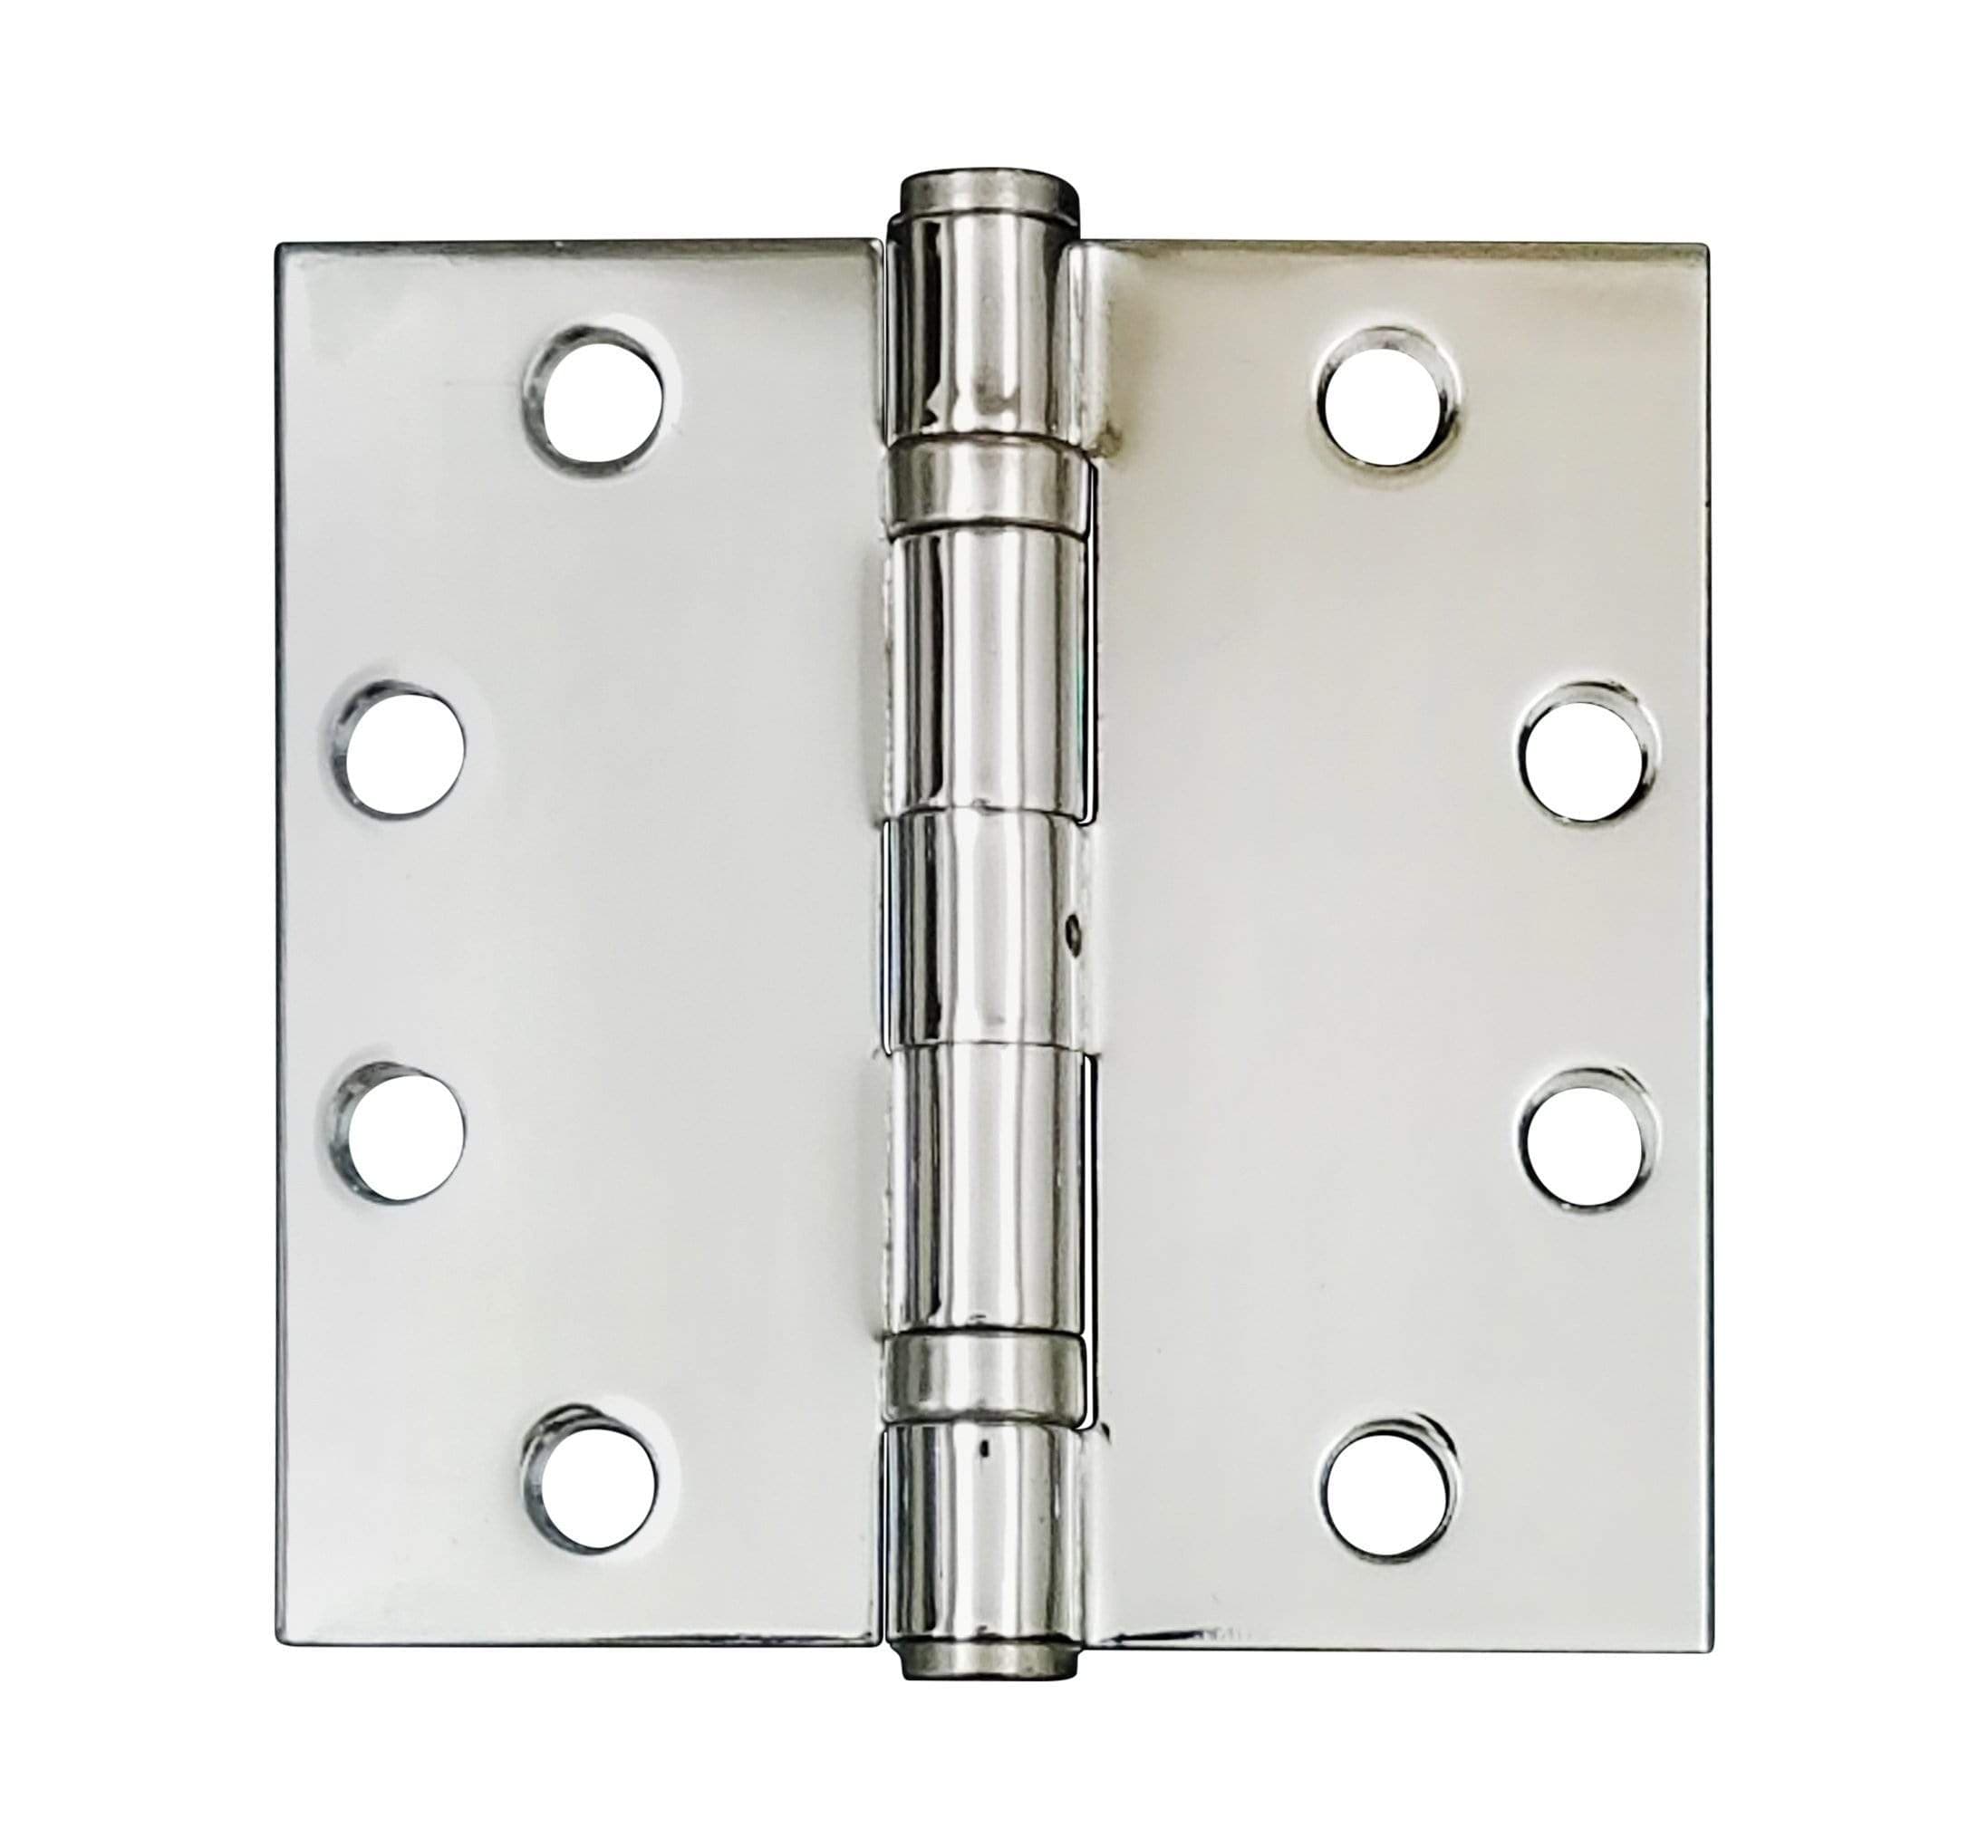
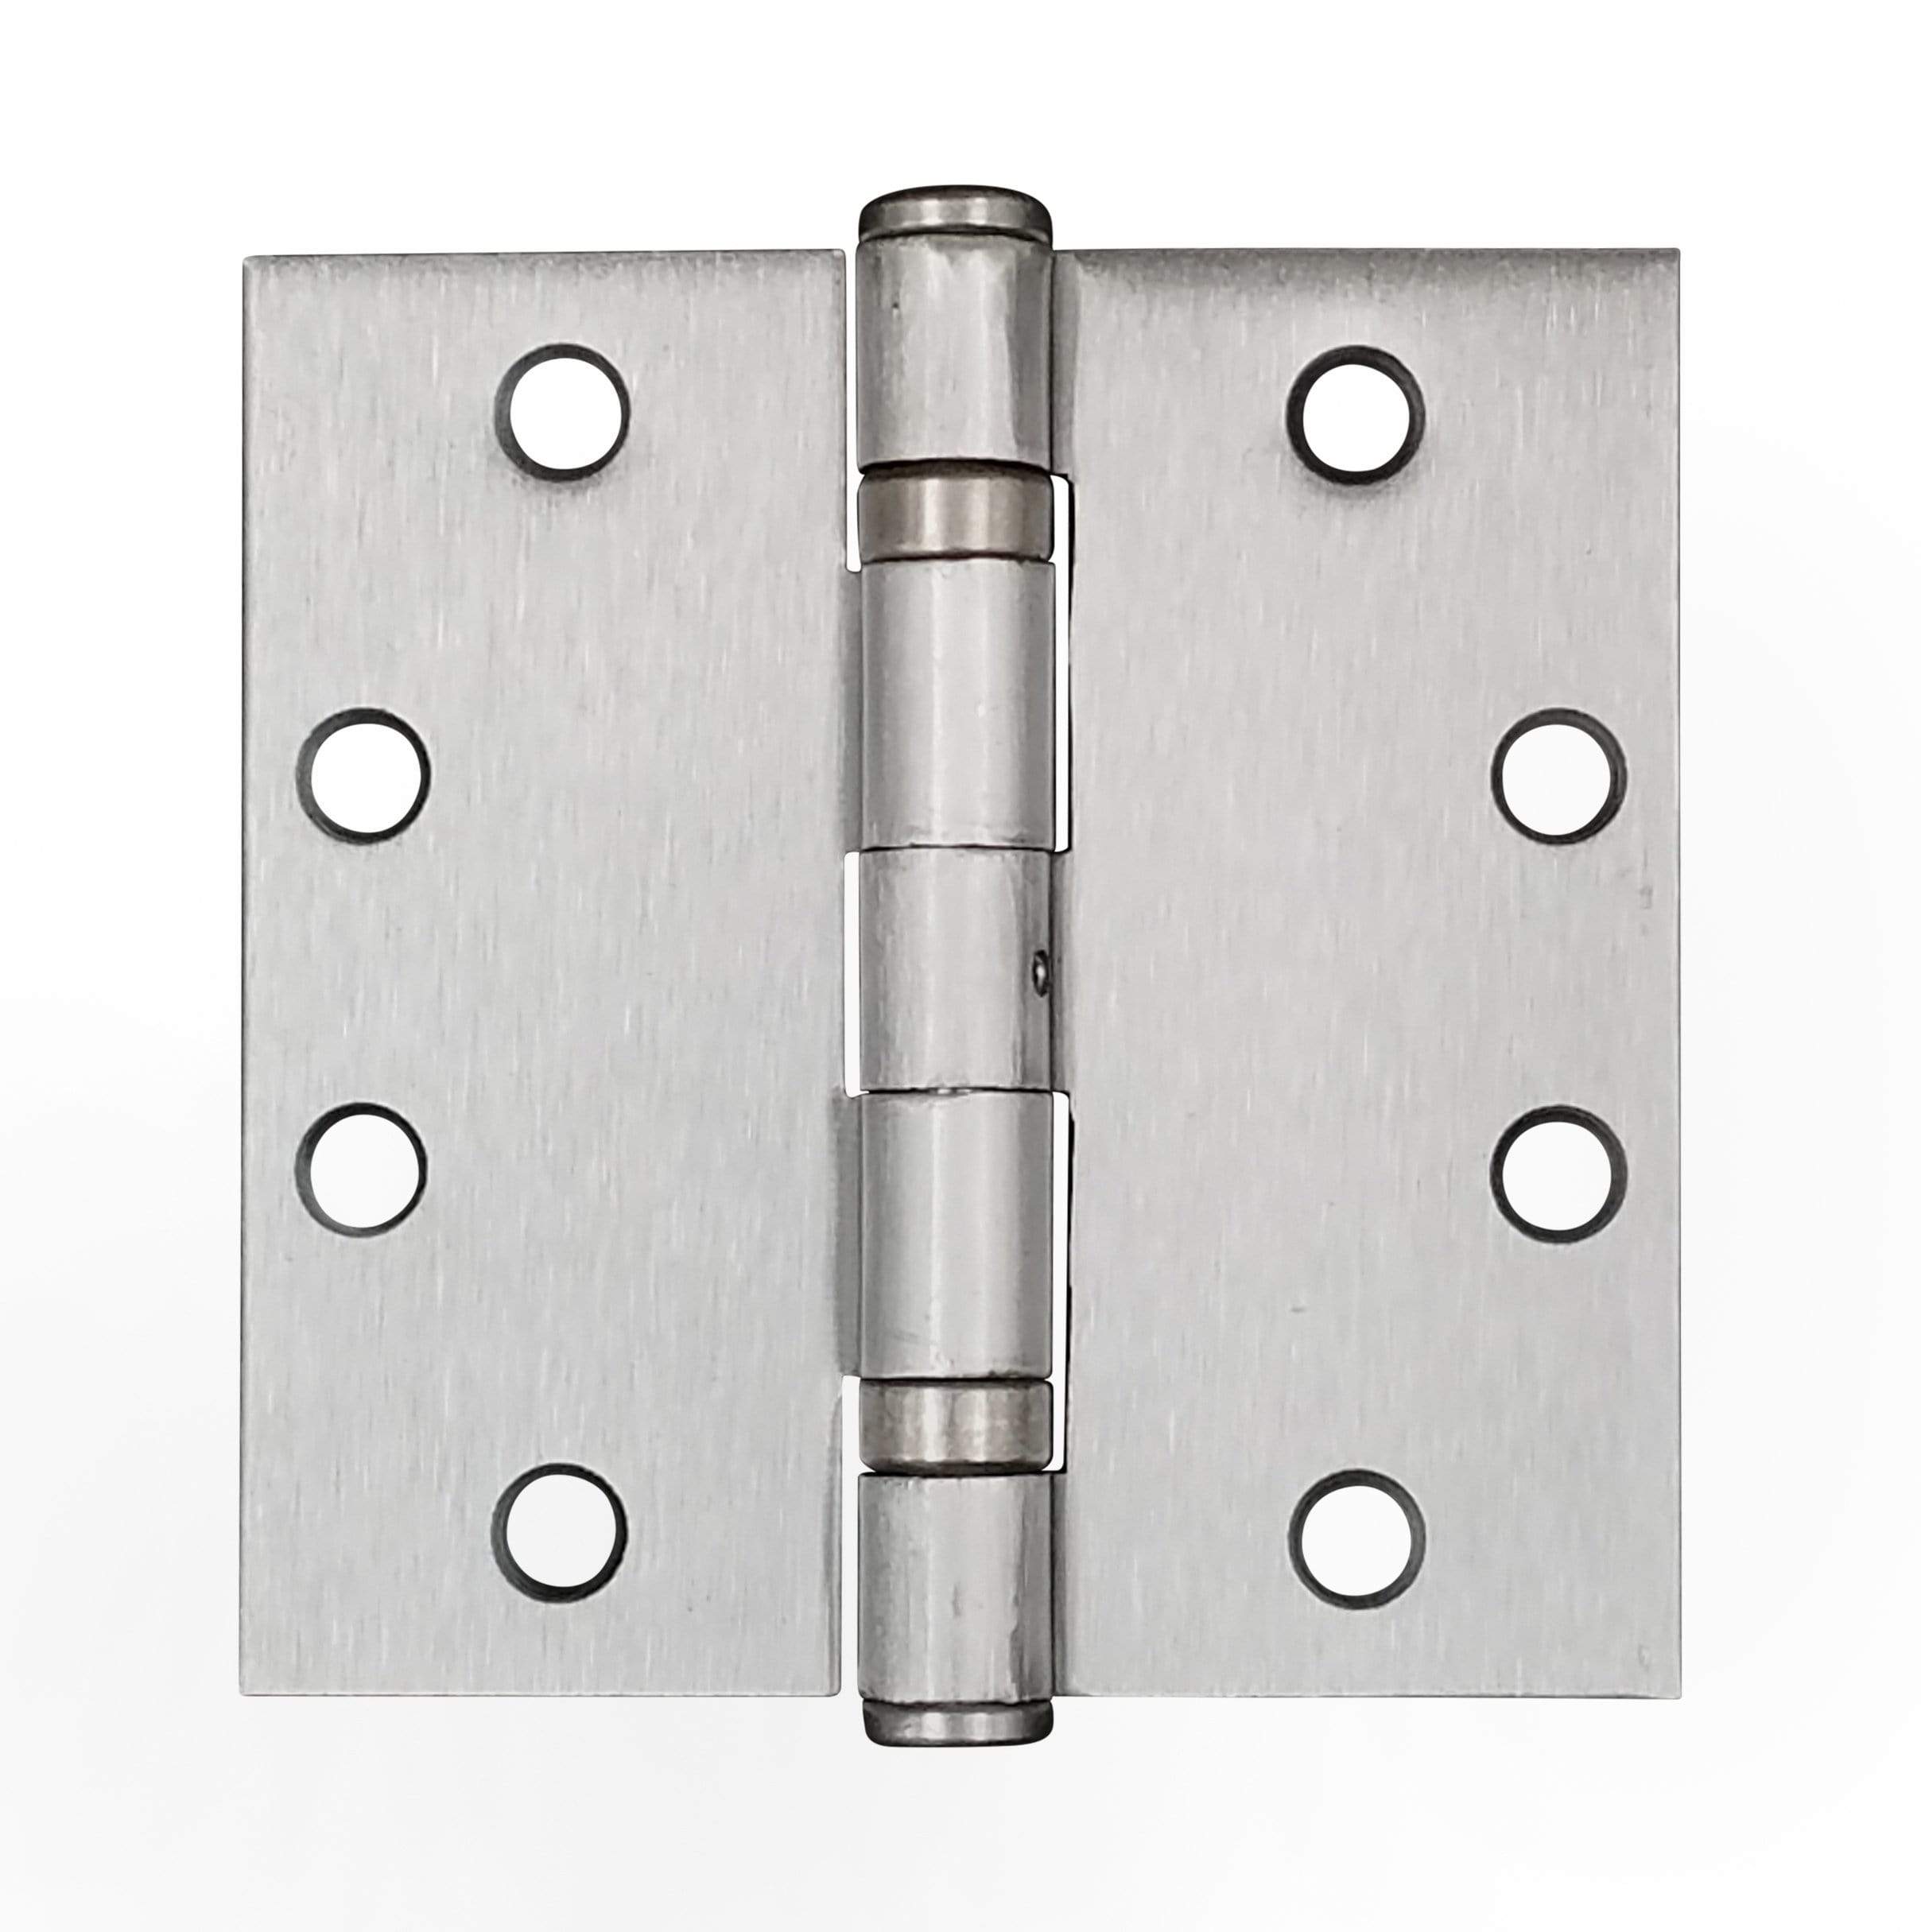
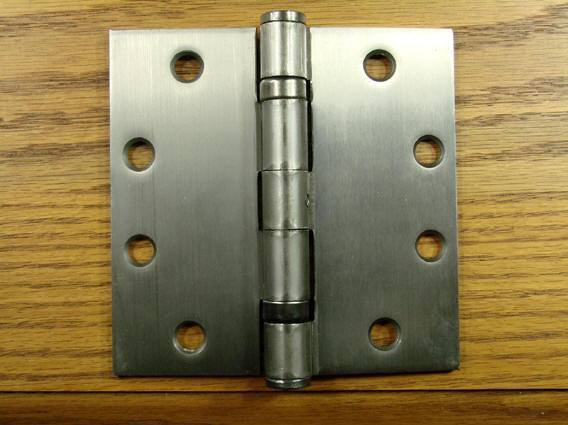
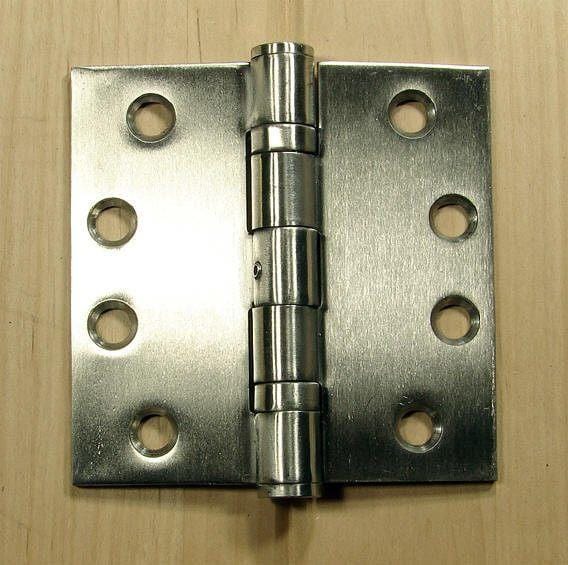
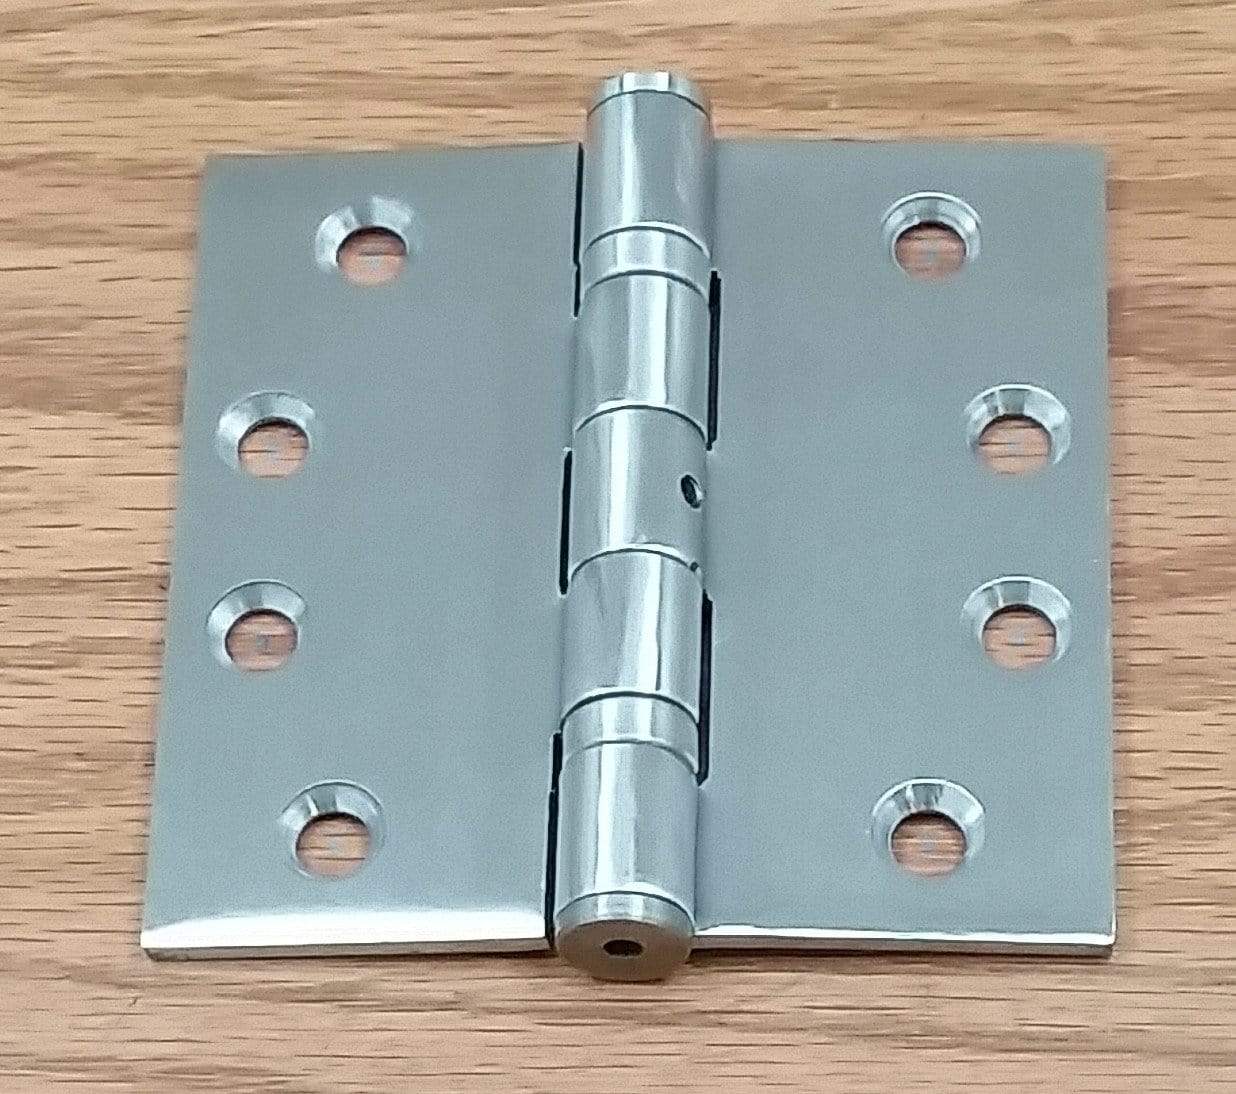
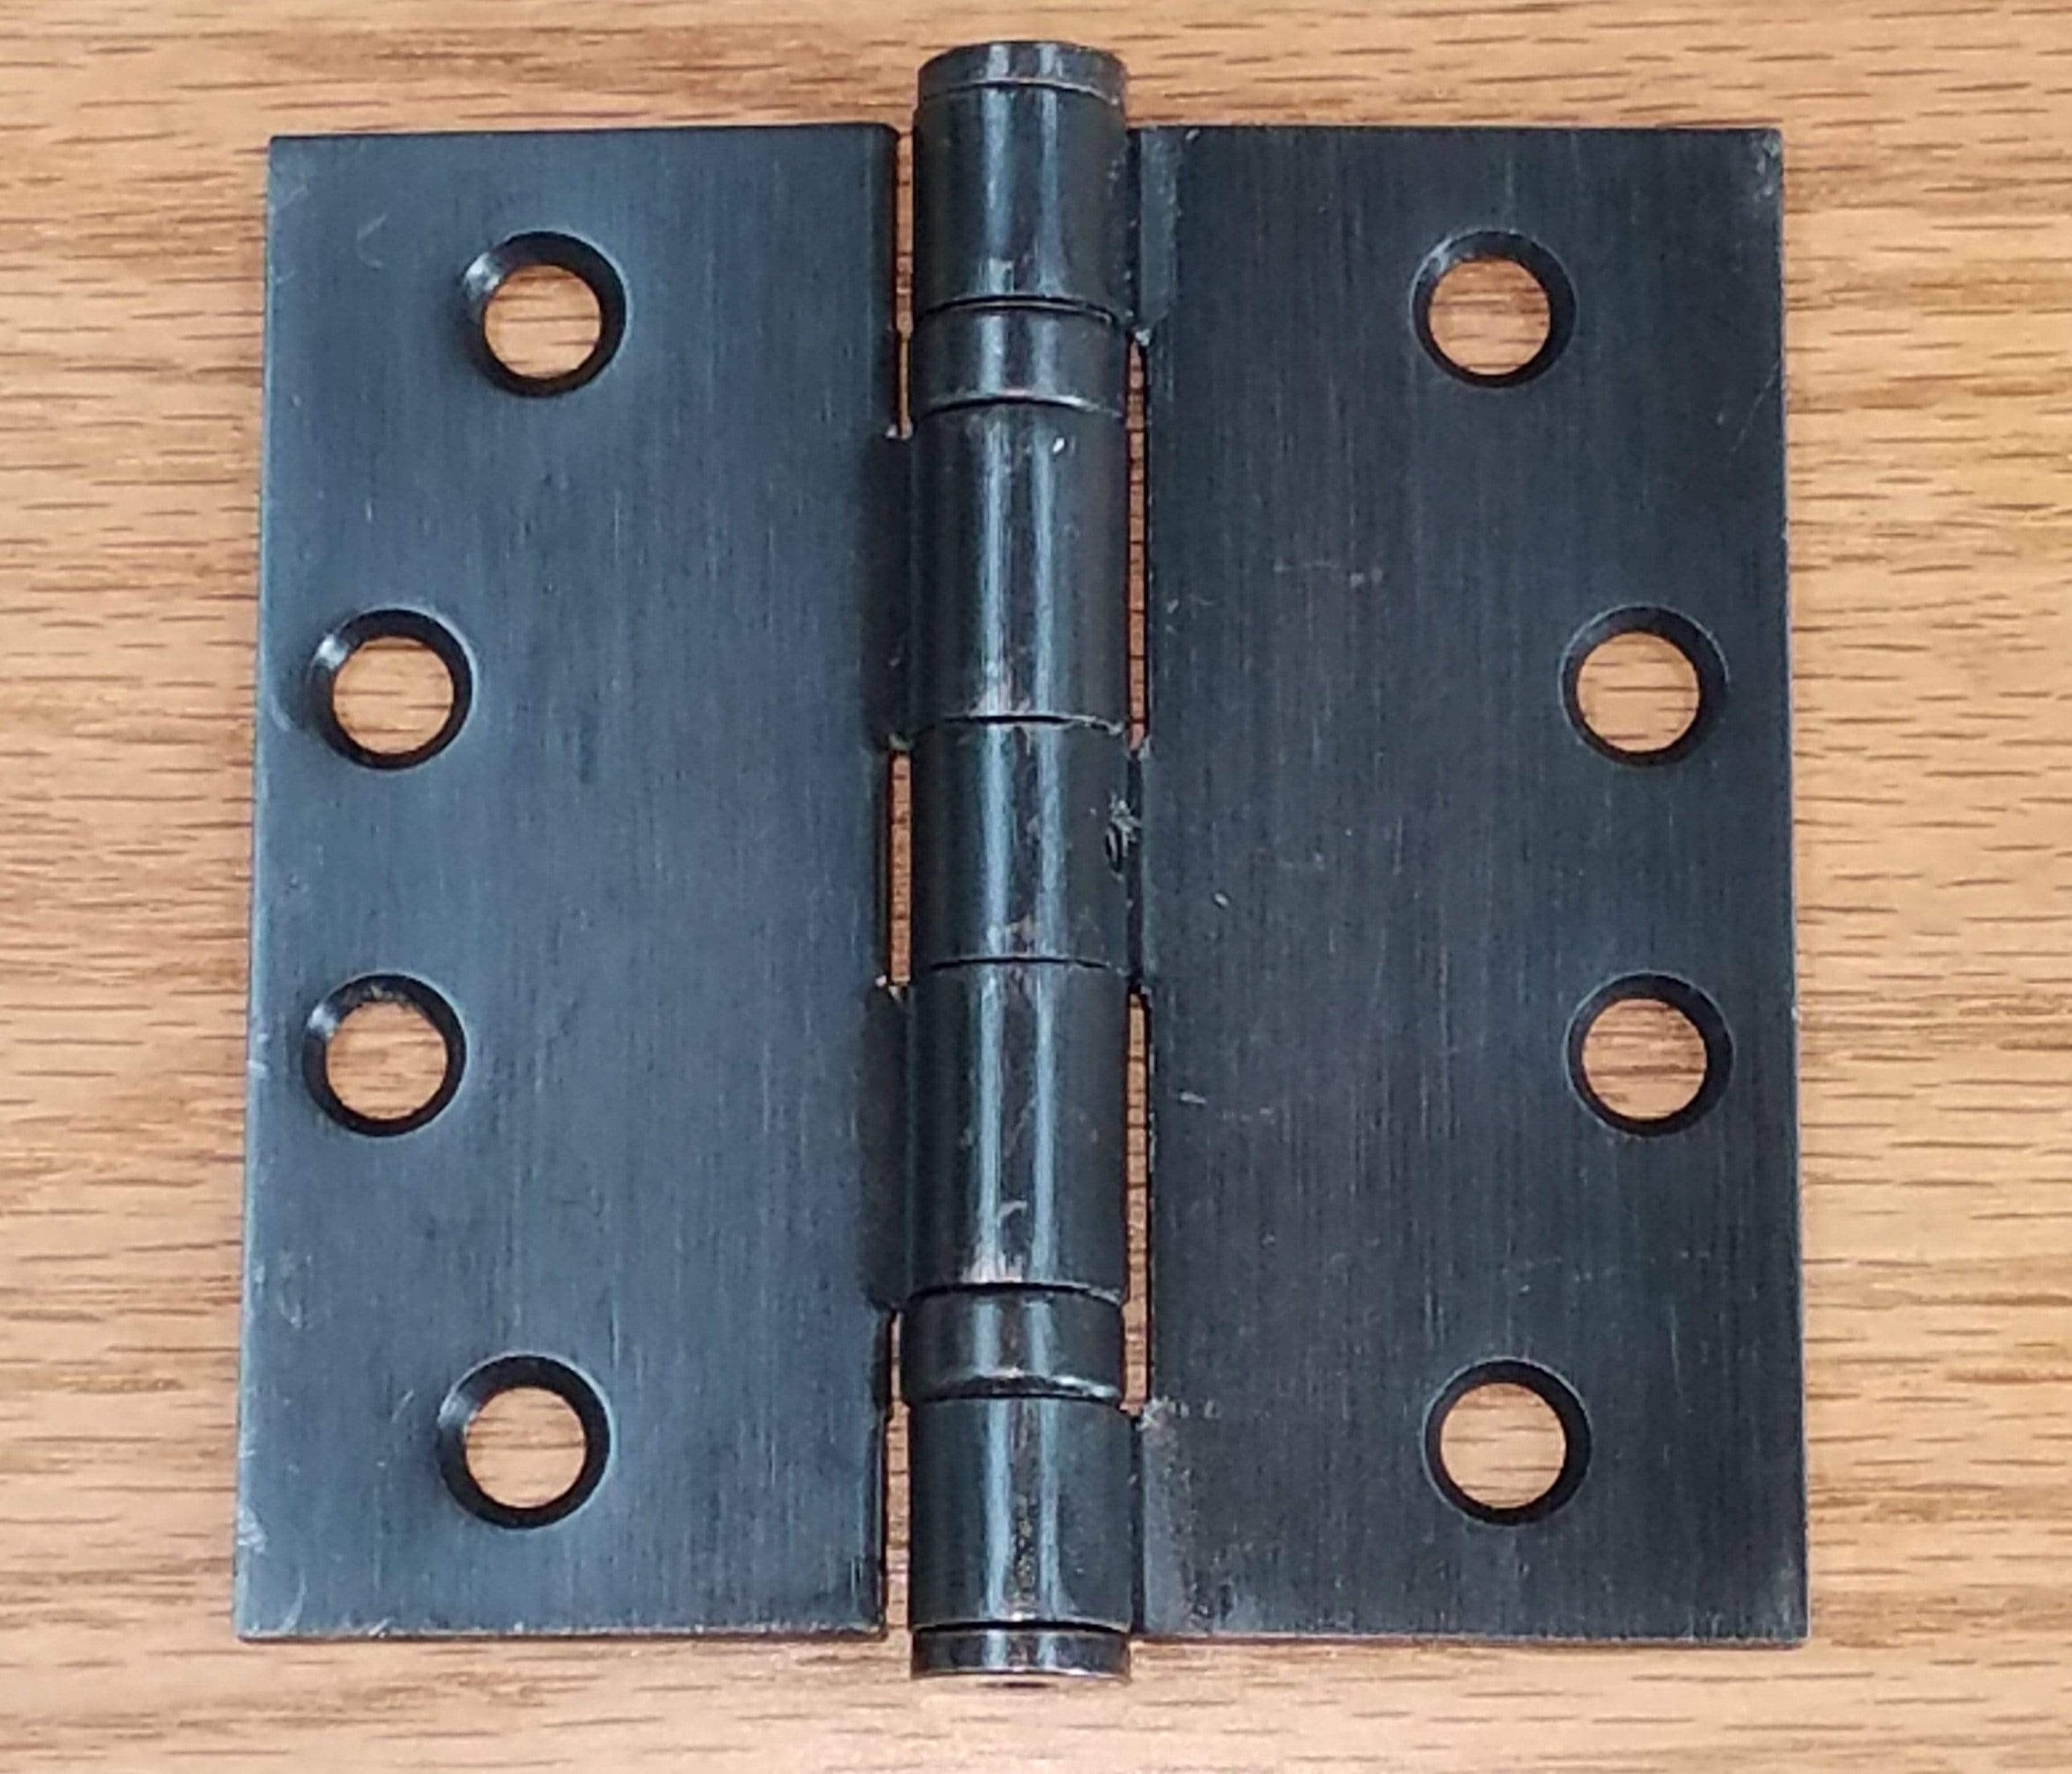
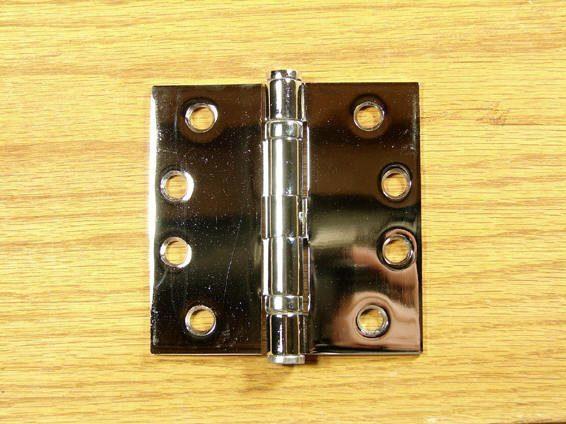
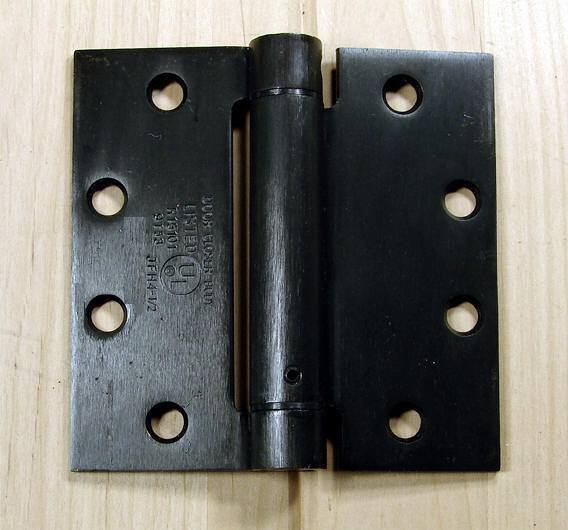
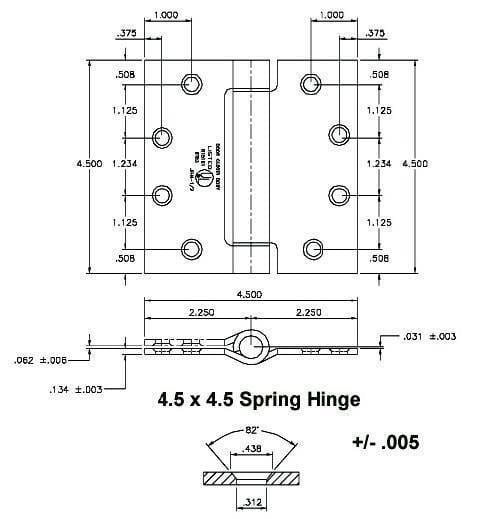
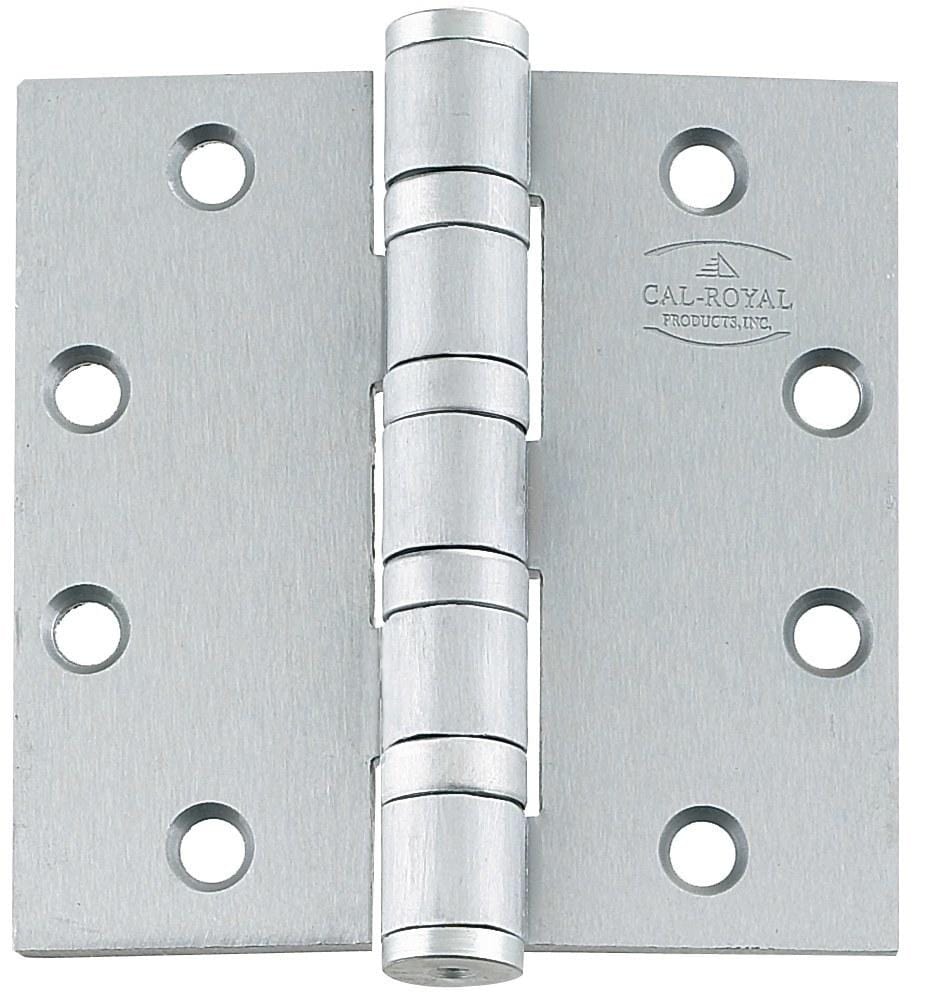
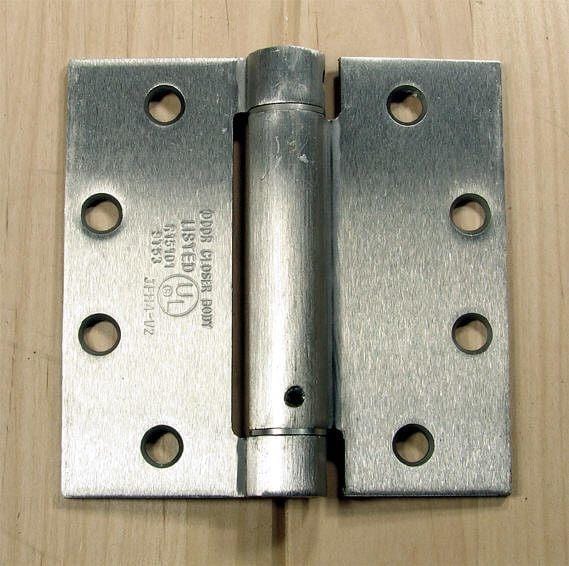
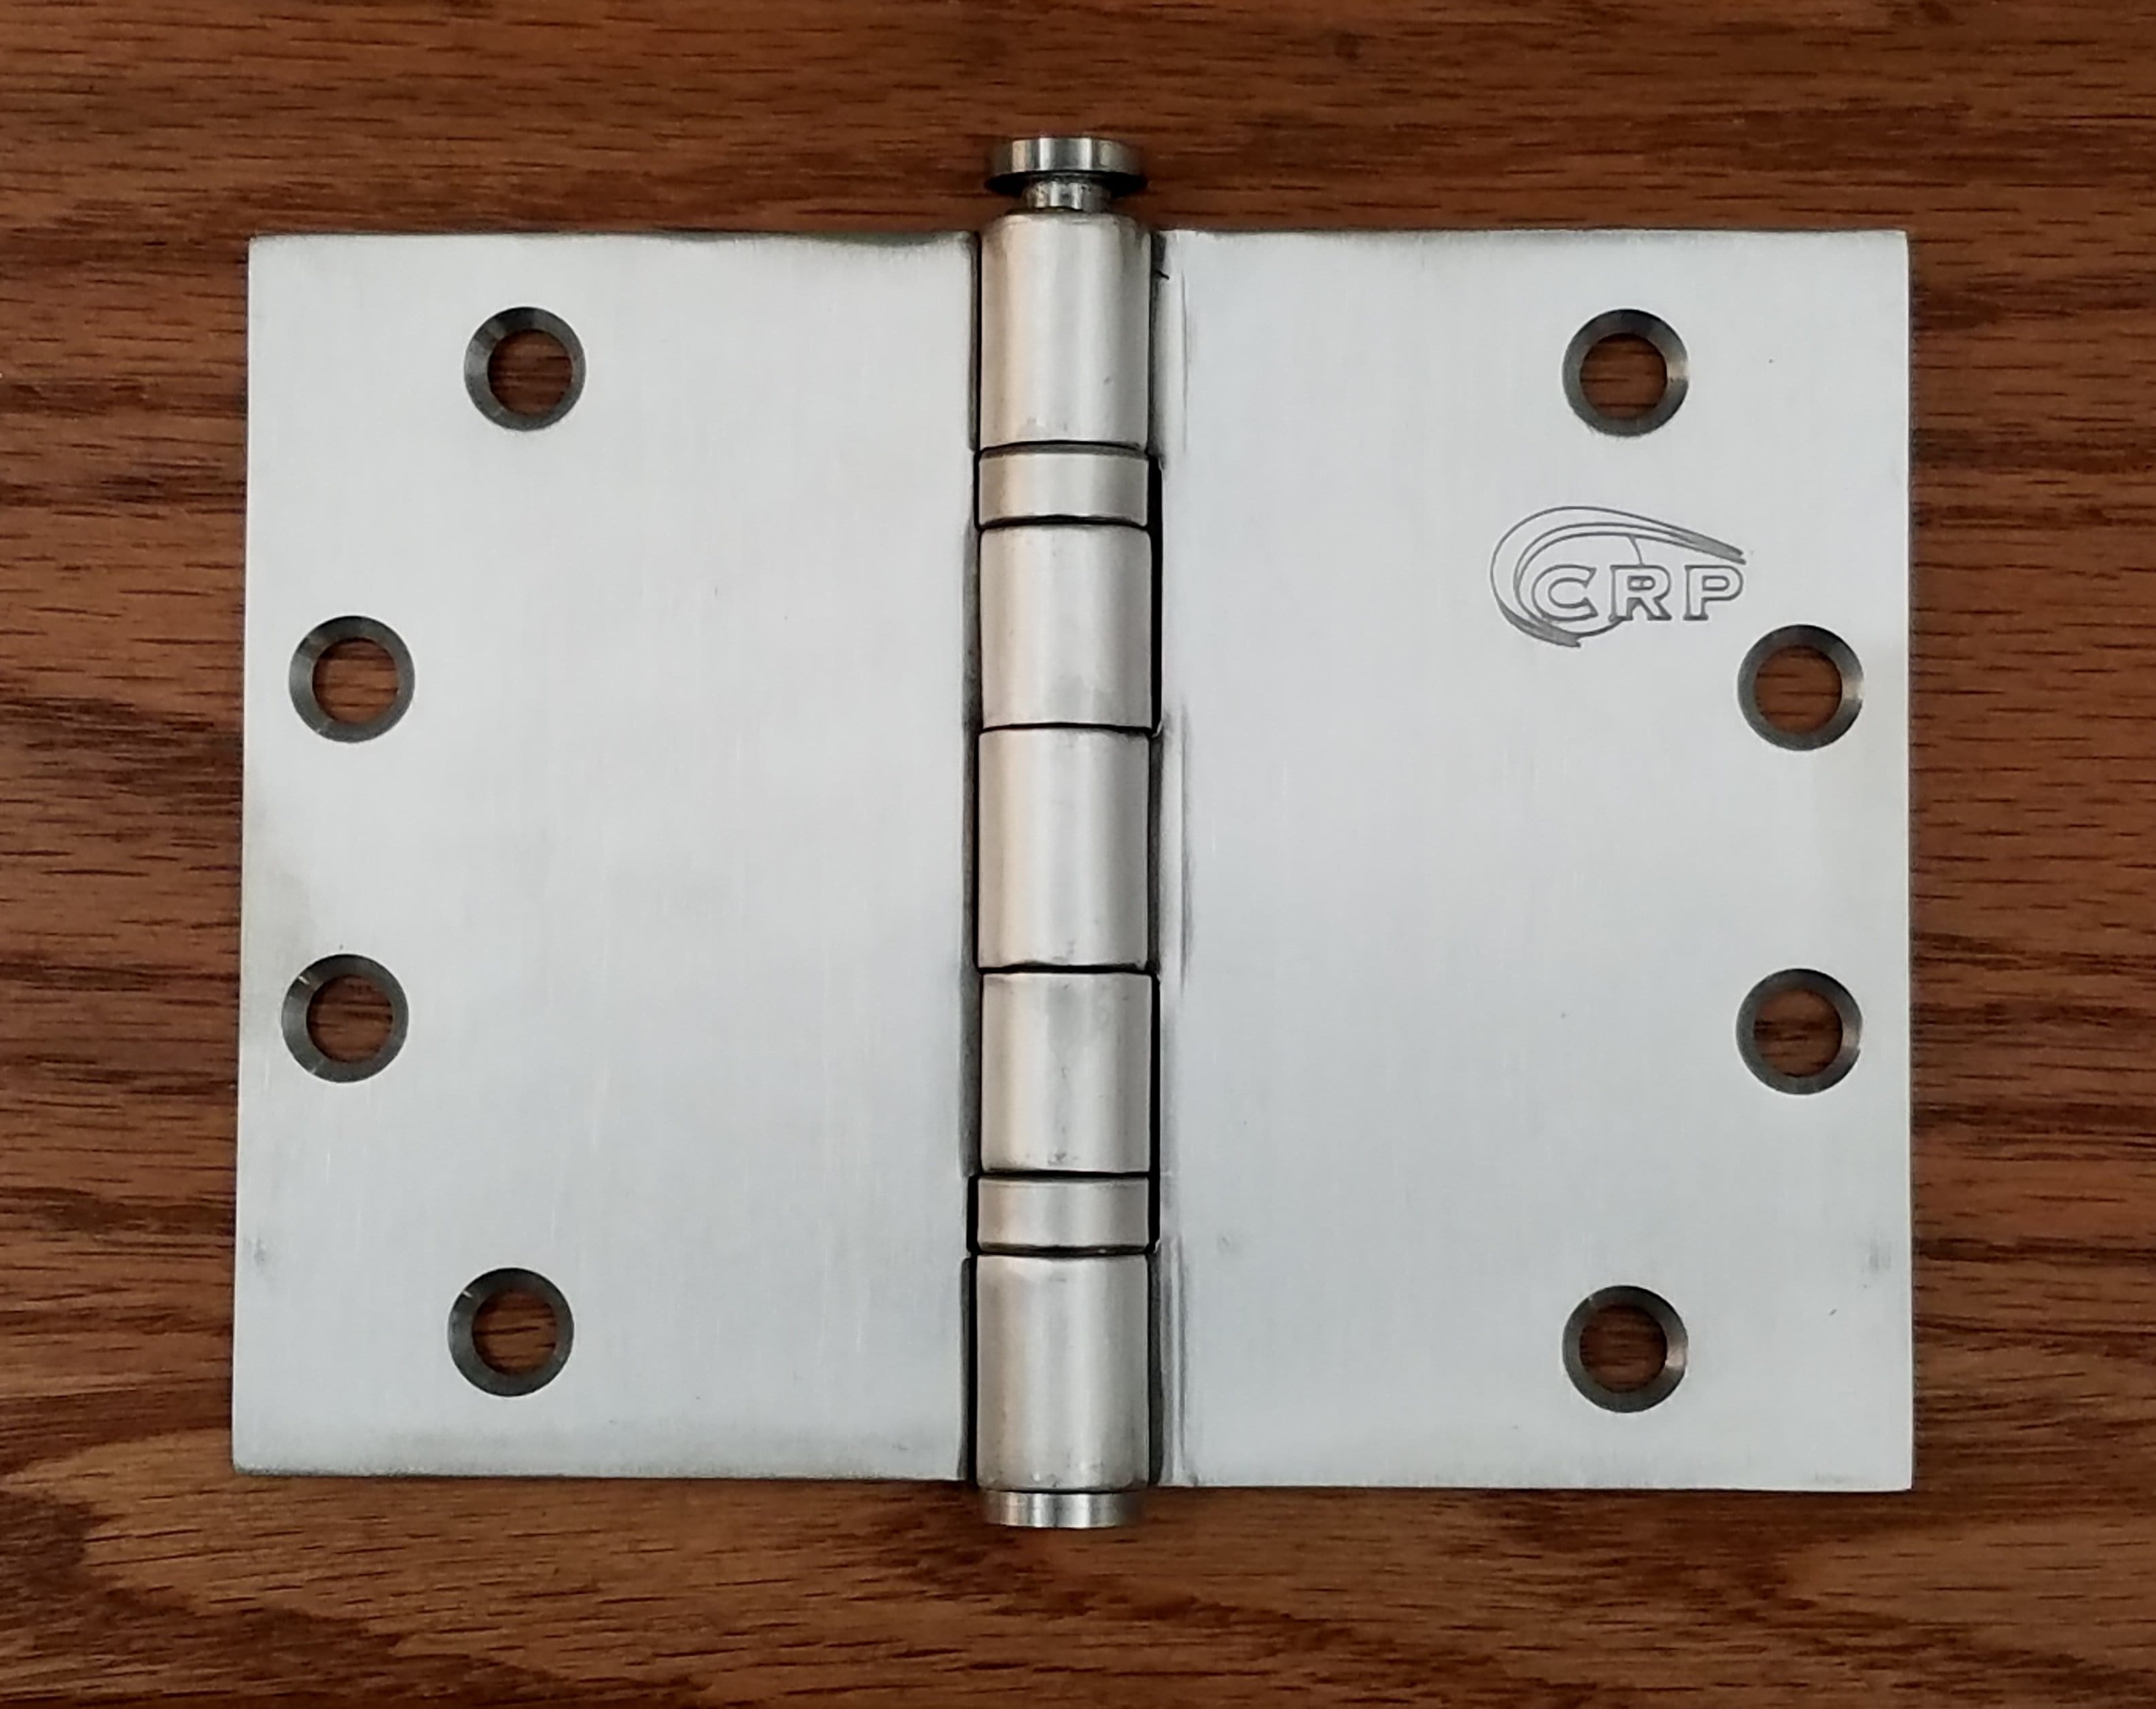
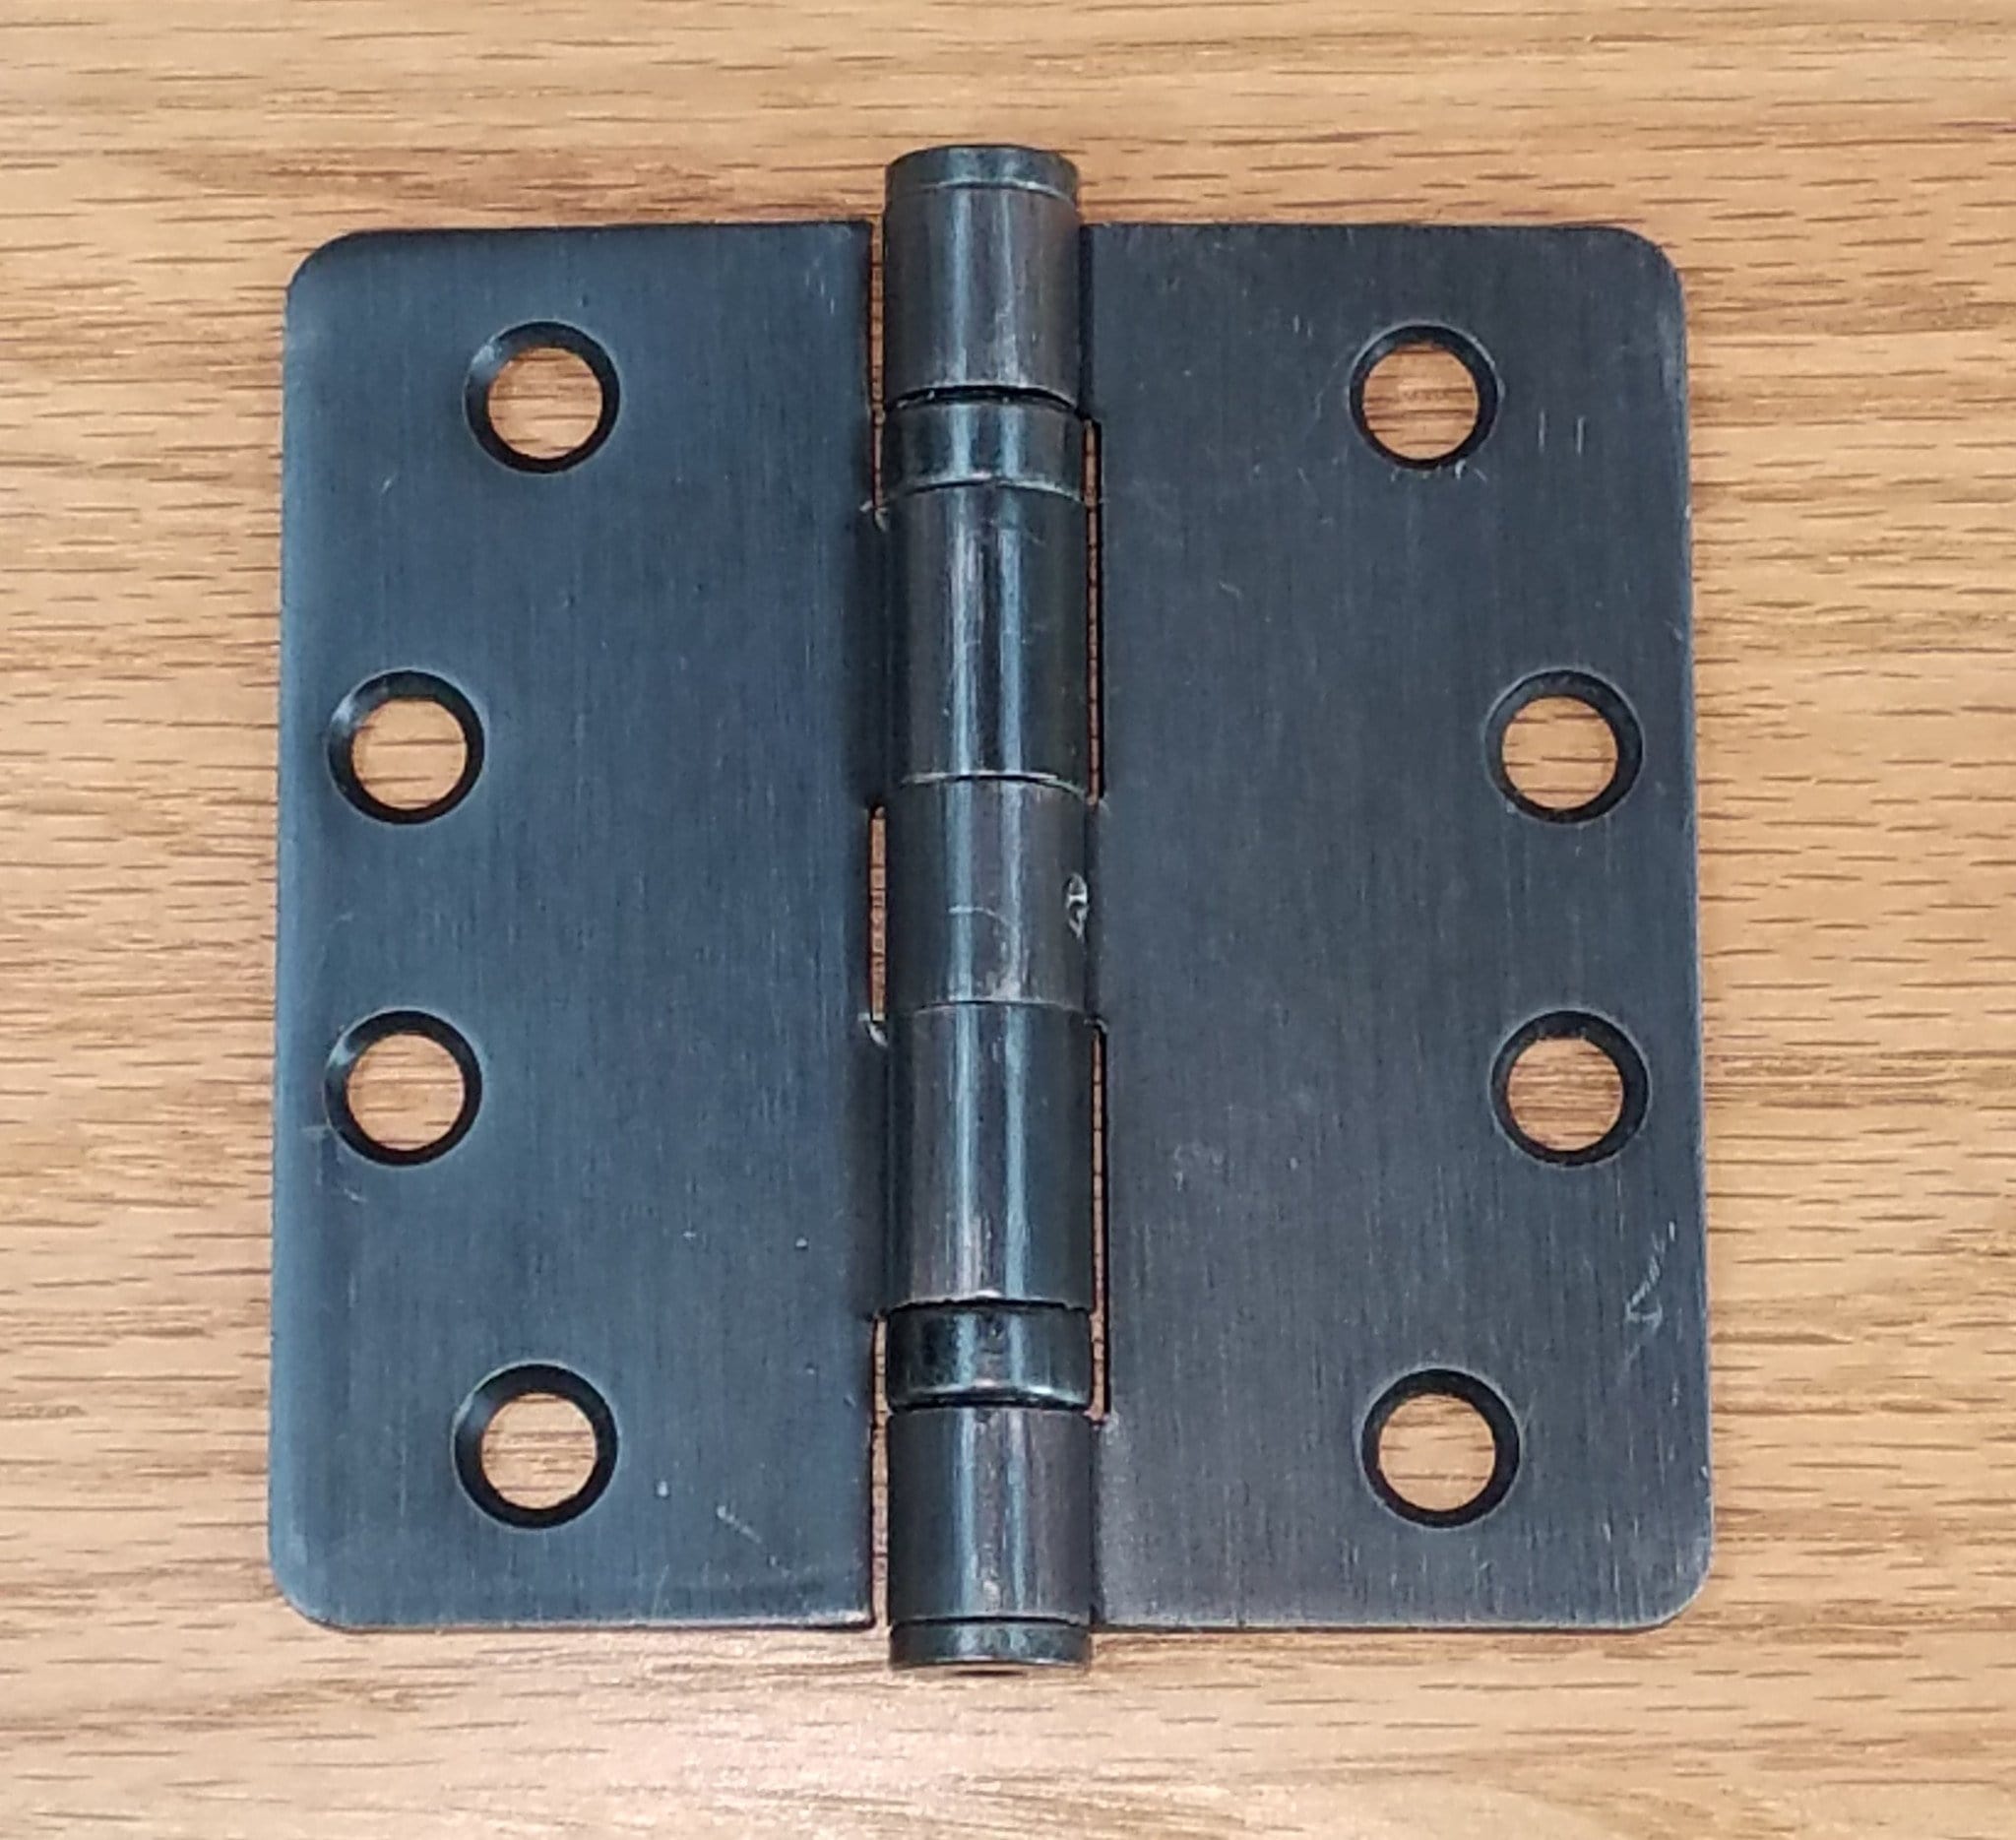
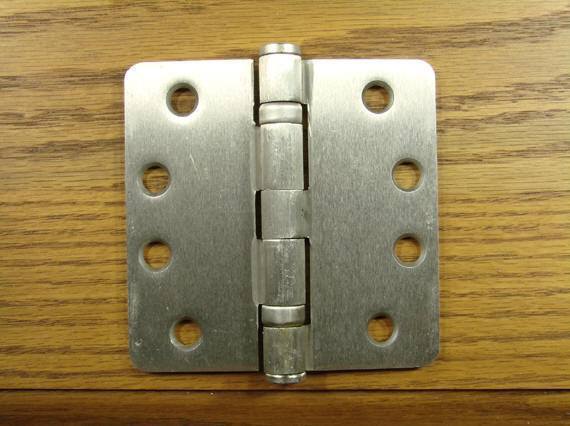
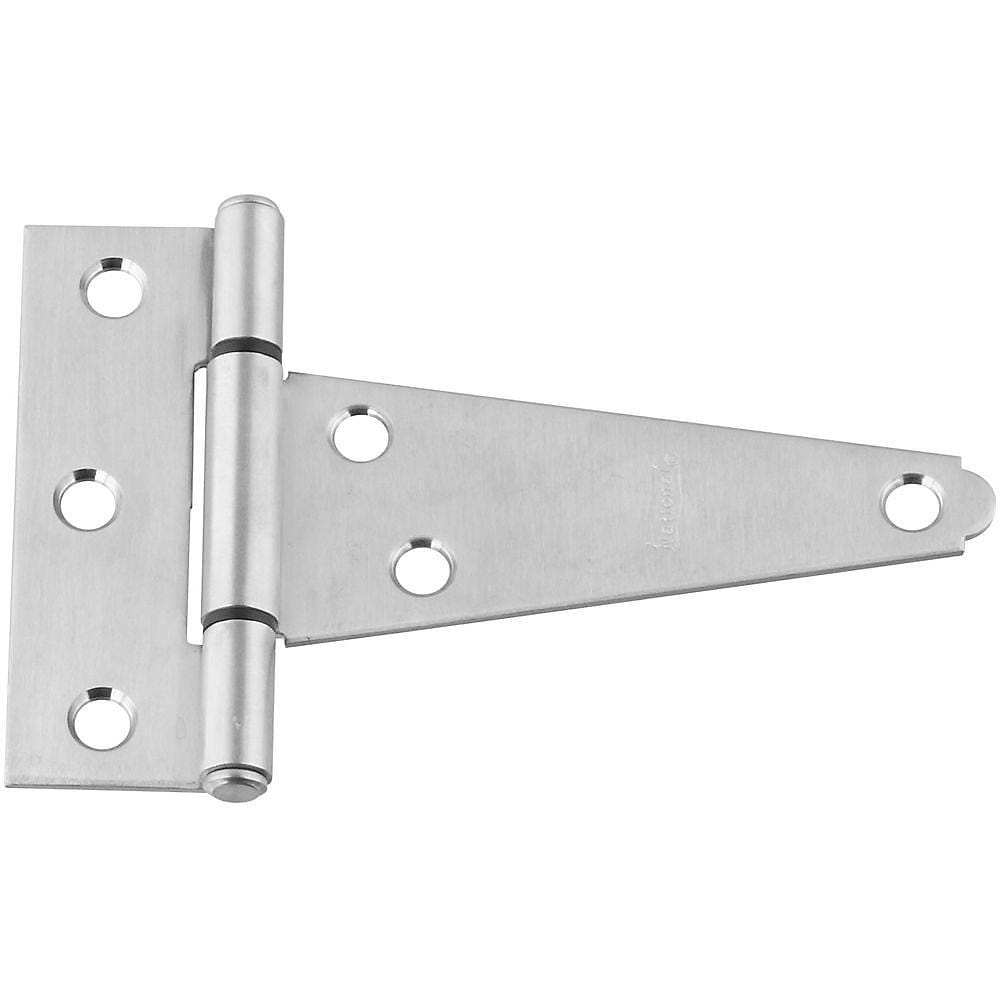
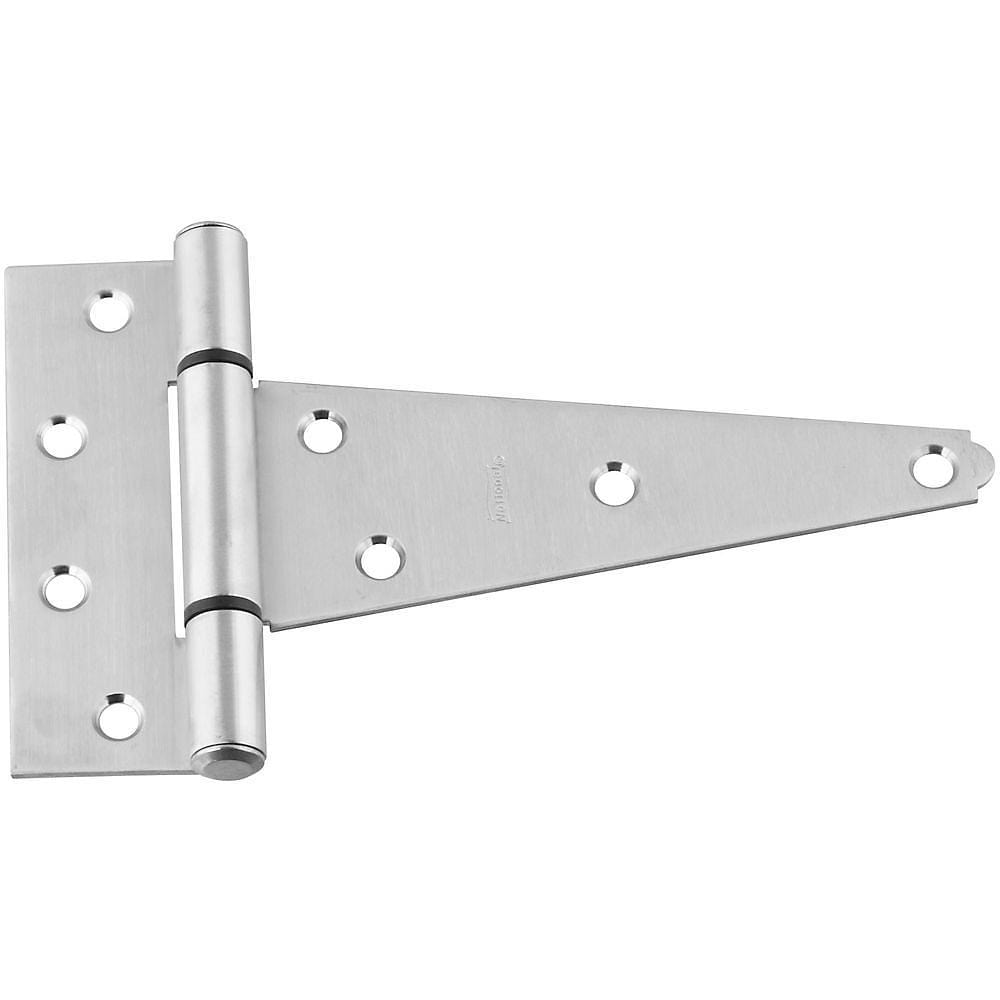
Bullet hinges, or weld-on hinges, are strong-hold hinges used to attach doors to frames. They are especially valuable in metalwork, where a clean look and firm hold are necessary.
In this post, we provide a simple installation guide for bullet hinges.
Steps to Install Bullet Hinges

Materials and Tools
- Bullet hinges
- Welding machine
- Marker or chalk
- Measuring tape
- Metal file (optional for cleaning weld areas)
- Safety gear (welding mask, gloves)
Installation Steps
Step 1. Preparation
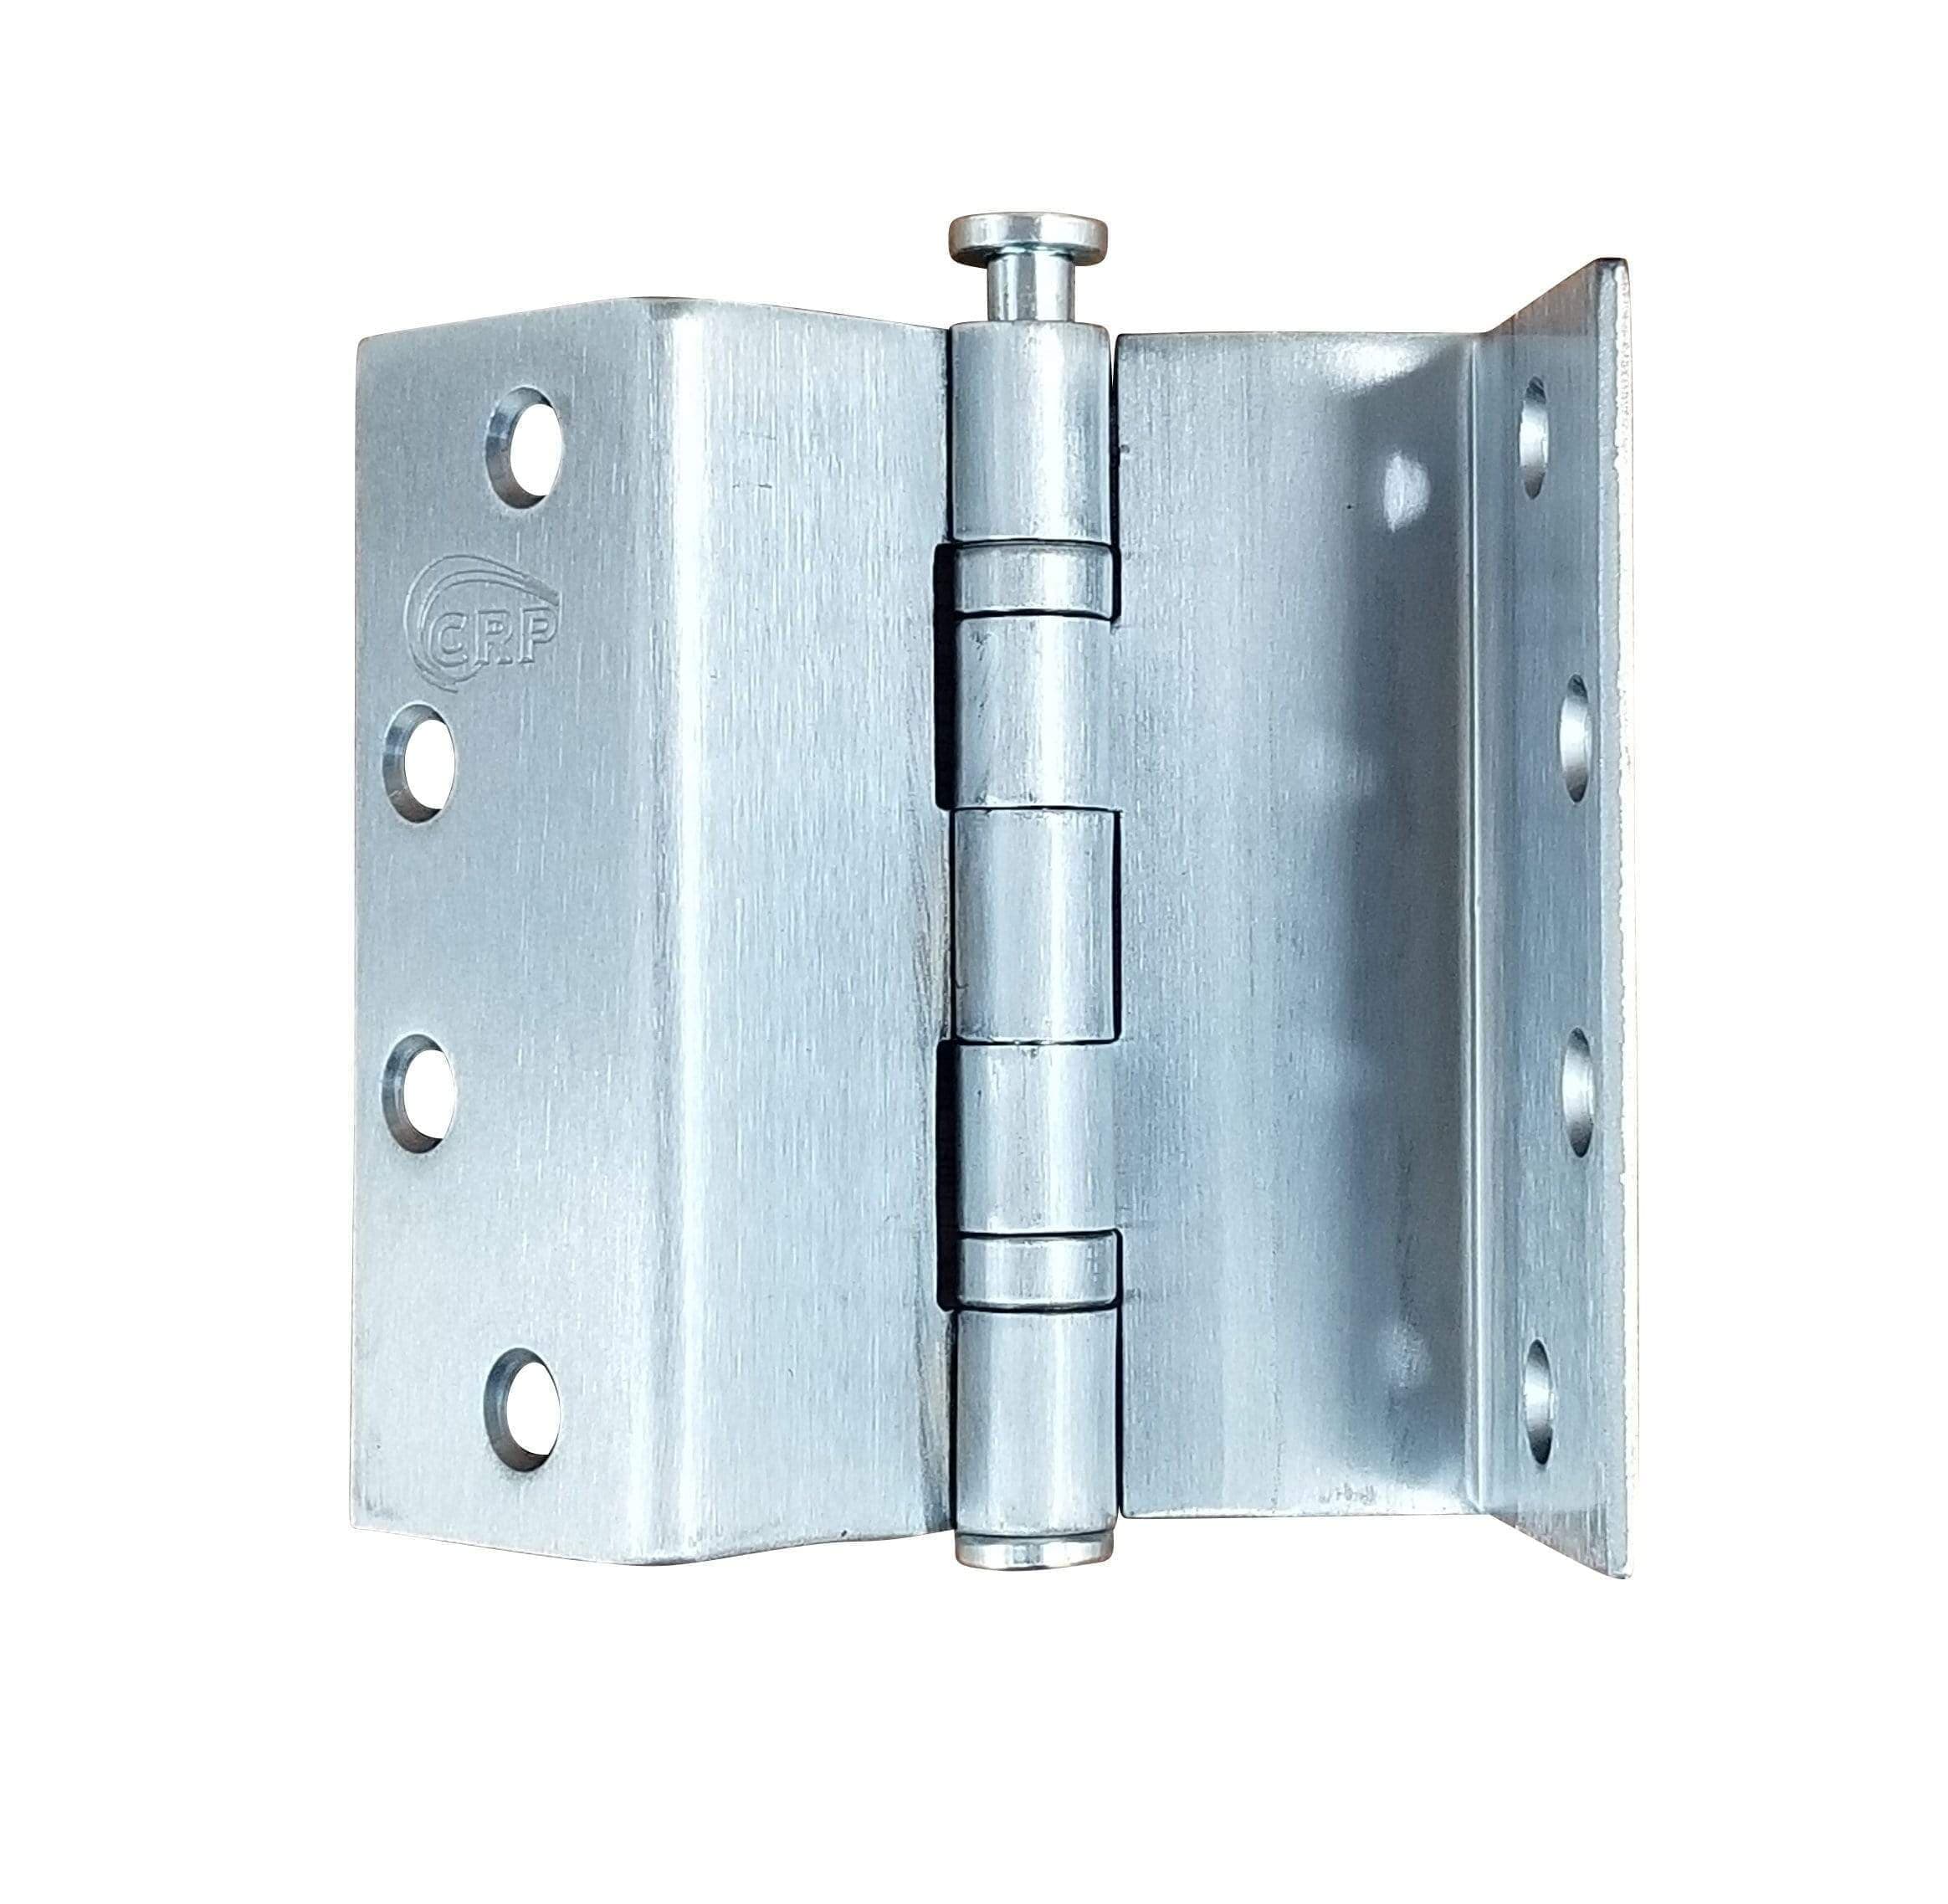
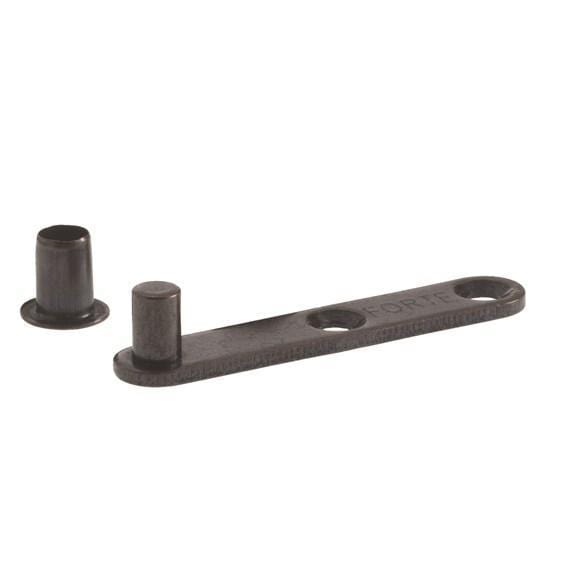
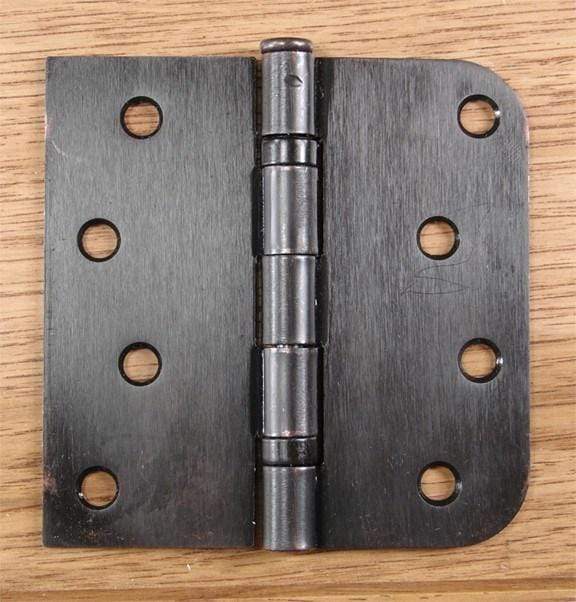
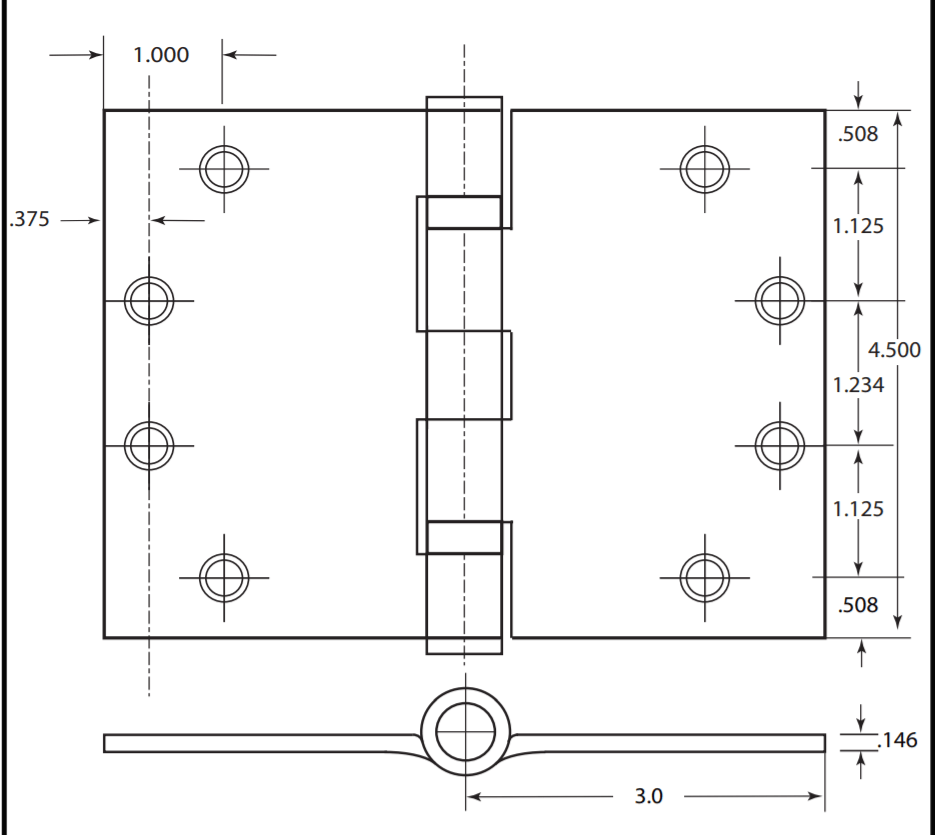
Bullet hinges consist of two parts:
- The leaf side
- The pin side
Typically, the leaf side attaches to the door, and the pin side to the frame.
- Measure and mark the spots on the door and frame where the hinges will be installed.
- Ensure alignment for a smooth operation.
- Clean the areas to be welded for a stronger bond. A metal file can help remove any rust or paint.
Step 2. Tack Welding
Tack welding is the process of making small welds for short-term holding, allowing for adjustments before final welding.
- Position the bullet hinge according to your marks.
- Use the welding machine to tack weld the hinge in place.
- Check that your equipment is working correctly.
- Ensure proper ventilation when welding.
- Always wear safety gear to protect yourself from fumes, sparks, and heat.
Step 3. Checking Alignment
After tack welding, recheck the alignment of the door and frame. Adjust if necessary to ensure smooth operation.
Step 4. Final Welding
Once the alignment is correct, complete the welding process to permanently secure the hinges.
Step 5. Testing
After the welds cool, test the door's operation. It should open and close smoothly without dragging or sticking.