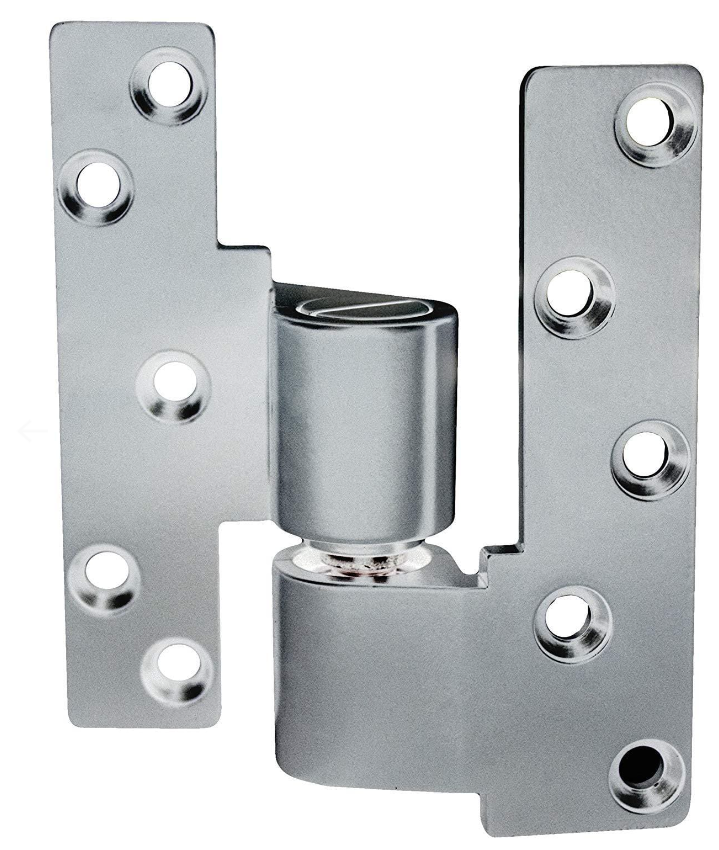
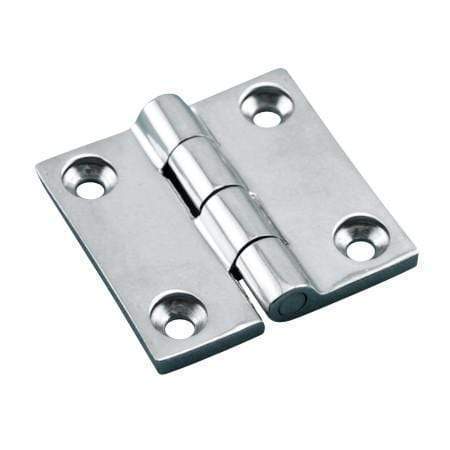
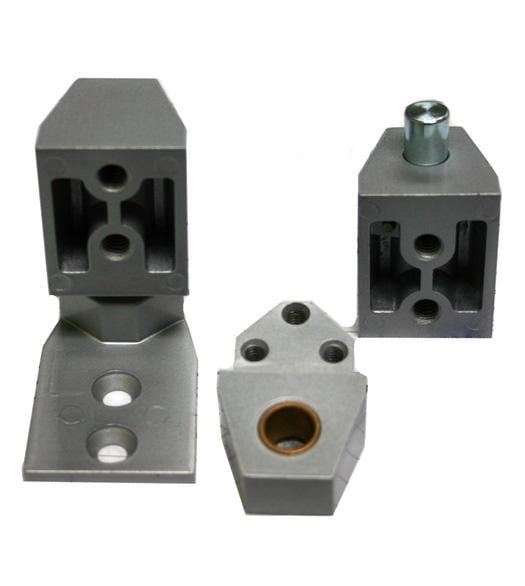
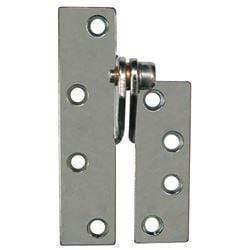
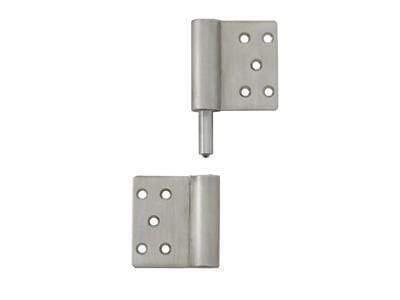
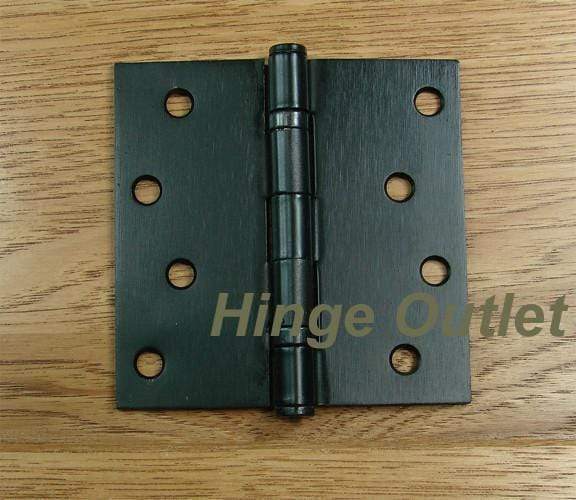
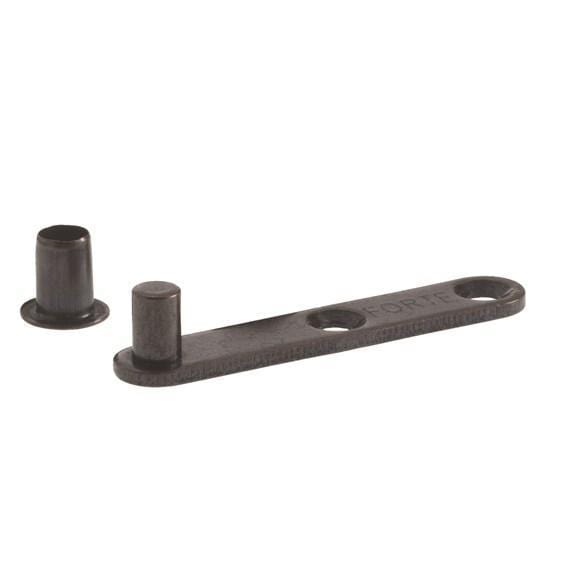
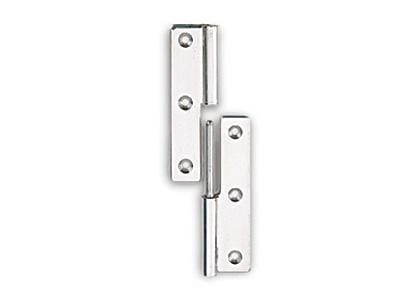
Lift off hinges are favored in home construction and remodeling due to their ease of removal. As their name explains, lift off hinges allow doors and cabinets to be lifted off their frames, requiring minimal effort during routine maintenance and cleanings.
This makes installation simpler, too. In this guide, we cover how to choose the best lift off hinges for your doors and cabinets and share a straightforward, six-step installation process.
How to Choose the Right Lift Off Hinges

Before you can install them, you have to determine the best lift off hinges for your door or cabinet. Consider the following factors when making your choice.
- Weight and Size. The weight and size of your door or cabinet determine the necessary holding capacity of your hinges. The larger and heavier the door or cabinet, the stronger the hinges need to be.
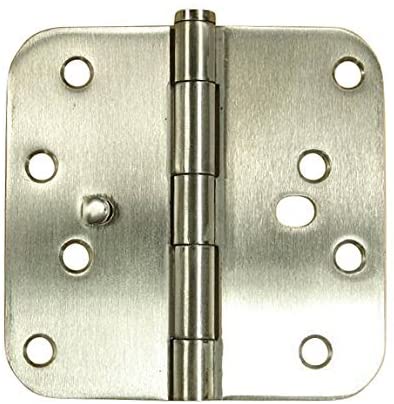
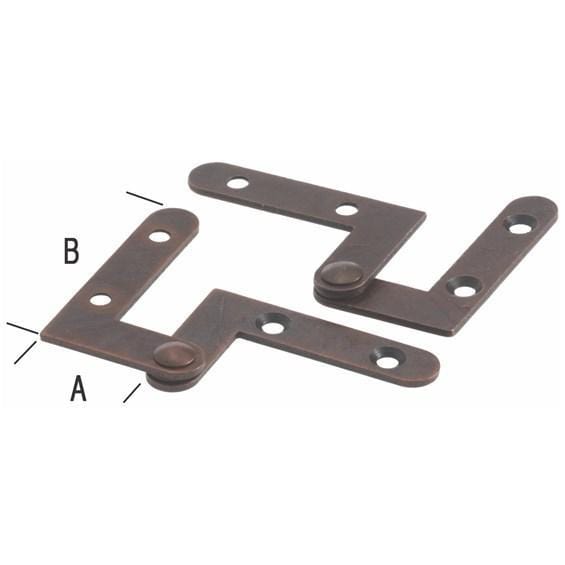
- Opening Direction. Lift off hinges can be attached to the right-hand or left-hand side. Choose the hinge that coincides with the direction your door or cabinet opens. If you are installing a new door or cabinet, decide which direction you want them to open before purchasing your hinges.
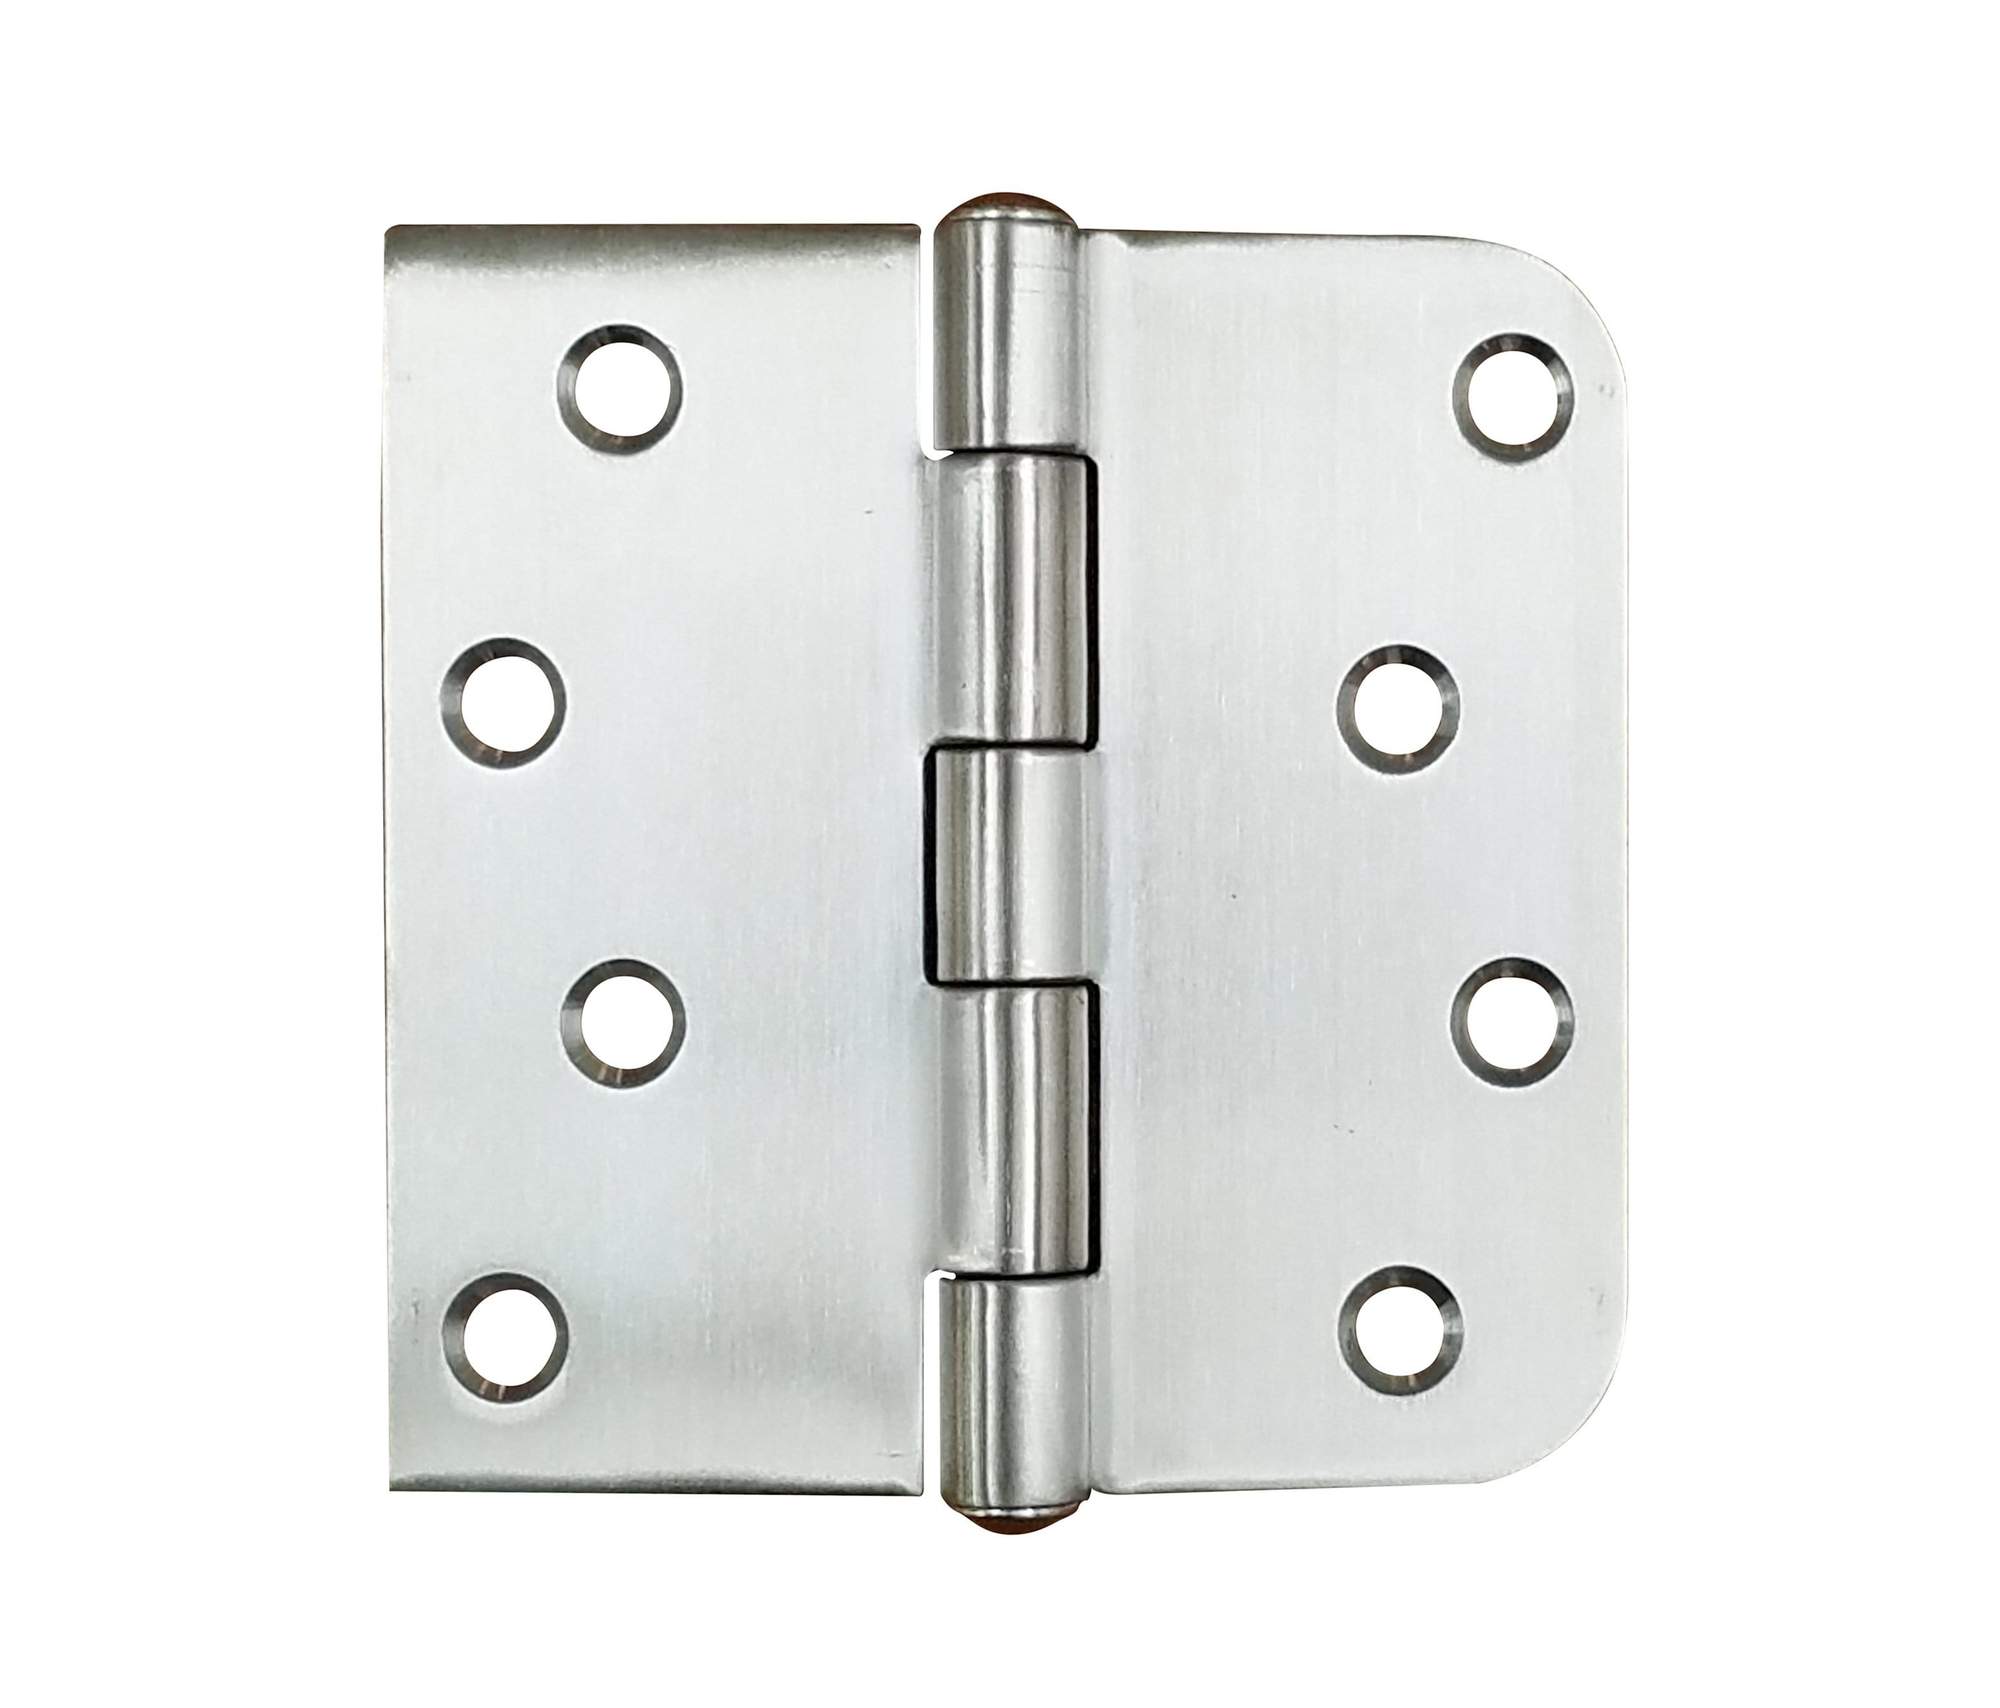
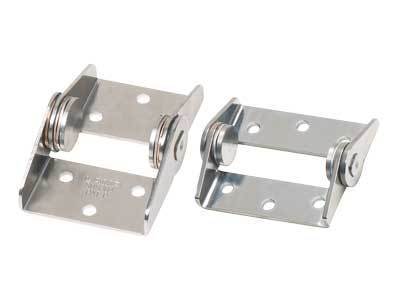
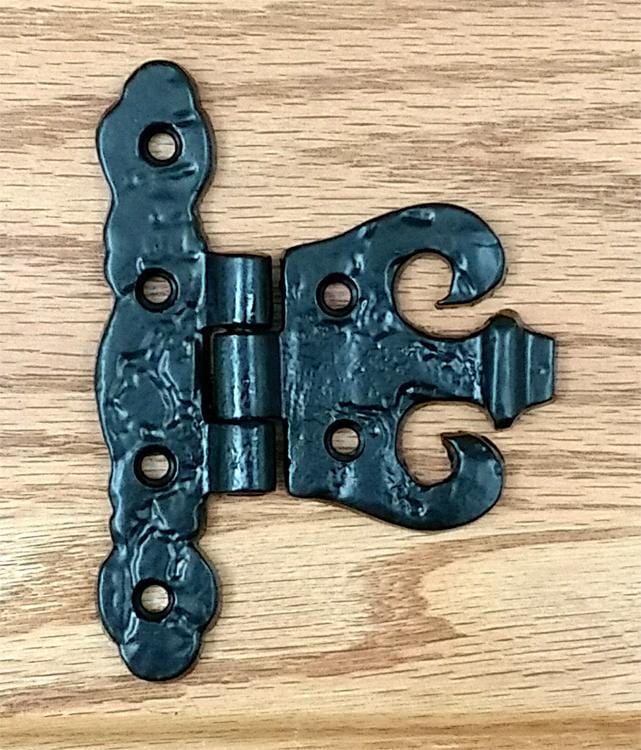
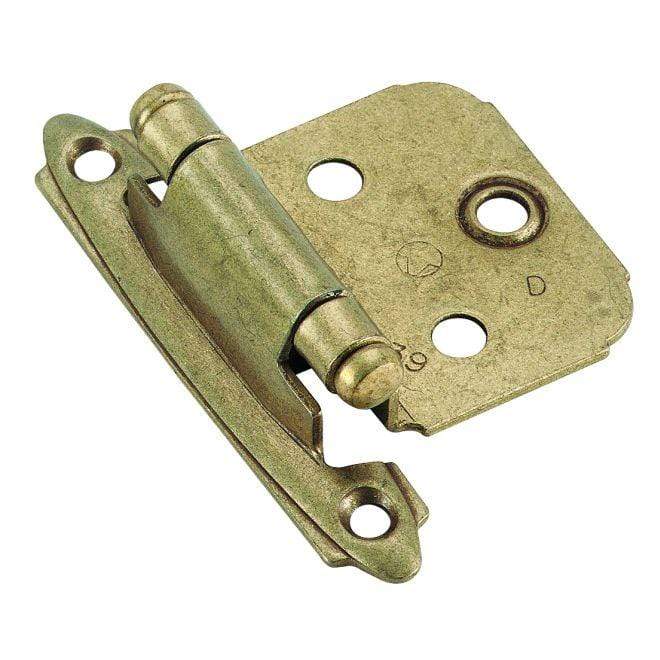
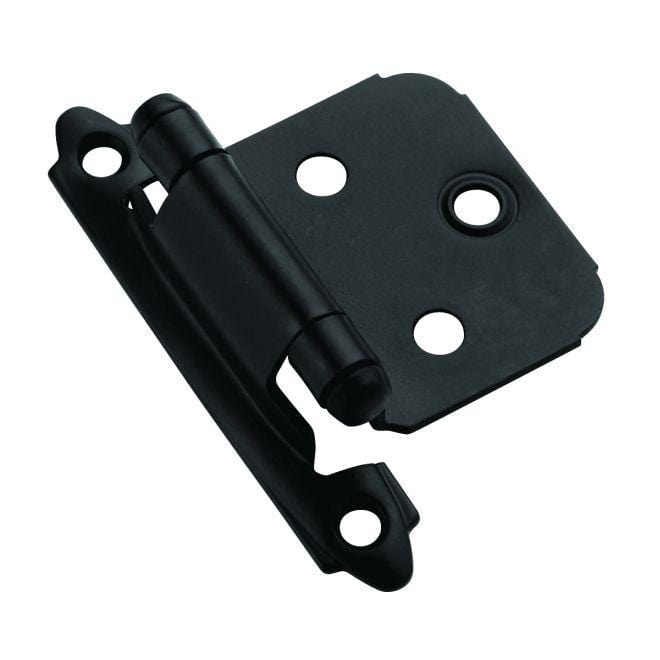
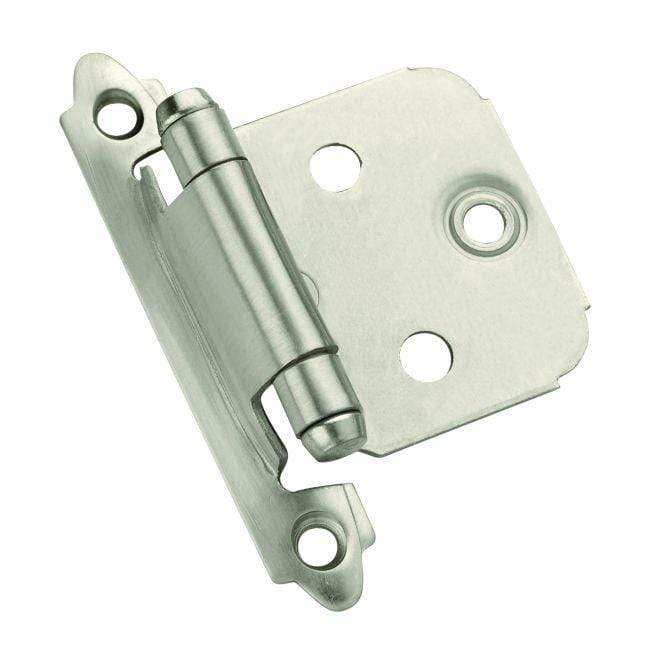
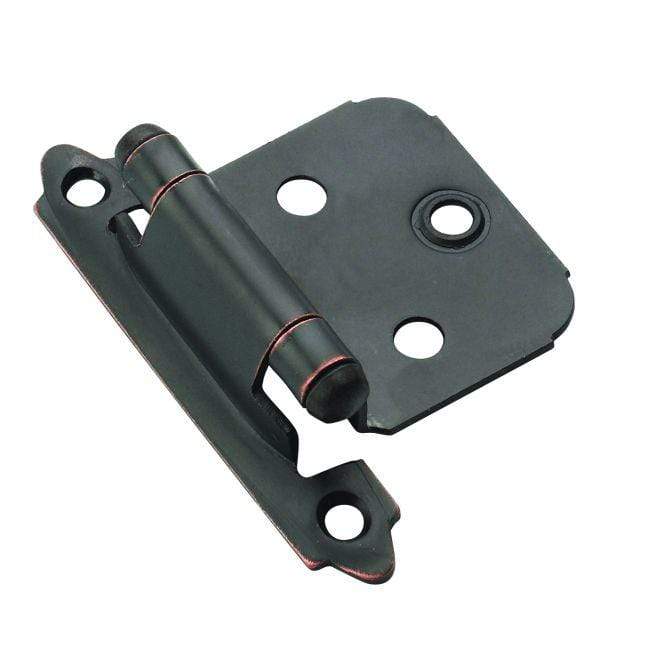
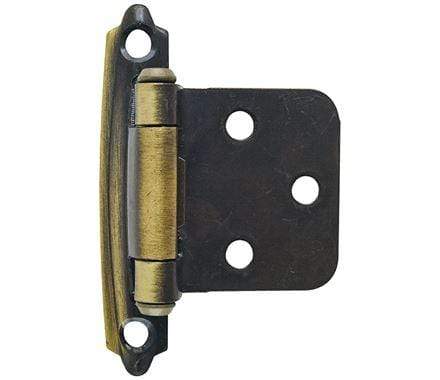
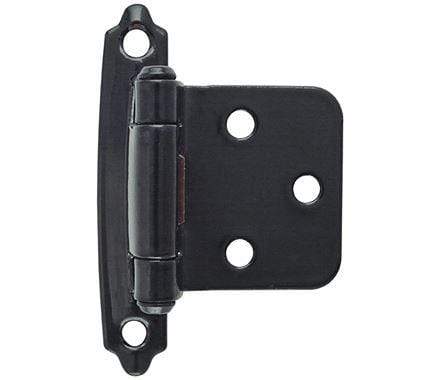
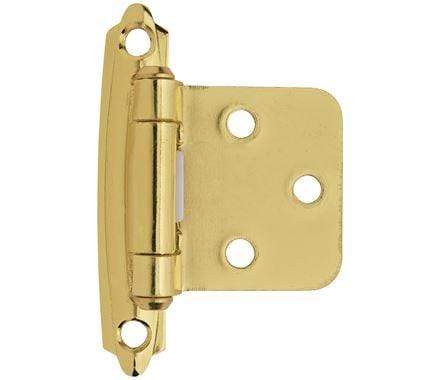
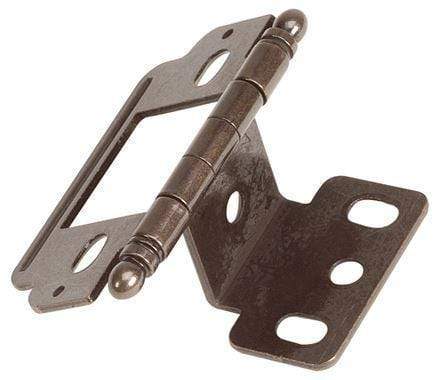
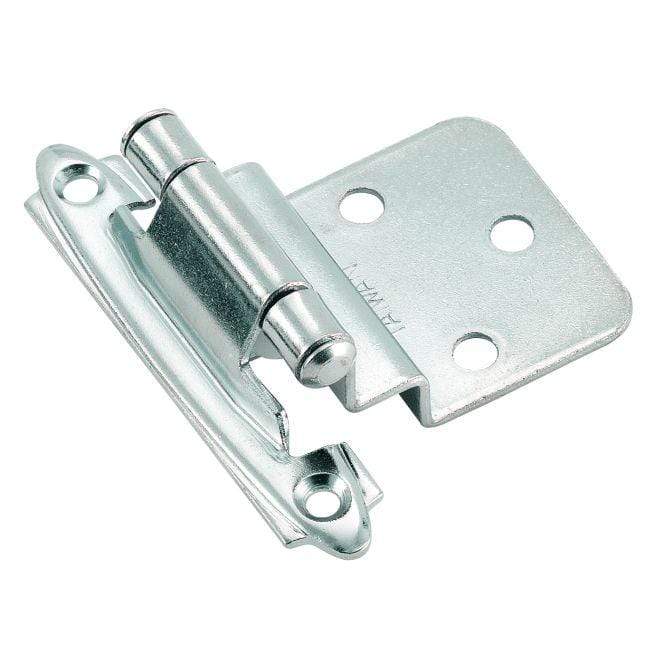
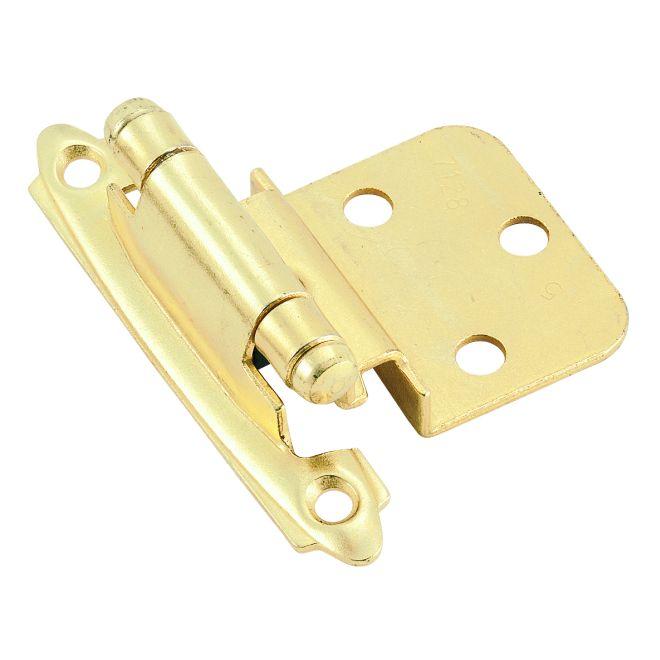
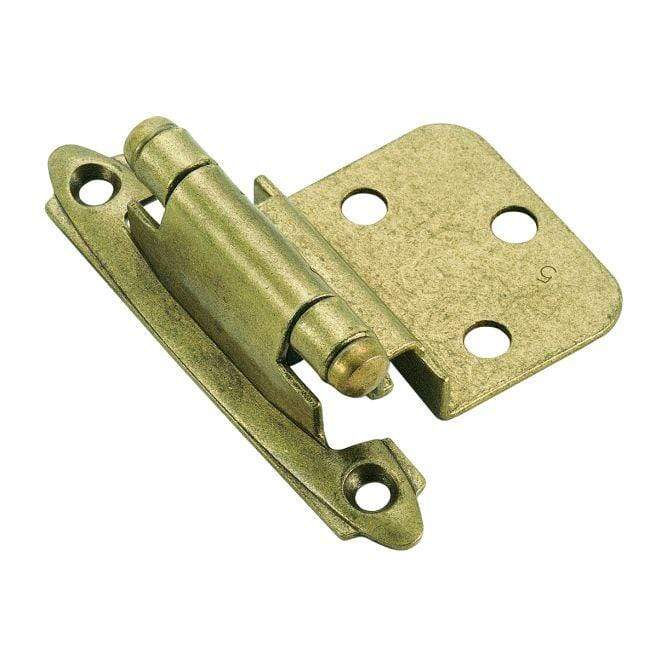
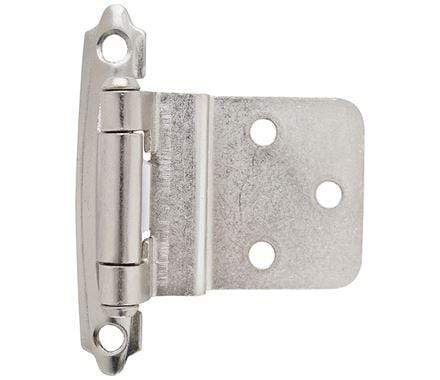
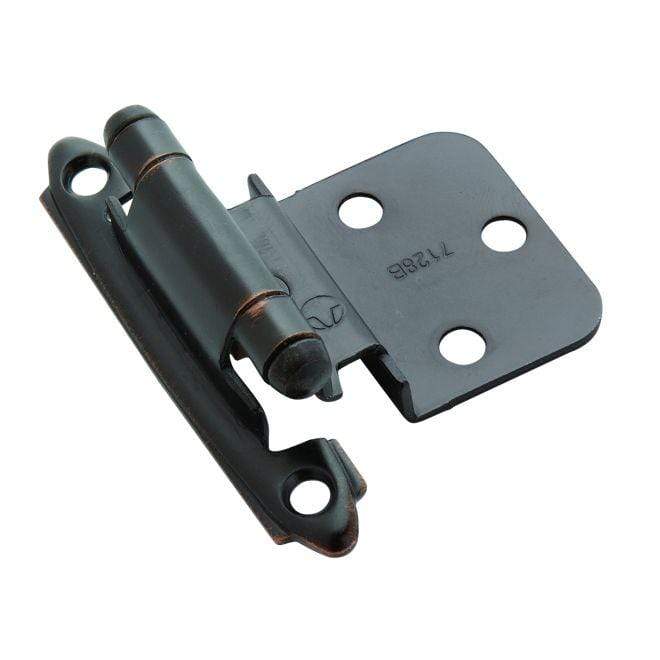
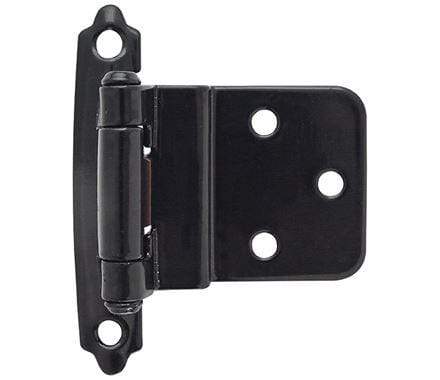
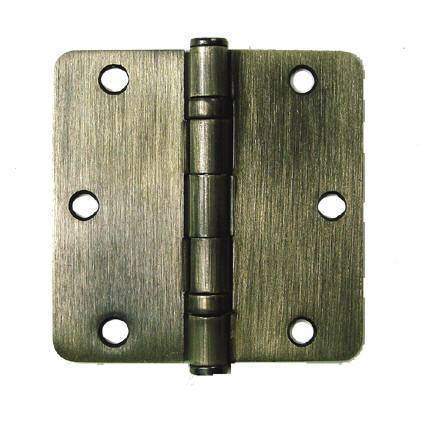
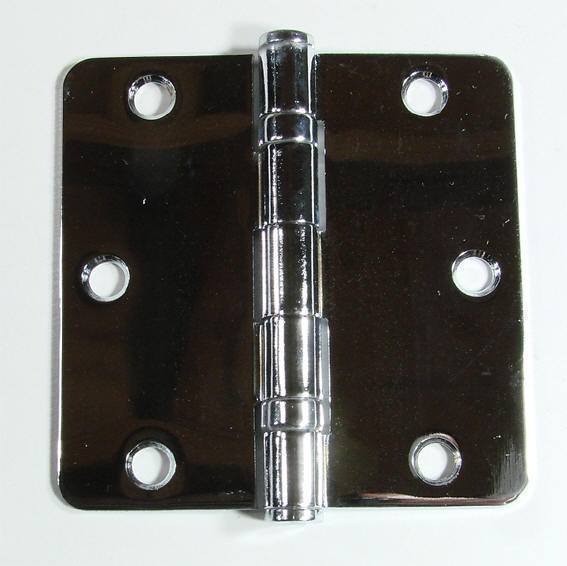
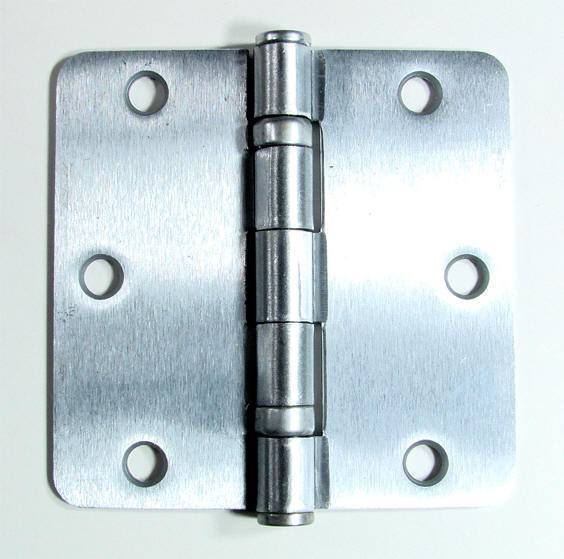
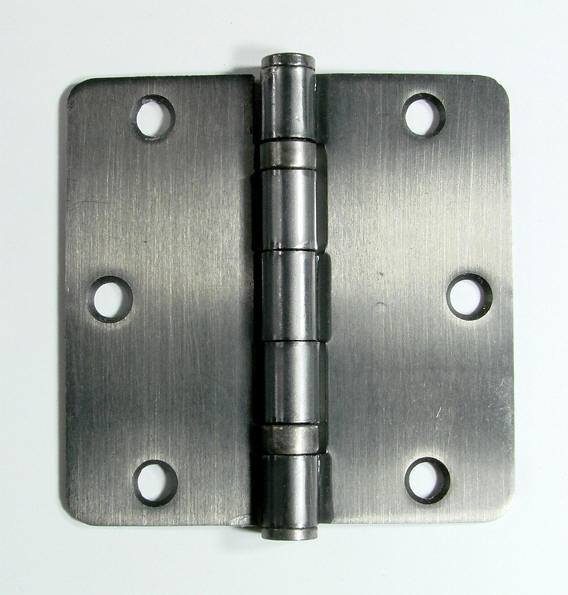
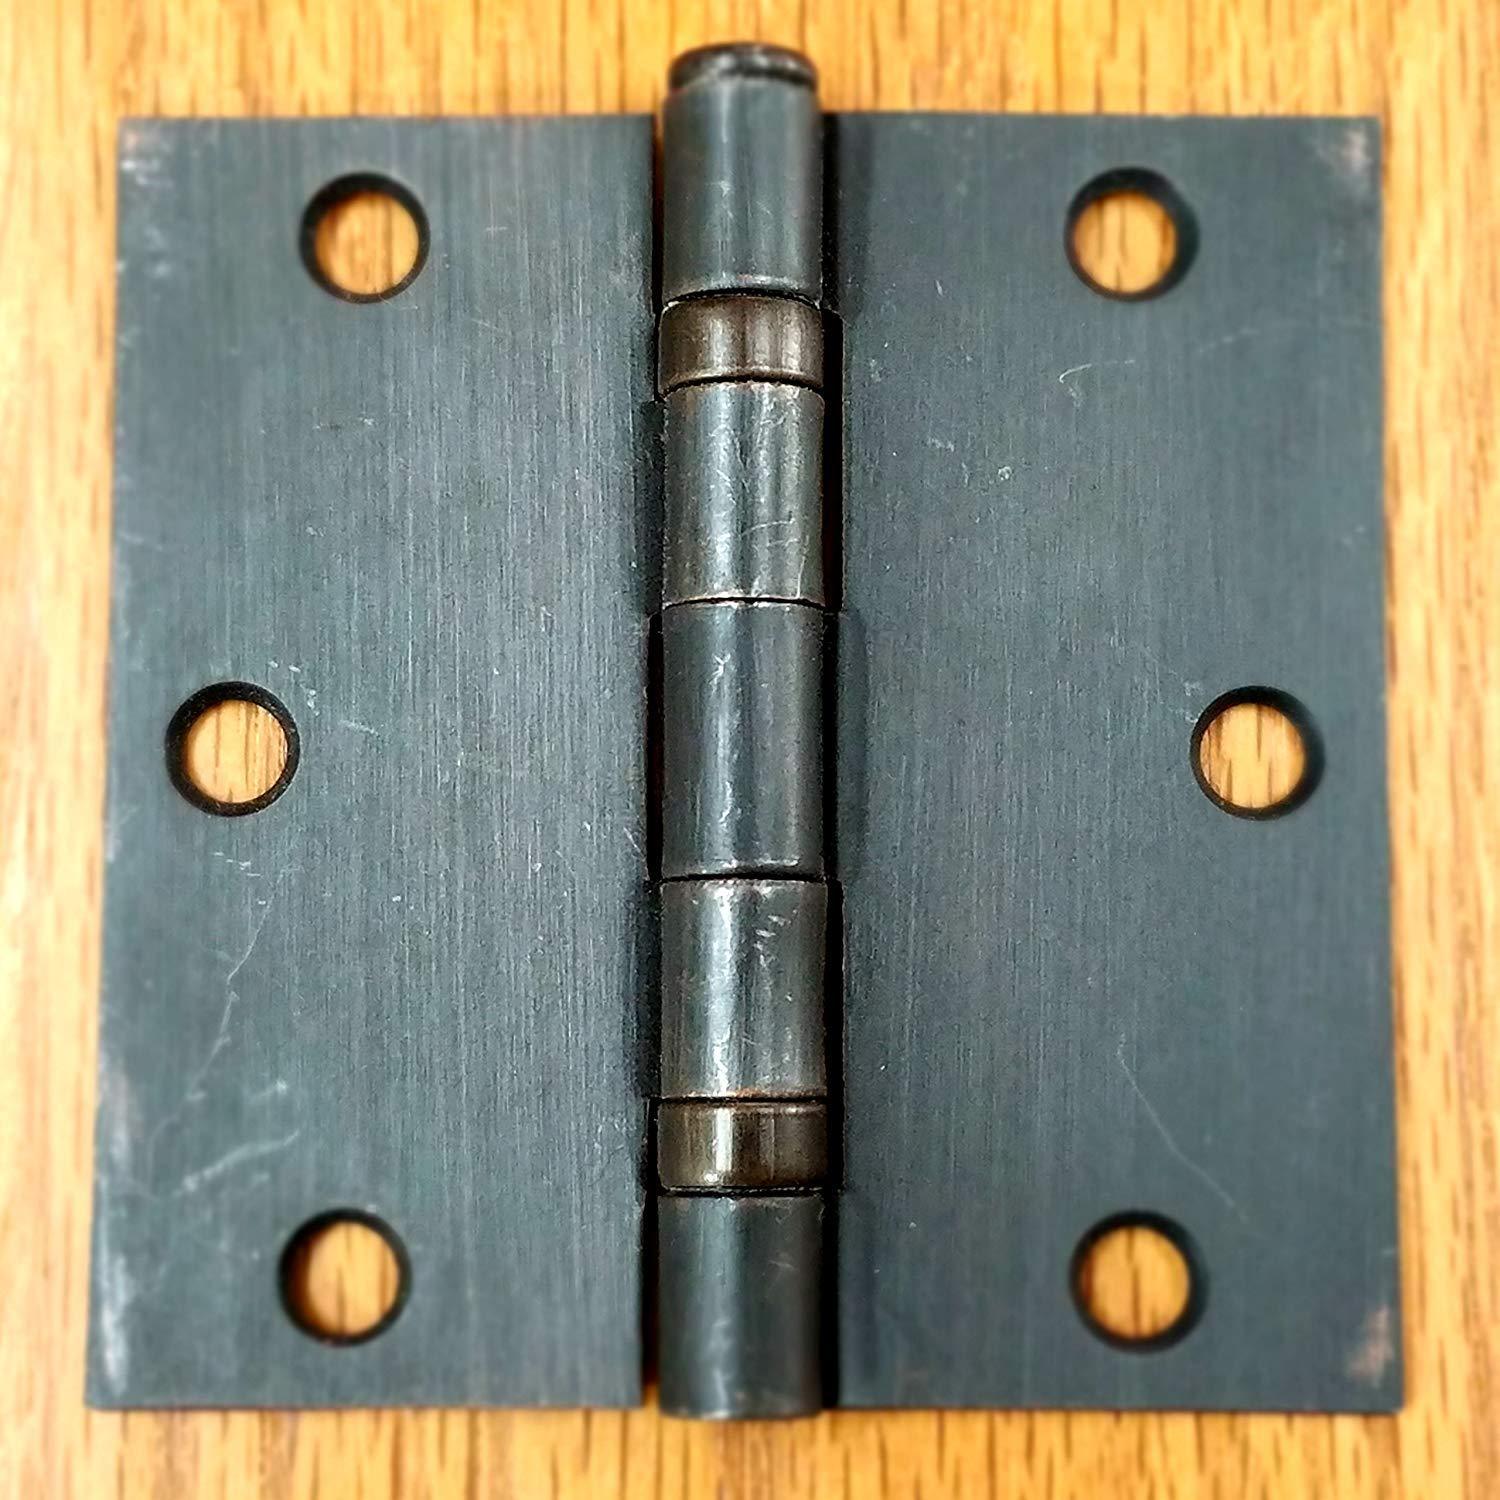
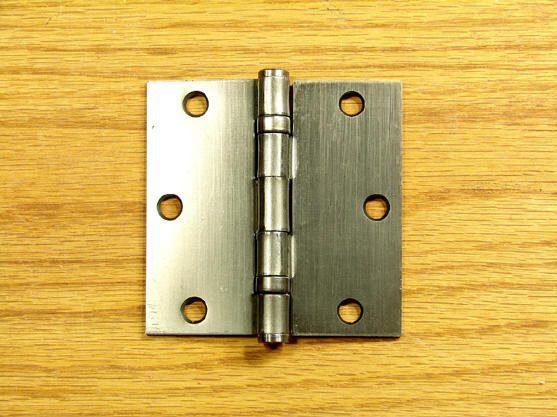
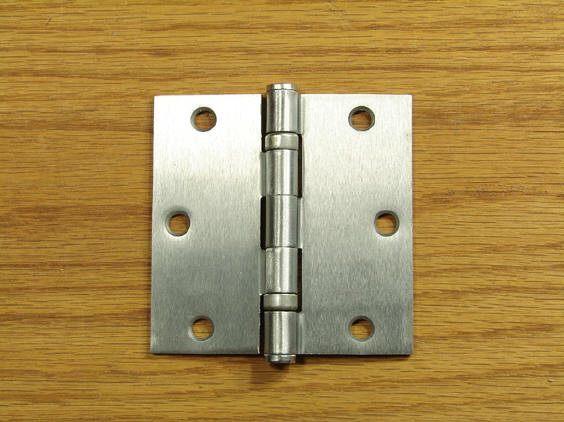
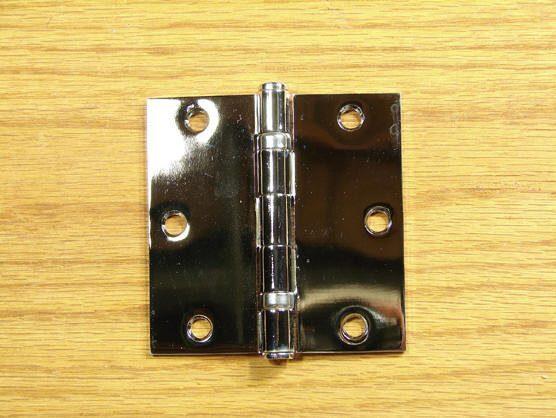
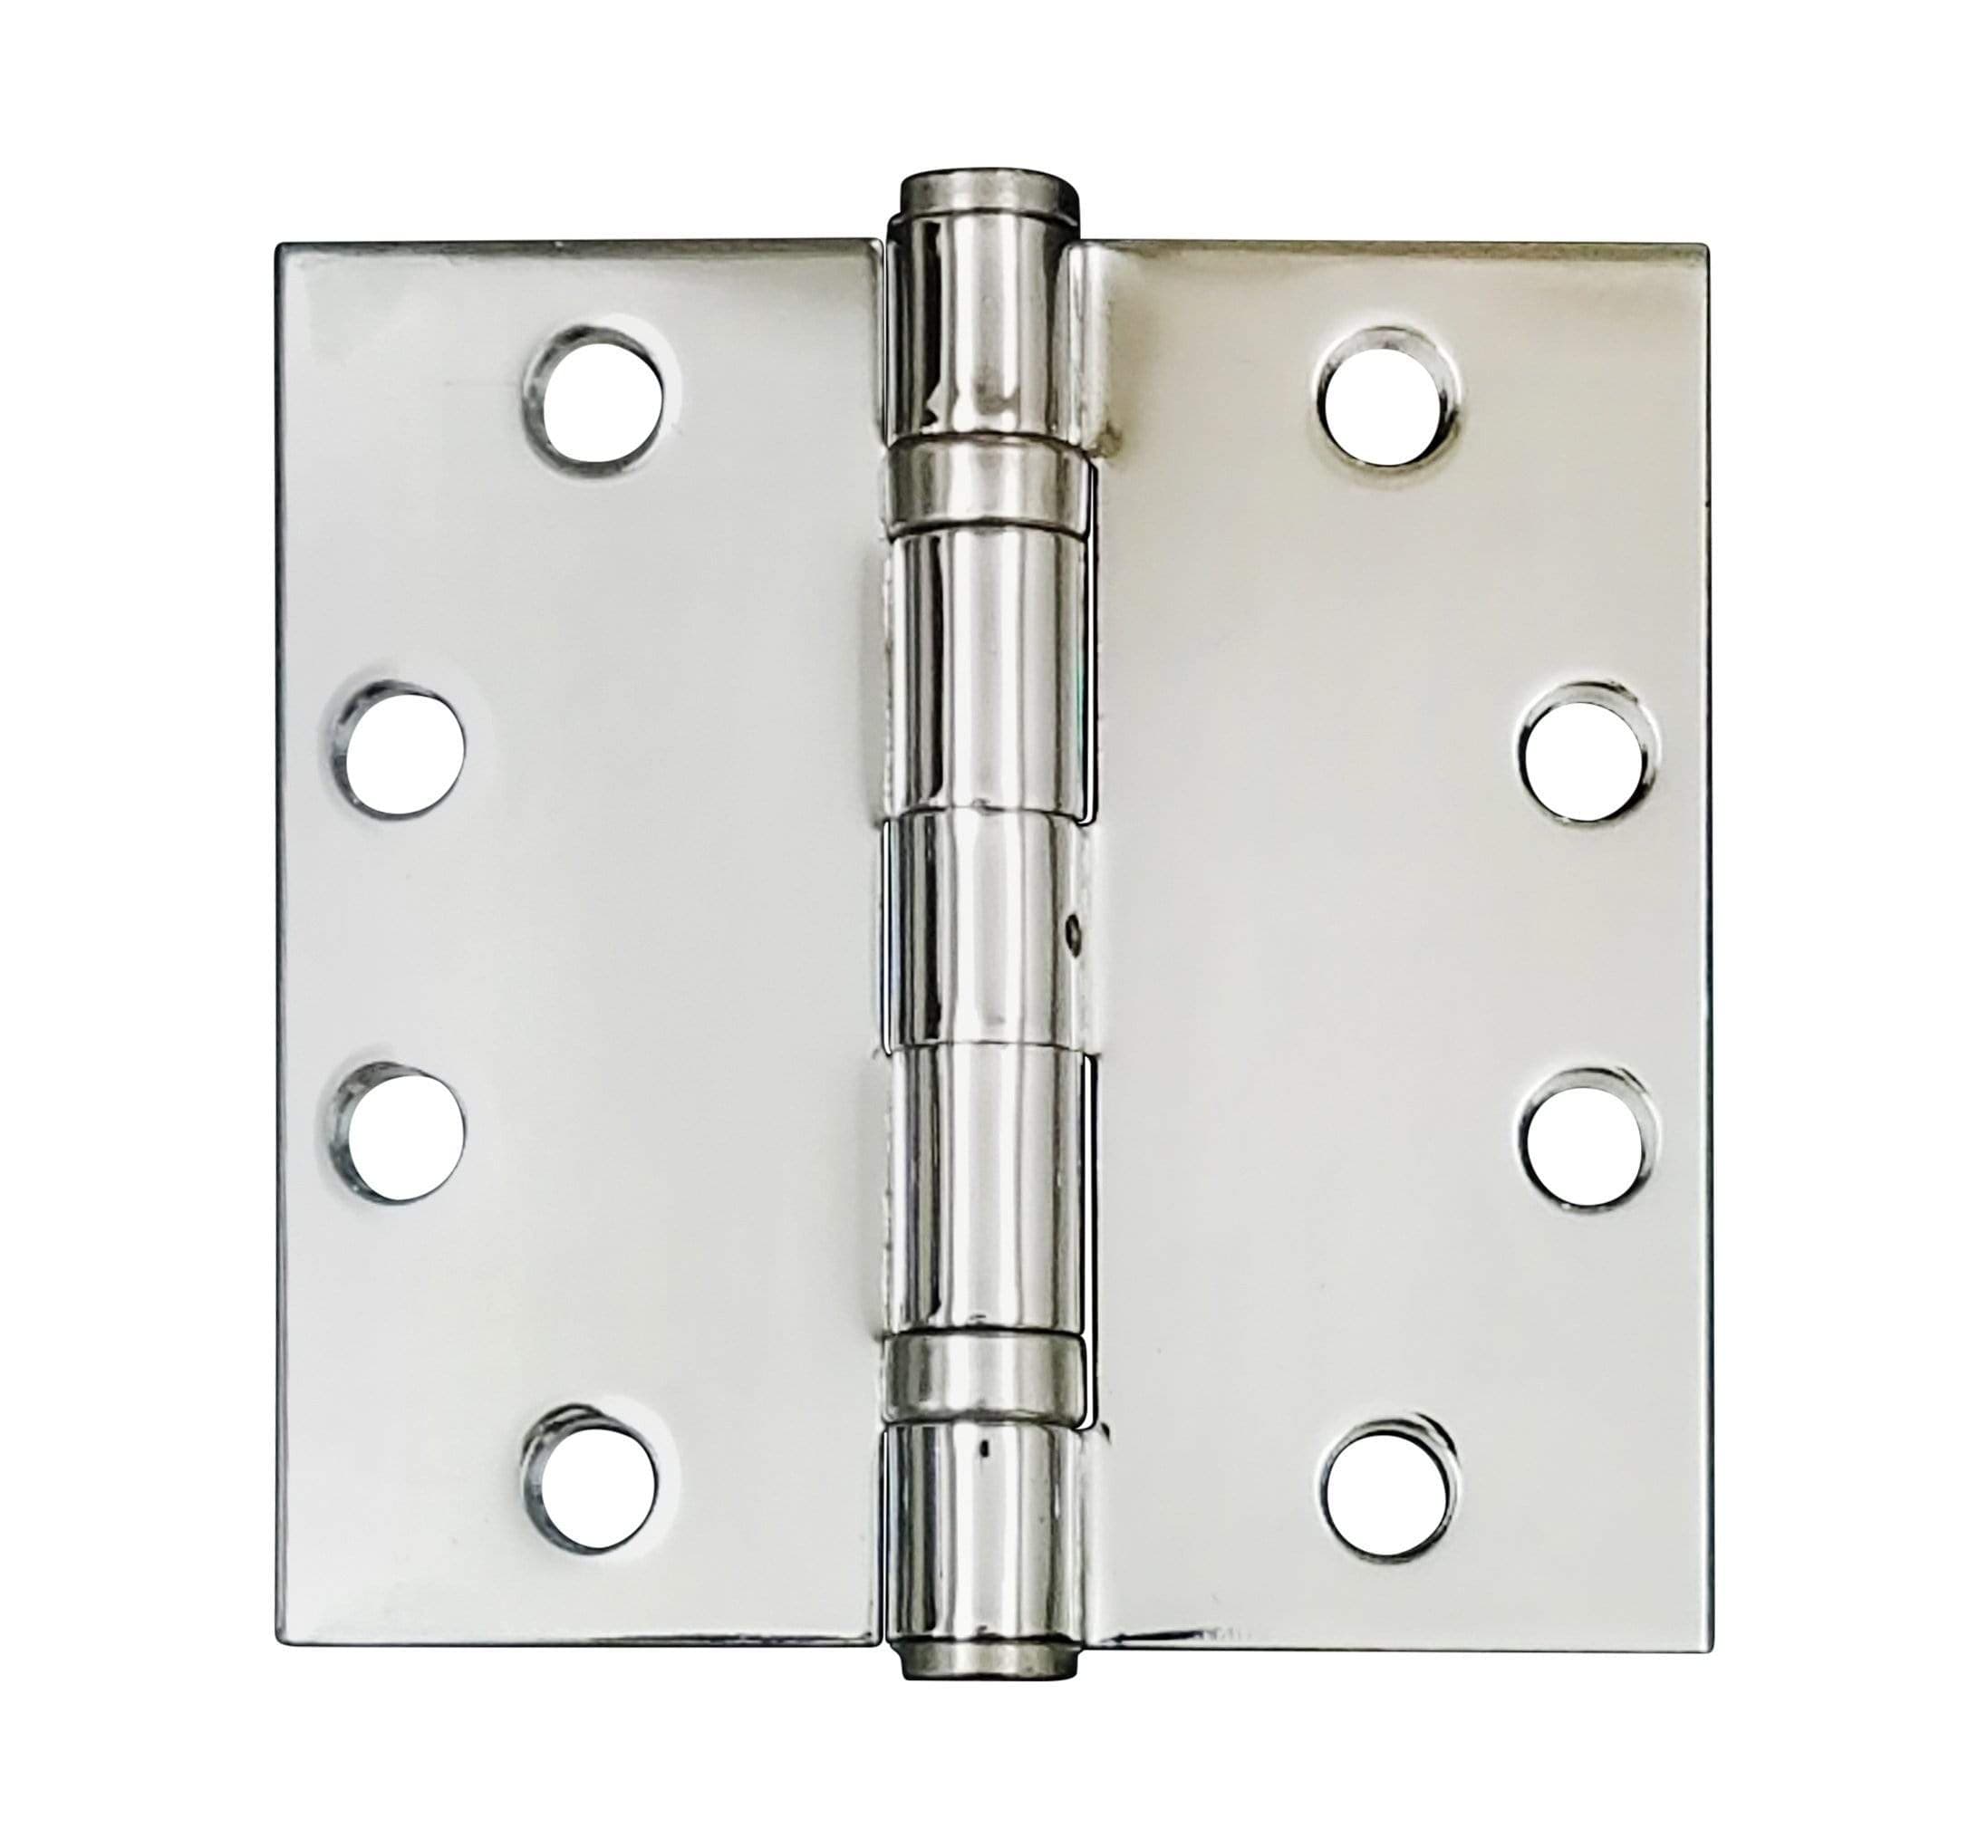
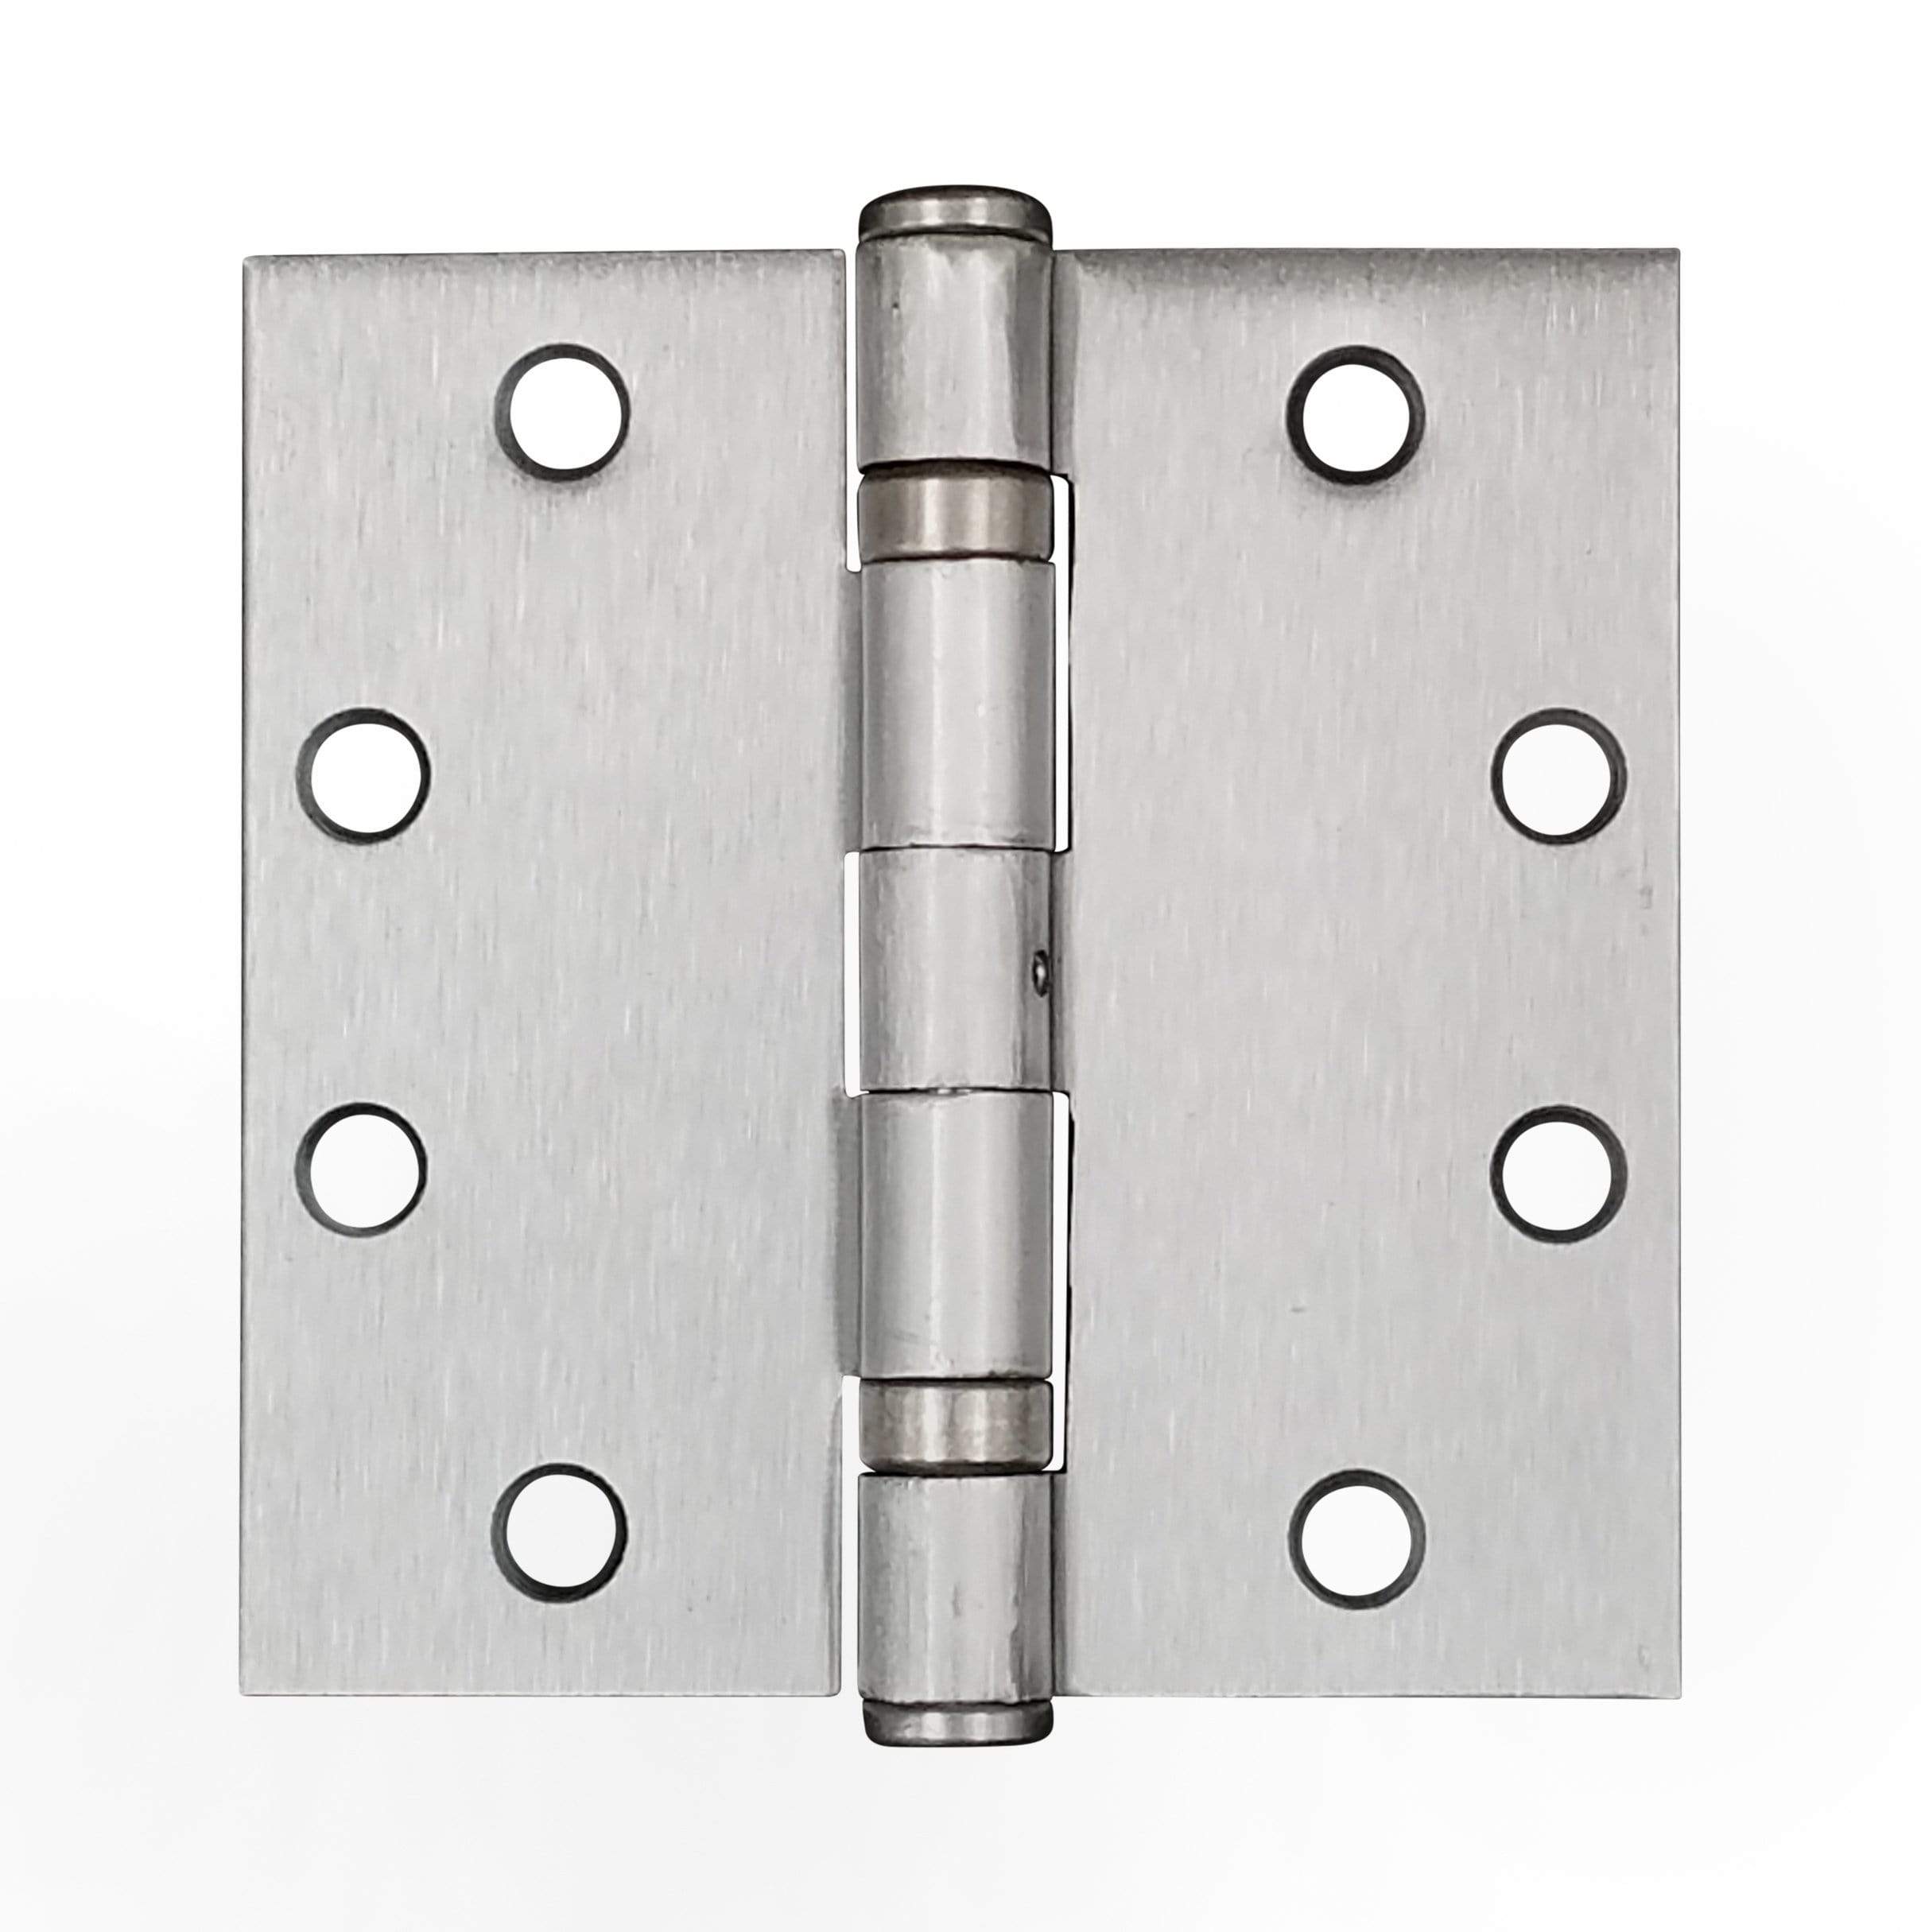
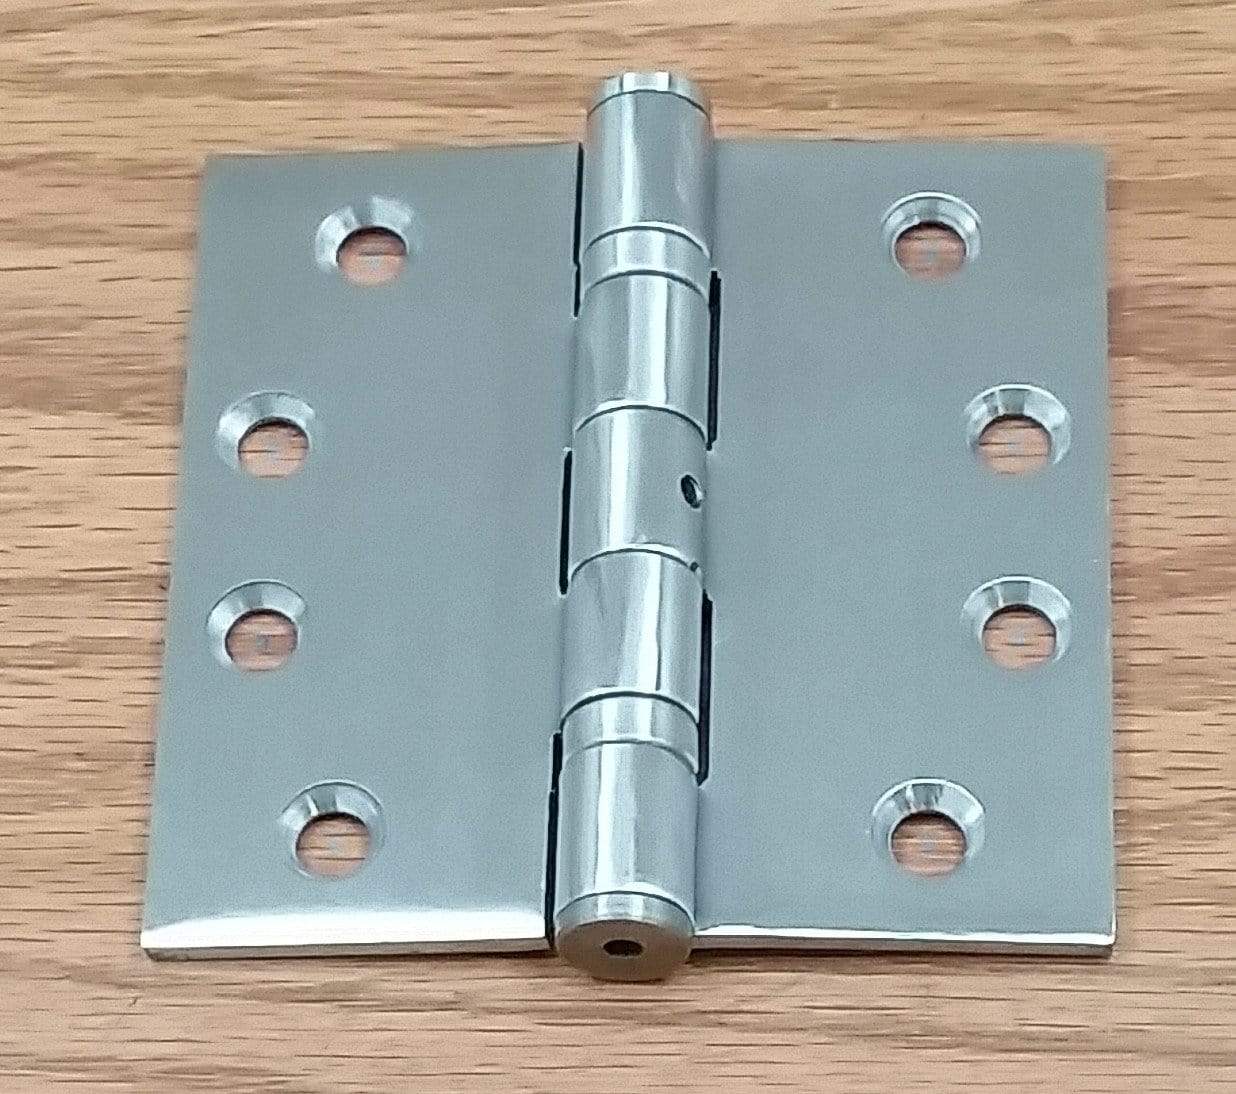
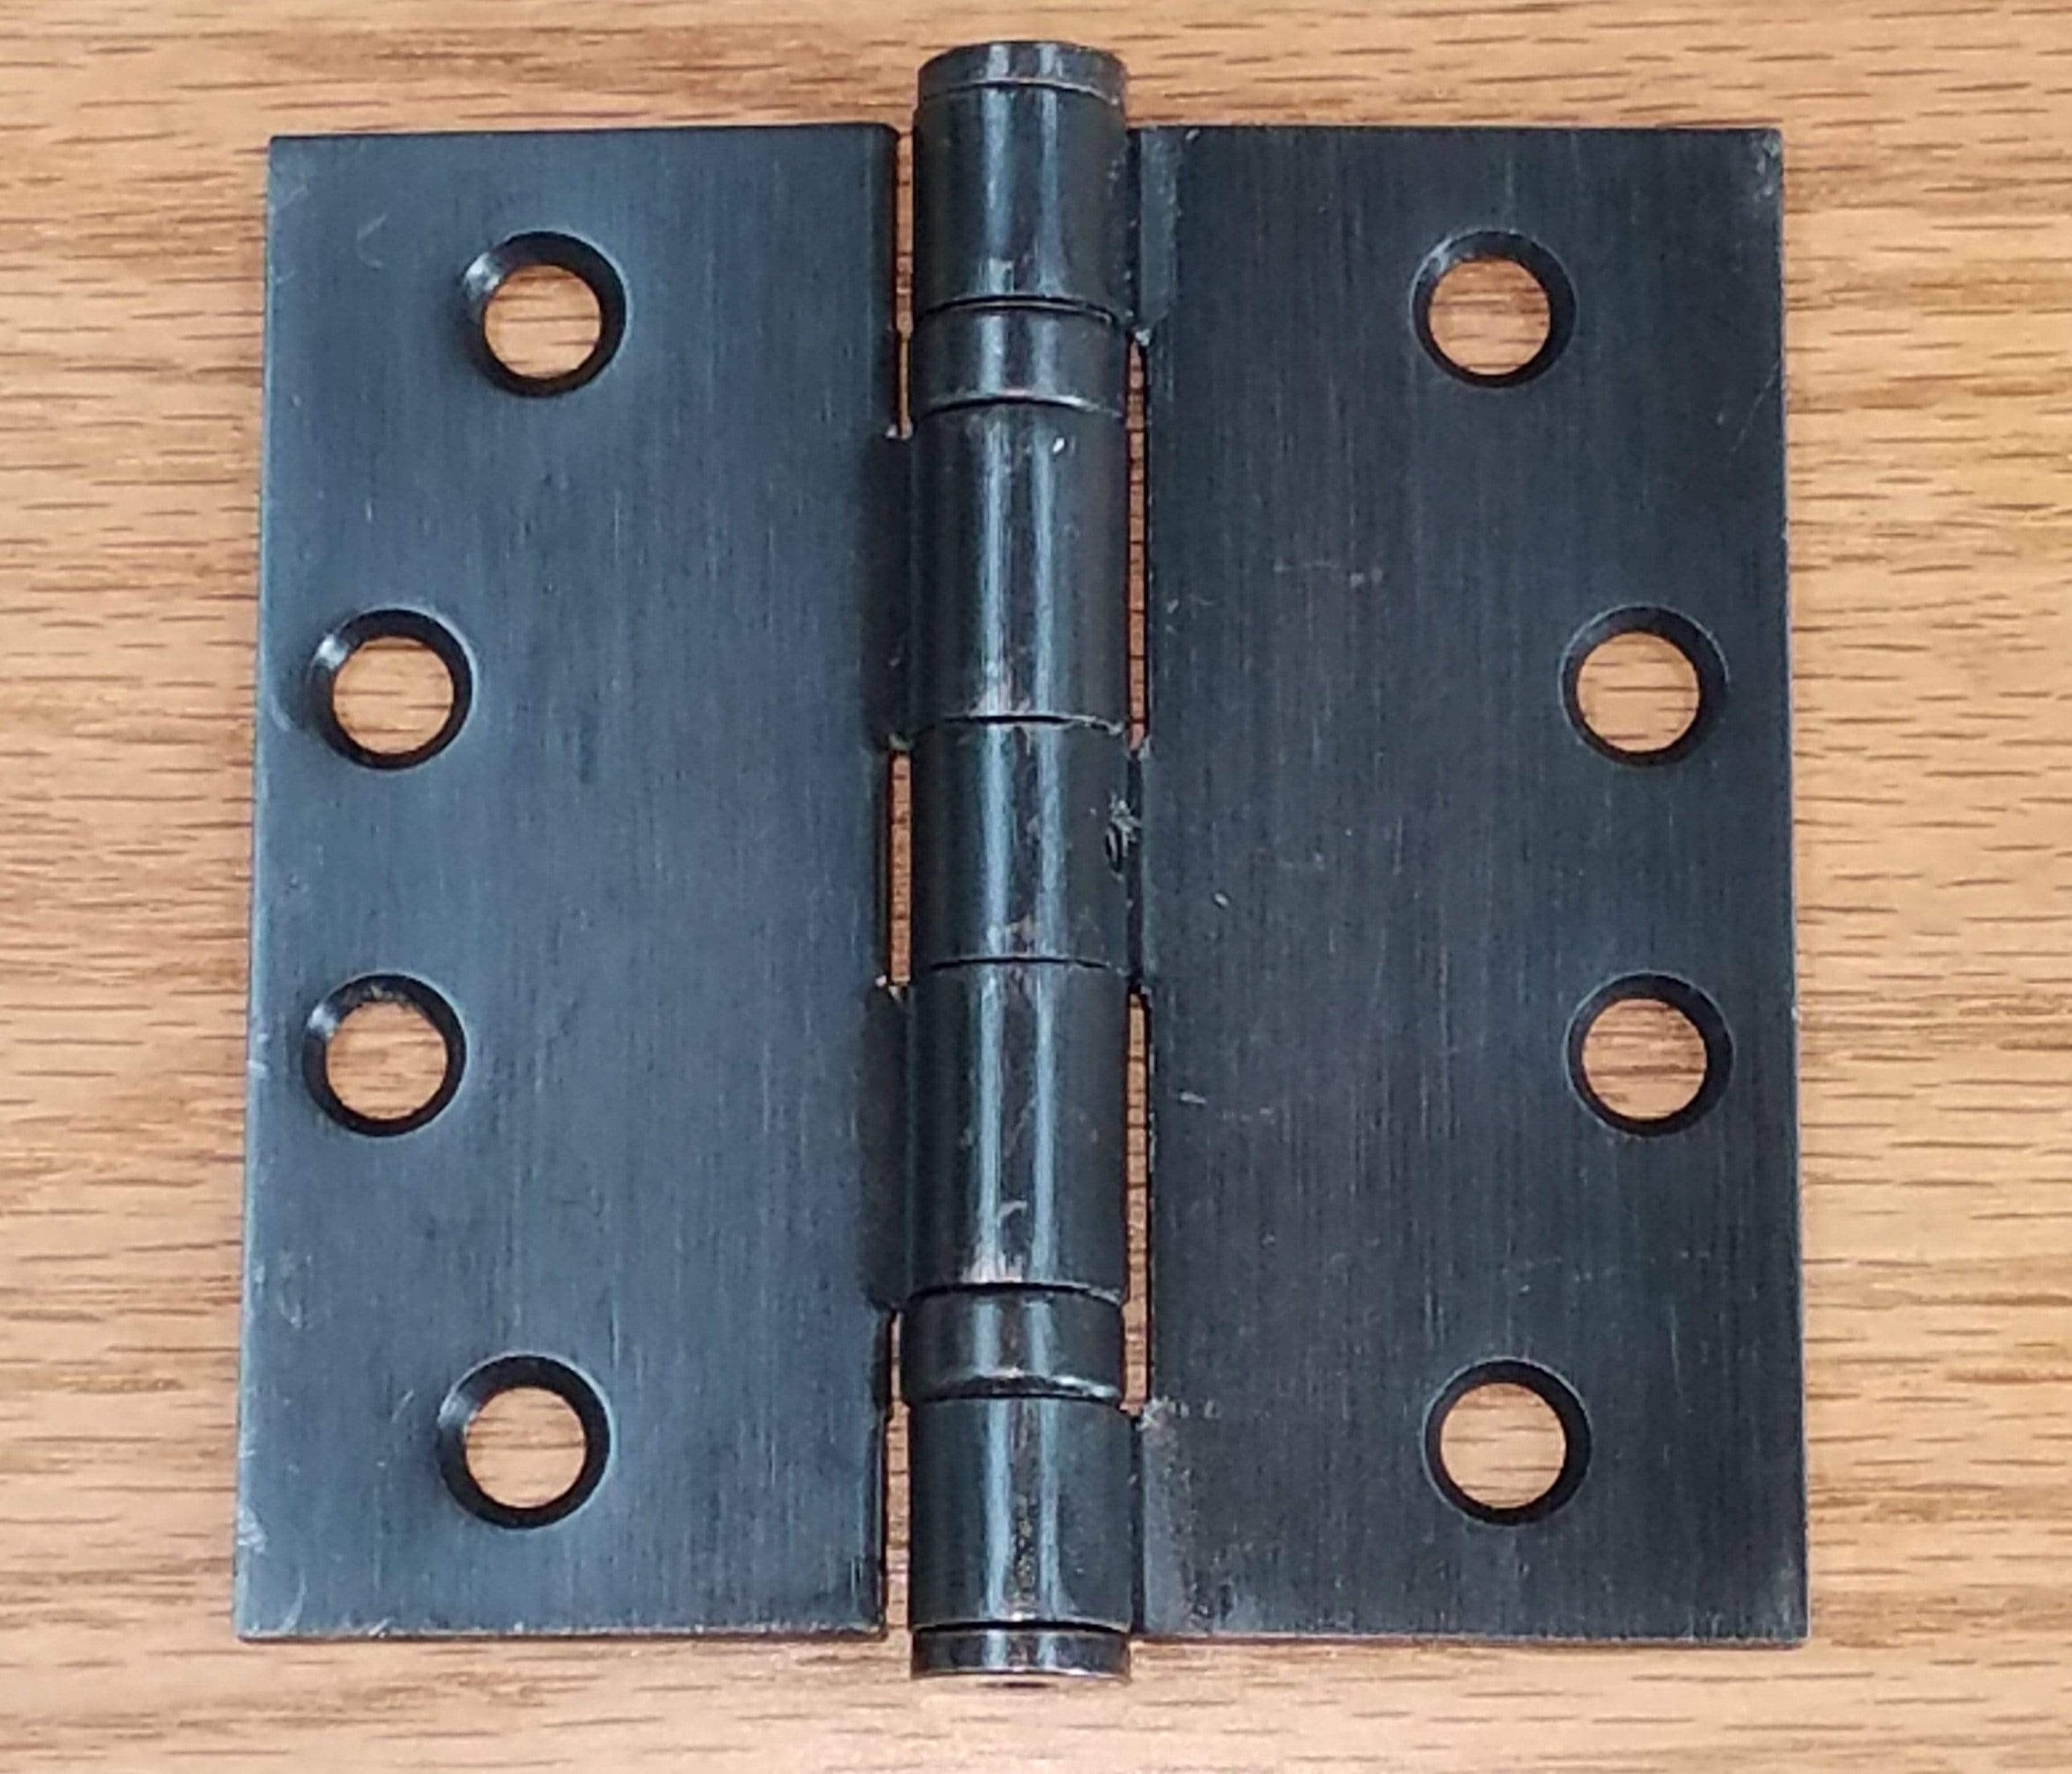
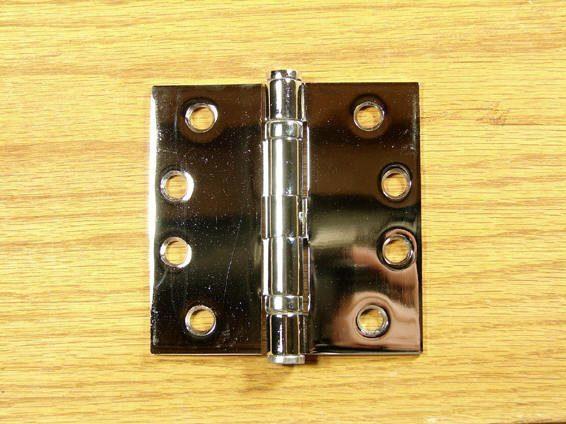
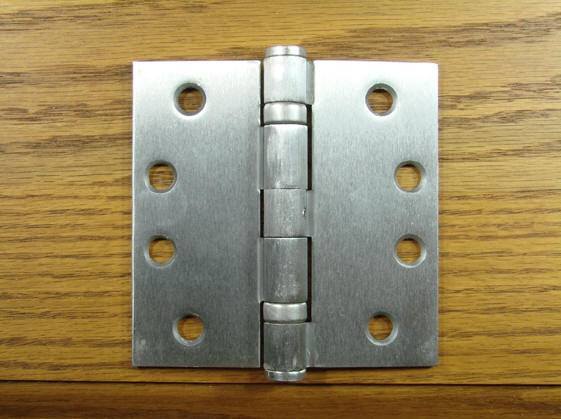
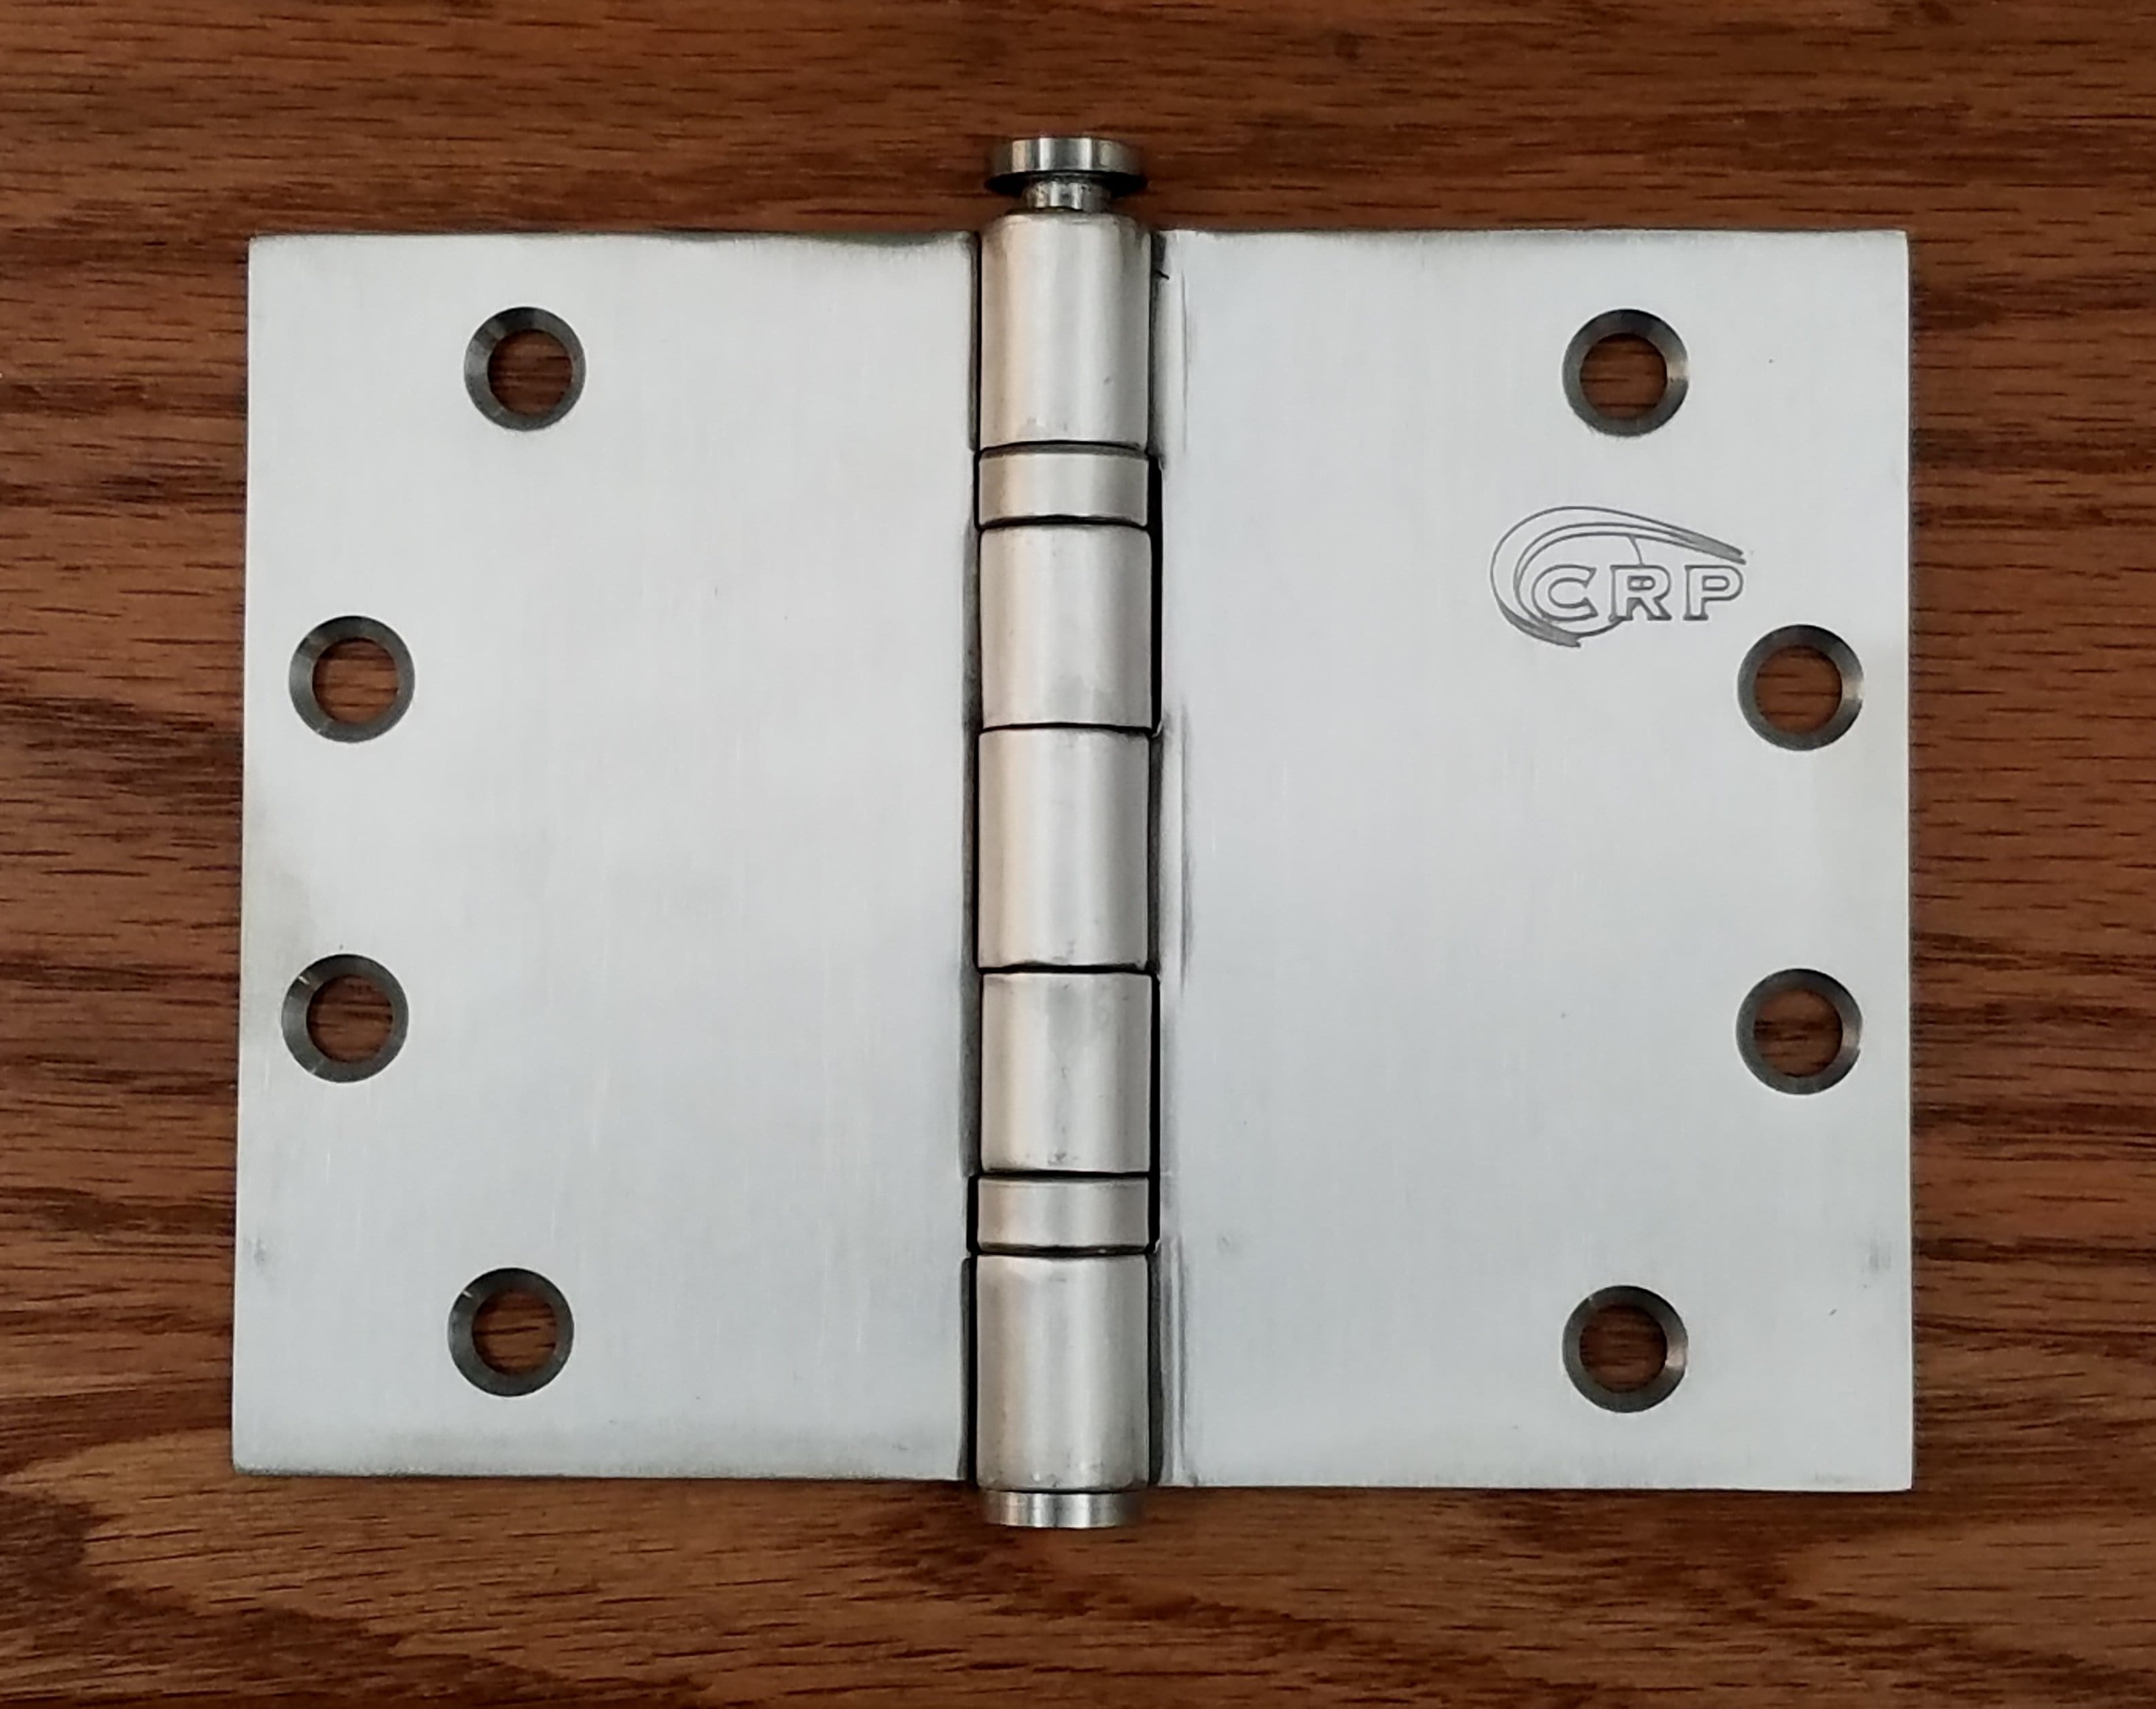
- Finish and Material. Your hinge finish should fit the design and color scheme of your home, and the material should support the environment where they are installed. For example, stainless steel lift off hinges are best for kitchens and bathrooms, as they are corrosion-resistant.
Install Lift Off Hinges in 6 Easy Steps
Step 1: Gather Your Tools
- Lift off hinges
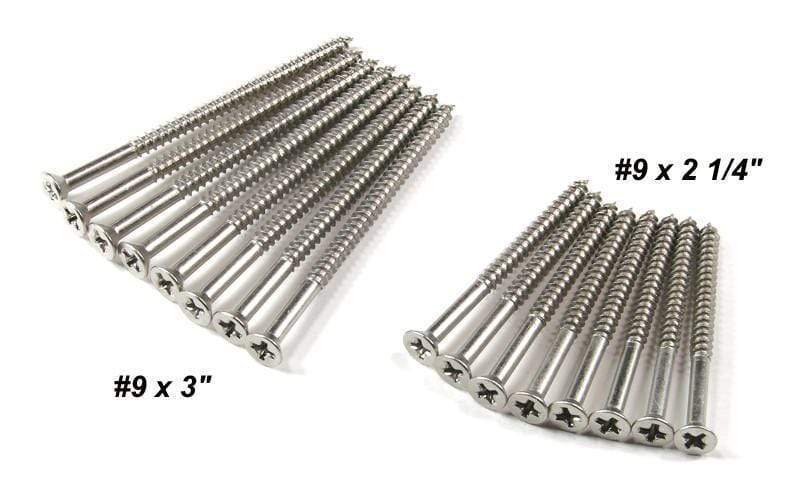
- Screws
- Screwdriver or drill
- Measuring tape
- Pencil for marking
- Level (optional)
Step 2. Remove the Current Hinges

To replace old lift off hinges, you need to remove the existing hardware and the door or cabinet.
To do this, open the door or cabinet, lift it straight off its frame, and unscrew the old hinges from the door and the frame.
Step 3. Mark Placement for the New Hinges
Once you’ve fully removed the old hinges, place the new lift off hinges against the door and frame to mark the screw holes.
Use a level to confirm proper alignment, then use a pencil to mark the placement.
Note: While it may seem simpler to use the existing screw holes from the original hinges, wear and tear can impact the alignment and stability of the updated hinges. The dimensions and specifications of your new hinges are also likely to differ from the original. Consider filling the existing screw holes with wood filler or covering them with dowels.
Step 4. Attach the Hinges to the Door or Cabinet

Using your markings, use your screws to attach the hinge plate to the door or cabinet. Confirm proper alignment, then tighten fully.
Step 5. Attach the Hinges to the Frame
After the door side of the hinge is secured, align the frame side of the hinge with the frame, using the marked positions as a guide. Confirm proper alignment, then tighten fully.
Step 6. Hang and Test the Door or Cabinet
After installing the hinges, hang the door or cabinet back onto its frame. To do this, align the top hinge first, then slide the bottom hinge into place.
Once the door or cabinet is securely on its frame, check that it opens and closes without sticking. If it sticks or feels uneven, adjust the alignment and recheck.
Final Thoughts
With a clear idea of how to choose the best lift off hinges for your needs, you can purchase your new door or cabinet hardware! Once it’s time to install your hinges, refer back to this guide to simplify the process.
Please contact Hinge Outlet for additional questions about hinge options or installation!